New Brand! Colorado Craft Company!
Hi friends! Happy Tuesday! Are you familiar with this brand new brand? Colorado Craft Company was established last year by two very talented ladies (Amy and Adrienne Kennedy) who have a combined 35 years of experience in the crafting industry! These stamps are unique, clever and very well drawn. View all of the designs below, and keep scrolling for some fun inspiration! Enjoy!
|


All cards are by Adrienne Kennedy:
 SUPPLIES:
|


SUPPLIES:
|


 SUPPLIES:
|


Thanks so much for stopping by and thanks to Adrienne for the inspiration!

Blog Candy Alert!! Follow our blog via email and comment on this post for a chance to win special blog candy!
From: Couldn’t Resist Telling You…: Anne Sturgeon!
From: Clear Penguin Birthday Card: Jeanne Beam!
From: Yippee for Yana: Vacation Time: Tara Prince!
From: Amore Laura Fadora: Hey You Surprise!: Stacey Kowbel!
From: No Line Coloring with Bouquet Builder 2: Suzi Metcalfe!
From: Art Journaling with Shari Carroll: Chris Eder!
From: Studio Monday with Nina-Marie: DYI Summer Inspiration Boards: Jennifer Petersen!
From: Simon Says Stamp Presents: Crafty Quintet!: Loly Borda!
From: One Stamp, Five Ways: Surf’s UP!: Denise Bryant!
From: “Love You” Hexagon Shape Card: Angie Hall!
From: Amore Laura Fadora: Friendly Bicycle: Pattie A Hillenberg!
Please email [email protected] with the name of the blog you won from, the prize you won, and your address (if applicable) to redeem your prize(s)!
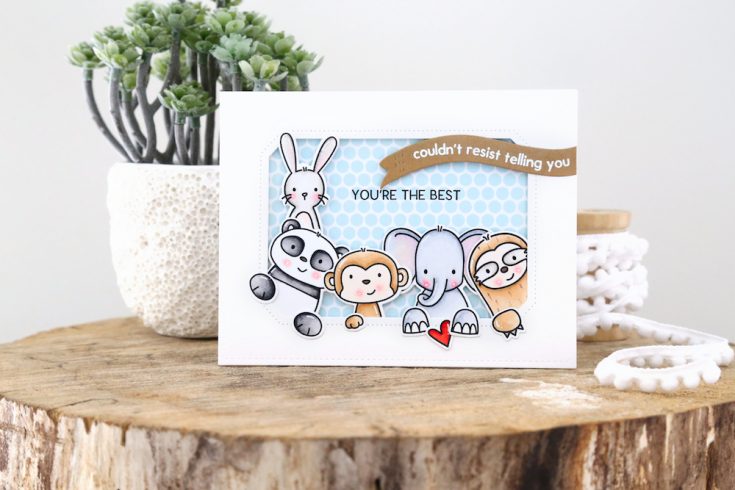
Couldn’t Resist Telling You…

Hi there! I’m so thrilled to be guesting on the SSS blog today, with a sweet card featuring some fun critters from Avery Elle’s Peek A Boo Pals stamp set.
I really wanted to let the critters take center stage, so I started out by stamping and coloring the ones I wanted to use. I played around with mixing and matching critters. For example, I knew I would color the sloth and monkey in similar shades of brown, and I wanted to make sure they wouldn’t be directly next to each other. You know, to avoid a “who wore it best” scenario. ha. I also wanted to make sure the height of the critters would balance out the card. So, the pointy-eared bunny standing on the panda’s back balances out the sentiment flag on the other side.
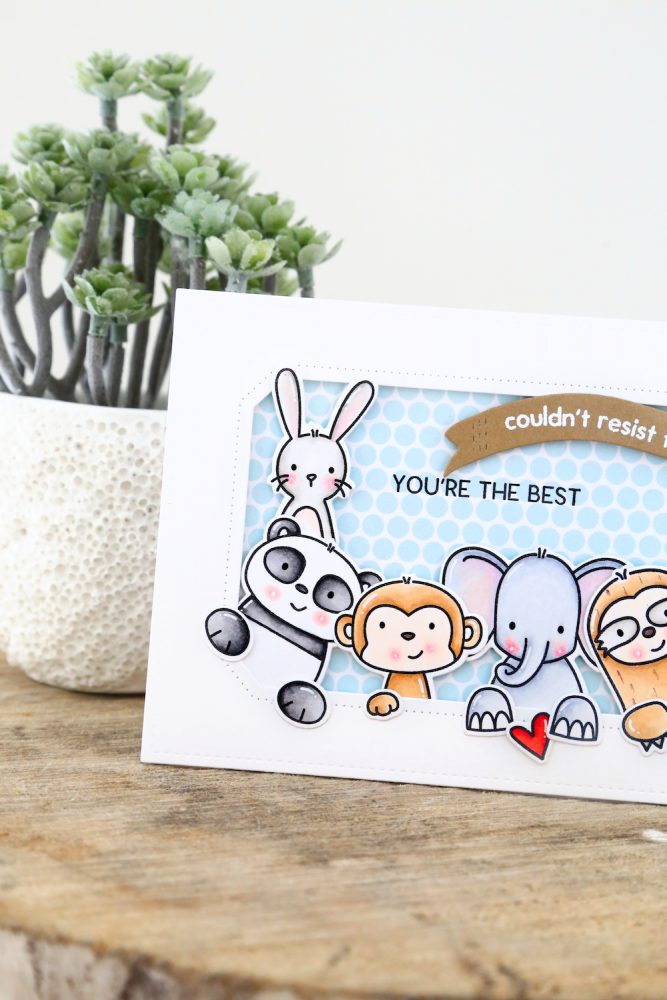
Once I had all of the critters colored, I knew I wanted them to be popping out of some kind of frame. With their paws hanging out, aren’t they just the cutest? I cut into an A2-sized piece of white cardstock with an Avery Elle hexagon die. I then selected a blue and white polka paper for the background and positioned the critters inside the frame.
To finish off, I stamped the first half of the greeting in Versamark and heat-embossed it onto a sentiment flag (that die is by Avery Elle too!) and then stamped the other half directly onto the patterned paper.
As a little finishing touch, I added a bright red heart. I love the sweet elephant just holding onto that.
I hope you like what I cooked up for you! Thanks for stopping by!
SUPPLIES:
|


Thanks so much for stopping by and thanks to Elena for being our guest today!

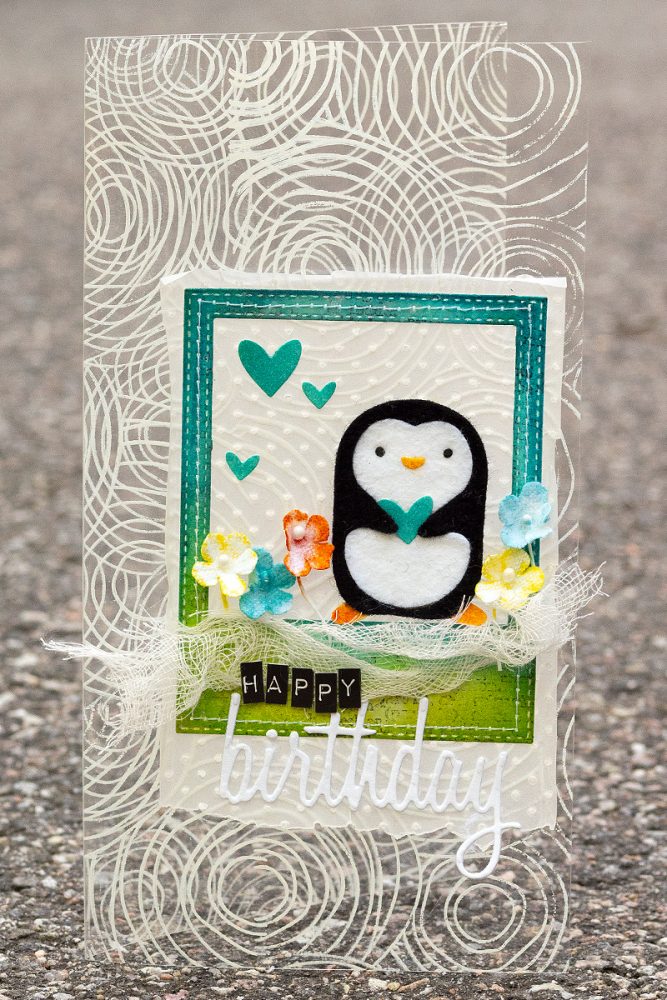
Clear Penguin Birthday Card
Hi friends! Happy Sunday, and thanks for stopping by our blog today! Please join me in welcoming back the super sweet and talented Anna-Karin Evaldsson! If you aren’t familiar with her work already, please be sure to stop by her blog at Layers of Ink, and be sure to stop by each Monday for a new Simon Says Monday Challenge each week! Let’s jump into this fun Birthday Penguin card! Read on for more information and enjoy!
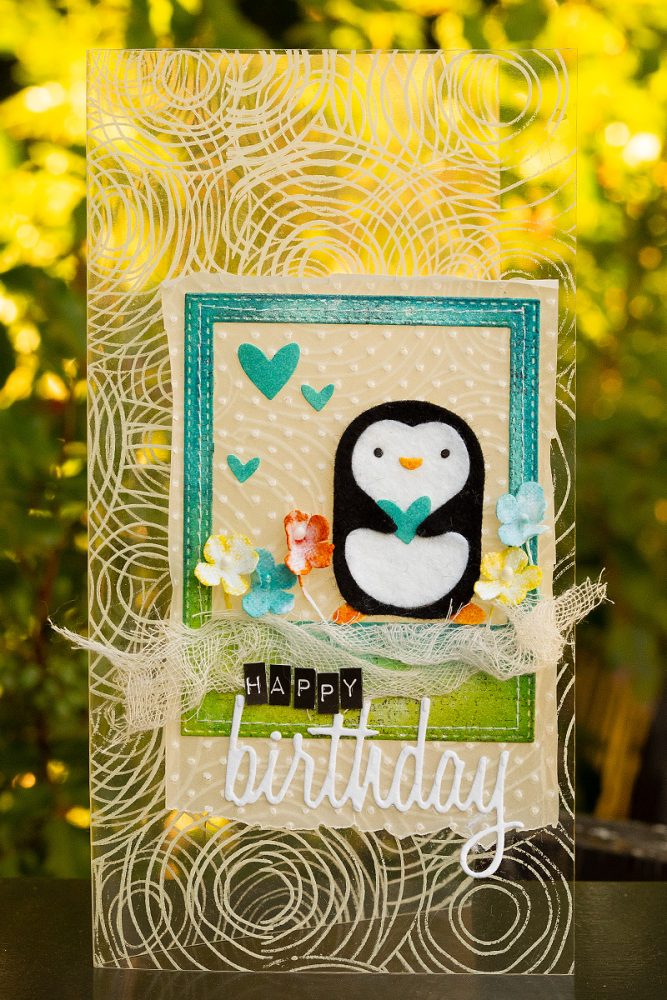
Hi everyone! I am so happy to be here today with a fun and easy tutorial. It is summer and I wanted to make a bright and happy card today. I have always liked transparent cards. A transparent card base really makes a card stand out and is also fun when it comes to layering.
My sons like to read an old book of mine about a penguin that doesn’t like the cold and is searching for warmer shores and it inspired this card. It’s called ‘The Penguin That Hated the Cold”. Flimsy transparencies don’t work well for the background. It is better to use a heavier acetate. My favorite is Wendy Vecchi’s Clearly For Art Modeling Film. You can use a transparent background for lots of different types of cards, and they look great for layouts too.
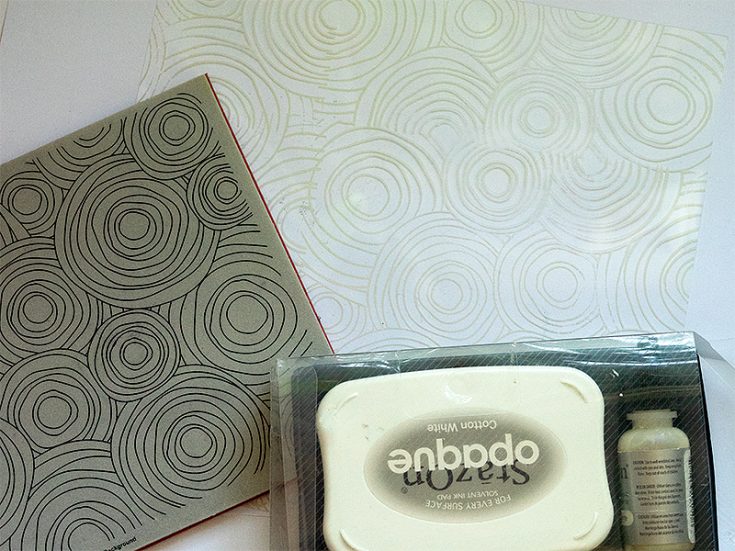
- Start by stamping the background with the Circle Doodle Background stamp and Cotton White Stazon ink, then fold the Modeling Film to create a card. I stamped the entire sheet, but you can also fold it first, and only stamp the front.
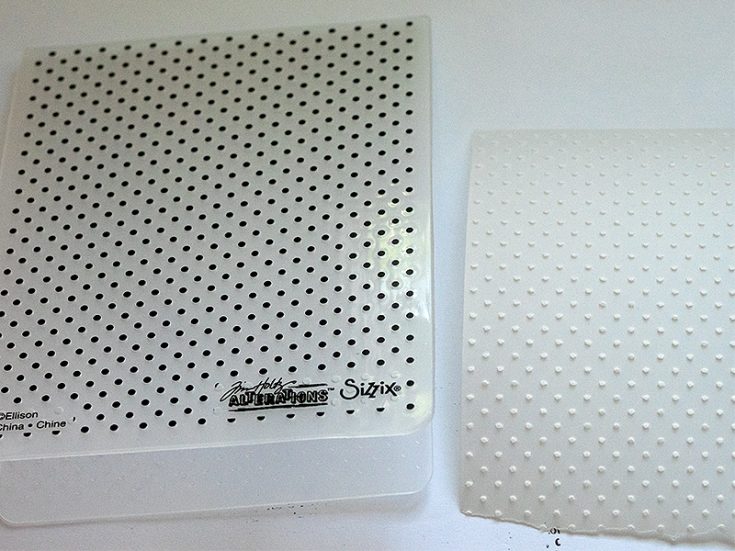
- Dry embossed vellum looks great on a transparent background since it lets the stamping in the background show through slightly. Emboss a piece of vellum in Tim Holtz’s Tiny Dots folder and tear the lower edge.
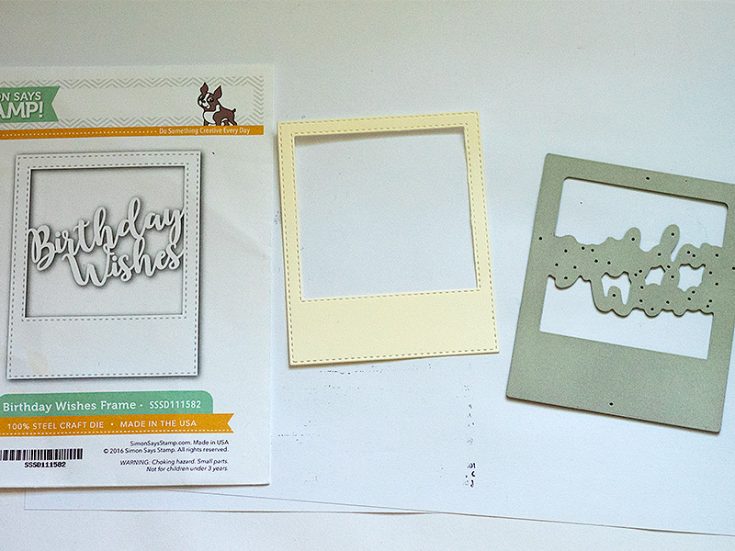
- Simon Says Stamp Birthday Wishes Frame die is very versatile. If you cut off the sentiment, it works great as a general frame for just about anything. Die cut from Heavy stock paper.
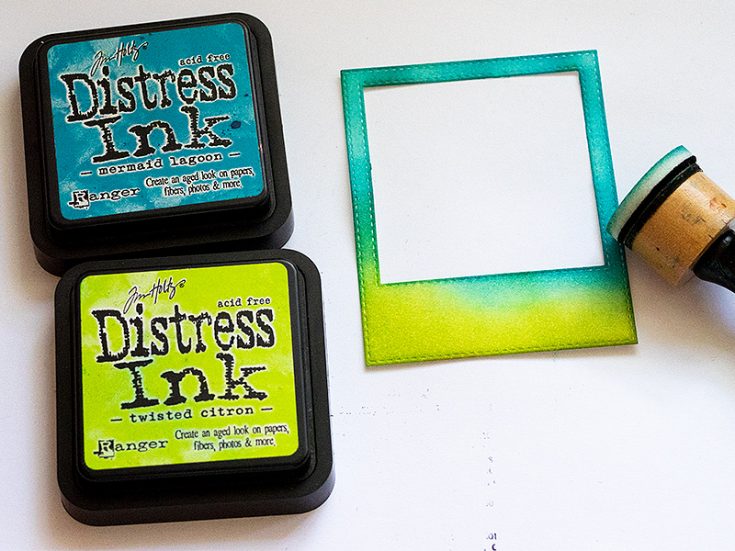
- Ink with Mermaid Lagoon and Twisted Citron.
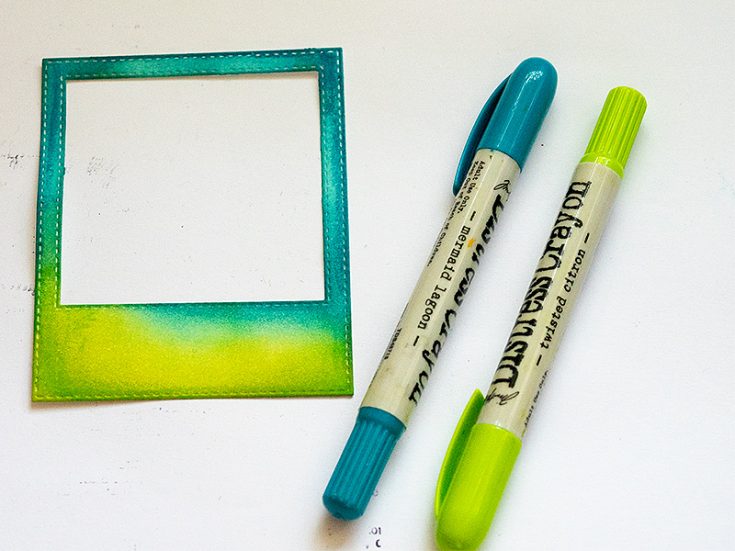
- When I want a stronger, more vibrant shade on a part of a paper inked with Distress Ink, I use Distress Crayons. They coordinate perfectly and work great for adding a darker shade of the same color, for instance along the edges.
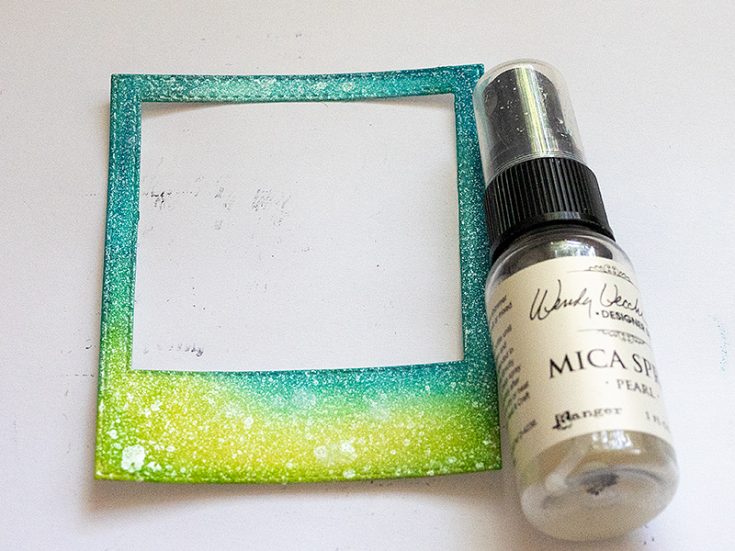
- For some shine, mist with Wendy Vecchi Pearl Mica Spray.
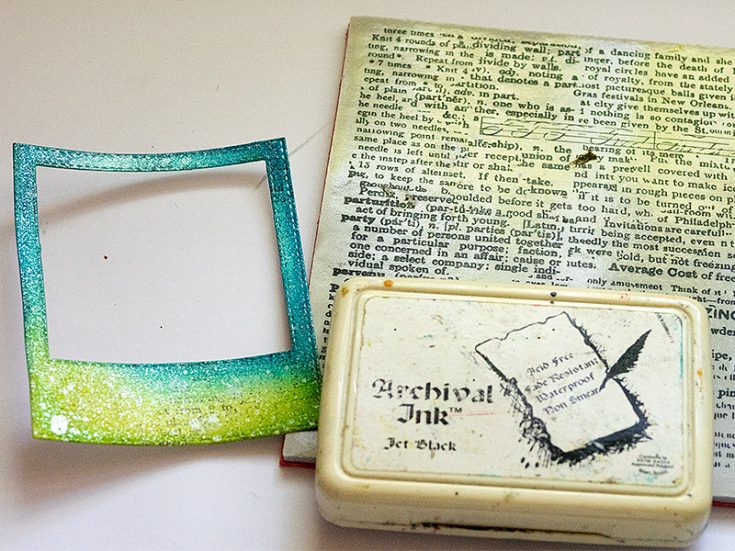
- Stamp the frame in just a few places with the SSS Good Reading Background stamp. The technique used on the frame would work just as well for an entire card background.
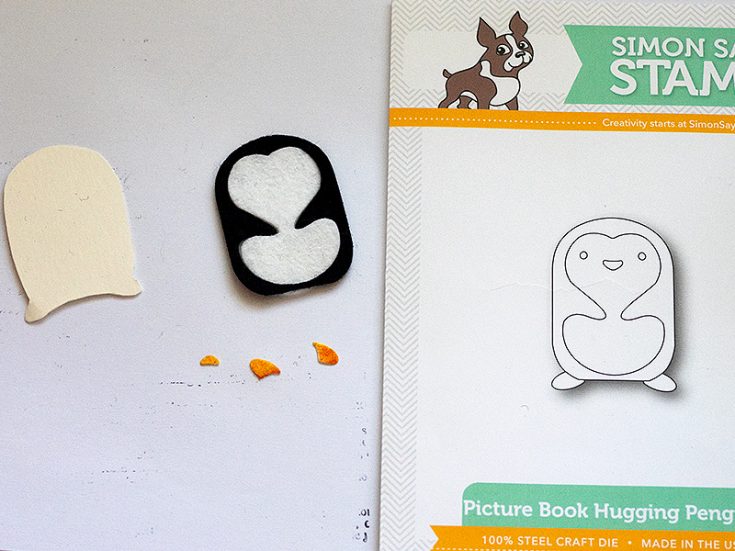
- Die cut the Picture Book Hugging Penguin from white and black wool felt. The beak and feet were die cut from white paper and inked with Spiced Marmalade. Press the die into a piece of cardstock to make an impression and roughly cut out, inside the lines. This step makes it easy to assemble the Picture Book dies.
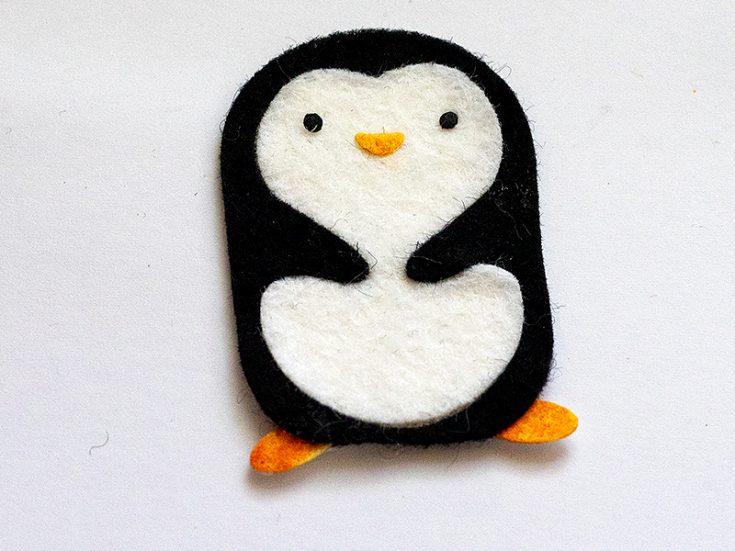
- Glue the penguin pieces on top of the backing piece. Don’t glue the ‘hands’ down yet.
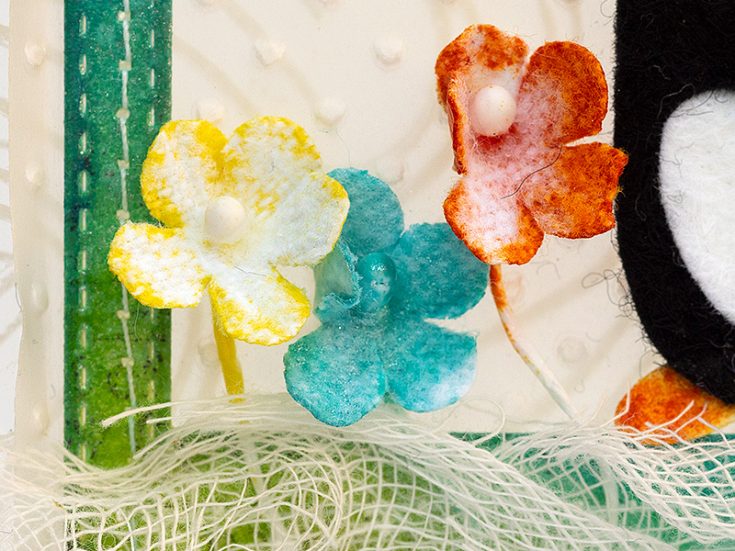
- I wanted the penguin to stand in a field of flowers and inked Tim Holtz Bouquet flowers with Distress Inks. Mist with water to make the ink blend into the paper.
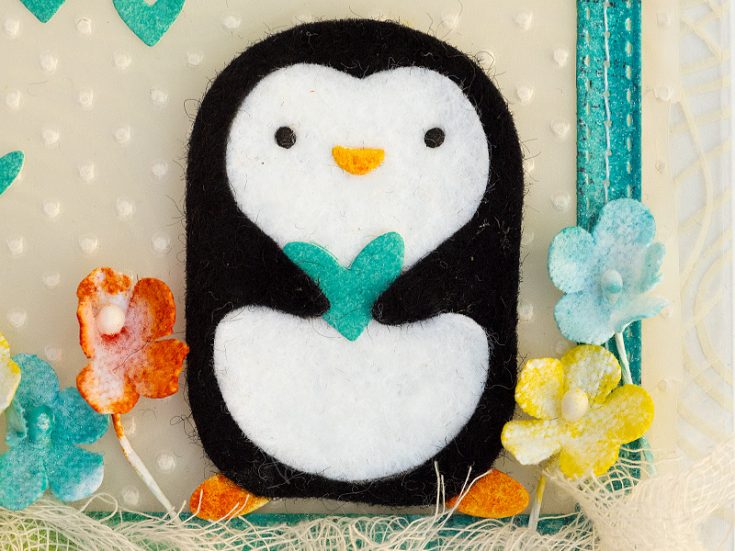
- I inked a piece of paper with Mermaid Lagoon and die cut SSS Clipping Heart from it. The penguin is holding one of the hearts.
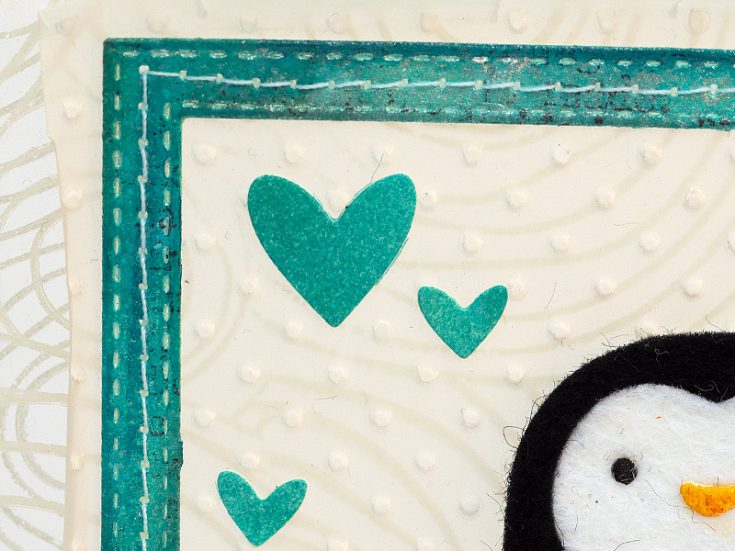
- Three hearts were also glued to the vellum. I stitched the frame in place with my sewing machine.
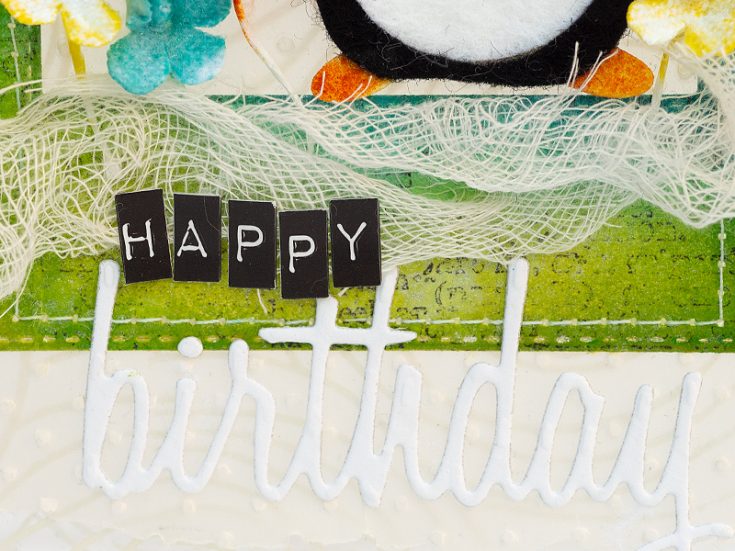
- Die cut a sentiment from white paper with Tim Holtz’s Celebration Words Script set, and add the rest of the sentiment with Label Letter stickers.
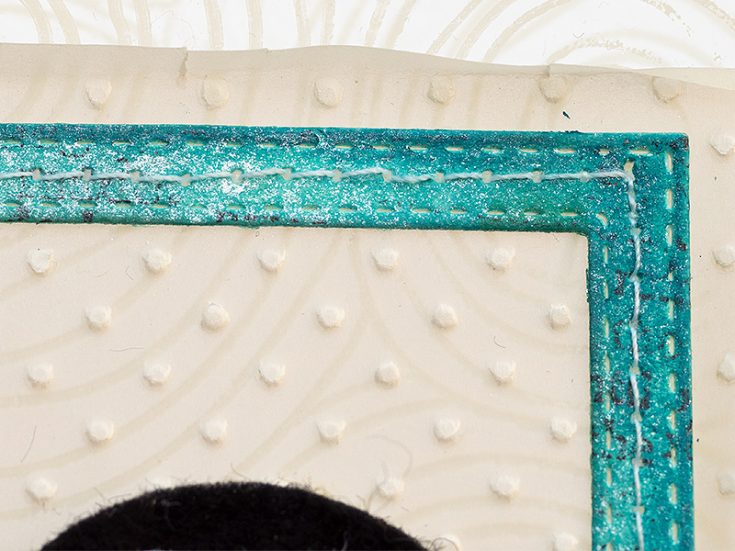
- Here you can see the effect of the Pearl Mica Spray.
I hope this tutorial inspired you to make some projects with clear backgrounds. It is really a lot of fun.
Thank you so much for looking!
Happy crafting!
Anna-Karin
SUPPLIES:
|


Thanks so much for stopping by, and thanks to Anna-Karin for being our guest!


