Christmas in July: EXCLUSIVE Stamp Set + Free Holiday Product BUNDLE!
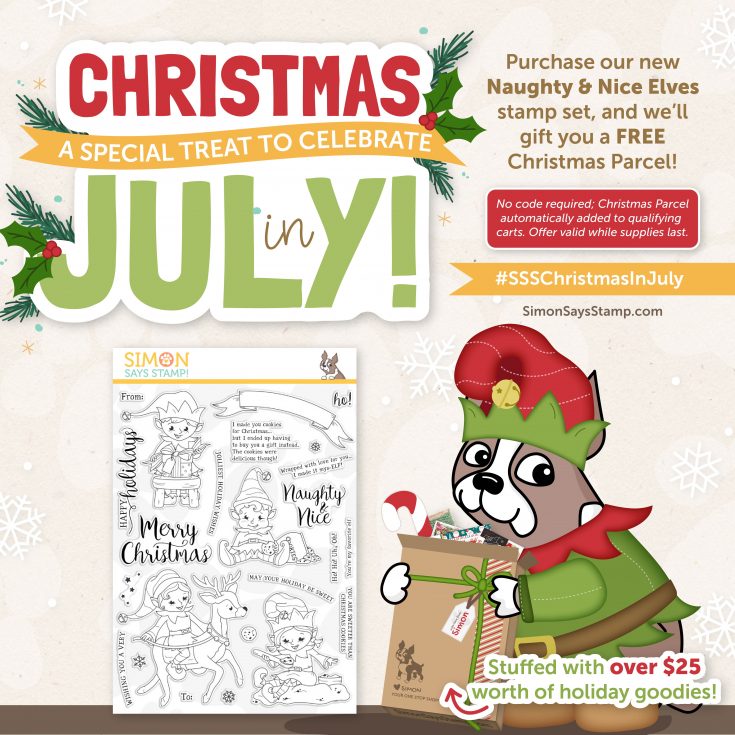
Hi friends! Check out this SUPER adorable BRAND NEW and exclusive stamp set called “Naughty and Nice Elves“! In an effort to start the creative juices for holiday designs this year (it’s never too early to start!) we’re introducing this very special set full of mischief, whimsy, and sweetness that for a LIMITED TIME (while supplies last) that automatically comes with a bundle of holiday-themed surprises valued at $25 or more!
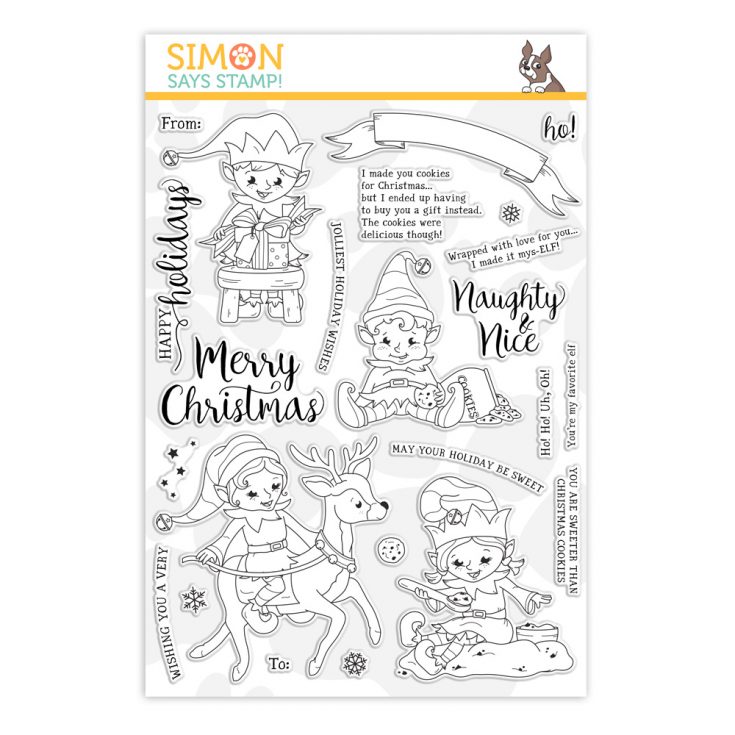
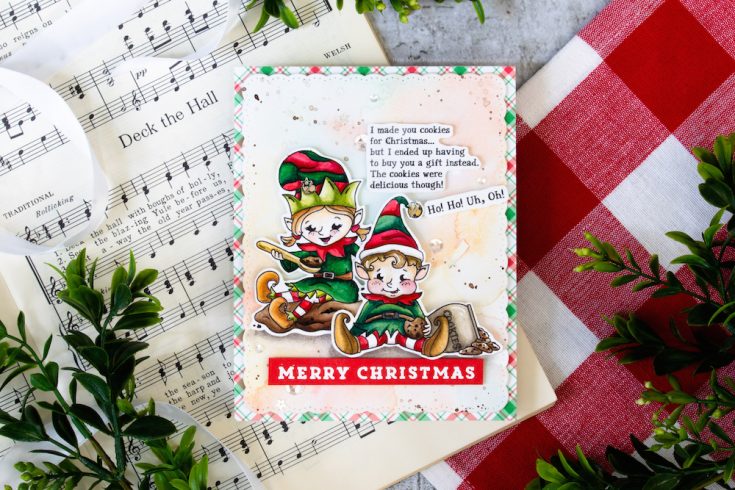
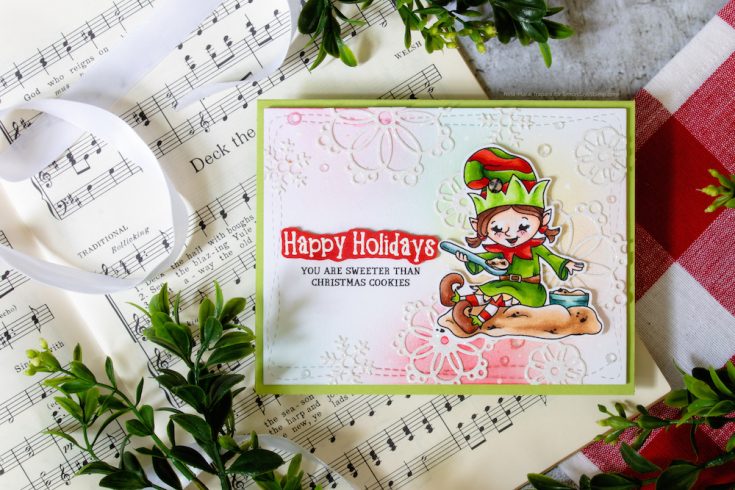
Check out these DARLING samples using this awesome new stamp set by Nina-Marie Trapani and if you love this set as much as we do, be sure to purchase it soon to take advantage of this special BONUS!
More Flowers with Stained Glass Greetings!
Hi friends! Happy Thursday! Please welcome very special guest Bibi Cameron back to our blog! Looking at the image below I could barely believe that this was her FIRST time using Copic Markers!! Talk about a NATURAL! Read on for more details below and enjoy!
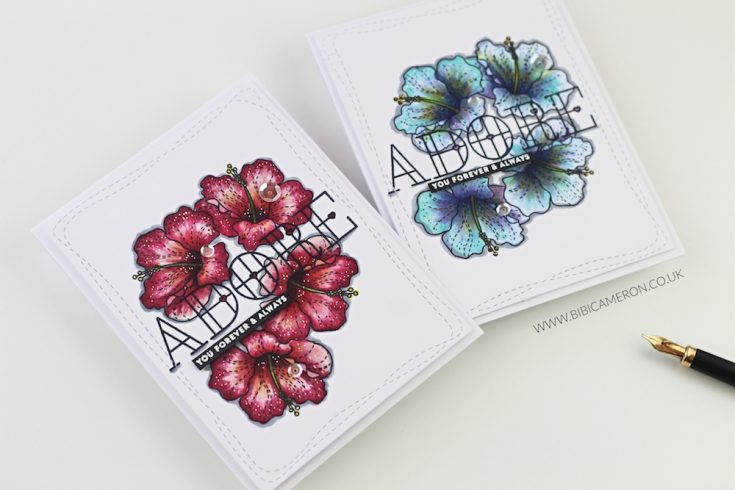 Hello from the North of Scotland! I hope you are doing well. It’s Bibi Cameron here and today I’m sharing a very simple card design idea and my very first cards ever using Copics!! Can you believe that? I don’t know how I have survived for so long without Copics in my stash?
I did a bit of masking to stamp one of the beautiful florals from Summer Flower Stamp Set and the gorgeous sentiments are from Stained Glass Greetings stamp set.
I stamped all the images with Black Simon Says Stamp Ink, and I heat set it.
First I stamped the flowers and then I added colors using Copics. Once I finished coloring I stamped the big sentiment three times using the Tim Holtz Platform as I want it to be bold and sharp.
I love Simon Says Stamp Ink to stamp fine details as it allows me to stamp crisp and clean lines .. it is just perfect to avoid blotted or blotchy edges and once it’s fully dry it can be used with waterbased coloring products. Now that I have tried this I can say that it is awesome to use with alcohol markers as well.
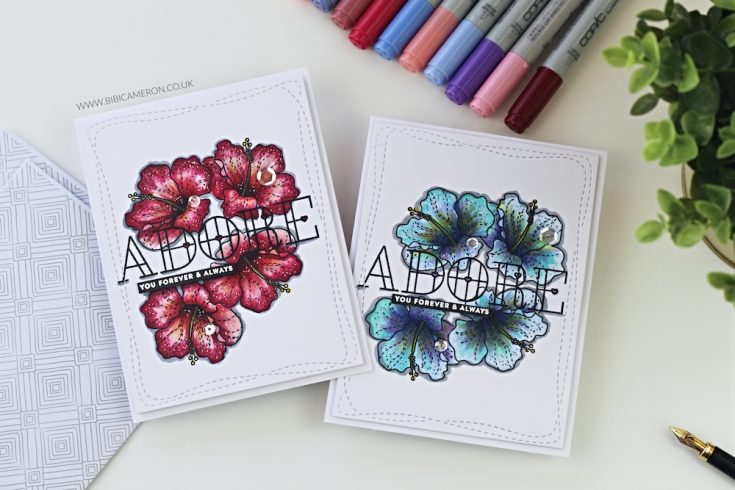
So I’m a bit obsessed with green and reddish ( brick – wind) colors and I have lovely watercolor paints and water-based markers in these shades but I recently have been looking at Kelly Latevola chatty videos and she inspired me to order my first set of 36 Copic Ciao markers.
I got the Copic Ciao Markers Set B which includes reds and green colors, some primary colors and skin colors too! So it was a great solution because it was the one I could afford to give them a try.
I found that buying them in a set is better value for money than buying colors individually as I got a few Copic markers here and there but they didn’t seem enough to make anything much at all really.

So I was a bit worried about my Copic coloring skills ( none) although I had to stop worrying and then I did what I always do: relax and enjoy. I applied colors without thinking too much, laying down darker colors in some areas of the images and always in flicking motion.
I was having so much fun coloring these images that I quickly made a second card in blue-purple shades as well.
I also used SSS Wonky Rectangles Dies to die cut the panel and add a decorative stitched pattern on the edges created by this die and Deco Diamonds Background Stamp to stamp that beautiful geometrical pattern on an envelope which is a perfect match for these cards.
SUPPLIES:
|


Thanks so much for stopping by and thanks to Bibi for being our guest!

Blog Candy Alert!! Follow our blog via email and comment on this post for a chance to win special blog candy!
Mixed Medium Texture and Shine with Shari Carroll

Welcome everyone! I hope you’re all having a fantastic week!
I’m here with a mixed medium project I’ve created. I was inspired by texture and a bit of shine. My goal was to bring together several different types of elements to make an interesting arrangement to surround the “M” on my canvas. The thought behind this canvas is of course… Melody. She just turned 4 so you might notice some of the Tim Holtz Idea-ology that I chose highlight the the number 4.
I started out with an 8×8″ canvas and Matte Gel Medium to glue down some Tim Holtz Botanical Collage paper. This gave me a background design base to build upon. From there I added plain white tissue paper and let it wrinkle up a bit for an imperfect look.
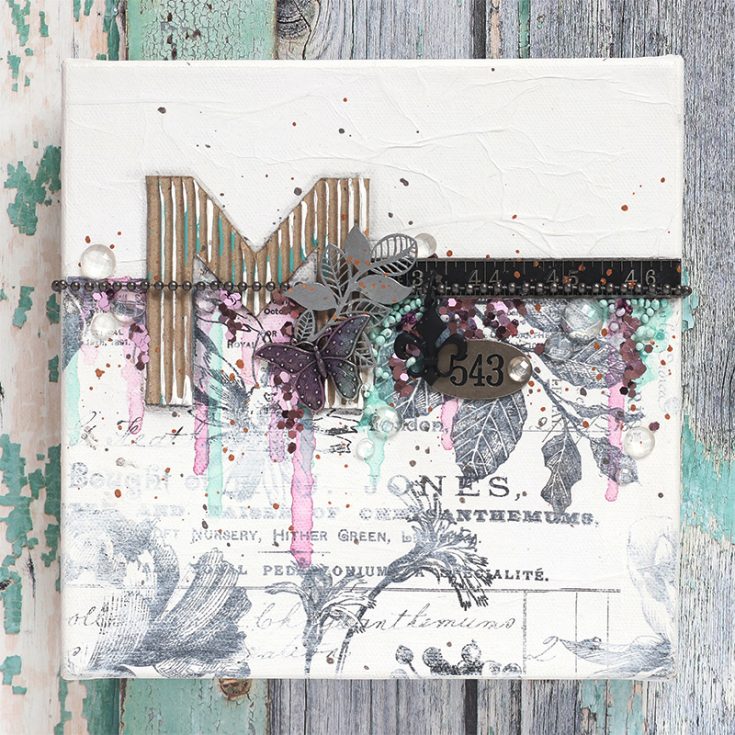
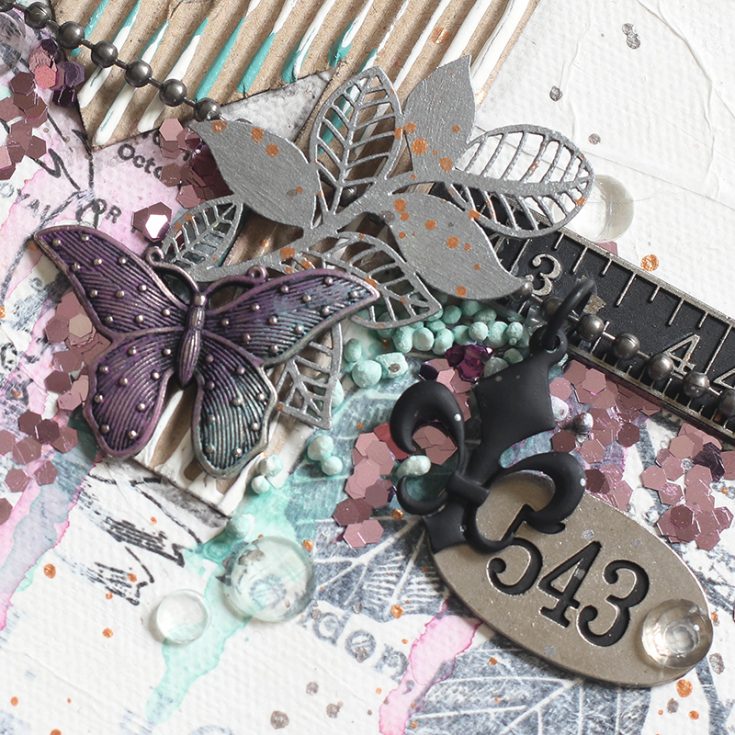
I sketched and cut out the “M” from Tim Holtz Textured Surfaces and glue it in place next to an Idea-ology Measurement piece. I added Evergreen Bough and Seedless Preserves Distress paint in drips to add color. I used Prima Art Stones for texture to fill in the corner of the “M” and ruler. I painted the Bo Bunny Laser cut Foliage, Idea-ology Butterfly and art stones.
One element that I added was a Tim Holtz Assemblage ball chain necklace with a charm which fit around the canvas perfectly without any adjustment. I was actually quite proud of myself that I figured this out! It goes to show you if you don’t try it, you’ll never know!
To finish everything off, I added in some Prima Diamond Pebbles and Nuvo Muted Muave Hexagon confetti along with a few spatters of Distress Mica Sprays. Fun isn’t it?
I filmed the entire process of how this came together. You can view the video below or on our YouTube channel HERE.

Blog Candy Alert!! Follow our blog via email and comment on this post for a chance to win special blog candy!
Thanks for stopping by for some Mixed Medium inspiration!!
|


