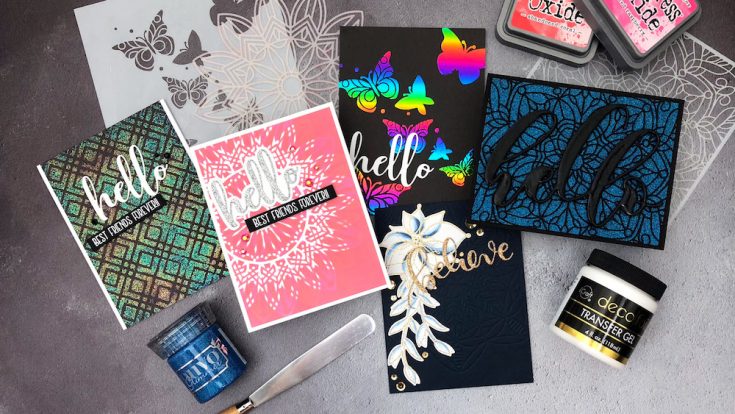
Crafty Quintet: 5 Ways to Use Stencils!

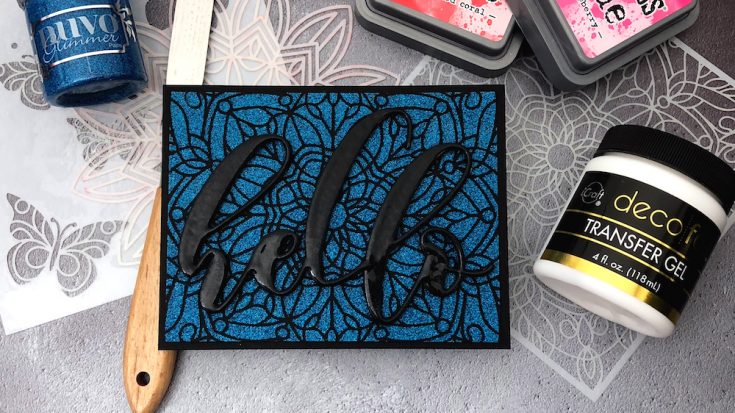
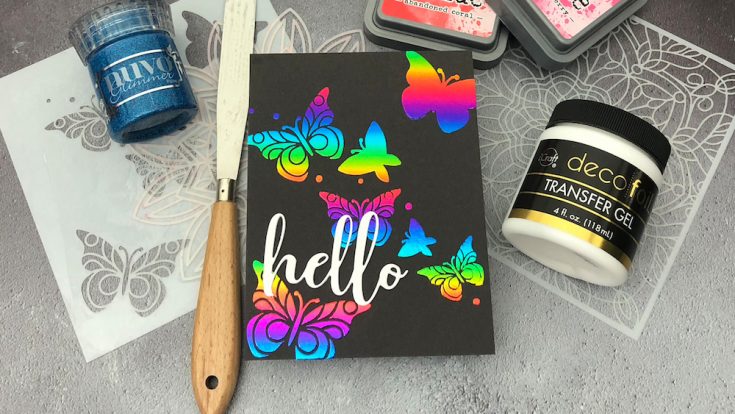
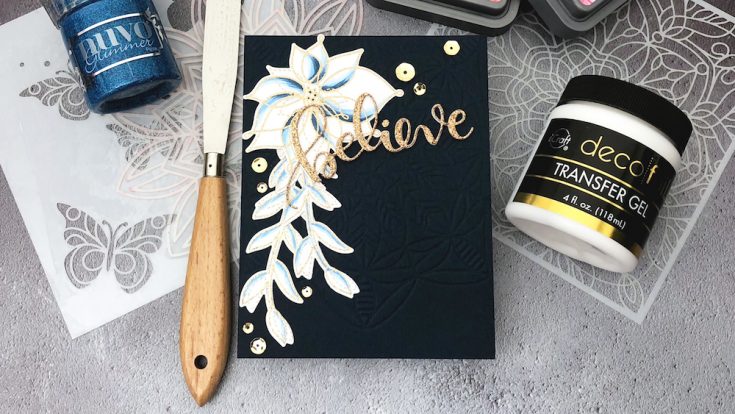
Hi friends! Happy Wednesday, and welcome to the second installment of Crafty Quintet: 5 Ways to Creative with Jessica Frost-Ballas! If you missed the first edition, be sure to check it out here then come back to this super fun current addition of 5 ways to use stencils! This feature focuses on 5 unique applications of the following exclusive Simon Says Stamp Stencils: Stained Glass 1, Square Dance, Solar Burst, Butterflies, and Debra! Be sure to scroll down to see some individual images of each project along with a quick walk-through of each individual technique in the video and enjoy!
SUPPLIES:
|


 SUPPLIES:
|


 SUPPLIES:
|


 SUPPLIES:
|


 SUPPLIES:
|


WATCH THE VIDEO:
Thanks so much for stopping by and thanks to Jessica for being our guest!

Blog Candy Alert! Follow our blog via email and comment on this post for a chance to win special blog candy!
Yippee for Yana: Pencil Coloring on Smoke Gray Cardstock
Hi friends! Happy Tuesday! Welcome to the latest edition of Yippee for Yana with the super talented Yana Smakula! Be sure to watch the video for the full tutorial and enjoy!

Hi everyone, this is Yana Smakula for Simon Says Stamp! Today I’m using a stamp set from Simon’s August Card Kit – the Beautiful Mandy’s Flowers set. I thought it would be a good idea to create a simple pencil colored card using one of the images from this set.

I started to work on my card by stamping image in Simon’s Fog ink onto a piece of Smoke Gray cardstock. When it comes to colored pencils I always think it’s a good idea to color on non-white paper (as I can always use my Copic markers to color on white).
To color this image I used Polychromos pencils from Faber Castell. I used the following pencils:
● #167 Permanent Green Olive, #166 Green Yellowish, #170 May Green;
● #274 Warm Grey V, #270 Warm Grey I, #101 White
● #109 Dark Chrome Yellow, #108 Dark Cadmium Yellow, #107 Cadmium Yellow
When I color with pencils I use the pencils themselves to blend the colors, I burnish with my pencils. I start with a light hand and as I get to the final layer of color I apply heavy pressure to burnish my coloring. The burnishing action smoothes out the tooth of the paper and prevents it from accepting more pigment or more color on top. So that’s why you don’t want to use a heavy hand right away when you just begin your coloring or you’ll flatten all of that tooth that the paper has and you will not be able to apply more color.
Once my initial flower was colored I created a mask and stamped another flower along with a few leaves to build up my image and colored it in the same way as before.
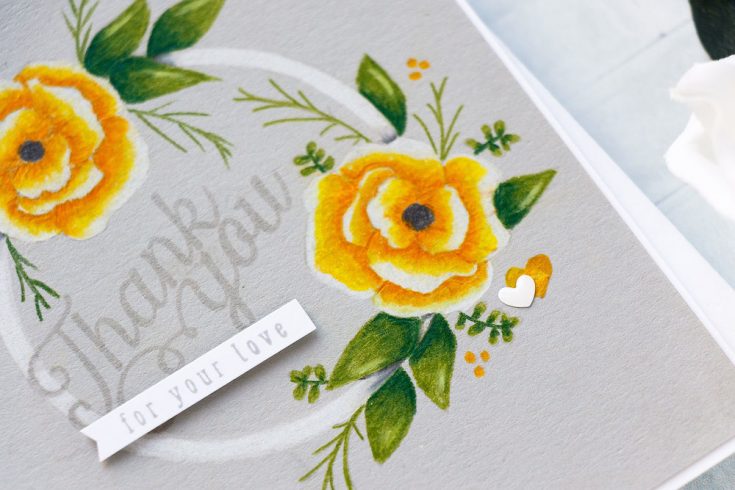
After my coloring was done I stamped sentiment that reads “Thank You For Your Love” in Smoke ink. I also added a few more stamped images – a little heart, a little branch and a few clusters of tiny dots (and again, colored those with colored pencils). To color the circle frame I used my white pencil along with a light and a dark gray to create shadows from the florals.
I also hand drew a few additional branches here and there to fill this image in. I could have stamped those, but I didn’t want the top flower looking exactly like the bottom one. I stamped “For Your Love” sentiment part in smoke ink onto white paper, I cut it into a little strip and foam mounted onto the card. I also added a few little enamel hearts that came in my August kit and adhered this panel onto an A2 white card base.
Have fun stamping!

WATCH THE VIDEO:
SUPPLIES:
|


Thanks so much for stopping by and thanks to Yana for being our guest!
Blog Candy Alert! Follow our blog via email and comment on this post for a chance to win special blog candy!
Congrats Blog Candy Winners!
From: August 2018 Hero Arts Release Inspiration!: Sheri Kempke!
From: Easy Ink Smooshed Tree Featuring Waffle Flower’s August Release: Ann Barnes!
From: Amore Laura Fadora: Leafy Frame Under the Sea: Meghan Kennihan!
From: Entomology Frame by Emma Williams: Lindsay Dickason!
From: Art Journaling: Distress Oxide Reinker Technique with Shari Carroll: Gail Scott!
From: One Stamp, Five Ways: Plantiful Puns: Danielle Dietz!
Please email [email protected] with the name of the blog you won from, the prize you won, and your address (if applicable) to redeem your prize(s)!
August 2018 Hero Arts Release Inspiration!
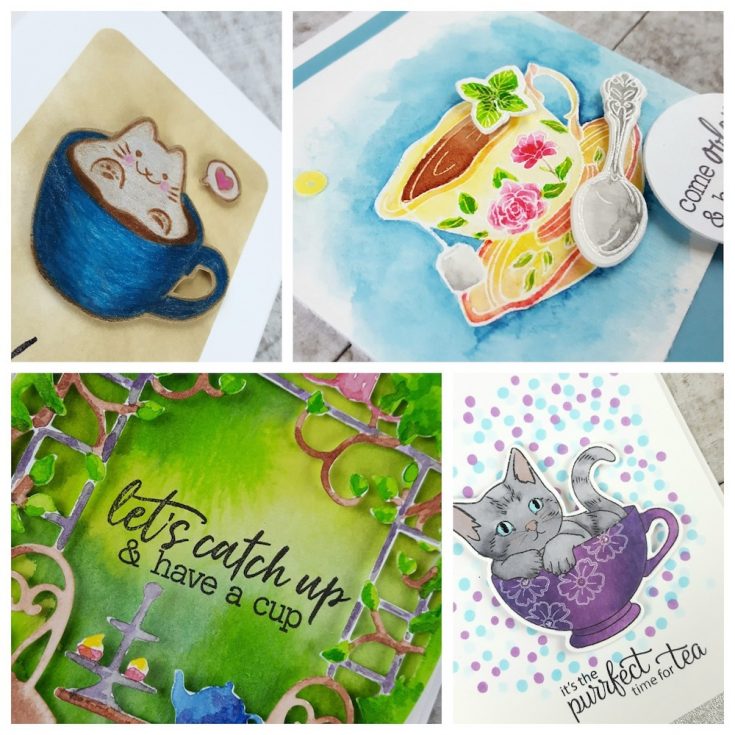
Hi friends! Happy Monday! We’re happy to welcome special guest designer Libby Hickson to our blog today! She has made four uniquely fabulous projects! Have you seen the latest goodies from Hero Arts?! Take a scroll (<— see what I did there ;)), be inspired, and shop your favorites! Enjoy!
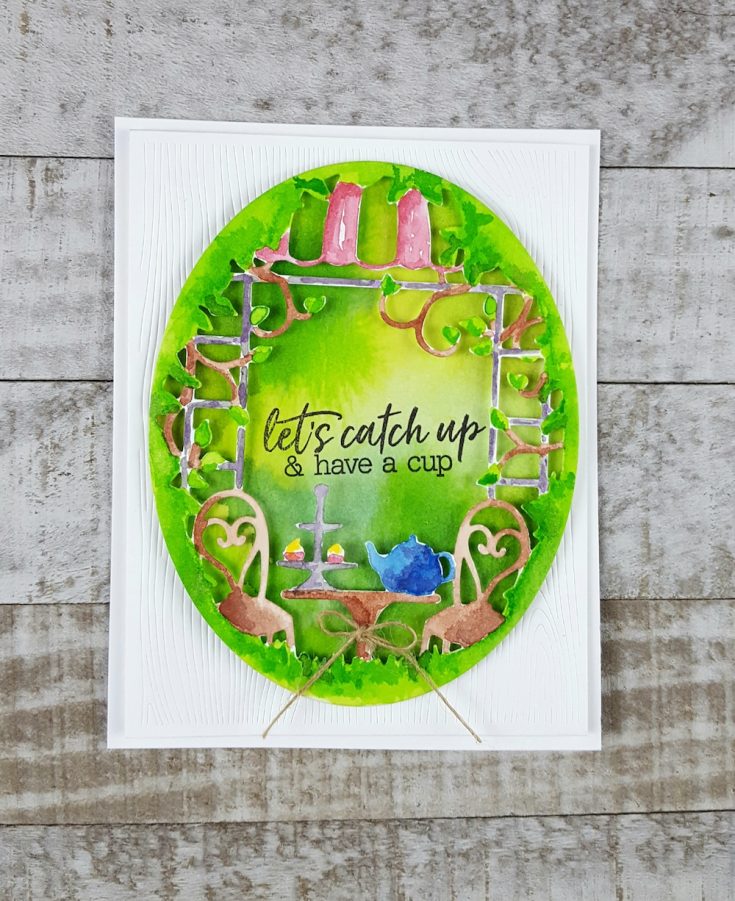
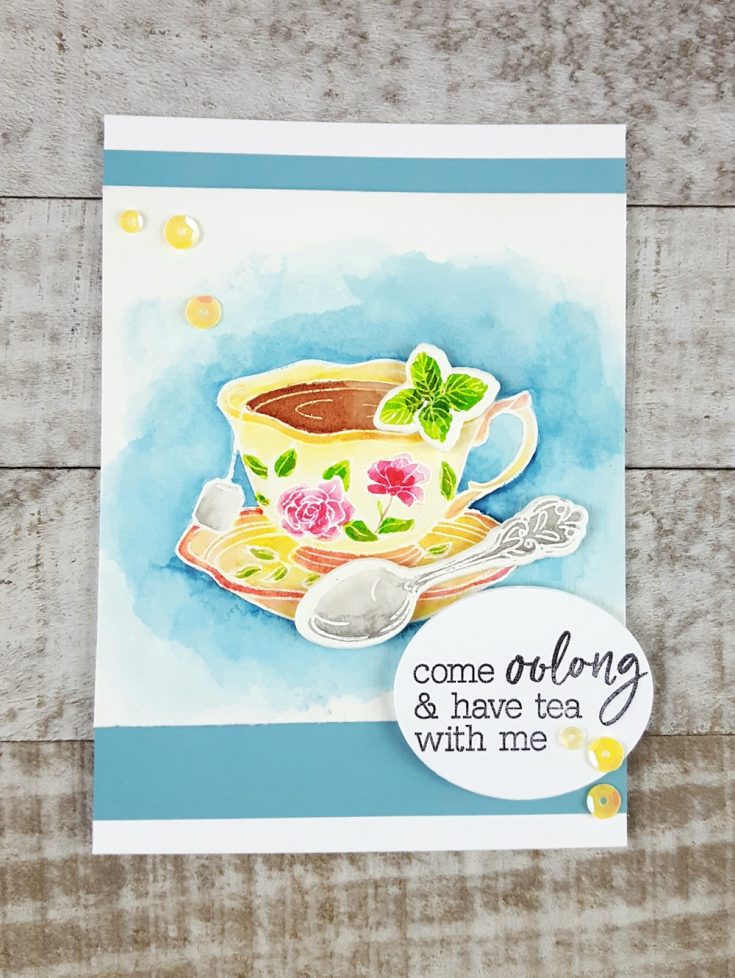
I began by die cutting the Tea Party Fancy Die from watercolor cardstock. I watercolored with several colors of liquid watercolor, including the new Cocoa color for the table, chairs, and branches. Next, using just the outer frame from the die set, I die cut the oval background and added a watercolor wash. Once the piece was completely dry, the message from Spill the Tea was stamped with black ink. The two pieces adhered together for foam adhesive, and a small bow was tied to the table. For the background, I die cut the Woodgrain Texture Fancy Die from white cardstock.
SUPPLIES:
|


SUPPLIES:
|


SUPPLIES:
|


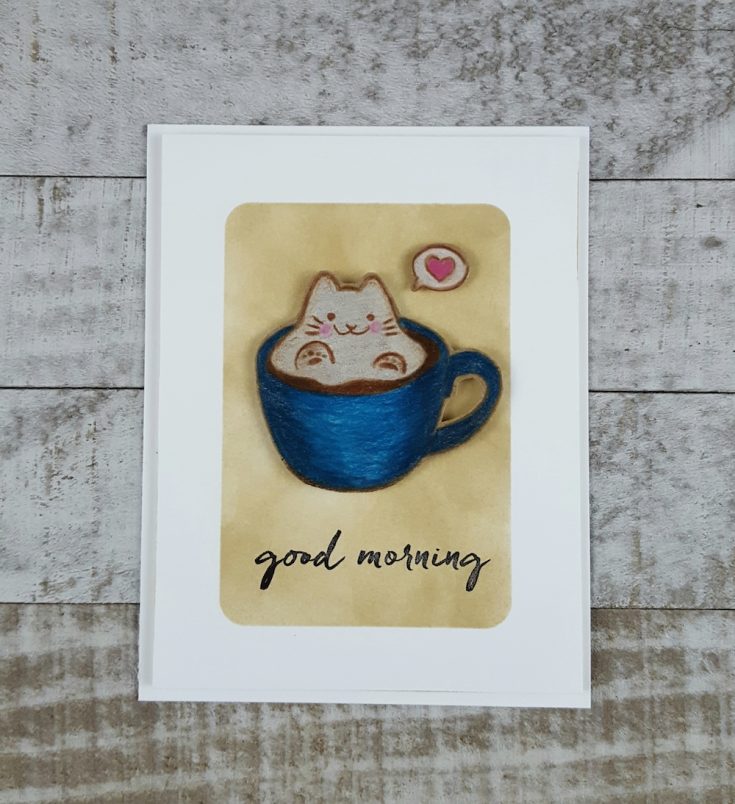
To finish the card, I added the message in Black ink and adhered the coffee image and heart bubble with foam adhesive.
SUPPLIES:
|


Thanks so much for stopping by and thanks to Libby for being our guest!

Blog Candy Alert! Follow our blog via email and comment on this post for a chance to win special blog candy!


