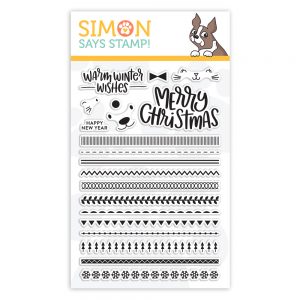
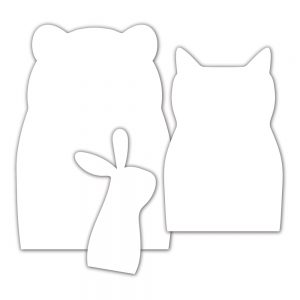
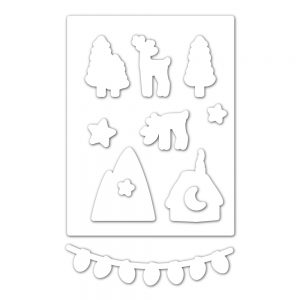
Our Newest Exclusive Collection: Fun & Festive!
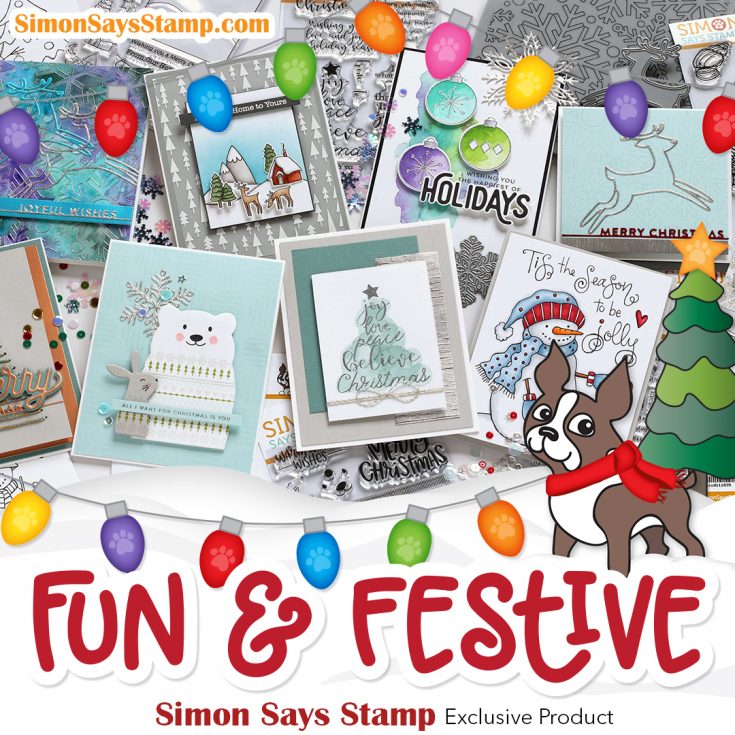
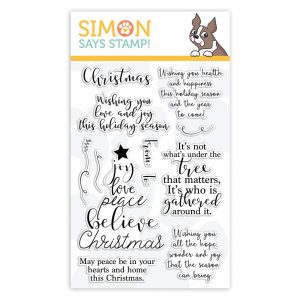
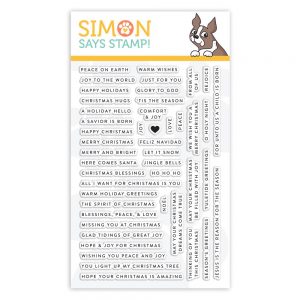
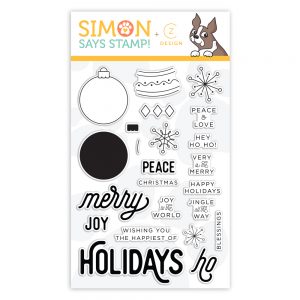
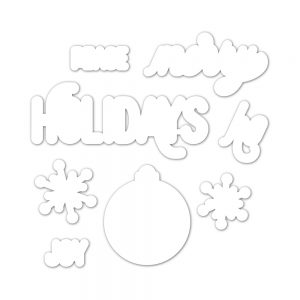
Hi friends, happy Wednesday! We are delighted to share our latest collection with you that we’ve lovingly titled, “Fun and Festive“! We’re gearing up to get you ready for holiday crafting with new sentiment stamps and dies, watercolor cards, and even fun additions to our Picture Book die collection!
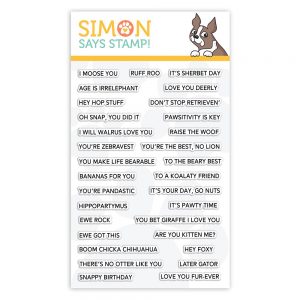
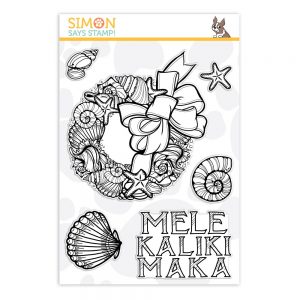
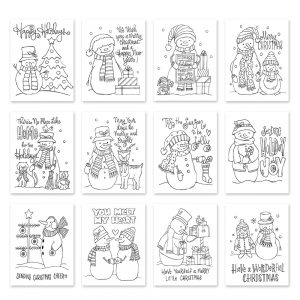
Searching for that perfect Picture Book Animal Pun? Look no further than our “Punny Animals” stamp set! Or maybe you’d love a unique, Hawaiian twist to the holidays? Check out this super pretty, Mele Kalikimaka clear stamp set!
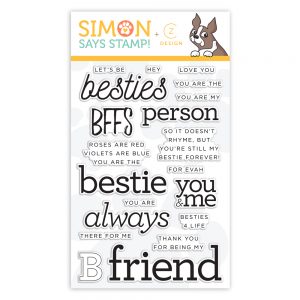
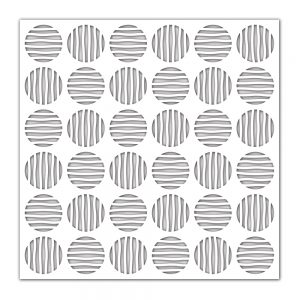
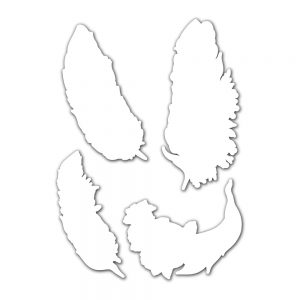
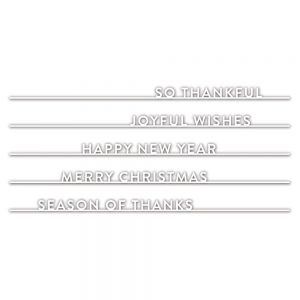
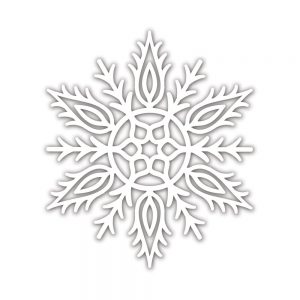
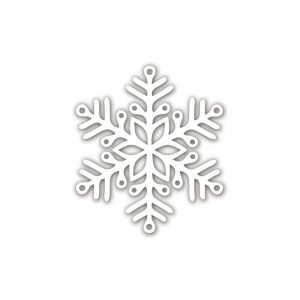
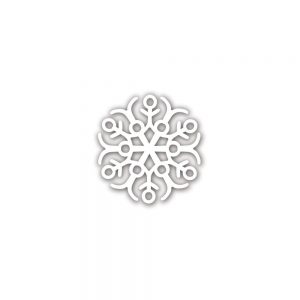
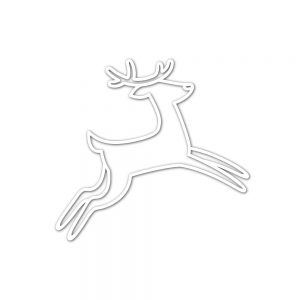
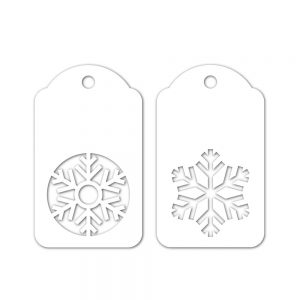
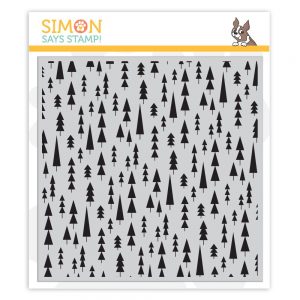
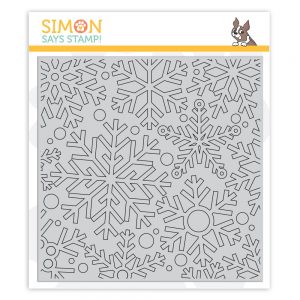
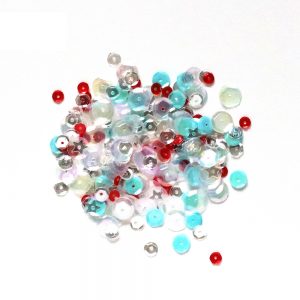
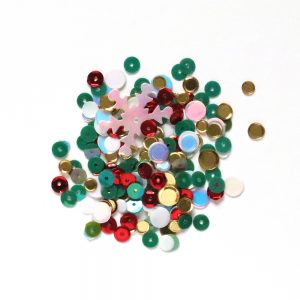
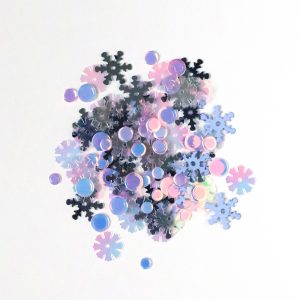
Our Fun & Festive collection wouldn’t be complete without some fun additions from CZ Design (Ornamental and Bestie), along with coordinating and complimentary dies. We’ve also put together THREE new sequin mixes (Frosty Snow, Christmas Magic, and Holiday Wreath). Would you like to make a cool background in a snap? Don’t miss our new, Line Circles stencil!
All this and MORE make up our latest collection! Enjoy perusing below; we hope you find something to get your holiday creative juices flowing!
Don’t miss this super fun video walk-through our the Fun & Festive collection by Laura Bassen below or watch in HD on Youtube!


Stay tuned!!???
We’re hosting not ONE but TWO super festive blog hops to share inspiration with this new collection! The first one is tomorrow (10/11/18) at 8 AM ET! We hope to “see you” there!!
Birthday Inspiration – Perfect for any gender!
Hi friends! Happy Tuesday! I hope your week is starting off well! Please join me in welcoming back special guest Kelly Rasmussen as a guest on our blog! She has made this card with a masculine recipient in mind but I think it’s wonderfully perfect for all genders! Read on for some great tips and tricks and enjoy!
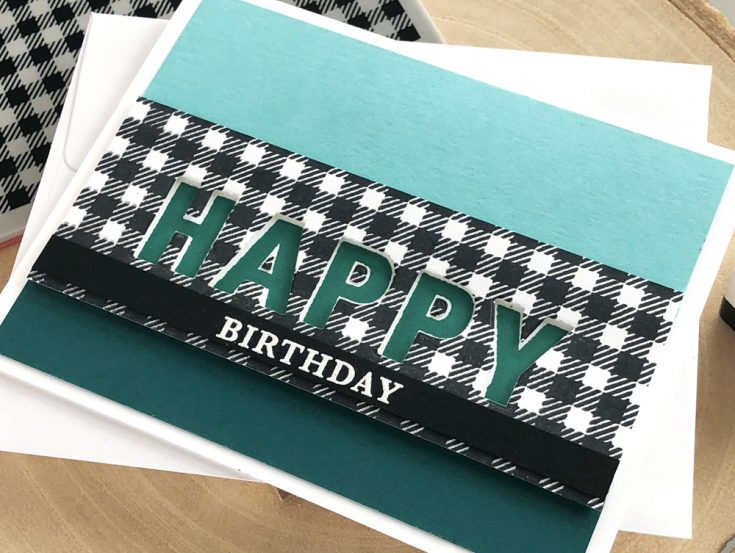
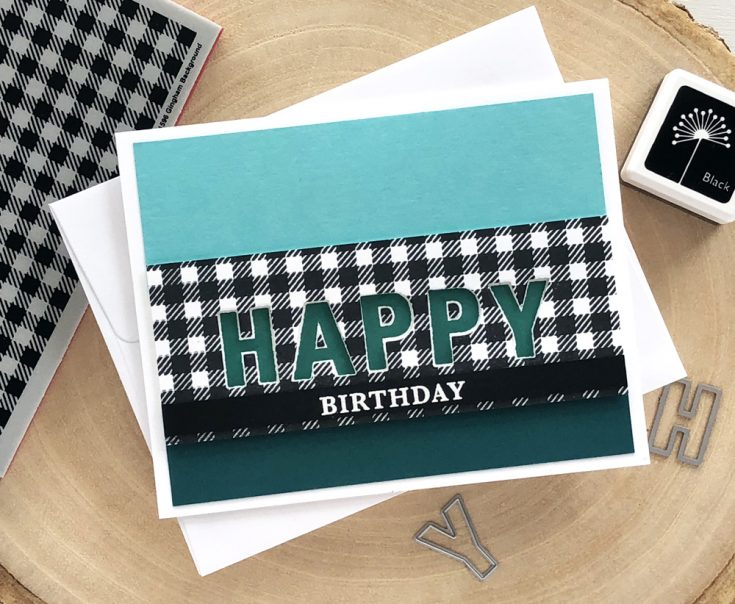
Hello, crafters! Today I’m sharing an idea for a masculine birthday card. I’m jumping on the buffalo plaid trend by using the Simon Says Stamp Gingham Background as the feature on my card.
To create the card I started by stamping the gingham background with Hero Arts Black Ink on white cardstock. Next, I used the Hero Arts Luggage Tag Alphabet Frame Cuts to die cut the word “happy”. I just used the negative space here, so be sure to save those cute plaid letters for a future project! Then I used the coordinating Hero Arts Luggage Tag Alphabet stamp set to stamp the letters inside the die cuts. To do this, I temporarily adhered the plaid panel to a 4.25”x5.5” piece of white cardstock. Since the stamp letters are slightly smaller than the dies, it works perfectly to just stamp right through the letter window. I used Hero Arts Emerald Green Shadow Ink, which I think looks great with the black and white plaid.
Next, I white heat embossed the word “birthday” from the Hero Arts Birthday Messages set on a strip of black cardstock and adhered it to the panel. I trimmed two strips of colored cardstock, Simon Says Stamp Audrey Blue and Bazzill Jawbreaker, to use above and below the plaid panel. I assembled all the pieces onto the white panel, popping up the plaid panel with foam adhesive. And finally adhered the whole panel to a white card base.
Hope you enjoyed the card! Huge thanks to Simon Says Stamp for having me as a guest today! :)
SUPPLIES:
|


Thanks so much for reading today and thanks to Kelly for being our guest!

Blog Candy Alert!! Follow our blog via email and comment on this post for a chance to win special blog candy!
Congrats! Blog candy winners!
From: Waffle Flower Crafts Pull Tab Christmas Tree: Teresa Doyle!
From: Love this Life: Funky Foliage Tag: Janet Mack!
From: Amore Laura Fadora: Let’s Celebrate!: Loly Borda!
From: DIY: Halloween Garland with Shari Carroll: Carla Hundley!
From: Autumn Art Journaling with Vicky Papaioannou!: Deborah Kaye!
From: 30 Days of Thankful by CZ Design: Marisela Delagado!
Please email [email protected] with the name of the blog you won from and the prize(s) you won along with your mailing address if applicable!
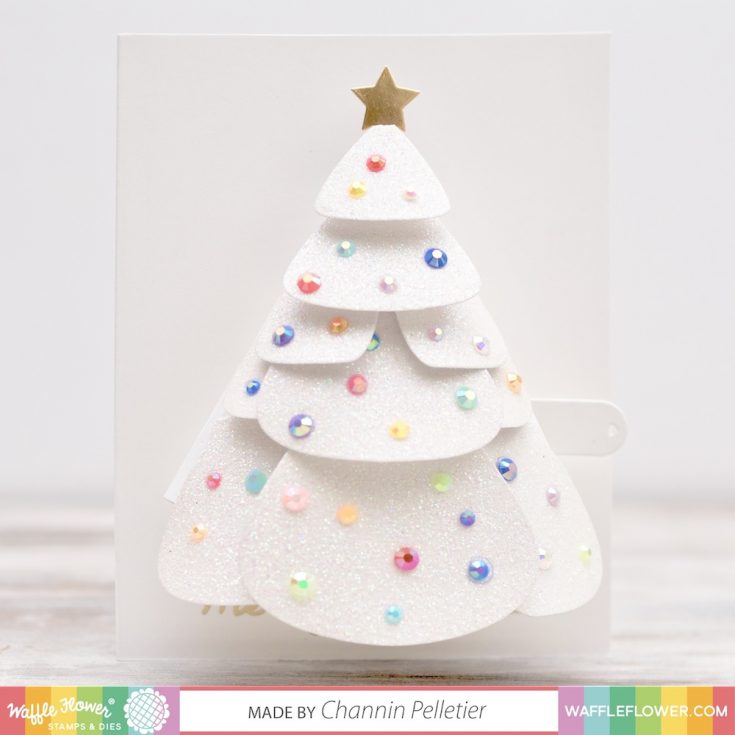
Waffle Flower Crafts Pull Tab Christmas Tree
Hi friends! Happy Monday! Please welcome special guest Channin Pelletier back to our blog as a special guest representing Waffle Flower Crafts! She is showcasing some brand new holiday product you won’t want to miss! Be sure to watch the video for more details and enjoy!
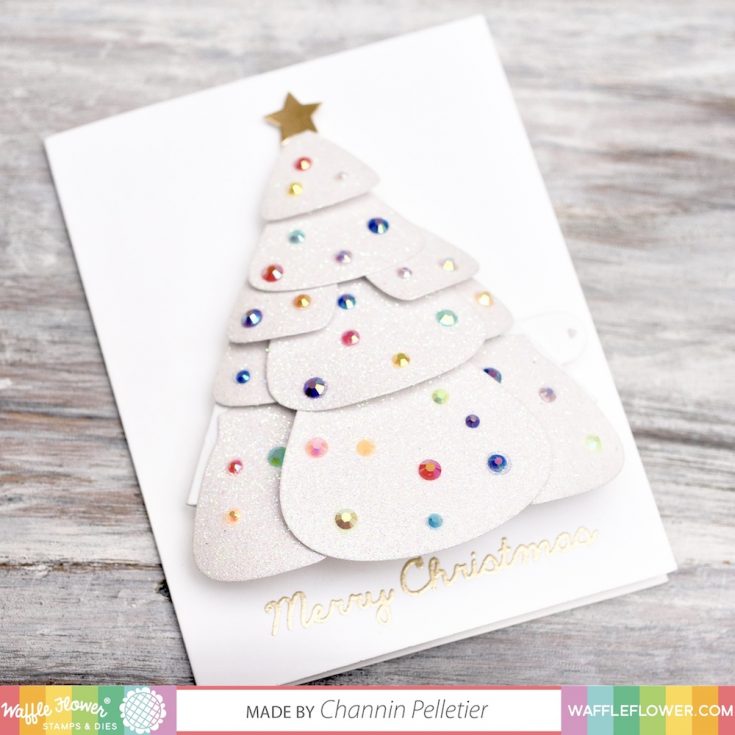
Hello everyone! It’s Channin here with Waffle Flower Crafts and I am so thrilled to be here at Simon Says Stamp sharing a new card video featuring an incredible new die set from Waffle Flower Crafts’ October Release. In today’s video, I will create an interactive holiday card featuring a sparkly pop-up Christmas tree!
First, I die cut the tree and the pull tab mechanisms from white cardstock with the Pull-tab Tree Die Set. I then used the branch-opening die from the Pull-tab Tree Pop-up Die Set to die cut openings in the tree for the branches. Next, I die cut all the boughs or branch dies from the Pull-tab Tree Pop-up Die Set out of glitter cardstock. I then constructed the tree and pull tab mechanism using liquid glue and score tape. With the tree constructed I began adding the boughs through the openings of the tree. Once I had finished adding the boughs I added a gold star that I die cut using the Pull-tab Tree Die Set.
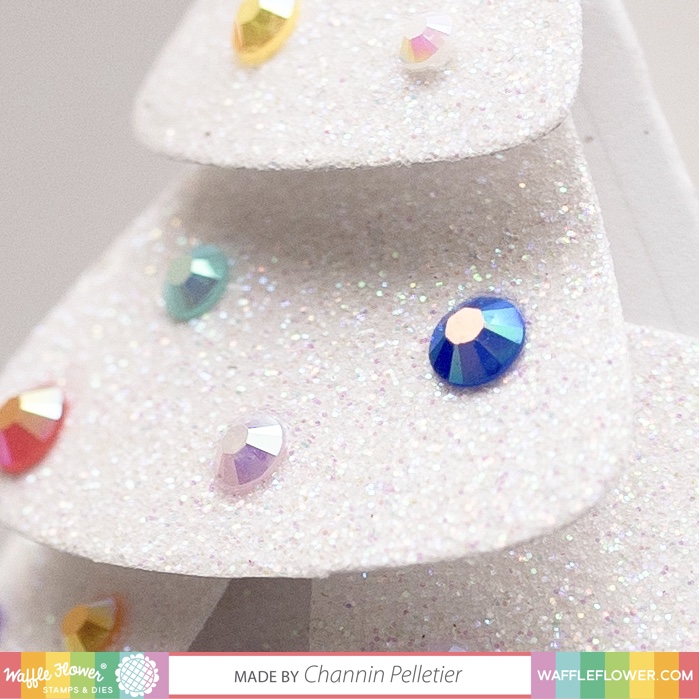
With the tree completely constructed I then stamped and gold heat embossed a sentiment from the Stockings Stamp Set onto an A2 side-folding card base. I then adhered the tree above the sentiment and then began to add colored gems to the boughs. Once the tree was completed decorated the card was finished!!
I hope you enjoyed my card and video! Thanks so much for stopping by!
~Channin
WATCH THE VIDEO:
SUPPLIES:
|


Thanks so much for stopping by and thanks to Channin for being our guest!


