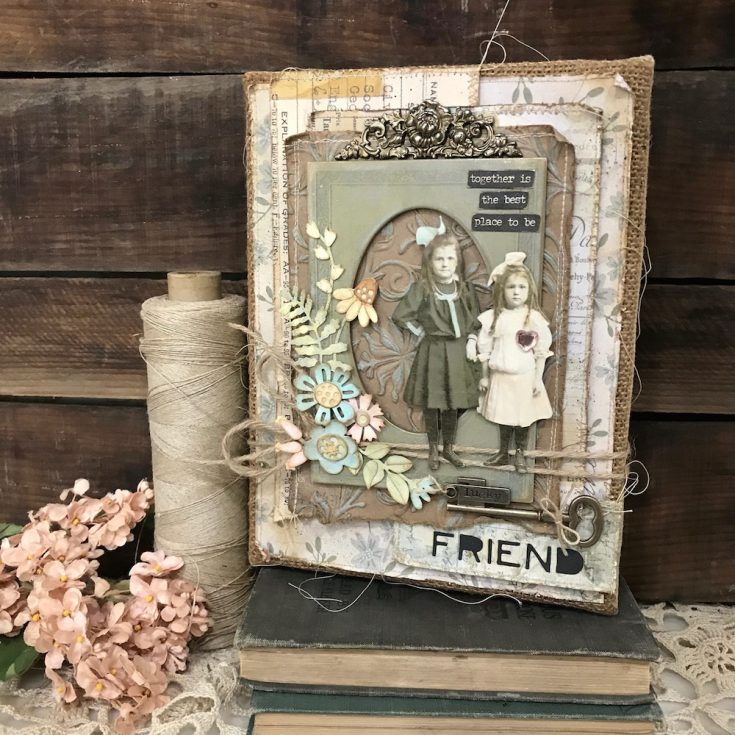
Together Burlap Panel by Richele Christensen
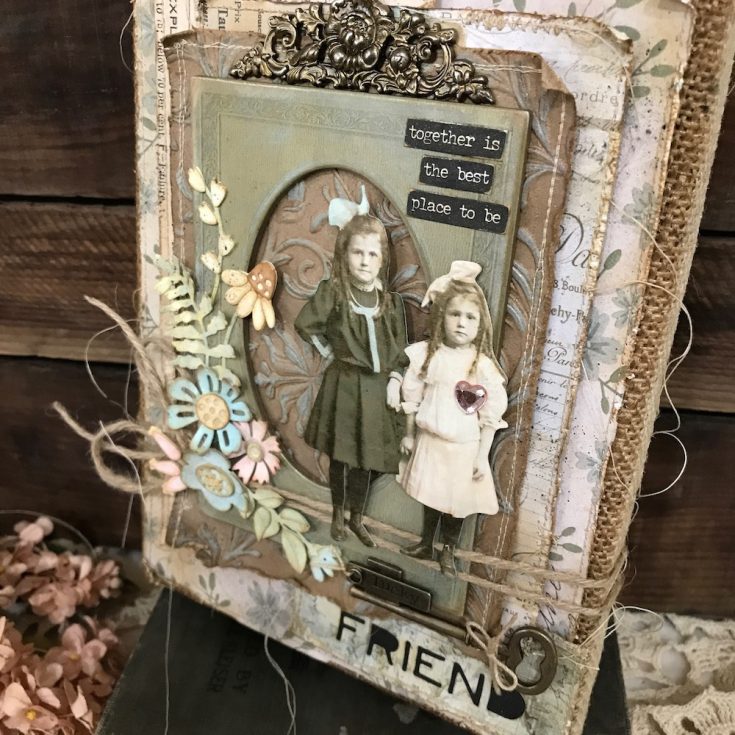
Hi friends! Happy Sunday! Please join me in a warm welcome back to special guest Richele Christensen! She’s made this gorgeous burlap panel that would be a fabulous gift, don’t you think?! Read on to see step by step photos of the creation of this project, and enjoy!
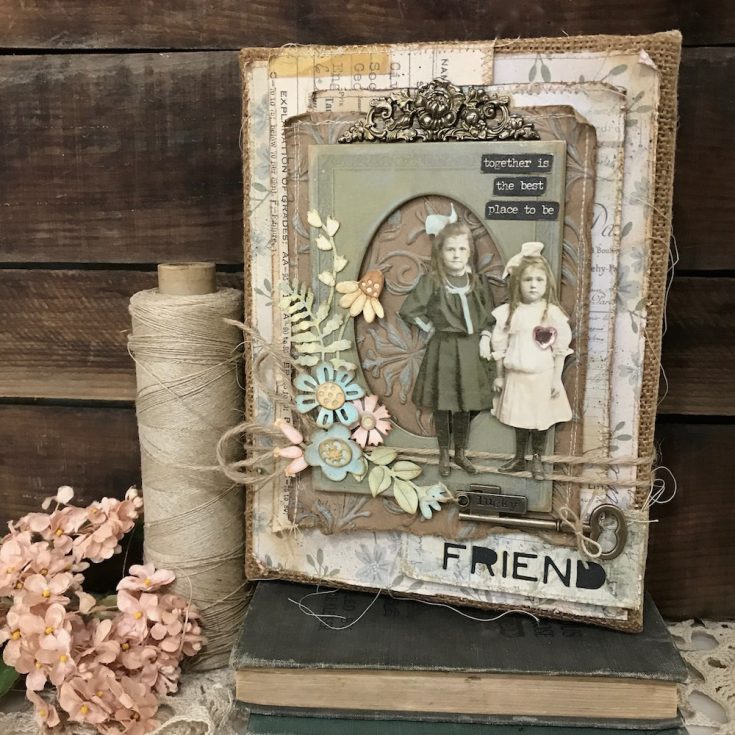
Hello, friends, it’s Richele. Today I’d like to share a Burlap Panel using some of the new Tim Holtz Alteration Dies from Sizzix. I love dies, they can be used is so many different ways.
INSTRUCTIONS:
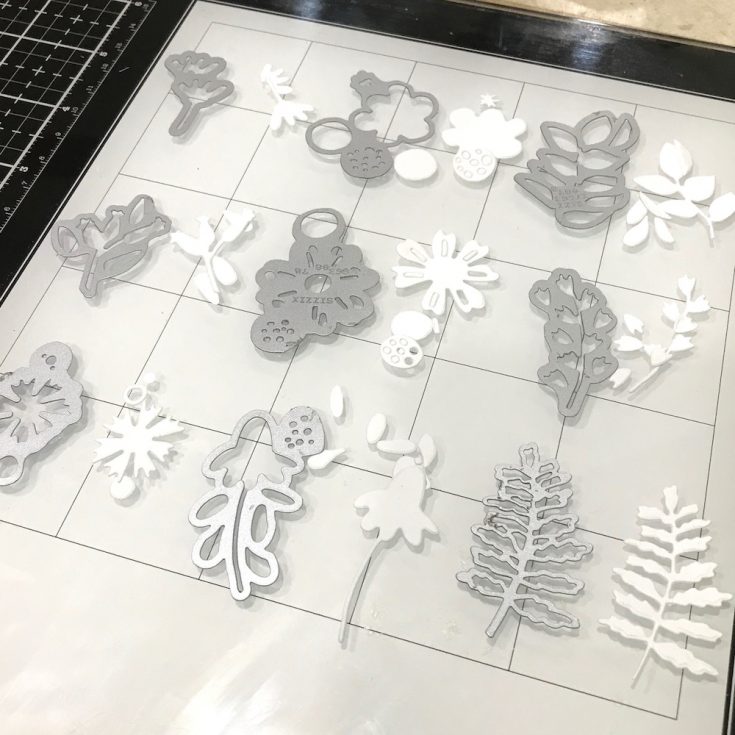
1. Die cut Funky Foliage from Rangers Watercolor Cardstock.
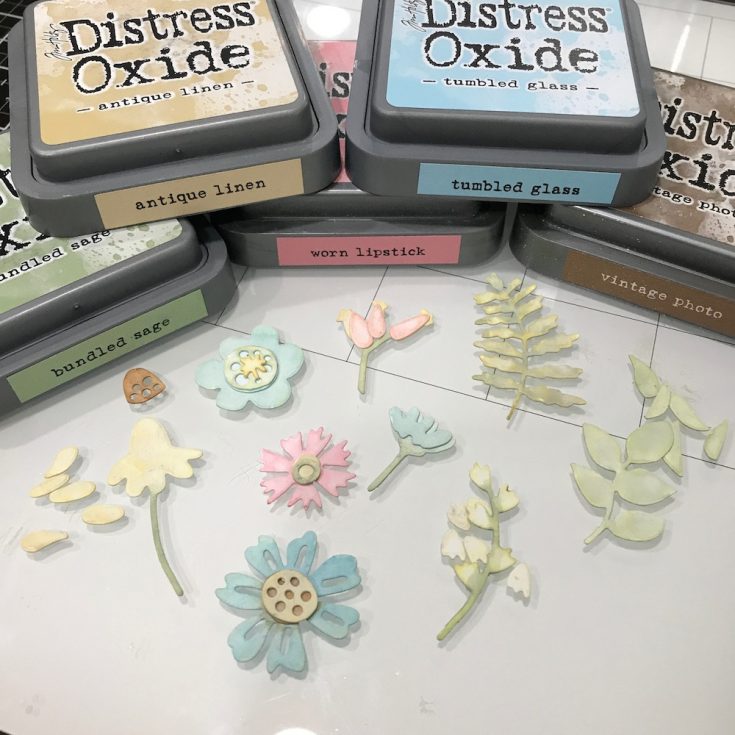
2. Color the flowers and leaves by applying Distress Oxide Inks directly to Glass Media Mat, pick up ink with Waterbrush, color Funky Foliage and dry with heat tool. I used Oxides Inks for a soft and shabby look.
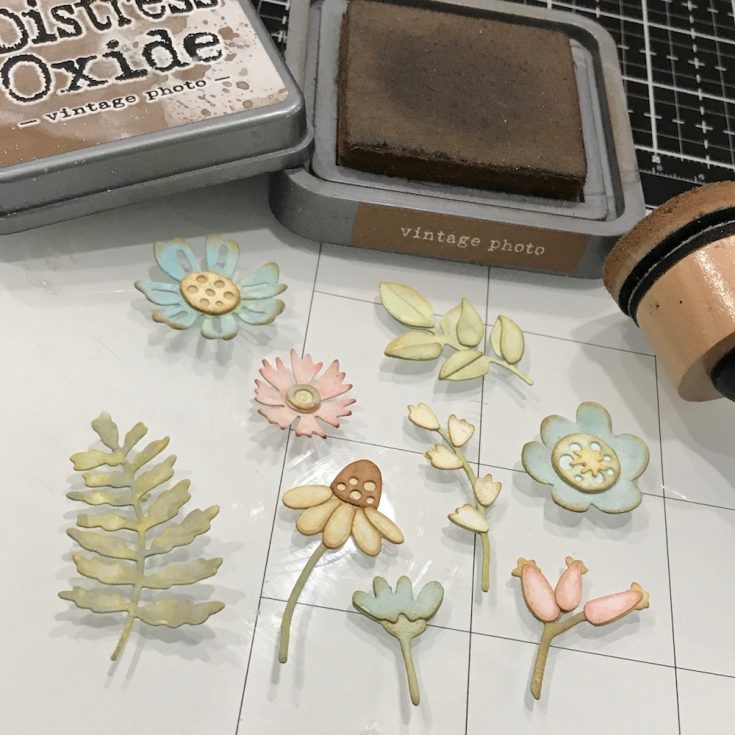
3. Ink edges with Distress Oxide Ink on an Ink Blending Tool.

4. Mist foliage with Distress Mica Spray and Dry with a heat tool. The shimmer will show once the spray dries.
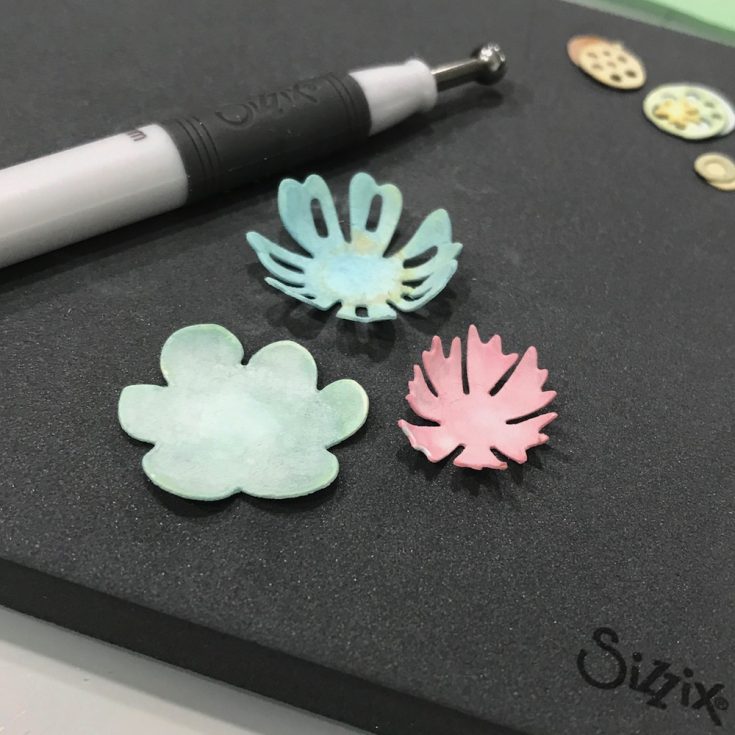
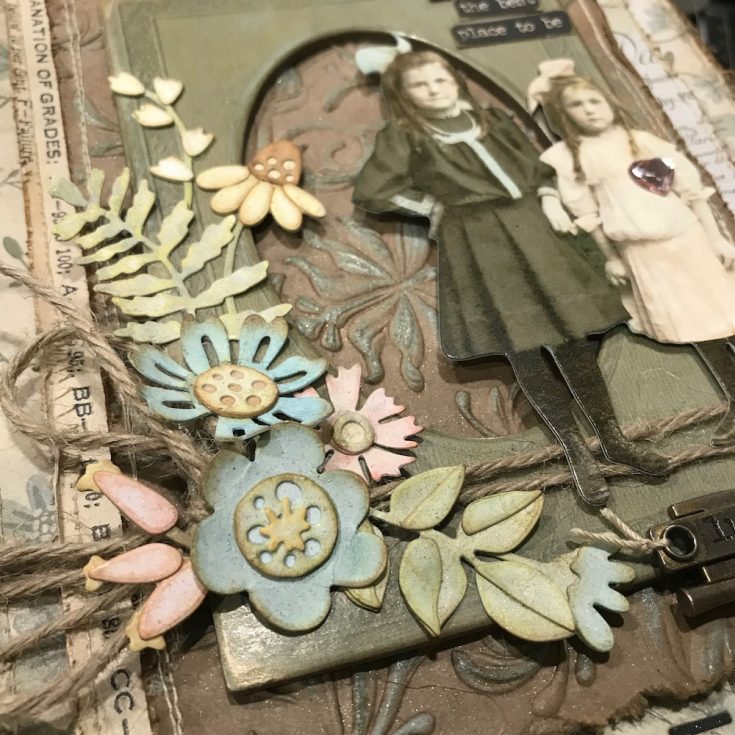
5. Shape flowers with Sizzix Paper Sculpting Tools. I like the smallest stylist for these flowers. Place flowers on molding mat and apply pressure with the sculpting tool to create dimension.
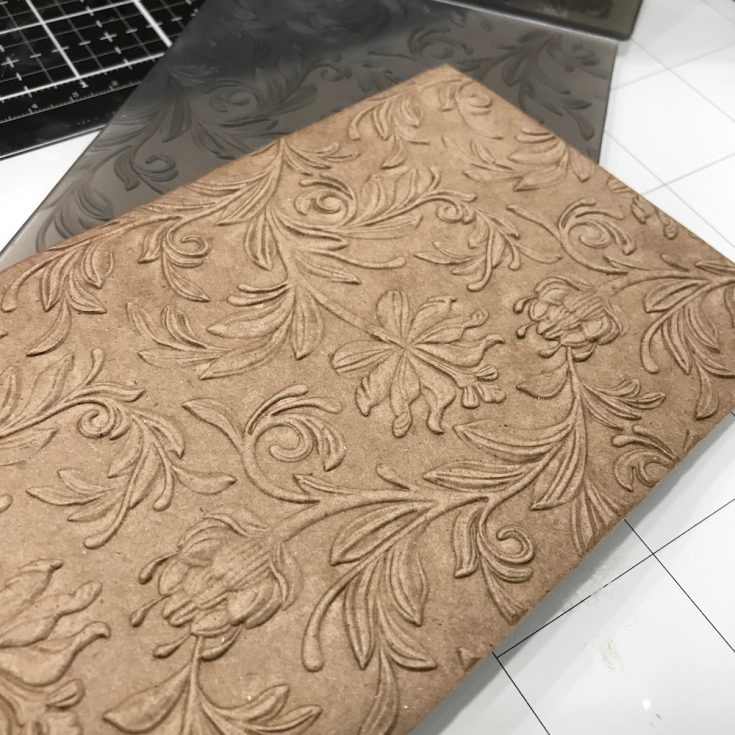
6. Mist both sides of Kraft cardstock with water, emboss with Botanical 3-D Texture Fade running through Vagabond machine twice. Use only one cutting pad as the 3-D Texture Fade is thick.
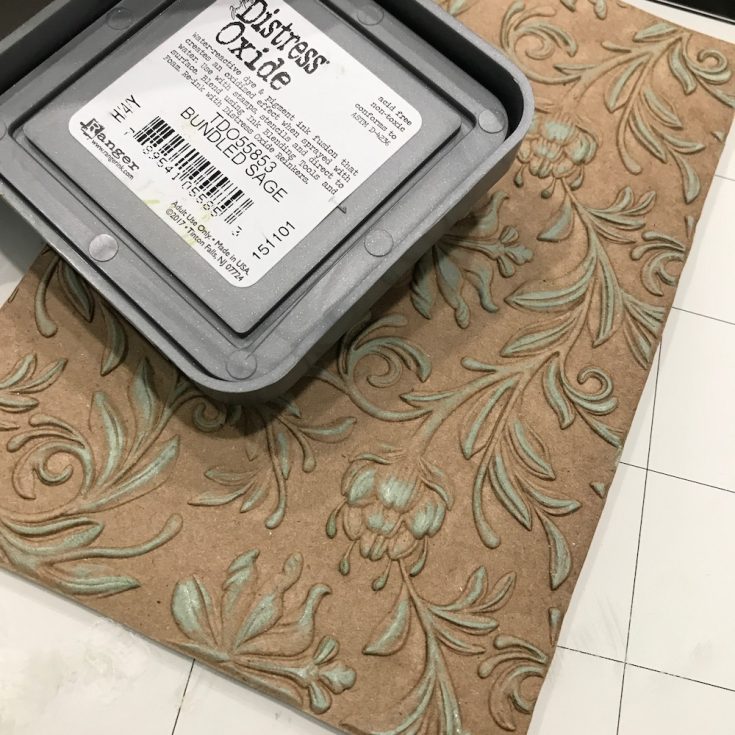
7. Apply Distress Oxide Ink directly to raised areas.
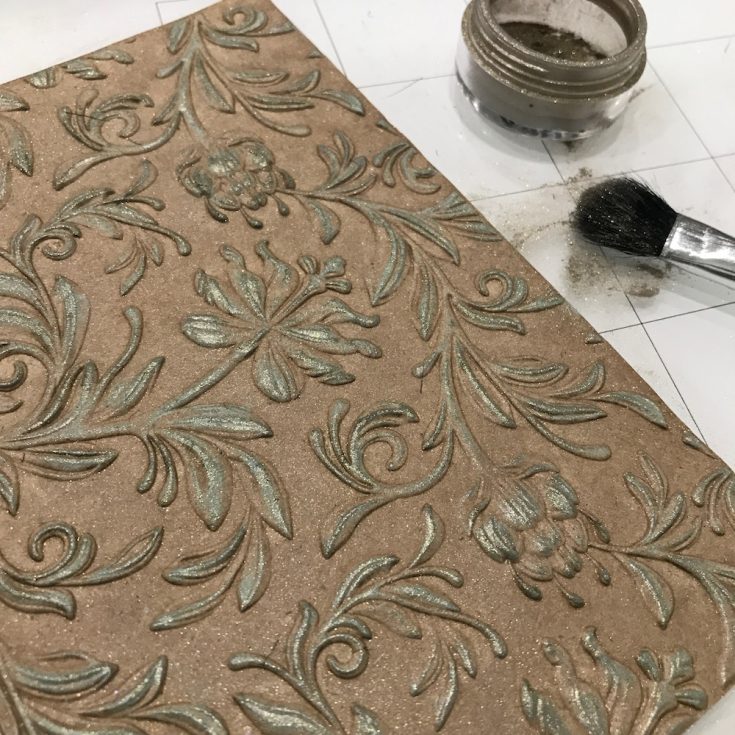
8. Brush on Heirloom Gold Perfect Pearls Powder and buff off excess.

9. Distress edges with Paper Distresser and Vintage Photo Distress Oxide Ink on an Ink Blending Tool.
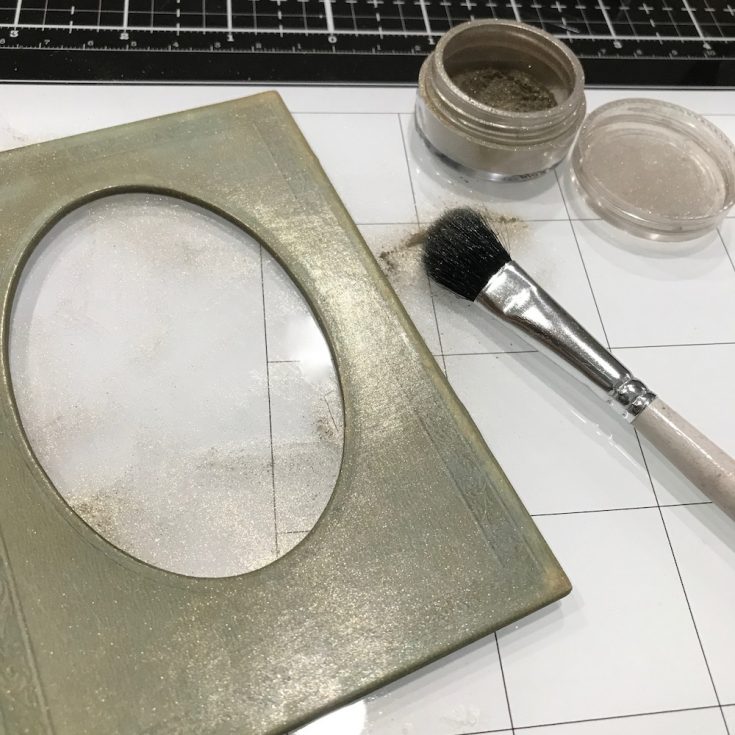
10. Sand and ink the Baseboard Frame, then brush of Perfect Pearls Powder, buff off excess and lightly mist with water to set powder.
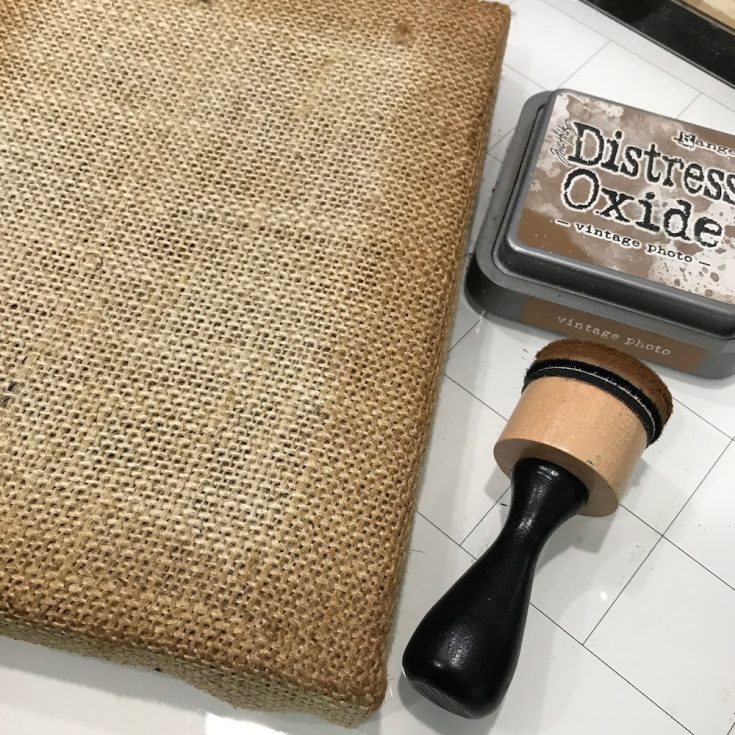
11. Ink edges of Burlap Panel with Distress Ink on an Ink Blending Tool.
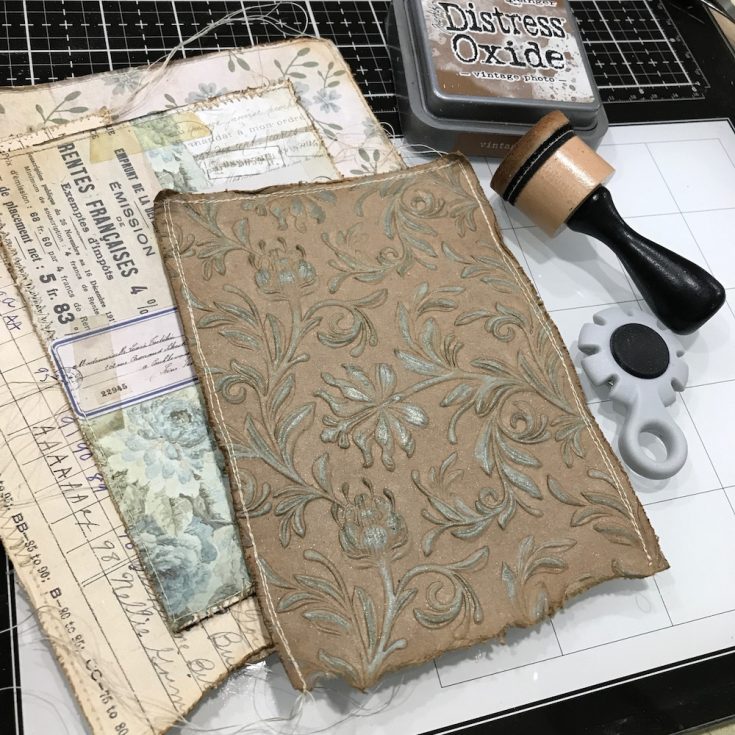 12. Cut Memoranda Paper Stash in several sizes, sew around the edges, use Paper Distresser and Distress Ink on an Ink Blending Tool to Distress edges.
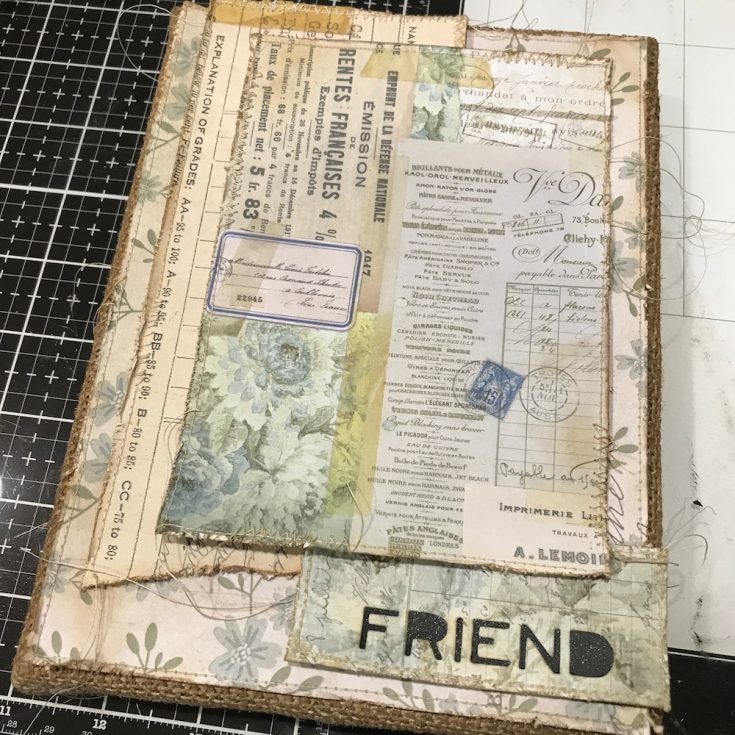
13. Adhere layers to Burlap Panel using foam tape.
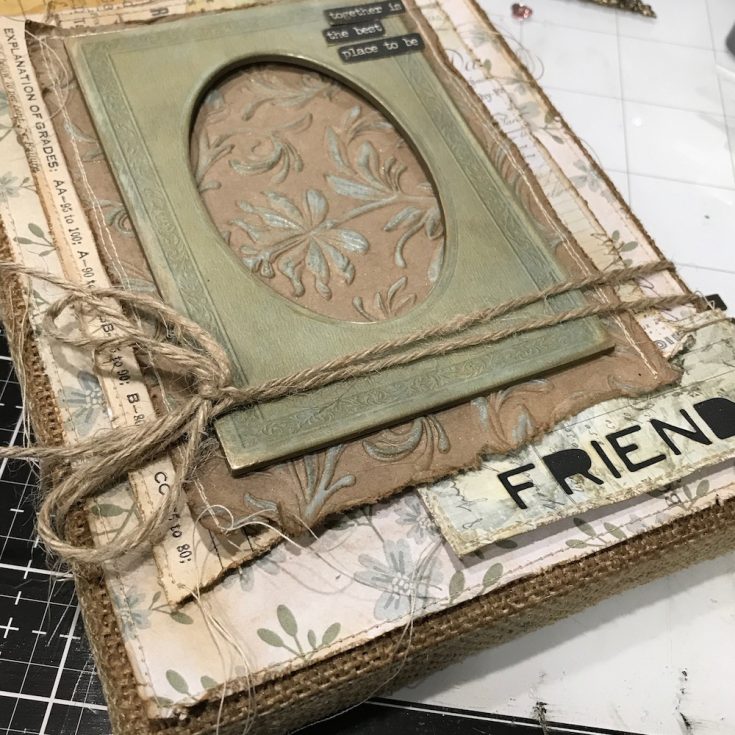
14. Adhere Baseboard Frame with Distress Collage Medium. Tie Jute String around panel with a bow.
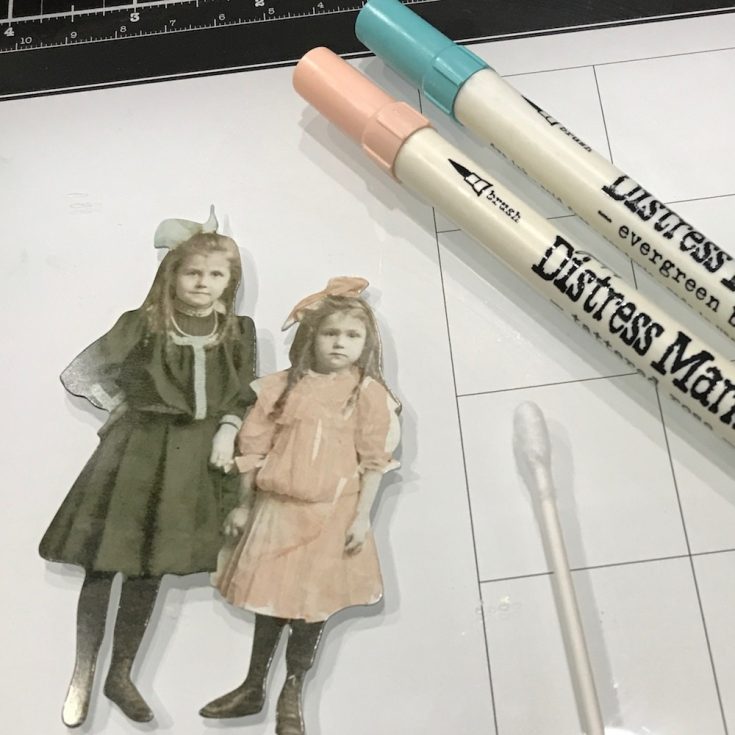
15. Color Paper Dolls with Distress Markers. Color Marker directly on Paper Doll and blend color with a cotton swab.
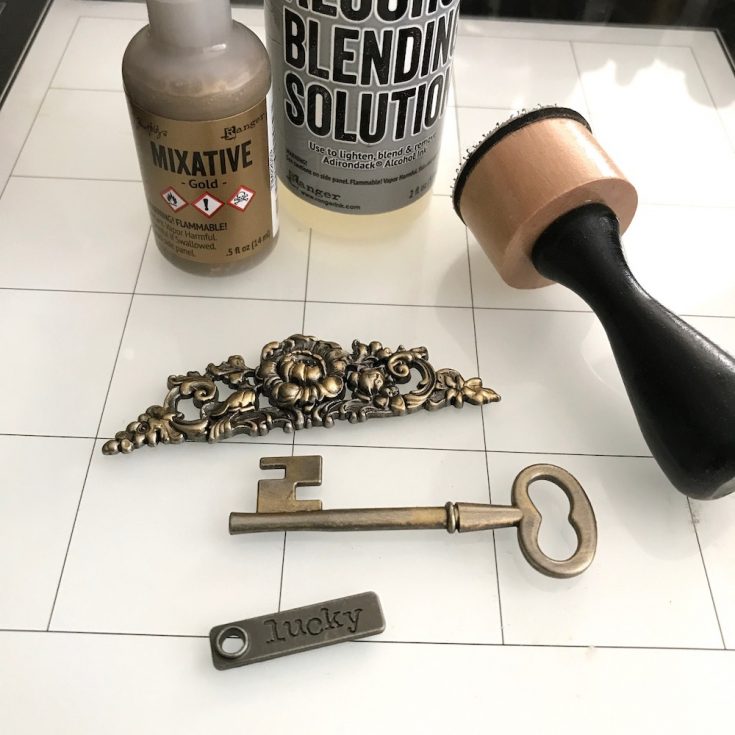
16. Apply Gold Metallic Mixative and Blending Solution to felt and color metal pieces.
17. Adhere Funky Foliage with Collage Medium and foam tape.
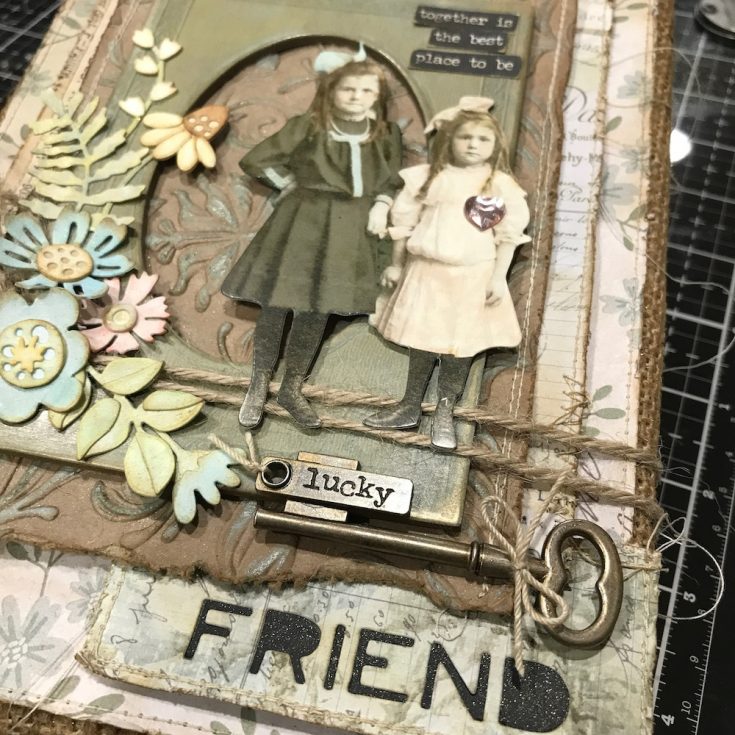
18. Adhere Paper Doll over the frame with foam tape. Adhere Small Talk, Adornment Key and Story Stick with Distress Collage Medium.
I hope you will love the Funky Foliage Thinlits Set as much as I do!
Thank you and happy crafting!
Richele
SUPPLIES:
|


Thanks so much for stopping by and thanks to Richele for being our guest!

Mixed Medium: Acrylic Pour Art Journal with Shari Carroll

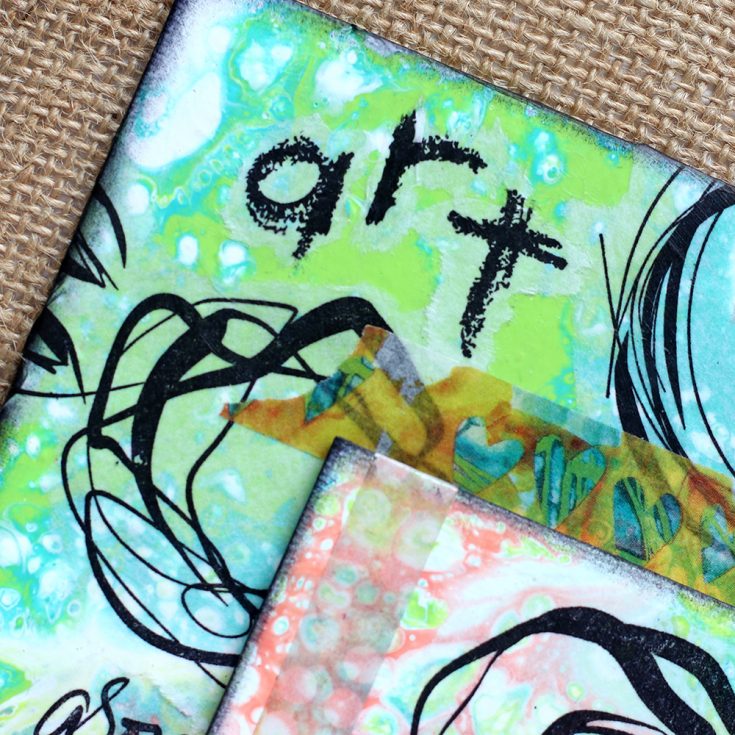
Happy Saturday everyone! It’s Shari here with a fun Art Journal page idea. I’ve been playing around with Acrylic Pouring in some of my more recent Mixed Medium projects and wanted to incorporate this technique into Art Journaling.
Dina Wakley Ranger recently came out with a line of Acrylic Pouring products that include Pouring Medium, Cell Creator, Cups and Spoons, and Small Bottles. These new products work beautifully with her paints and Media Board. The Media board is what brings me to Art Journaling. This substrate is perfect for pouring and journaling!! YAH!!
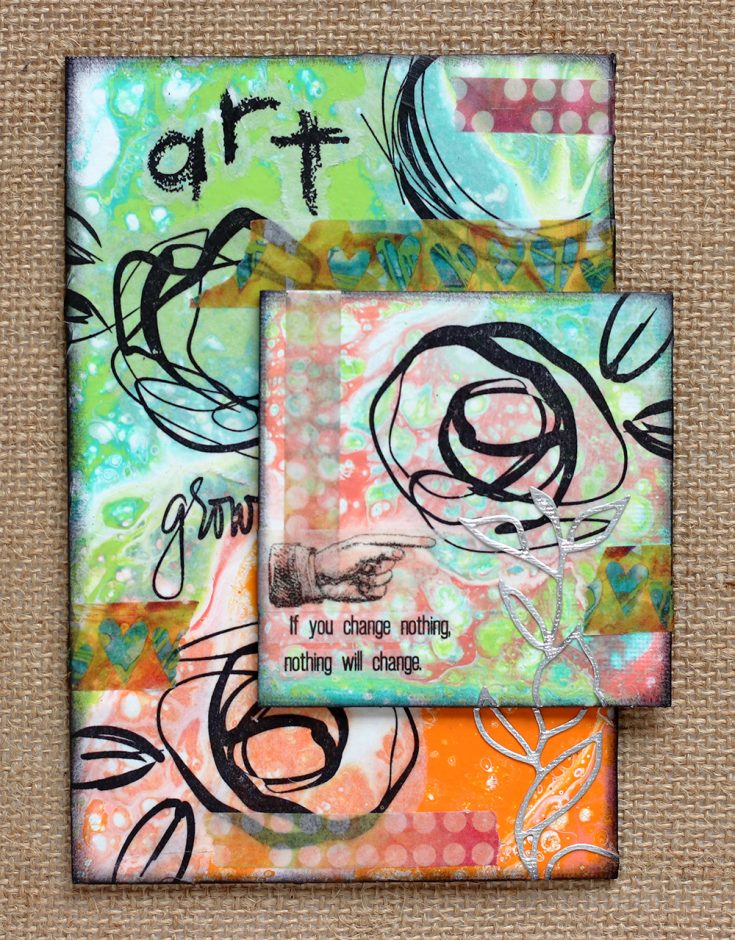
The first thing I did was to mix four colors of paint with the pouring medium. The ratio is 3 parts medium to 1 part Dina Wakley paint. I added a couple drops of Cell Creator to my paint mixtures and created puddles onto the Media Board and tilted it around a bit until the paint covered the board completely.
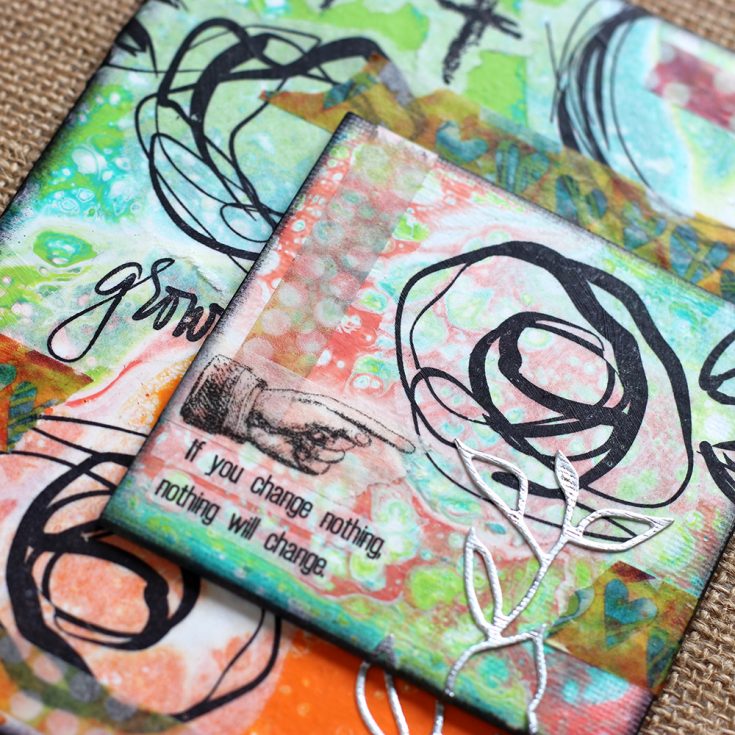
Once the paint was completely dry, I stamped some designs onto Dina Wakley Collage Paper and added them to the background with Matte Gel Medium.
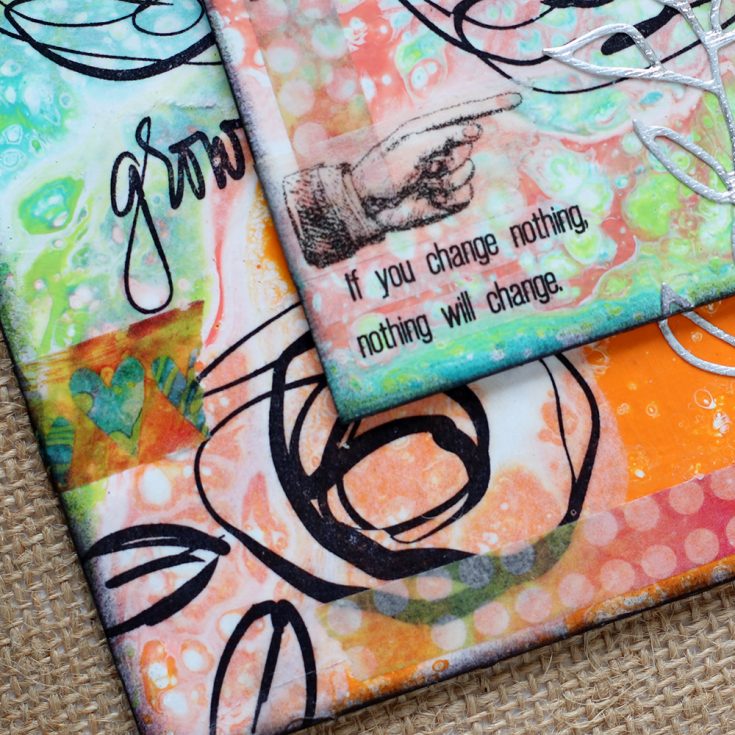
I added a few strips of Dylusions Washi tape here and there on my background for added color.
I’ve filmed a video showing you how to use the Dina Wakley Paint Pouring products as well as how to create this project. You can view it below or on our YouTube channel HERE.

Blog Candy Alert! Follow our blog via email and comment on this post for a chance to win special blog candy!
Thanks for stopping by today, I hope you have a great weekend!!
|


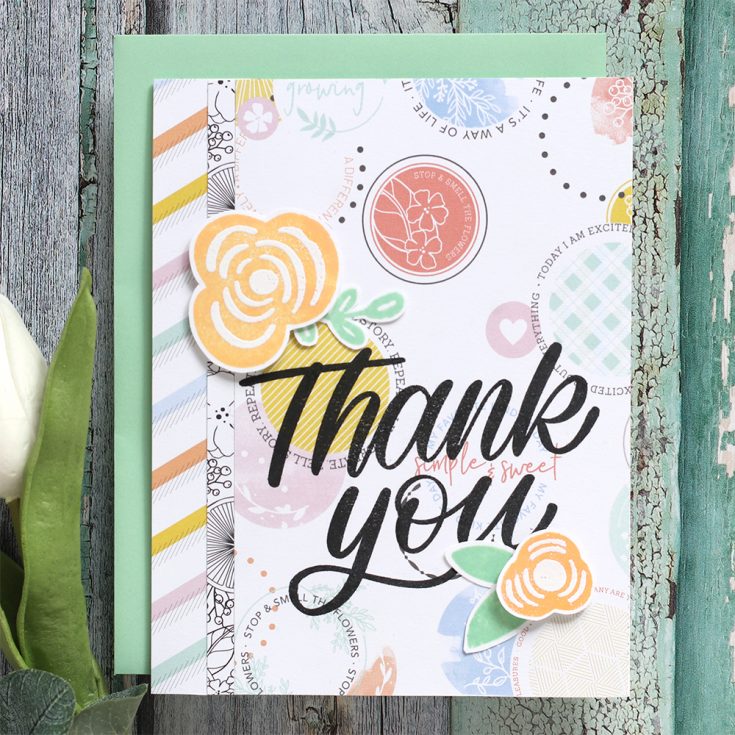
Limited Edition Thank You Card Kit!!!
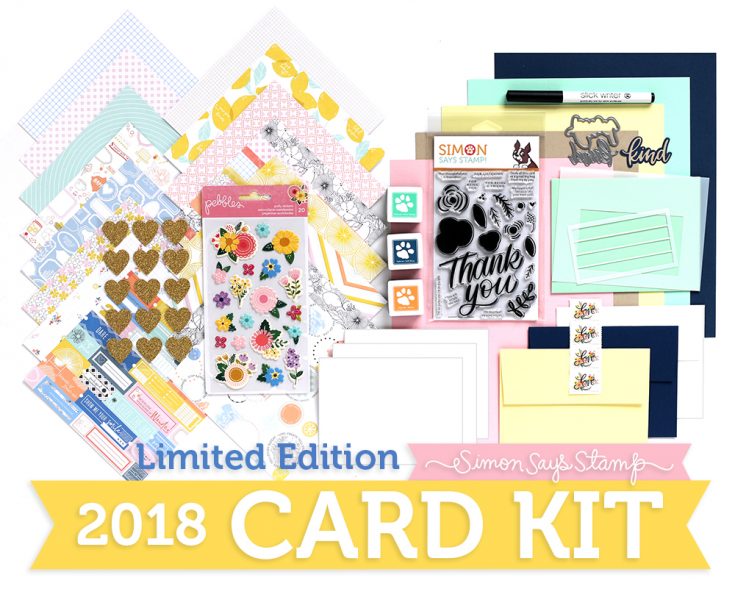
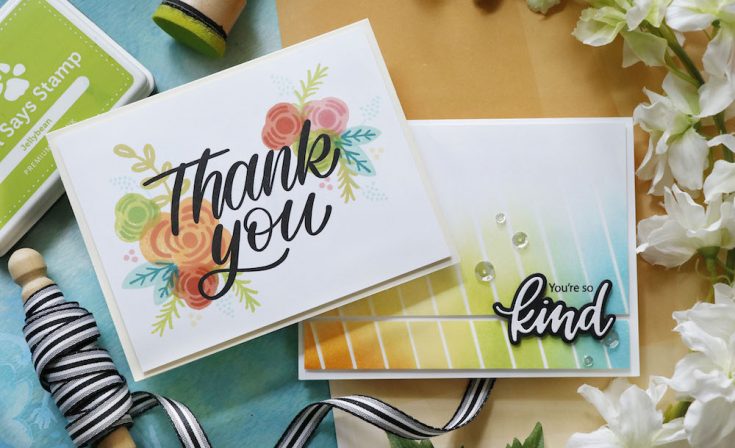
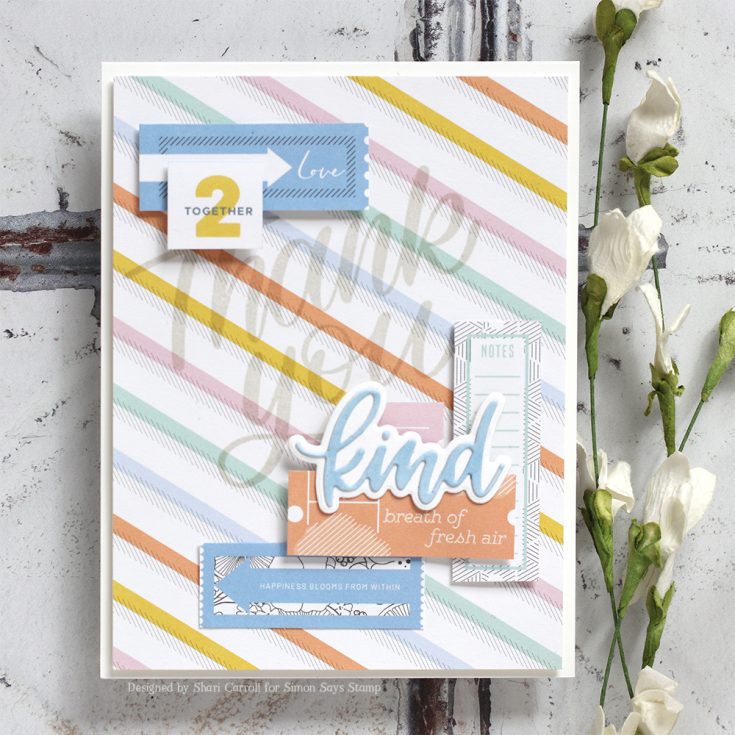
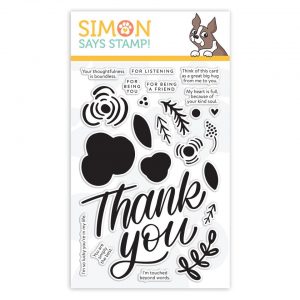
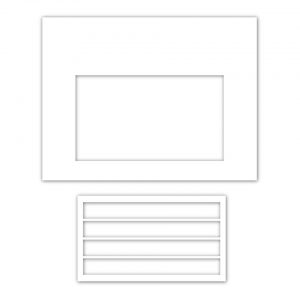
Hi friends! Welcome to the latest in our special Limited Edition Card Kit series: Thank You! This kit is all about appreciation, which we thought was particularly appropriate as we appreciate YOU (our readers and customers) so very much! This kit was lovingly assembled with the idea of passing along appreciation in mind! We even included 4 USA postage stamps to encourage you to create and send your cards immediately! Our brand new Thank You Flowers clear stamp set designed by Kristina Werner was inspired by the Love Postage stamps included in the kit! The Envelope Addressing stencil has a unique lined insert that can be used for addressing or not used to color blend, stamp, or decorate your envelope in any way you like!
Please note this kit is a Limited Edition kit that is not part of our monthly subscription! If you love it – act fast! This special kit that can be used year-round is only available while supplies last!
Laura Bassen made a delightful up close walk-through of the kit along with some stellar samples! Be sure to check it out and enjoy!
WATCH THE VIDEO:
BE INSPIRED!
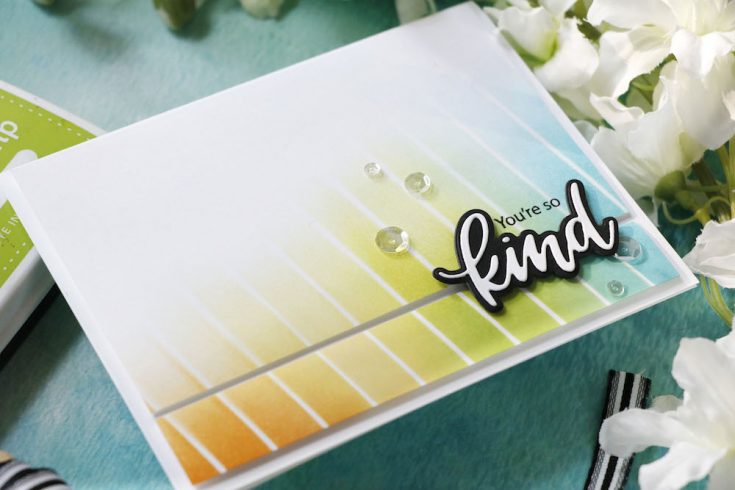

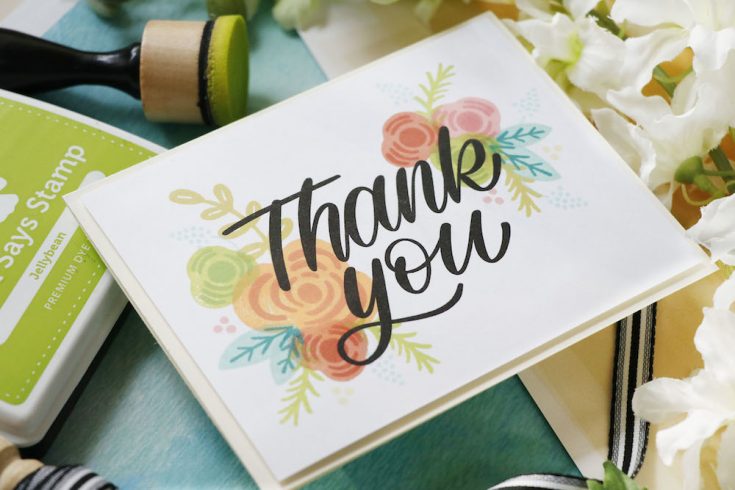
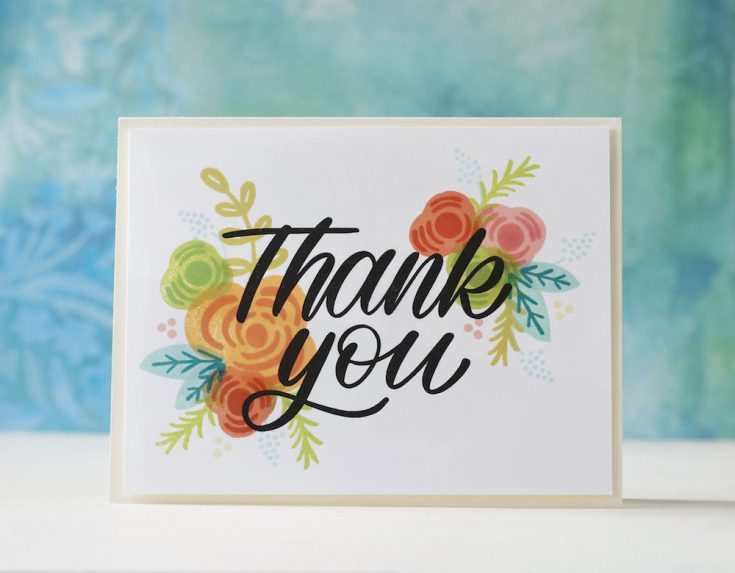
The cards below were made by the fabulous Shari Carroll!
We have two brand new AWESOME exclusive items included in the kit that are also available for individual purchase:
**Please remember this kit is a limited edition and only available while supplies last. This kit is not part of the monthly subscription series.


