Doodling with Debby: Simple White Embossed Pattern
Hi friends! Happy Sunday and please welcome back our dear friend and designer extraordinaire, Debby Hughes!

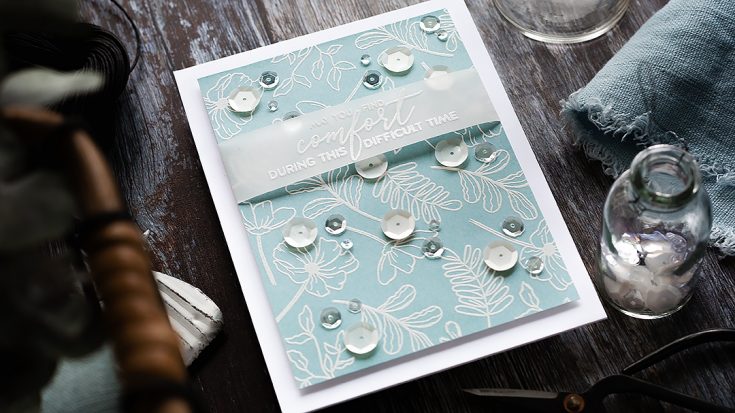
Hi, this is Debby here and today for my Doodling With Debby feature for Simon Says Stamp I’m creating this simple white heat embossed background pattern. I love the clean and simple white embossing on the dusky blue, and it should have been relatively straightforward to complete, but I often find I mess up on backgrounds such as this and in the video, I included my mistakes and also how I fixed them.

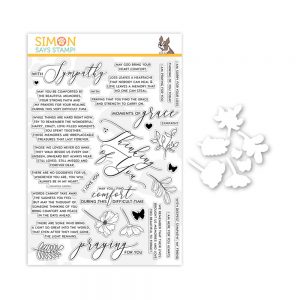
The stamp set I’ll be using today is called Moments Of Grace and is a lovely set from Simon Says Stamp with beautifully scripted sentiments and elegant line-drawn flora. I white heat embossed the flowers and leaves on a blue background. You could use a blue card, but my preference for a colored card is to create my own from my ink pads. I have a wide array of ink pad colors, and I often prefer the softer more muted shades you get from blending the inks onto white card. I like to use Neenah Solar White in the 80lb version and find I get good smooth blends when using this card. I used a Picket Fence Blending Brush to get a lovely smooth blend with my favorite Cloudy Sky ink from Simon Says Stamp. So, using light circles with the brush, I blended the ink over the card until I had fully covered it. Once I was happy with the coverage, I then dried the panel with a heat tool. As the ink dries, it lightens in color, and any imperfections tend to smooth out too. It was also important to dry the card before moving on to the embossing section as embossing powder will stick to any damp areas, and you won’t get the clean embossed look which helps with a simple style such as this.
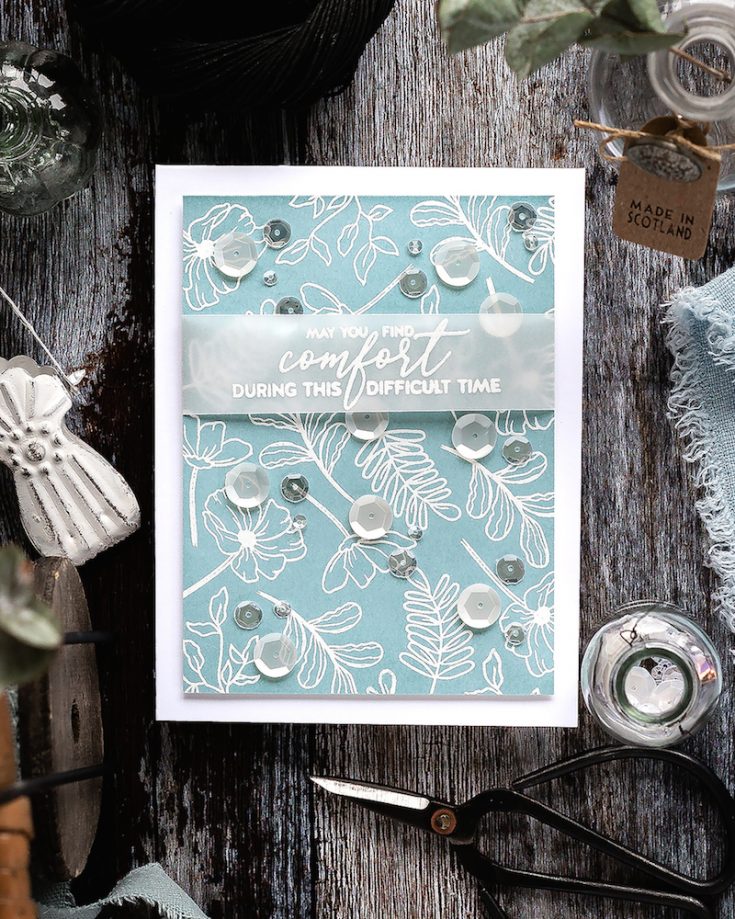
I placed the ink-blended panel in the Misti and held it in place with magnets before rubbing with an anti-static powder bag. The powder from this bag will hopefully prevent stray embossing powder sticking everywhere. I took the Moments of Grace stamp set and using the five floral images I arranged them in the top corner of the card. I stamped the images in Simon Says Stamp clear embossing ink and then sprinkled Simon Says Stamp white embossing powder over the sticky ink. I tapped off any excess and then tidied up with a dry paintbrush to sweep away any stay granules. I heat set the powder with a pre-heated heat tool.
I repeated this process as I worked on covering the whole of the panel of ink blended card. All was going well, as a whole my embossing was quite clean with minimal stray powder. If I had any trouble anywhere, it was with the edges of the ink-blended panel where the ink was perhaps still a bit damp, but I kept tidying up with my brush and was happy as I continued stamping the five images over the panel. However, by now I’d really been using a lot of the anti-static powder bag over everywhere and I think I’d got a lot over the stamps too which were getting a bit dry and not sticking to the door of the Misti as well as before and all of a sudden, an inky stamp fell onto the card. I hoped the ink hadn’t transferred, but when I realigned the images, stamped them and sprinkled with embossing powder, I was left with embossing powder everywhere. I decided to sweep away the mess with my dry brush, add lots more powder and try and align the stamp exactly where it was before, but I failed and ended up with a weird double stamped image. So, instead, I decided to cut my losses and trim the panel down to omit the end of the panel. Fortunately, this accident happened on the last edge, and I started with a piece of card slightly bigger than I likely needed and so by trimming the panel down I was able to rescue the embossing I had done.

I wanted the embossed pattern to be the main focus of the card, and so I chose one of the lovely scripted sentiments from the Moments Of Grace set to emboss on a strip of vellum. I love the translucency of vellum, and when white heat embossed and cut to a strip the sentiment can still be read, but it doesn’t dominate. I wrapped the vellum strip around the panel and secured on the back of the card with tape. I then further secured the vellum when adding foam adhesive to the back of the panel and then adding to a white side folding card base cut and scored from Neenah Solar White card in the 110lb weight. As you can see, the panel has a wider border around the edges having trimmed it down more than I usually would, but I still love the look of it, and it just adds a slightly different style.
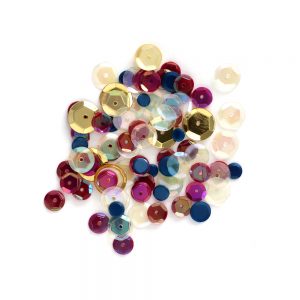
Back to the embossing and I guess it wasn’t unexpected that with the amount of embossing, this panel would have a few stray granules here and there. However, these are easy to remove I find by scraping lightly with a scalpel. So, that removed any excess embossing, and then for the areas where the embossing had missed a bit, I fixed that with a white gel pen and looking at it afterward no one would know! So this panel was a case of fixing my mistakes from trimming it down to omit the blooper and then to tidy up with a scalpel and white gel pen. To finish off the card I sprinkled around a liberal dose of white and clear sequins in various sizes from the Girl’s Best Friend sequin mix from Simon Says Stamp which I kept in place with Gina K Connect glue.
Thanks for joining me today, and I’ll see you next time for Doodling With Debby.
WATCH THE VIDEO:
Watch below or in HD on YouTube.
SUPPLIES:
|


Thanks so much for stopping by, and to Debby for being our guest!
Did You Know? Fun Facts and Crafty Tips! January 2019 Edition
Hello friends, it’s Nina-Marie here with you today, bringing you the latest installment of our Did You Know series!
If this is your first time seeing this feature, each month we will be bringing you fun facts, creative tips and even crafty hacks about your favorite supplies and brands; you can then use these awesome tips that you learn in your next crafting projects! Are you ready to learn some fun tricks? Keep on reading!
GO PRESS AND FOIL MACHINE
Foiling is a creative and unique way to add shine to your crafting projects! Couture Creations are the innovators of the popular Go Press and Foil machine. This alternative foiling tool eliminates the need for toner-based images and instead relies on hot foil stamps, pressure and heat to transfer a specialty foil to any paper surface.
One of the coolest features about this machine is that it also allows you to use your wafer-thin dies for foiling! Because dies are made from the same material as the hot foil stamps (steel), you can achieve even more creative results!
TIM HOLTZ PAPER DISTRESSER
You may or may not be a mixed media crafter, grunge-style artist or distress junkie, but that doesn’t mean a distressing tool can’t be put to good use in your crafting projects! Have you ever tried out the Tim Holtz Paper Distresser? If you love the look of handmade paper, then you’ll want to look into this small but handy tool!
Did you know that you can create soft edges with the blades that are safely tucked into this tool? When paper is rubbed against the blade, it softens the edges, emulating that gorgeous, handmade paper (I personally love this technique on floral projects)!
SAKURA WHITE GELLY ROLL PENS
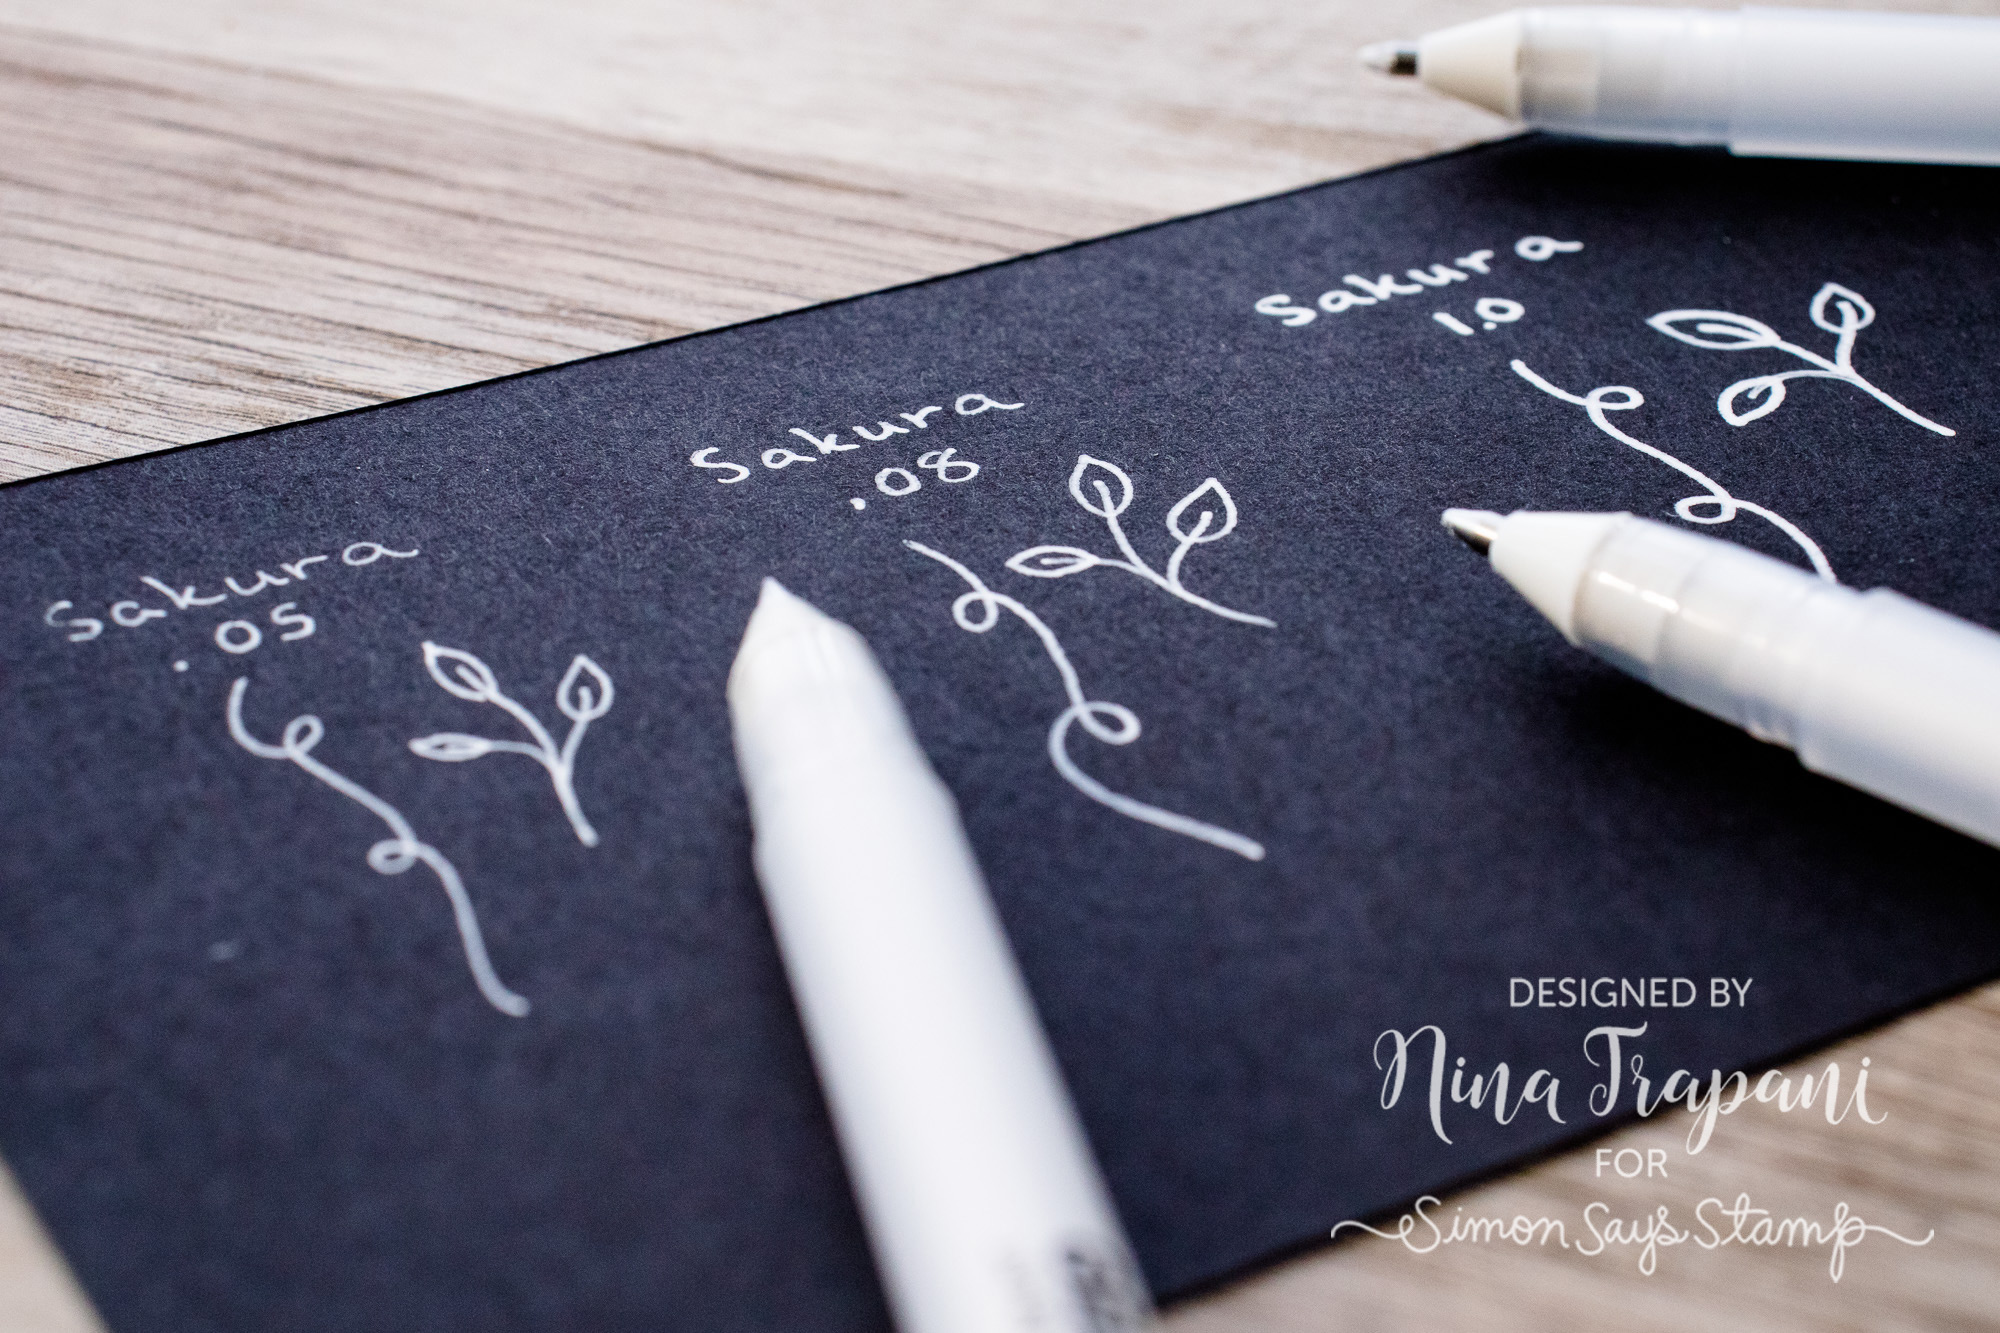
Sometimes we want to add white pen details to a project, and having the *write* pen (pun intended!) makes a world of difference! When it comes to opacity and nib size, the Sakura White Gelly Roll Pens are a great go-to! Did you know that they come in 3 different size nibs; fine, medium and bold? And the pens have great opacity on light and dark colored papers, inks, marker coloring and more!
ALTENEW COLORLESS BLENDER
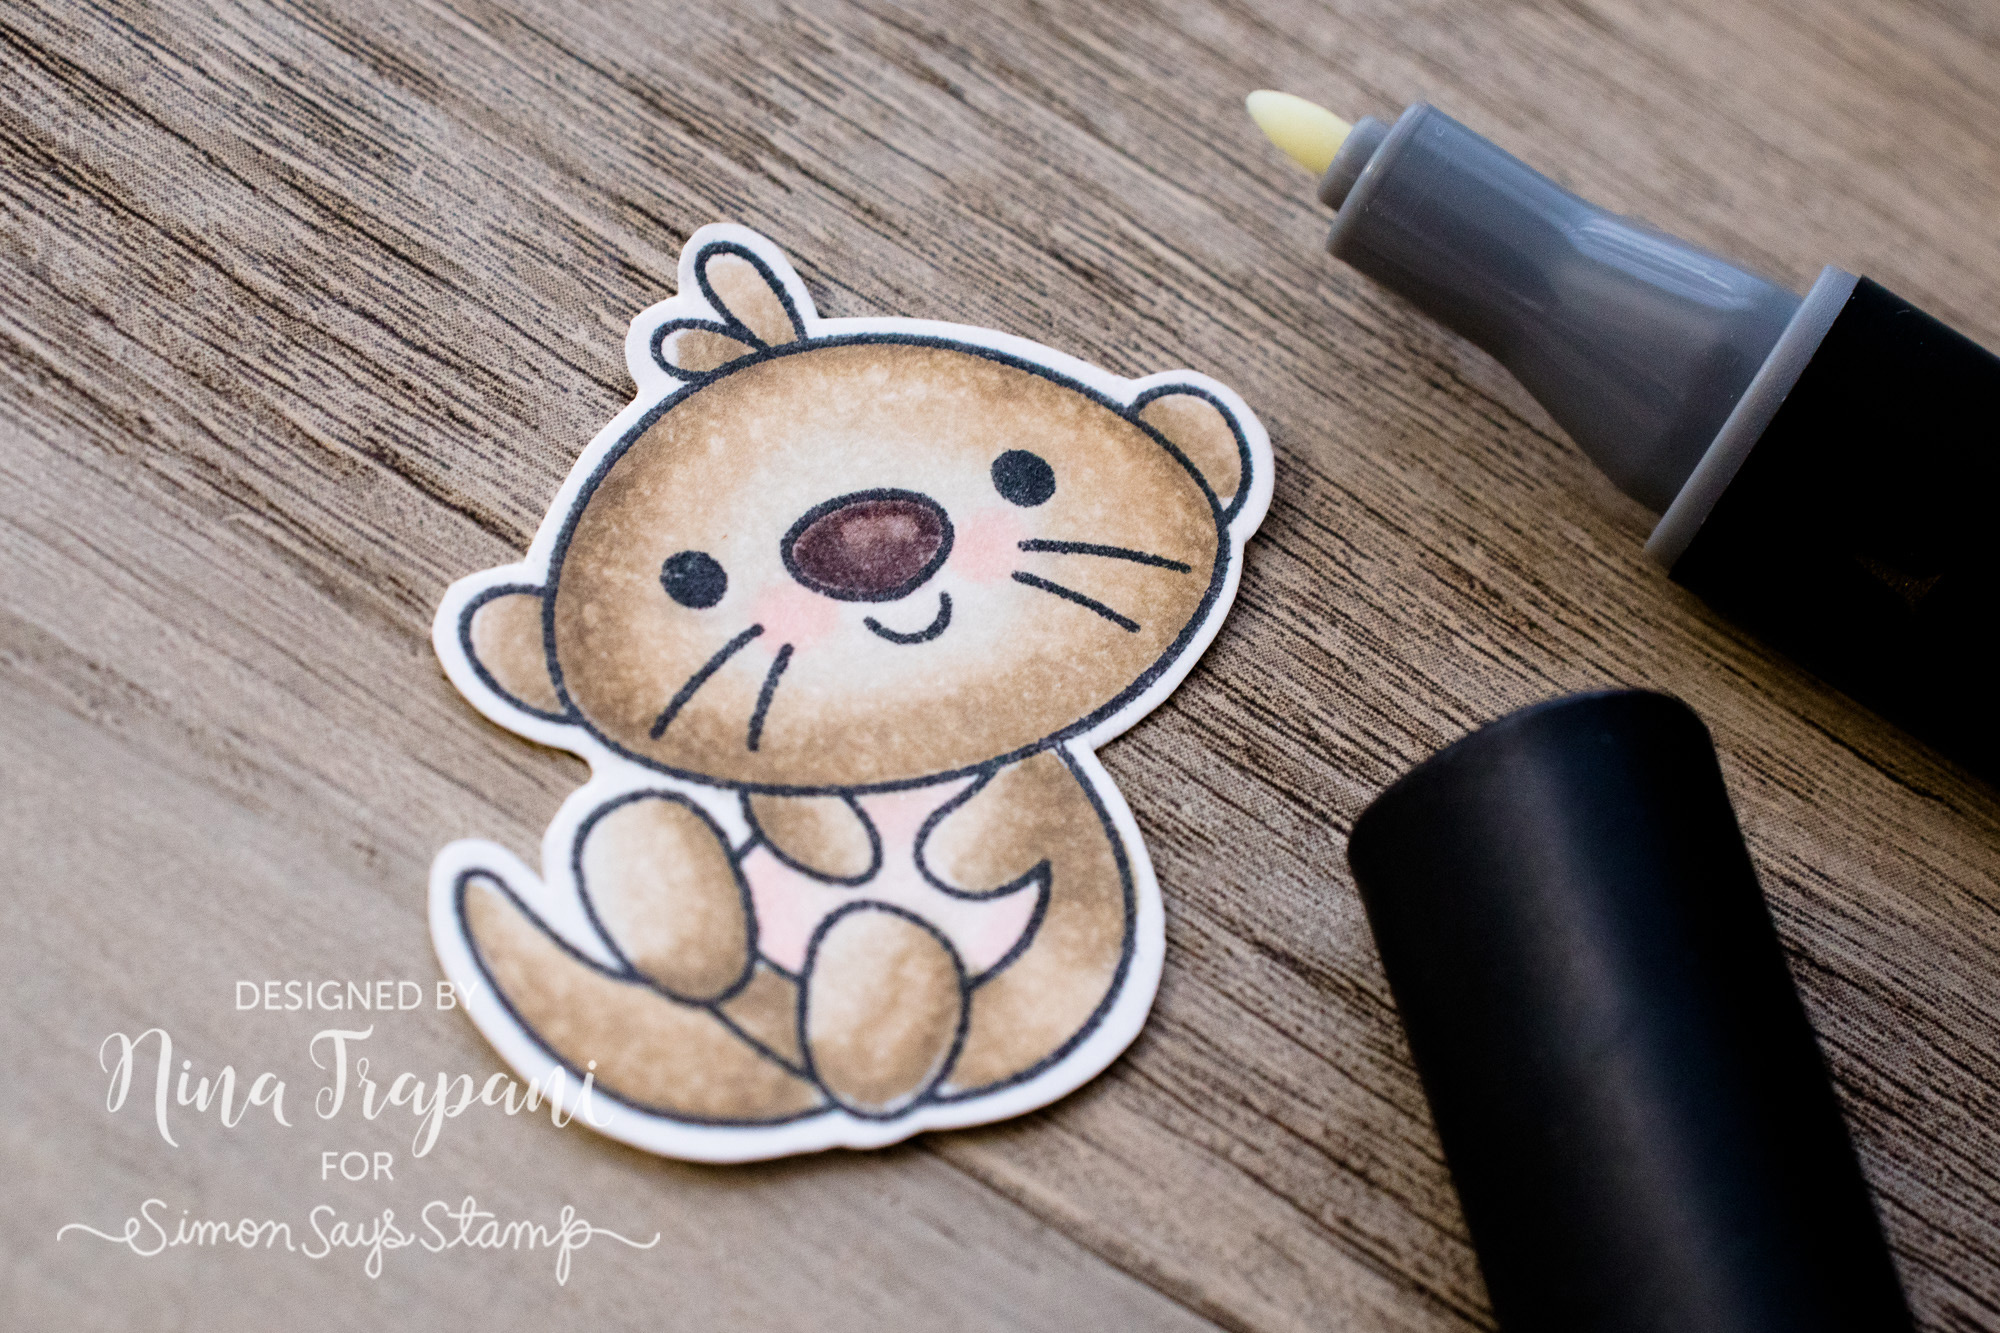
If you color with alcohol-based markers, you know how handy it is to have a colorless blender around! The Altenew Colorless Blender marker has two nibs; a brush for blending, and a bullet nib! Did you know that the oh-so-handy bullet nib is PERFECT for creating textures, patterns, hightlights and much more? YES!
See how I used it on this Copic colored, So Pun Friends otter? After coloring, I used the Colorless Blender’s bullet nib to add a stippled texture to his body, and a shiny highlight on his nose! The small size of the bullet nib makes this marker ideal for stamped images!
PERFECT PEARLS + GLOSSY ACCENTS = MAGIC
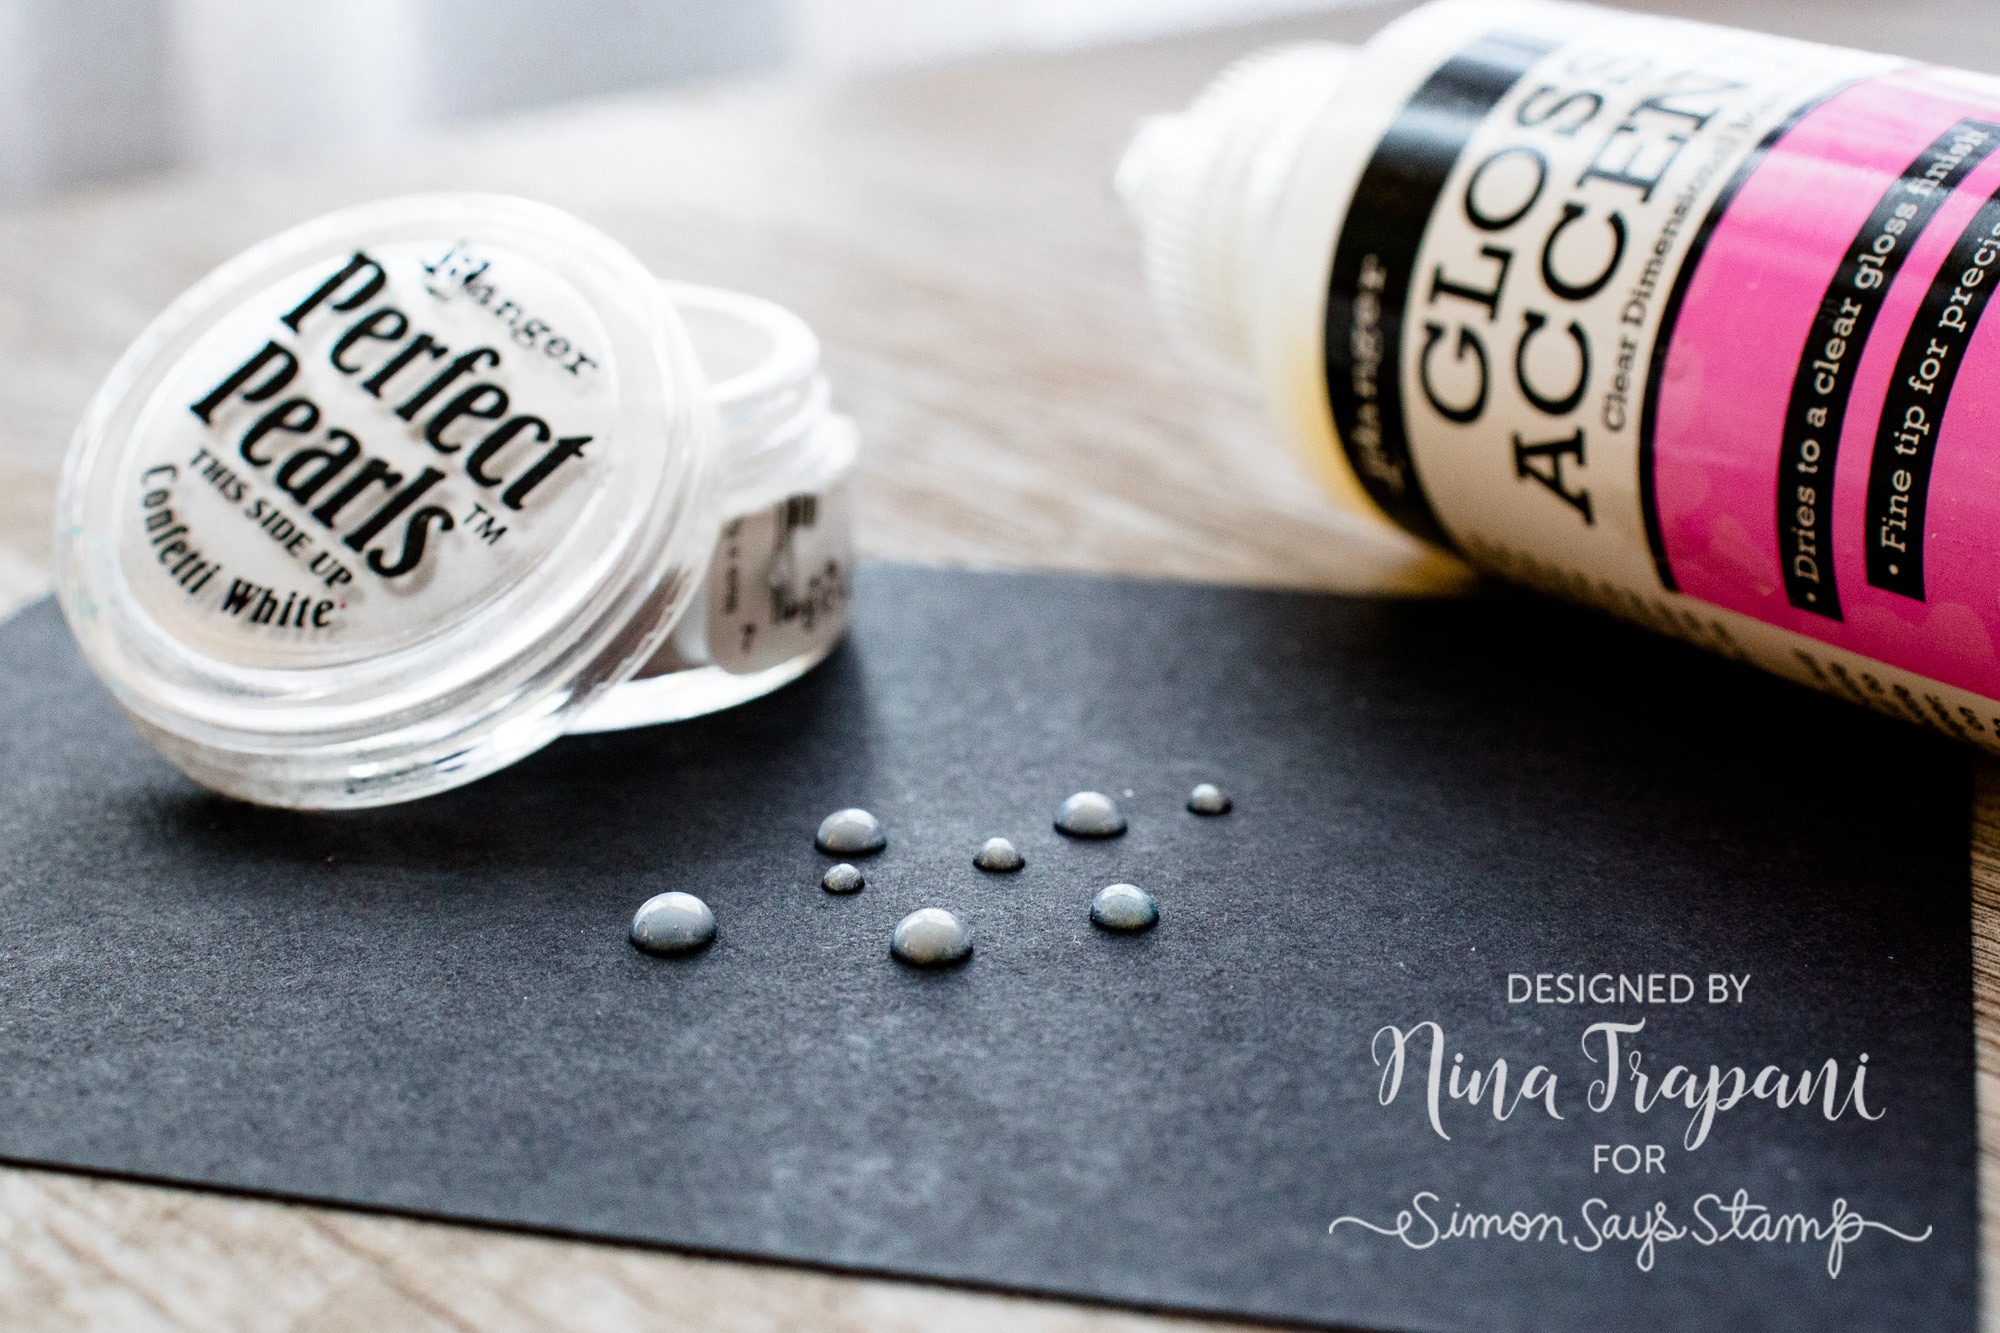
There are so many ways you can use Perfect Pearls for a classy, pearlized shine. But did you know that you can mix it with Glossy Accents to create a DIY pearlized adhesive?
Start by filling an empty glue bottle with both Glossy Accents and Perfect Pearls powder; you can use as little or as much as you like, but it will create unique results depending on how much Perfect Pearls powder is added. If you use just a small amount, your resulting pearlized adhesive is going to be more translucent and not overly shimmery. The more powder you add, the more your adhesive will have a pearlized finish; it will also be more opaque.
After your Perfect Pearls are added to the Glossy Accents, replace the nozzle of your now-filled bottle and shake well. This will mix the adhesive and powder together. Now you are ready to use this on your next project! It can be used in any way you normally would use Glossy Accents; the only difference is, now there is a pearlized finish to it! The results are very elegant and beautiful!
KOKUYO LONG DOT LINER
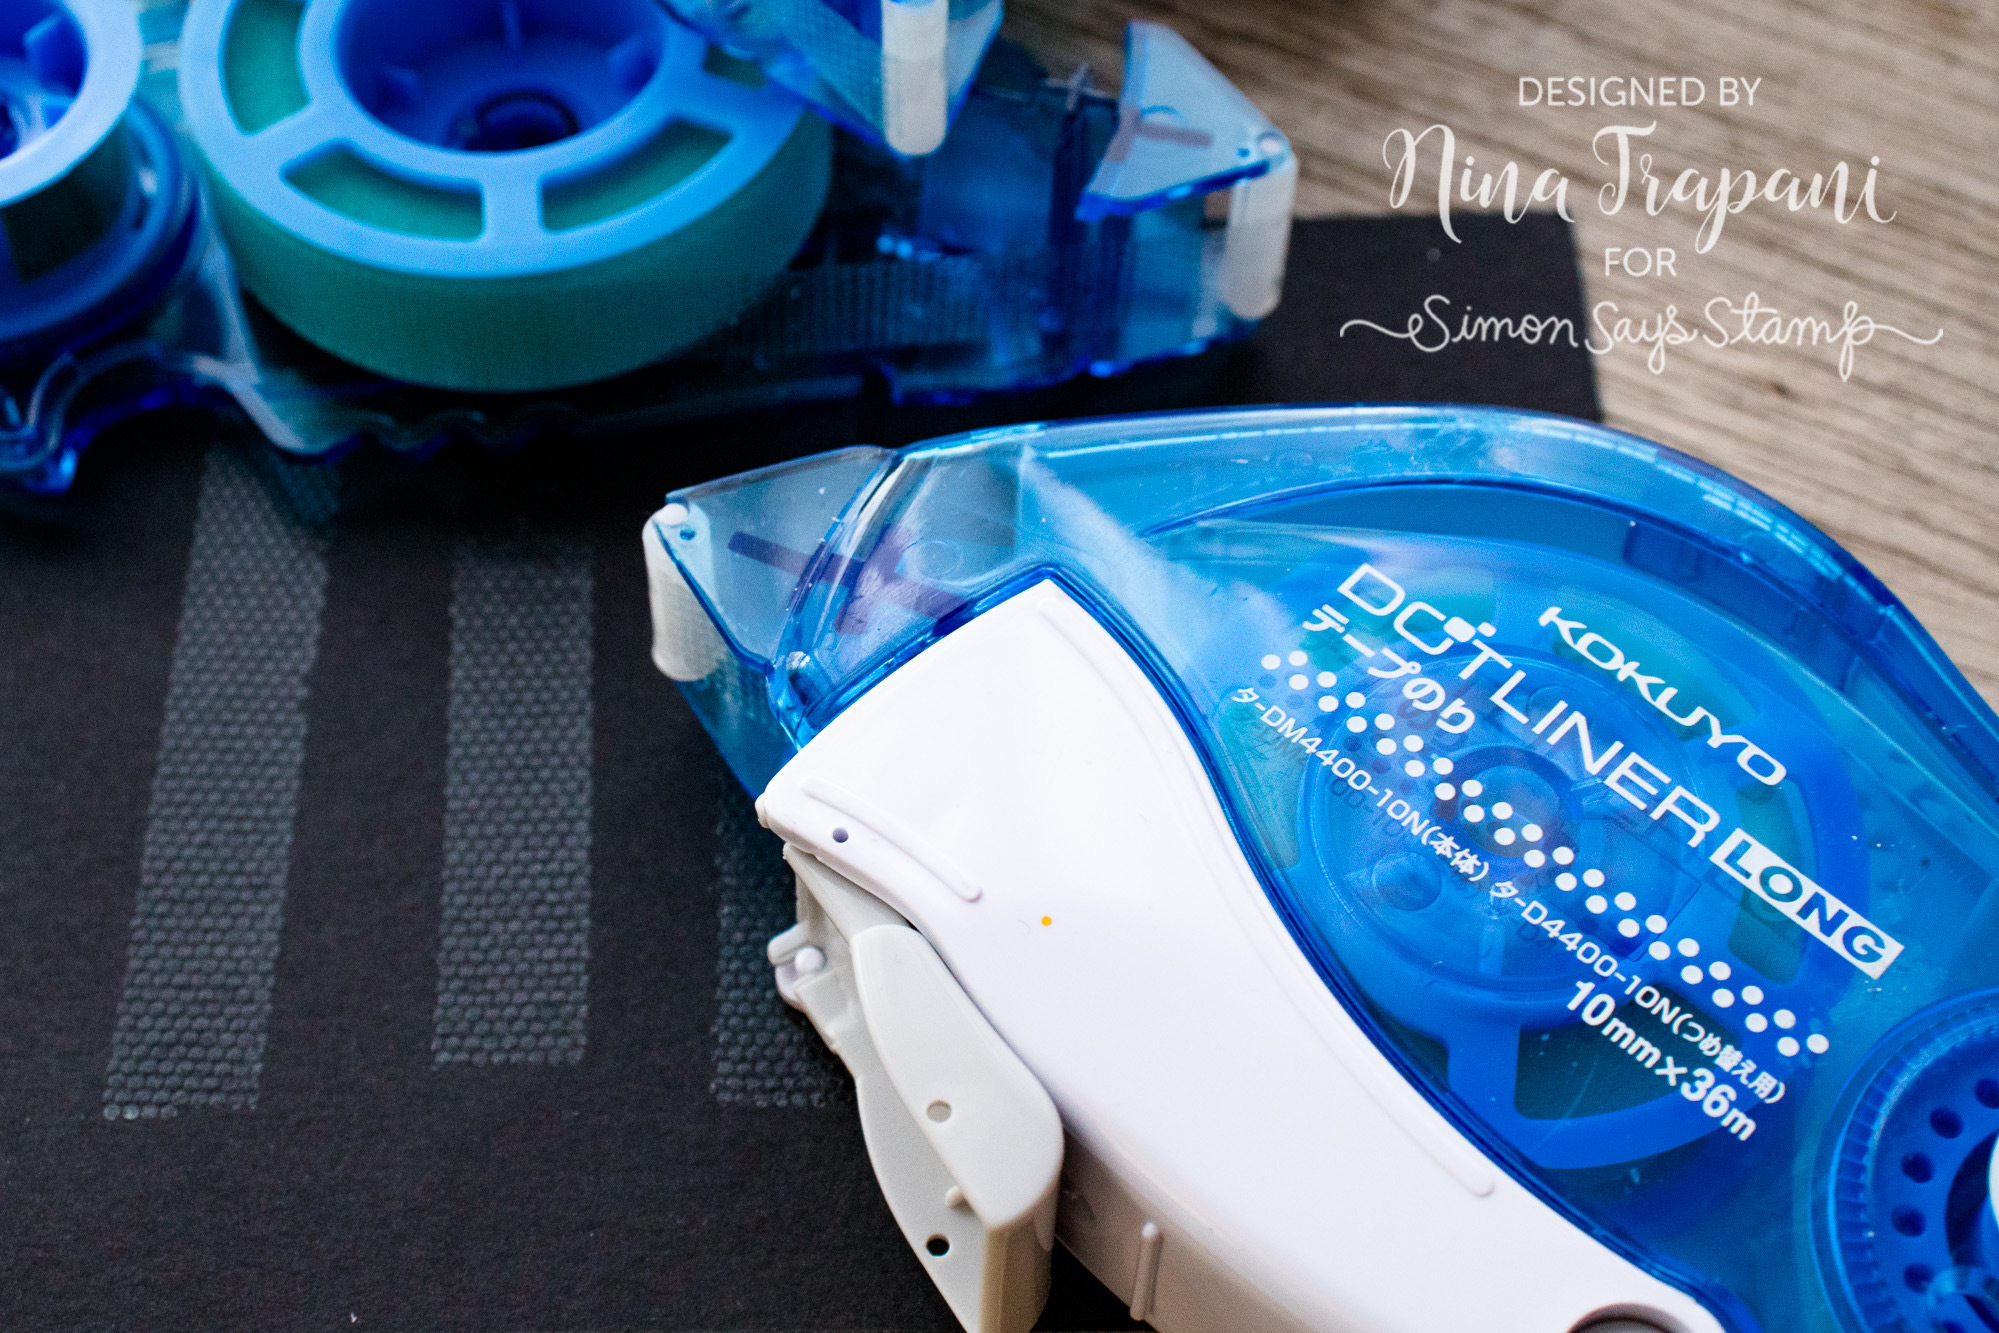
Speaking of adhesives… did you nkow that the Kokuyo Dot Liner is an excellent, strong bonding adhesive? And did you you also know that it even gives you a bit of margin for error? Sometimes we add adhesive in the wrong area, or at the wrong time during the creation process; trust me, it happens to all of us! What’s handy about the Kokuyo is it’s ability to be removed. If you accidentally got adhesive somewhere you did not want it to be, simply take your finger and rub the adhesive off! The dots begin to roll together and gently peel off your cardstock. Problem solved!
Note that this is not a repositionable adhesive however; once you’ve two pieces together, attempting to take them apart will result in you most likely ripping your project. This is a strong-hold tape runner once it has been permenantly bonded with another piece of paper. This Dot Liner is also refillable.
We hope you have enjoyed this month’s installment of Did You Know?! Tune in again next month for a brand new edition of this fun series!
SUPPLIES
|


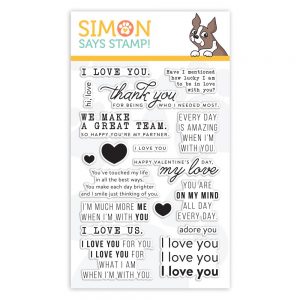
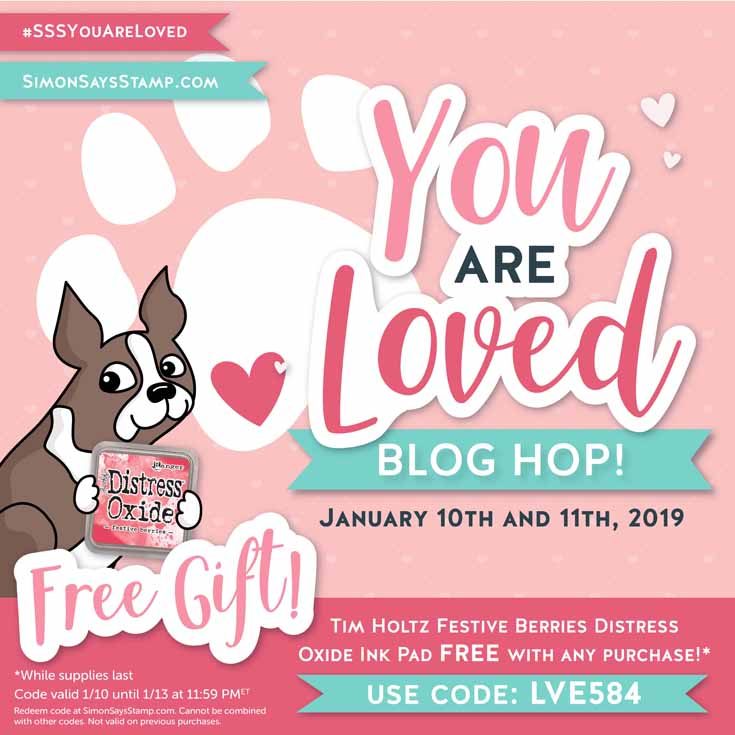
More You Are Loved ❤️ Release Inspiration!
Hi friends! We’re back with day two of our You Are Loved release blog hop with even MORE inspiration for you! Thanks for joining us again today. If you missed day one’s fabulous hop, you can find it HERE.
We hope you are LOVING the inspiration from our Simon exclusive You Are Loved release, and we are so excited to see what you’ll create!
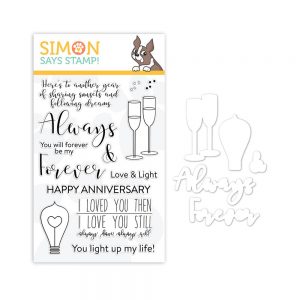
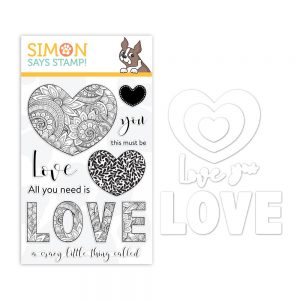
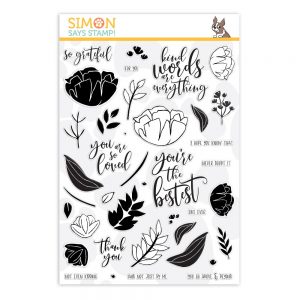
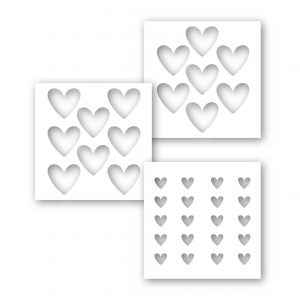
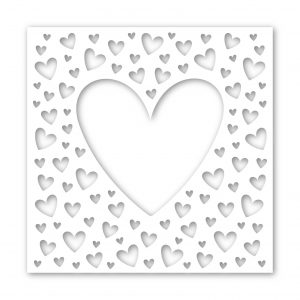
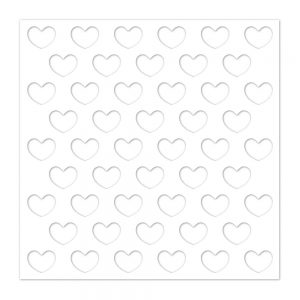
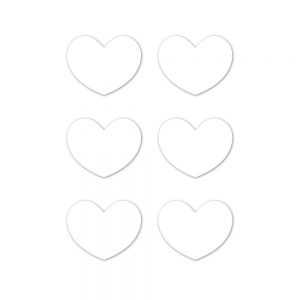
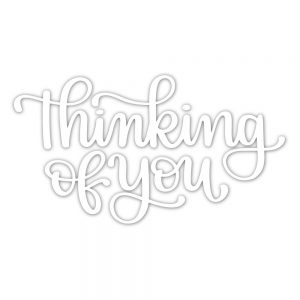
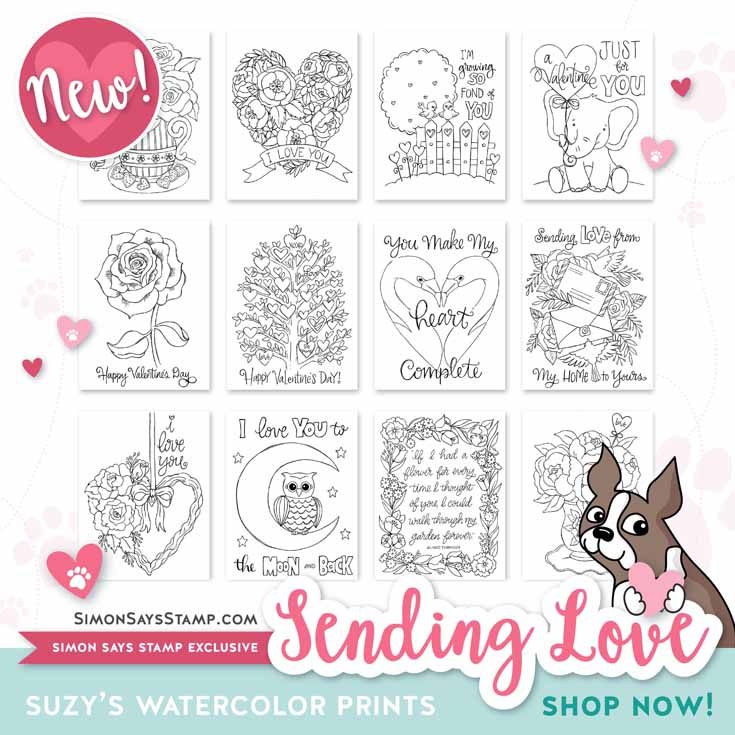
Our Simon Says Stamp exclusive You Are Loved product lineup debuted in early December, but now that we’ve made it to 2019, our minds turn to Valentine’s Day! This release is filled with lots of ways to share your heart, of course! There are heart stamps and love sentiments as well as heart stencils and dies to share handmade love in so many different ways! In addition, there are cute and thoughtful products for many of the occasions you make cards for most: sympathy, thinking of you, birthday, and thank you. You’ll also find some cool new designs from CZ Design including a sequel to her Simple Sentiments 1 stamp set, and there’s an adorable set of watercolor cards from Suzy Plantamura! We are so in LOVE with this release!
In addition to Suzy’s Watercolor Gift Set that debuted with this release on December 11th, we unveiled these BRAND NEW Sending Love Watercolor Prints from Suzy yesterday! These gorgeous designs are the answer to your Valentine’s Day creativity!
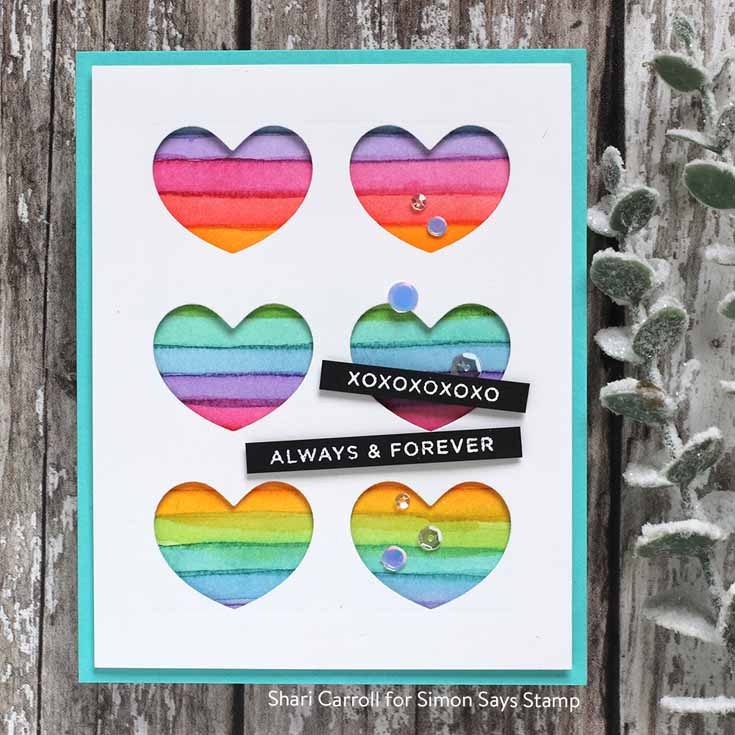
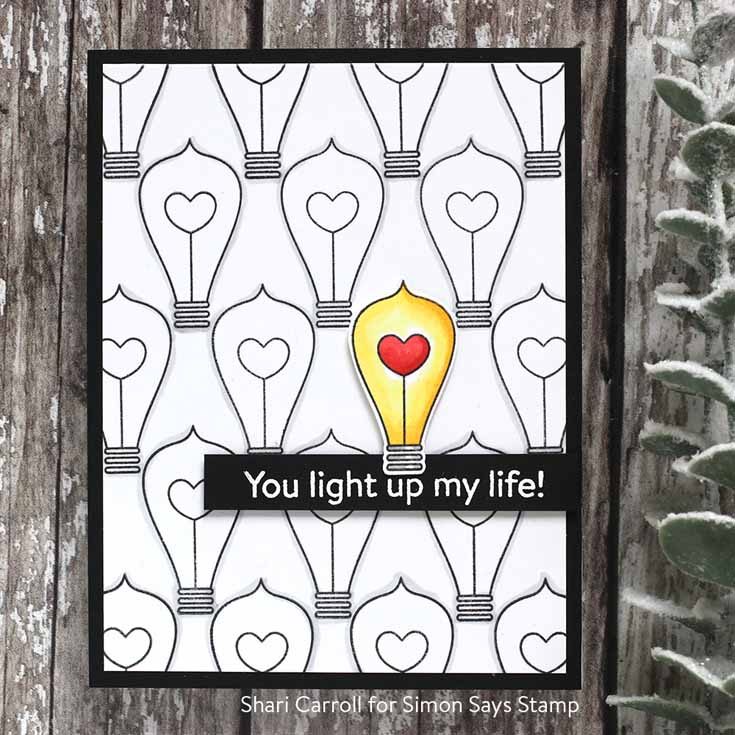
Before we hop, let’s take a look at some awesome inspiration from Shari Carroll:
We’re pretty sure you’re going to find at least a few things that strike your fancy from this release, so Simon wants to give you a little something extra special! It’s a free gift just for you because we think you are AWESOME! How does a free Festive Berries Distress Oxide ink pad sound? Check out the details on the banner at the top of this post.
Ready for even more You Are Loved inspiration? We’re super excited for you to hop along with us, as you’ll see loads of inspiration using these new products. Each designer’s blog in the hop will have a $25 gift card up for grabs for one of their commenters.
These talented ladies have lots of great projects that we know you’ll love! Make sure to show your appreciation with your awesome comments!
- Kristina Werner
- Laura Bassen
- Debby Hughes
- Cathy Zielske
- Yana Smakula
- Yoonsun Hur
- Amanda Korotkova
- Vicky Papaioannou
- Heather Ruwe
- Gayatri Murali
- Ankita Gupta
- Lea Lawson
- Kristina Pokazanieva
- Elena Salo
We can’t wait for you to see what these amazing designers have created! Enjoy the hop, and thanks for joining us!
You’ll love browsing our You Are Loved gallery on our blog for loads of inspiration, and you can add your projects to the gallery as well!
You can check out the full You Are Loved collection below!