Celebrate Women Blog Hop!
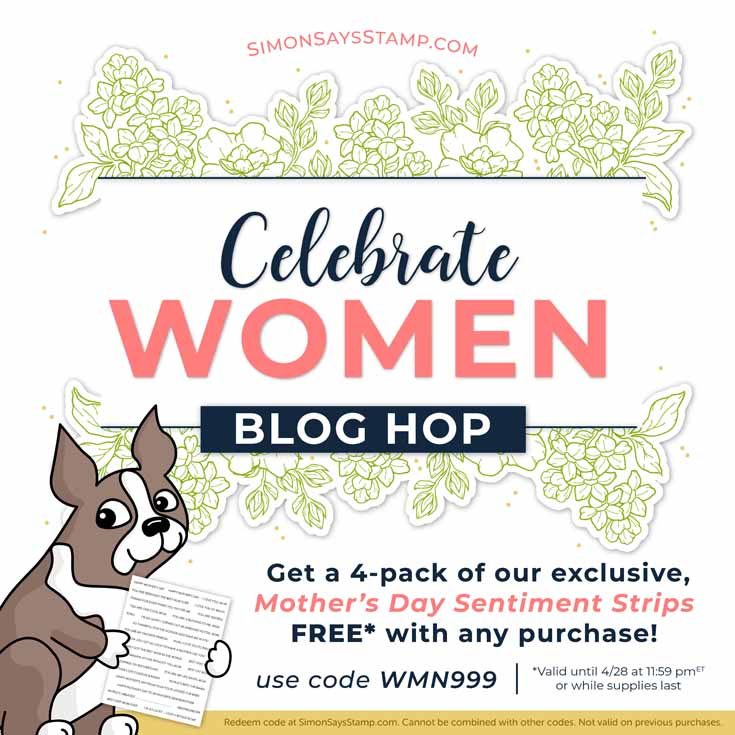
Happy Thursday, friends! We are so excited to welcome you to a very special blog hop today!
In the wee hours of the morning today, we unveiled two beautiful new Simon exclusive stamp sets that celebrate women. We can’t wait for you to see!
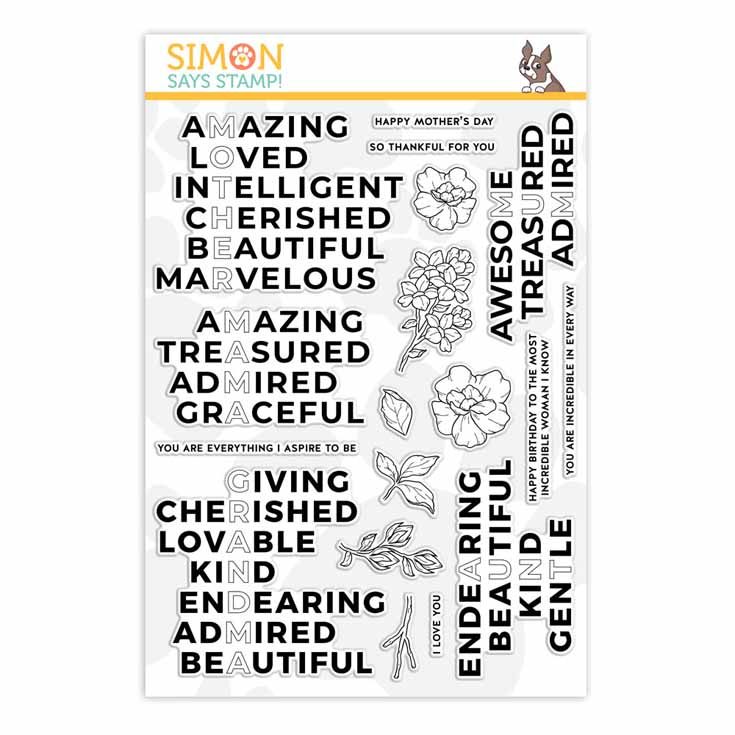
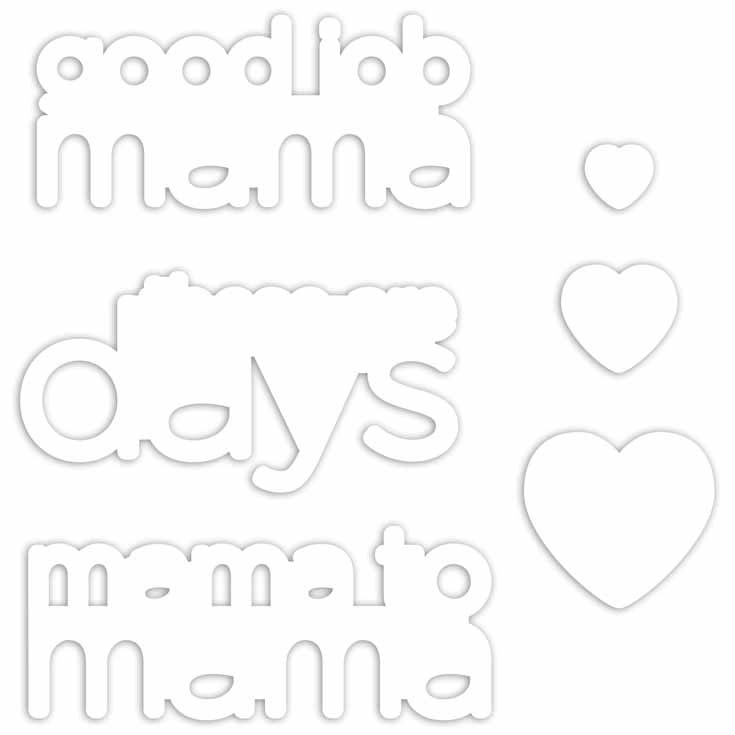
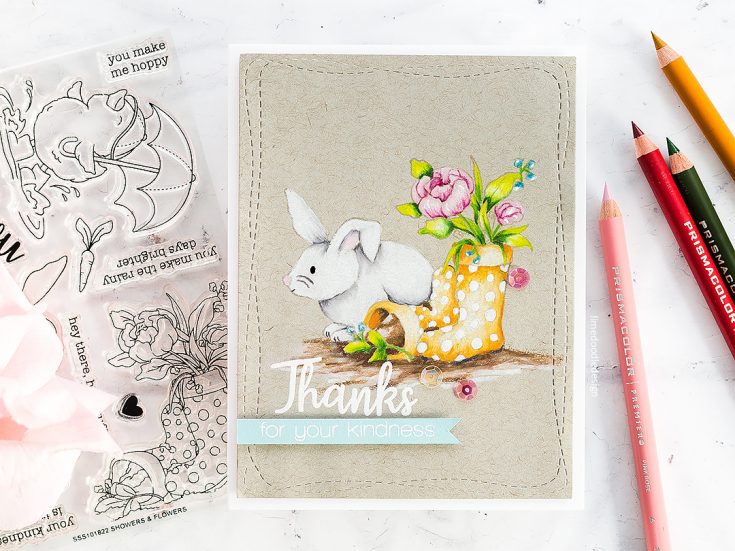
Incredible Woman is a gorgeous 6×8 set that features clever sentiments with “hidden” titles for women—Mother, Mama, Grandma, Mum, and Aunt—and beautiful florals, too. There are so many creative possibilities with this set!
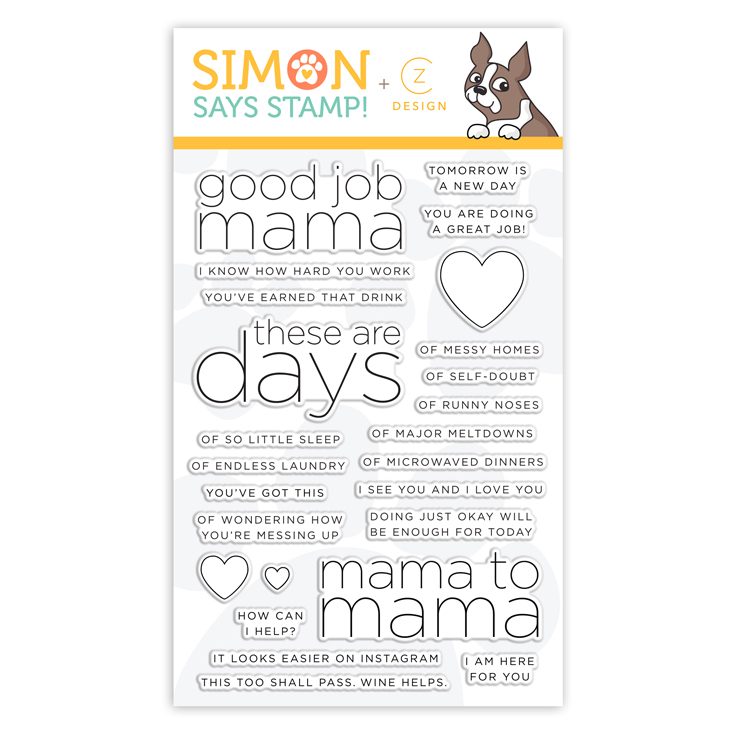
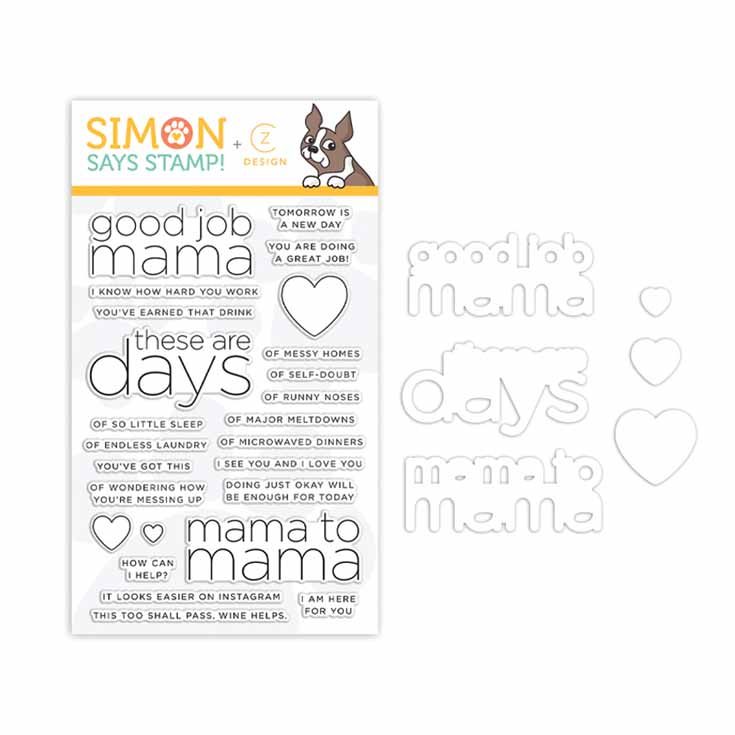
The second set—Good Job Mama (a CZ Design exclusive set for Simon Says Stamp)—celebrates the real talk of motherhood. Give your mama friends the encouragement they crave to power through the runny noses, the endless laundry, and the major meltdowns. Those female connections help to ease the frustrations and doubts that creep in when things seem to be out of control. This set also includes coordinating dies for extra interest and dimension.
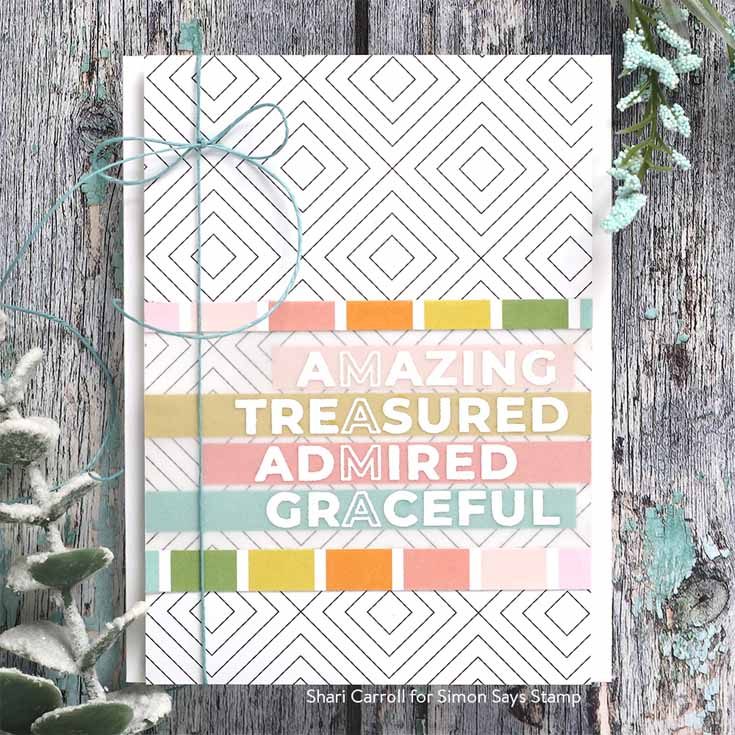
OK! Let’s get a sneak peek of what’s in store for our blog hop today with inspiration from Shari Carroll! Shari used the Incredible Woman stamp set to create this beautiful tribute to mom:
We love our customers! And we love your enthusiasm for our blog hops. To celebrate women, Simon has an extra special free gift set aside just for you—our Mother’s Day Themed Sentiment Strips! Check out the details on the banner at the top of this post.
Ready for even more gorgeous and empowering inspiration? Hop along with these talented designers! You’ll be inspired when you see what this rock star team of ladies has created with these awesome stamp sets. We’d love for you to leave comments on each blog for these designers who work hard to inspire and excite us!
- Simon Says Stamp Blog <<YOU ARE HERE!
- Jennifer McGuire
- Kristina Werner
- Cathy Zielske
- Shari Carroll
- Laura Bassen
- Debby Hughes
- Nina-Marie Trapani
- Kathy Racoosin
- Heather Hoffman
- Nichol Spohr
We would love to know what women in your life inspire you! Leave a comment to pay homage to the strong female mentors in your life.
Thanks again for joining us today! We hope you LOVE these two brand new sets!
Work It Wednesday April 2019: Pet Project!

Happy Wednesday, friends! Welcome to Work It Wednesday for April 2019!
In case you’re wondering what ‘Work It Wednesday’ is, let me explain: On the third Wednesday of every month (or towards the end of the month ), we want to see what you’re creating! The Simon Says Stamp community is so very talented, and we want to see more of your cards and projects every month.
Each month we’ll pick a few random participants to win a Simon Says Stamp grab bag! YAY!
The projects and cards that were shared for March 2019 were blooming with an array of florals! Do you want to see all of the cards and projects that were shared for our previous Work it Wednesday? Check them out; if you are looking for new ideas to try or inspiration using new products, it’s a great place to peruse!
The following three participants from our March 2019 Work It Wednesday were randomly chosen to win a goody bag from Simon Says Stamp:
CONGRATS TO OUR WINNERS! Please email [email protected] with your mailing address and he will get your prize sent out to you.
We were thoroughly inspired by EVERYONES creative ideas, and we look forward to seeing what you make for our newest challenge!
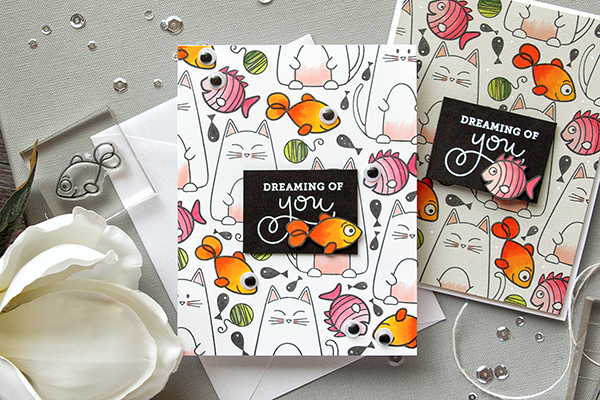
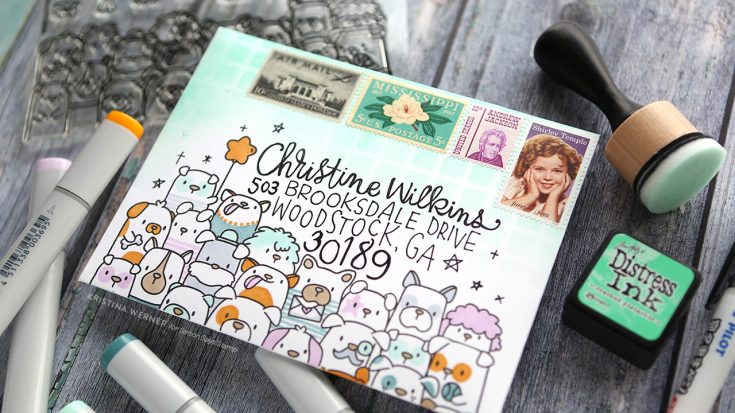
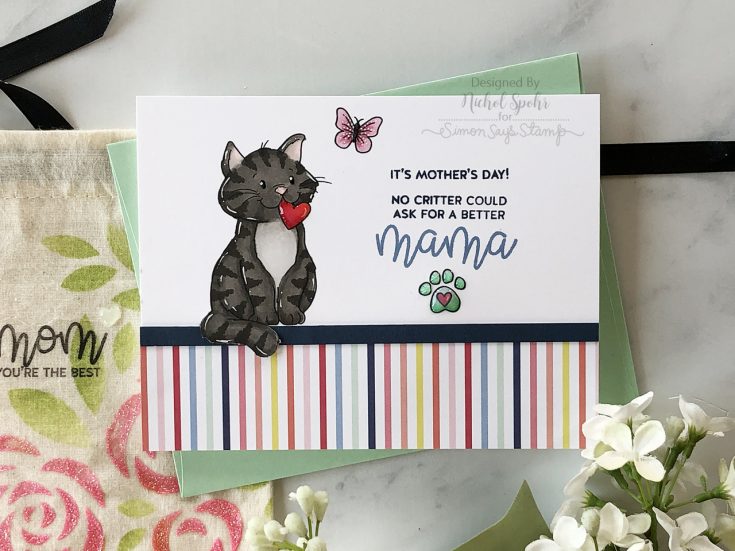
Most of us have at least one pet in our lives, and since we’re almost upon National Pet Week (May 1st – 8th!), it only seemed fitting to make some Pet Projects for this month’s challenge!
Don’t have a pet? Perhaps make a card for a friend or family member that does (with Mother’s Day also fast approaching, “pet mom” cards would be a great way to celebrate our furry friends!
Here are some ideas to get you started!
Once you’ve created your projects, make sure you link your creations below!
Please remember to limit entries to 3 per month.
What are you waiting for crafters? WORK IT!

Blog Candy Alert!! Follow our blog via email and comment on this post for a chance to win special blog candy!
Doodling with Debby: Messy Watercolored Background
Hi, friends Happy Tuesday! I’m delighted to welcome you back to the latest edition of Doodling with Debby with the fabulous Debby Hughes! Today, Debby is spotlighting our super fun Wake Up and Makeup stamp set and some fun vibrant watercoloring! Read on, and be sure to watch the video! Enjoy!

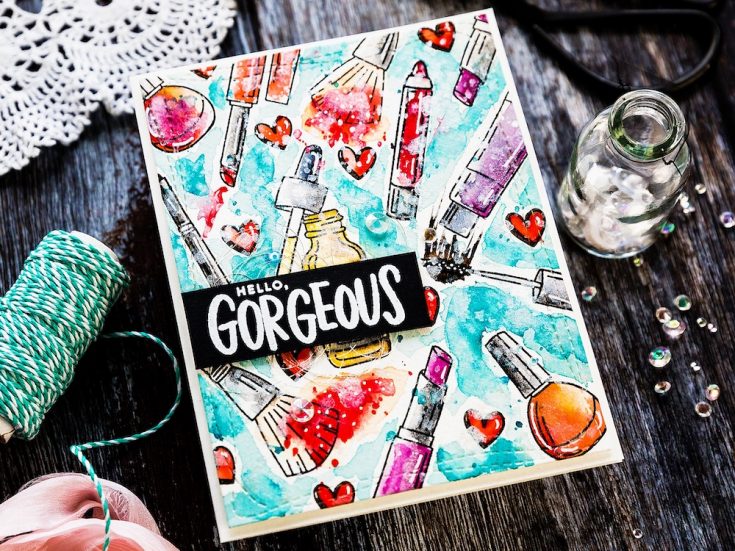
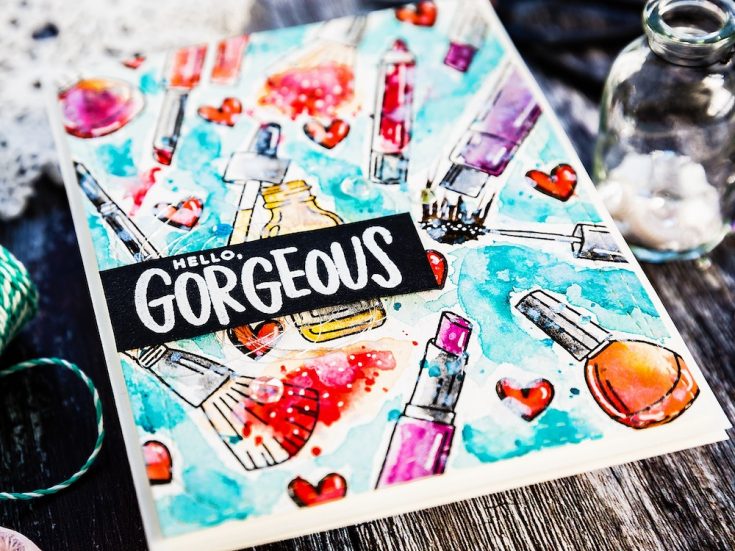
Hi, it’s Debby here and for my Doodling With Debby video feature this month I’m creating a messy watercolor background using the Wake Up And Makeup set from Simon Says Stamp. The joy of a background such as this is it is simple to paint; you don’t need to worry too much about being precise with a loose, messy style adding to the effect.
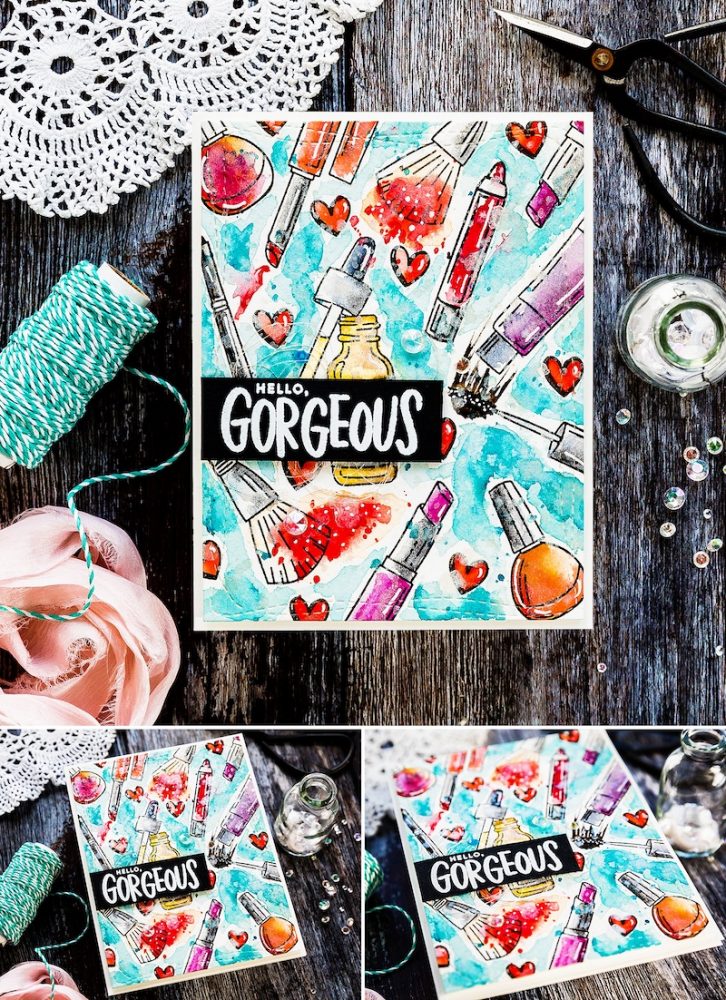
The idea for this card started when I was with a group of crafting friends and started to play around with the set (see the video for a peek at my first attempt). I sort of liked how this card went but it got to get a bit grungy, and I didn’t think that suited makeup. Also, I didn’t like the fact that there were only two pops of blue. So, for today’s video, I redid this card but kept the mistakes I made last time in mind. This time around I used a more extensive selection of the images from the Wake Up And Makeup set and loosely watercolored around the makeup for a fun, fresh teal blue background and as for the makeup, I chose a warm color palette of reds, pinks, oranges and yellows to contrast with the teal background.
I placed a piece of cold pressed watercolor card in the full-size Misti. I’m using the full size rather than the mini so that I can have the images off the edge to create a dynamic pattern. I arranged a selection of the images, keeping them close together but not overlapping and varying the angles. I then stamped them twice in Versafine Onyx Black ink to get a good impression on the textured card.
Now once the stamps were inky, I used a piece of acetate to protect my card while I arrange the stamps for a second time. This way you don’t get any accidental inky smudges. Once the new position is determined, I then picked up the stamps with the door of the Misti and removed the acetate before stamping onto the card. I filled in any more significant gaps between the makeup with the heart image and then taped the card to a board in preparation for watercoloring.
Thinking back to my first attempt at this card, I liked how I’d added the effect of makeup sprinkled onto the background and the mascara streaks too, and so I added those in first before filling in the rest of the background with a loose teal blue wash. I didn’t worry about covering every inch of the background but loosely moved the color around, leaving gaps around the makeup.
While I’m painting, I have a tissue in one hand so if there are areas where the color has gone down too intensely for my liking, I can sop up some of the colors for a softer look. I certainly did this for some of the hearts and that dropper bottle too. The color on the bottle wasn’t quite what I was after, so I dampened the paint again with a wet brush and then picked up some of the colors.
I’m using a dilute black for the caps and areas which I think would be silver and then for the makeup I’m using some lovely warm colors of reds, oranges, and pinks. In the same way for the background, I’m really trying not to go for a precise look, I’m adding blocks of color and not painting right to the edges for that messy look. And the result is that this watercolored background was rapid and straightforward to create.
Moving on and I wanted to add some splatter in places. Firstly, for the makeup brushes and I chose a dilute red for this and generally over the whole panel in teal to match the background. Then I added more splatter in the form of my favorite perfect pearls solution. This added a lovely sparkly finish to the card. As the teal background had dried its color had lightened slightly and so to balance with the depth of color of the makeup pieces, I added a second layer of teal and then more perfect pearls splatter to finish. I dried the panel with a heat tool and then used a white gel pen to add a few highlight details.
With the background now complete I ran it through my die cutting machine with a Wonky Rectangle die for a fun stitched detail to the edges.

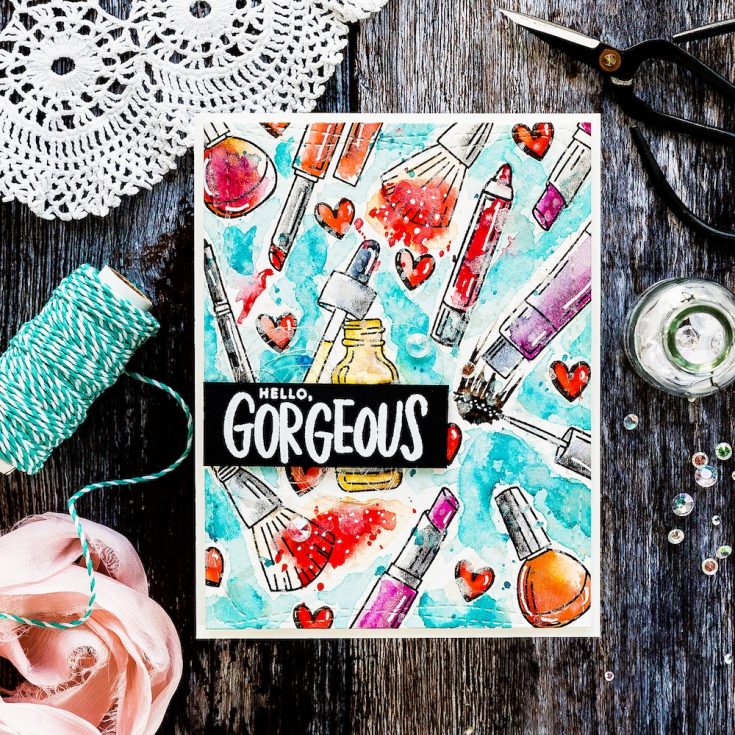
For the sentiment, I picked out the ‘Hello Gorgeous’ greeting and lined it up on a piece of black card in the Misti. I treated the card with an antistatic powder bag to prevent embossing powder randomly sticking everywhere and then stamped the sentiment in clear embossing ink before sprinkling with white embossing powder and heat setting. I trimmed the piece to a banner and added foam adhesive to the back. I then removed the adhesive backer and added some silver thread I’d looped around my fingers to the back. I then added the sentiment to the watercolored background offset to the lower left using a T square ruler to ensure I had it on straight. I then added more foam adhesive to the back of the panel and added it to a side folding A2 card base cut from Ivory card. I find this card a good match for the warm white of watercolor card.
As a final accent you can’t beat a bit of bling, and so I added a trio of Opalescent Diamonds from Little Things By Lucy’s Cards and kept them in place with Gina K connect glue.
Comparing the first attempt next to my finished card and I certainly prefer the brighter colors and teal background of the final version.
Thanks for joining me today, and I’ll see you next time for Doodling With Debby.
SUPPLIES:
|


Thanks so much for stopping by, and thanks to Debby for being our guest!

Blog Candy Alert!! Follow our blog via email and comment on this post for a chance to win special blog candy!


