Yippee for Yana: Unisex Valentine’s Day Card
Hi friends! You won’t want to miss this bright beauty by Yana Smakula as the latest installment in our Yippee for Yana card making blog series! Read on and enjoy!
Hi everyone, this is Yana Smakula, welcome back for another Yippee For Yana video! In this episode, I have a unisex Valentine’s Day card featuring a ton of colorful die cutting using Simon’s Ampersand Words coordinating dies and some hot foiling.
I’ve looked through my leftover colored cardstock basket and picked several sheets of colored cardstock – this is cardstock from Simon Says Stamp as well as Hero Arts as these are my two favorite brands for colored cardstock in terms of cardstock quality and color.
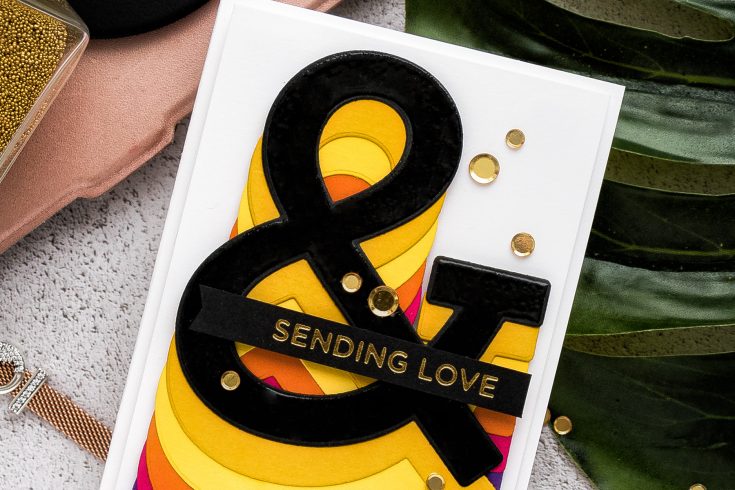
The number 1 step in creating this card is die cutting! I die cut a large ampersand from each of the colored cardstock sheets I had picked. Next, I’ve stacked them one on top of the other and topped everything with a bold black die-cut. The black ampersand is where I want to do heat embossing to add some more color and also glossy shine. To do this, I placed the die-cut into one of the negative cardstock pieces that I had leftover from my die cutting and placed it inside a mini MISTI stamping tool. Next, I aligned the ampersand stamp over the die cut and closed the lid of my MISTI to mount the stamp. You can do it the other way around – heat emboss the image first and die cut it later, I wanted to have all of the die-cutting done first so that’s why I did it this way.
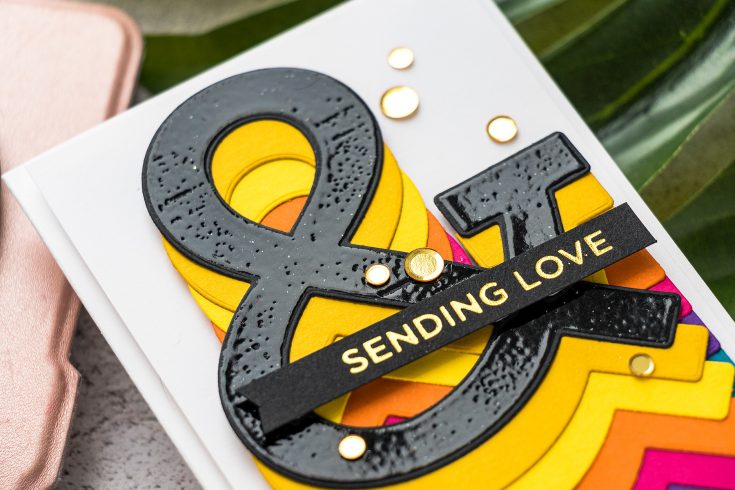
Next, I inked up the stamp with Simon’s clear embossing ink and stamped it making sure to press firmly all over the image to transfer the ink. I poured clear embossing powder onto my die cut and used the heat tool to melt the powder in place. This gave me a somewhat of a glossy finish to my die cut. I quite liked the look, but I wanted the gloss to be more solid, so I repeated the process. You can build up and add more layers to have more gloss and shine on your die cuts.
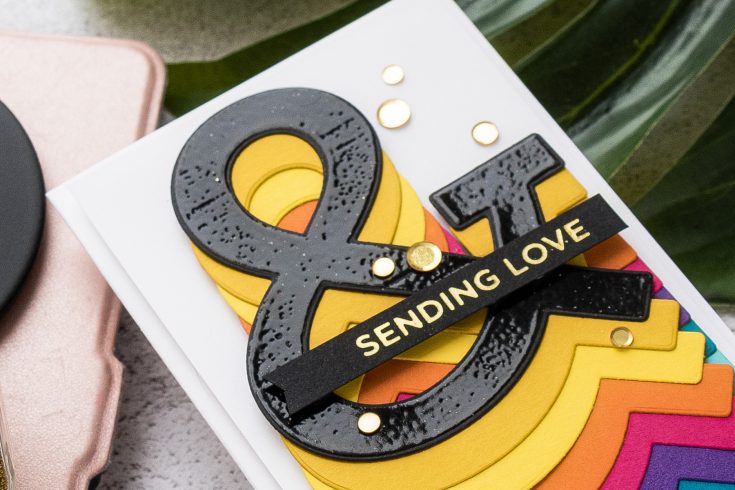
Moving on I started working on sentiment for my card. Since I had a lot of bold colors and the overall design was pretty bold I wanted something classy to go along with it. I decided to do hot foiling. I picked Sending Love glimmer hot foil plate from Spellbinders Everyday Sentiments Glimmer plate set and gold foil. Since the top ampersand was done in black I decided to use black cardstock for the foiling
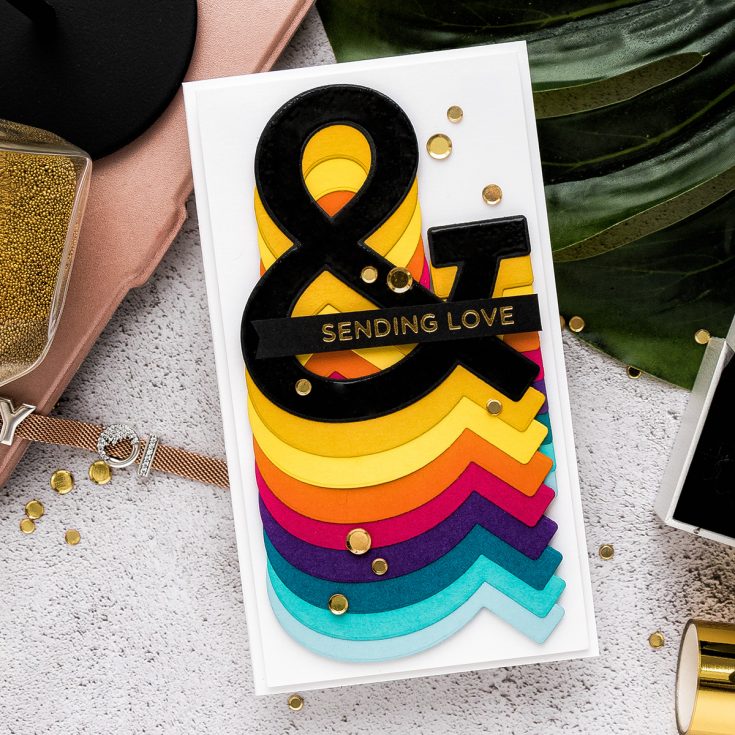
With all the parts and pieces finished I was ready to assemble the card. This was not going to be a standard A2 card, but a slimmer taller card. I adhered the ampersands together using glue. To do this, I used grid lines of my paper pad. I taped the first ampersand down taking the grid lines into consideration.
The colors of cardstock I used are Sea Glass from Simon, Audrey Blue, also from Simon, Adriatic from Hero Arts, Royal Purple from Simon, Azalea from Hero Arts, Burnt Orange from Simon, Sunshine, also from Simon, Mustard from Hero Arts and Black from Simon.
This look is very much inspired by Laura Bassen, I love her expert use of colored cardstock and I think the cards she makes always look absolutely fabulous.
Having adhered all the ampersands I used foam adhesive squared and foam mounted the cluster onto a white panel. And then trimmed the panel to about 6” tall. I also trimmed the card base to about 6 1/4” tall.
I adhered the panel onto the card using foam adhesive – I really like to add a lot of dimension to my projects and then I added the Sending love foiled sentiment over it, also using foam adhesive.
Finally, I embellished the card using Stay Gold sequins. Here’s the look at the finished card. I simply adore this bold colorful design and I love the way it turned out.
SUPPLIES:
|
Thanks so much for stopping by and thanks to Yana for being our guest!


I love how you used different colors with the same shape……nice
love the look of this colorful card – the hot foiling really makes an impact – love it:)
This is so pretty Yana, I can totally see Laura’s influence on this one ?. Well done.
How Cool! LOVE all the layers!
AWESOME BIG & BOLD!!!!
What a fun idea!! Love how you made the black one glossy and shiny; it’s really eye-catching!
Fantastic card! I love the rainbow series of &.
Thanks for sharing your fun card Yana–love all the colors of the ampersand.
Love the stacked colors!
Awesome card and such a creative idea! Love all the colors!
Such a fun card! Love all that yummy black embossing.
Super Fun and Colorful card!!! Love it!!!
Unique and colorful design.
A bright and happy card! Can see that it was inspired by Laura, when I saw the picture, I thought it was hers. It’s lovely! Thanks for sharing it with us,
Great use of colors!
What a fun card!
Thanks so much for sharing…
Creative!
This is such fun!
So clever! tfs
This is a striking card!
Interesting idea, and the colors are so fun!
Really great card
Loving the color palette you chose!
These are awesome cards!
Beautiful card and stamp set!
Fabulous card Yana, great idea to use the big ampersand die and stamp this way. Gorgous how you finished it of with gold foil and sequins.
Thank you so much for sharing and have a great day.
Awesome card. Hugz
Great card. Love the ampersand and your use of color.
What a cool and fun card!!
Hi Yana. I have never understood why anyone would use an ampersand on a card, but after seeing this gorgeous, vibrant, colourful card, I finally understand. LOVE IT! Thanks for changing my mind. As always, I love watching you create your cards. TFS,