Yippee for Yana: Positive Mermaid Vibes Card
Hi friends! Happy Tuesday! You’ll want to DIVE right in to this great new feature by Yana Smakula! Read on and enjoy!

Hi everyone, this is Yana Smakula, welcome back for another Yippee For Yana video! In this episode, I am sharing a summery Positive Mermaid Vibes Card with Simon’s latest Be a Mermaid stamp set. This is a fun and easy to make project that doesn’t need a whole lot of supplies.
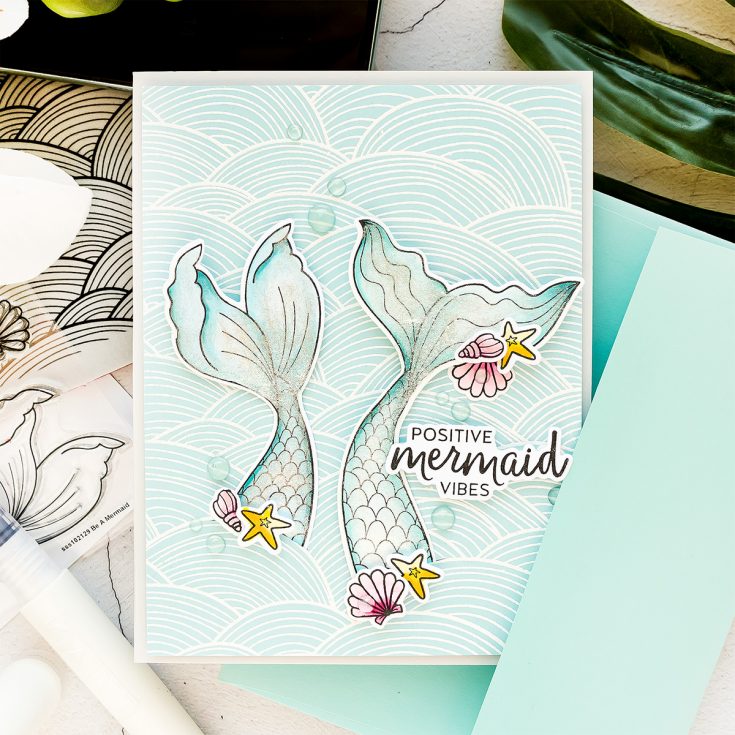
I started to work on my card by heat embossing the Out To Sea background stamp in Simon’s Detail White embossing powder on Sea Glass cardstock. I tried stamping this background in black on white and coloring it with Copic markers for a similar look, but truth be told I really overcomplicated it, so I gave up that idea and just did good old heat embossing in white embossing powder. After all, white embossing always looks fantastic. And it works really well for this stamp.
I love the look of these waves on light blue cardstock! I think this background would also be fun to emboss on various shades of blue and blue-green cardstock, cut the individual waves out, and layer as if coloring the background with paper. I did share this technique last year in another video featuring Simon’s Waves background, that video is called Color with Paper Stamping, in case you’d like to check it out.
Next, I stamped several images from the Be a Mermaid stamp set in Simon’s Intense Black ink on white cardstock and did quick Copic marker coloring.
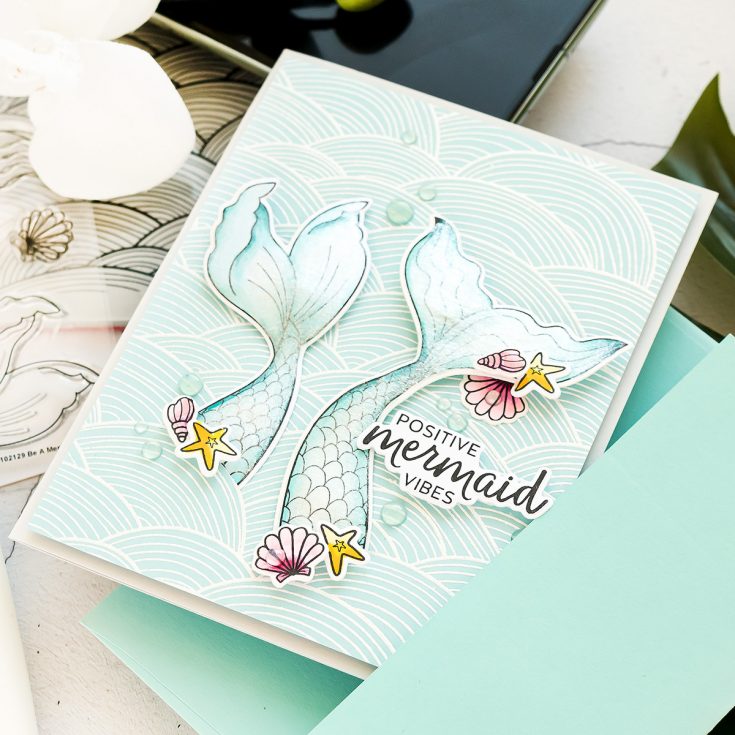
I used RV00, RV10, and RV09 to color the seashells pink. I got this idea from Nina–Marie Trapani , she colored the seashells on her recent card pink and yellow and I thought that was such a fabulous idea! Otherwise, I would probably color them the natural seashell color!
To color both of my mermaid tails I used B000, BG45, and BG09 markers. I also used yellow markers to color the starfish and here I went with Y11, Y08, and Y17 markers. These are small images, so not a lot of blending can take place. Doing quick coloring is really the best way to go.
There are coordinating dies available and so I used mine off-camera to cut these images out.
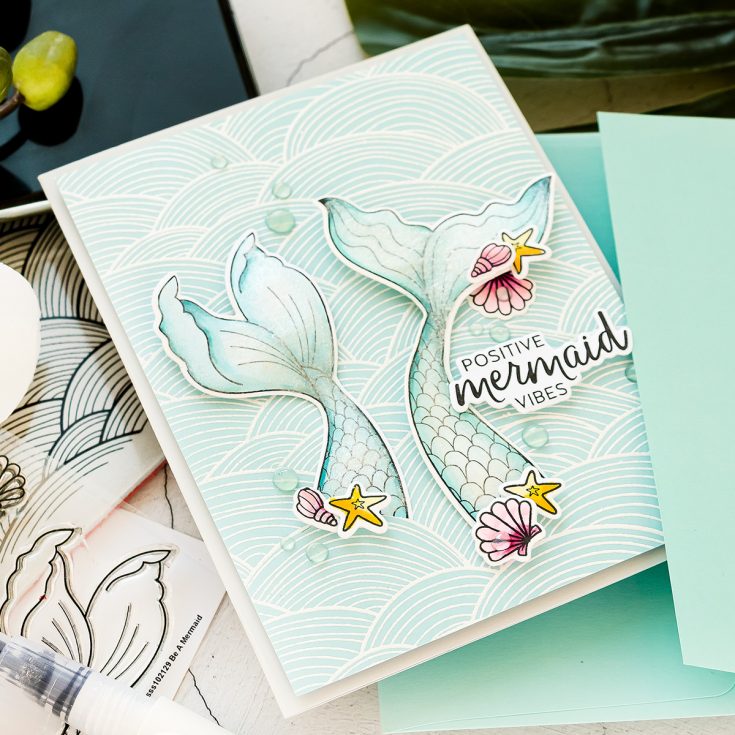
I trimmed my heat embossed background to 4 x 5 1/4”. My idea was to slide the mermaid tails into the waves and to do that I needed to make tiny slits in my background. Easily doable using a craft knife. Just remember to cut the paper on your craft mat and not on your desk! Follow the curve of the wave and you have yourself a perfectly cut slit!
I added my seashells using foam adhesive squares and glue, I also created a sentient that reads Positive Mermaid Vibes, I love that this sentiment has a coordinating die!
I added large foam adhesive squares behind the mermaid tails, but I didn’t remove the backing paper, so these aren’t actually adhered to the card, they are just raised.
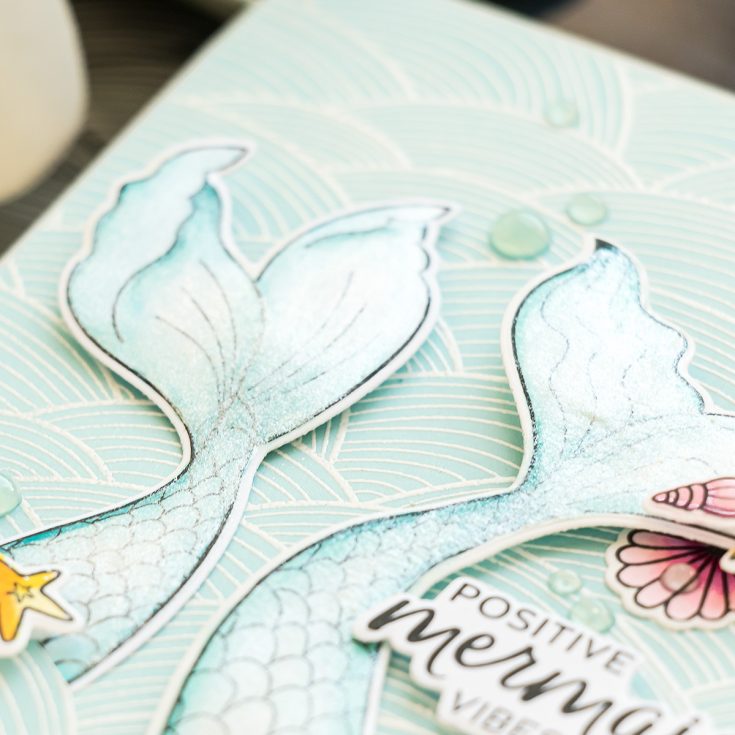
Next, to add sparkle and make the tails look wet I used a Tonic Studios Nuvo Shimmer pen in Glitter Gloss and gave these a very generous coat of silver glitter. Lastly, I added several dimensional water baubles using Nuvo Drops in Sea Breeze! Have fun stamping!
WATCH THE VIDEO:
SUPPLIES:
|


Thanks so much for stopping by and thanks to Yana for being our guest!


Like the soft colors of this card, Yana. It’s just right for this card design and the dimension you’ve created. tfs-stay well.
Ooooooh, I LOVE this card, so soft and summery and that shimmer is awesome! (PS, I always admire your nails in your videos!).
Gorgeous Yana!
Wow!! Really Beautiful!!!!
Cute. I like the soft colors.
Beautiful! Love the colors on this and the fun shimmer and shine!!
Oooooh so beautiful!!
Oh wow, this is so pretty