Yippee for Yana: Faceted Stencil
Hi friends! Happy Tuesday! Please join me in

Hello and welcome back for another Yippee For Yana video! In this episode, I will show you how to create a modern one-layer greeting card using Simon’s new Faceted Stripes Stencil.
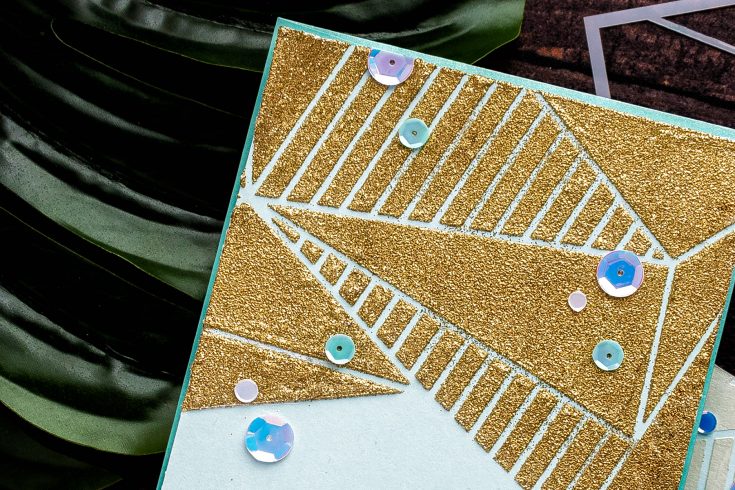
I started with a piece of sea glass cardstock cut to 4 1/4 x 5 1/2” to make the front of my card. I attached the stencil over it masking a part of it. I wanted to use the upper portion of the stencil and reserve the bottom portion of the panel for a pretty sentiment. I used washi tape from my stash to attach and mask stencil.
Once you’ve masked off the areas you want to preserve it’s time to apply the product over the stencil to create a background. Truth be told there are so many different products on the market these days – you can create any sort of background you can possibly imagine. I am going with a rather simple and basic look here and using Modeling paste as a base and glitter embossing powder as a topcoat.
First I applied a generous amount of Modeling paste in white from the Crafters Workshop – I love this product, it is a pleasure to work with when combined with stencils. Next, I carefully removed the stencil (and washed it immediately).
To add the glitter topcoat I used Hero Arts Gold Glitter embossing powder. This is a wonderful product – think gorgeous gold embossing powder and lots of pretty gold glitter added to the mix.
The powder sticks nicely to the wet paste and you don’t even need to use embossing ink here. The next step is to heat set the design.
Often it’s best to wait for the paste to dry on its own as it can bubble up, this paste seems to react okay to the heat. If you use a different product and don’t want it to bubble up, set your background aside to dry naturally and then, once the paste, is dry use your heat tool to melt the powder.
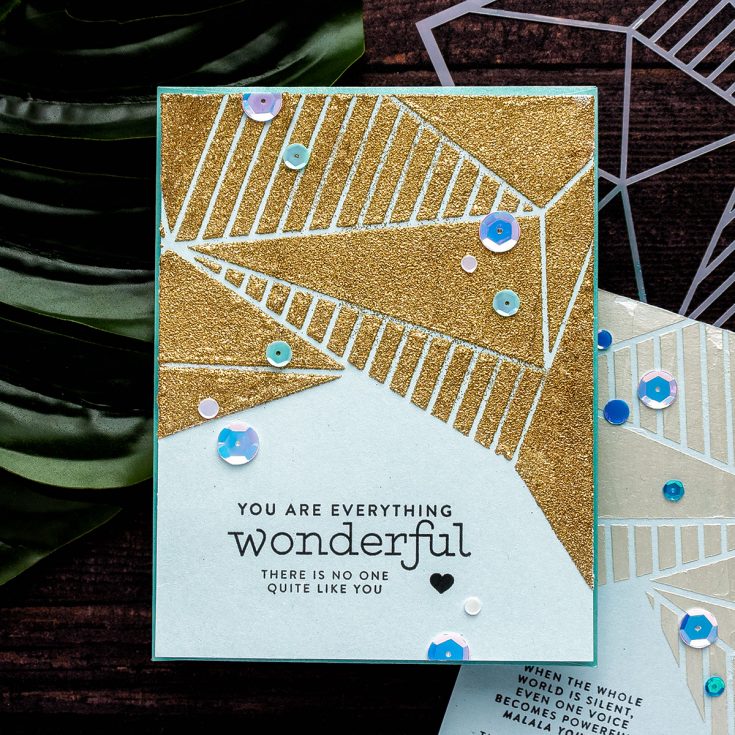
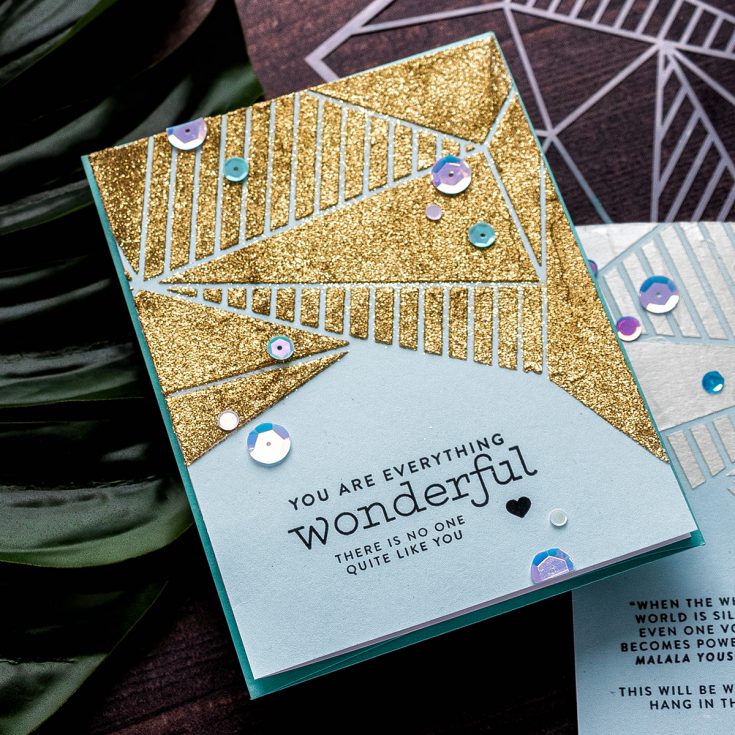
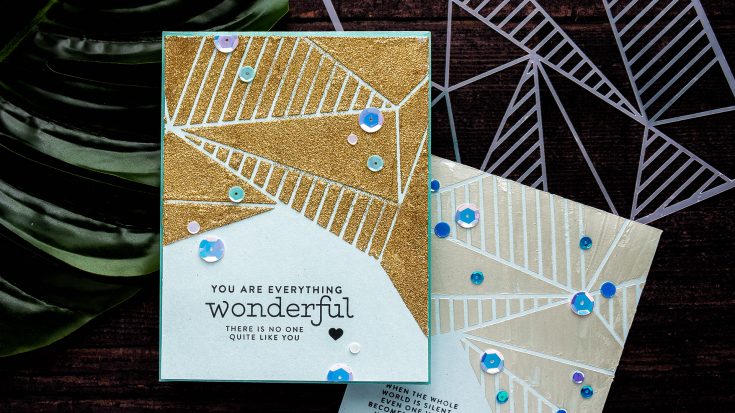
With the background done we need to add a sentiment. For this, I combined messages from Greetings Mix 1 and Tiny Words Encouragement sets to create a sentiment that reads: “You Are Everything Wonderful. There’s no one quite like you”. I stamped both plus a little heart in black ink.
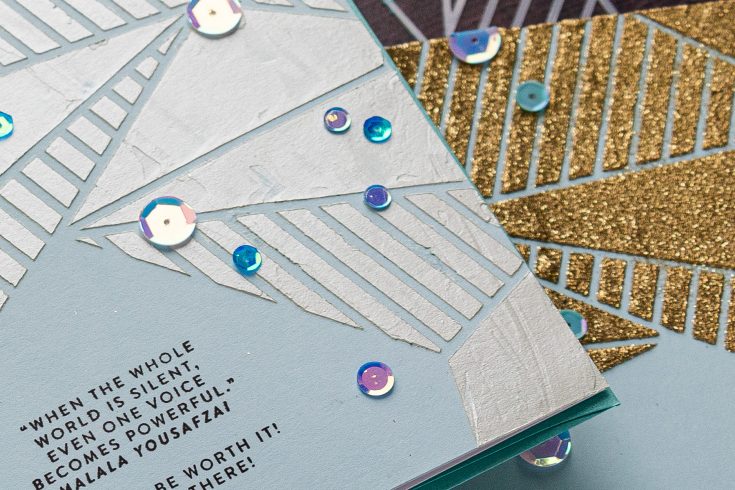
After adhering this panel to A2 white side folding card base I added sequins from the Star Spangled set to decorate the card.
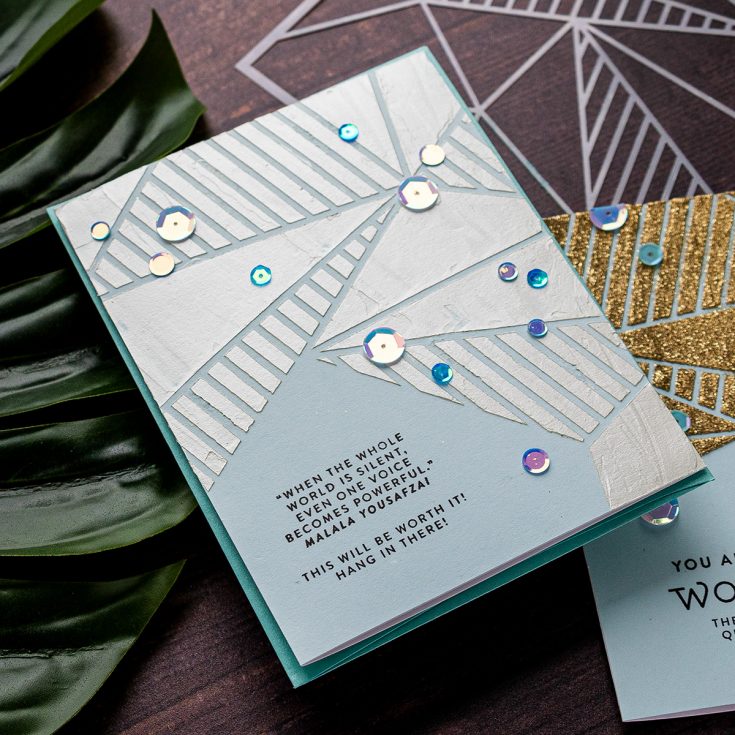
Here’s another take on the same idea but using a different product to make a background – this was done using Tonic Studios Nuvo Mousse in Honeydew color.
I hope you will give this idea a try. If you do make a card inspired by this video, we’d love it if you shared your project and tagged us on social media – we love seeing what you make!
Have fun stamping!
SUPPLIES:
|


Thanks so much for stopping by, and thanks to Yana for being our guest!

Blog Candy Alert!! Follow our blog via email and comment on this post for a chance to win special blog candy!


These are stunning! I love the gold one, especially. Wow!
Oh wow, these are so pretty!
I love the way you’ve framed the sentiment! Gorgeous!
These are gorgeous!! I especially like the gold one.
Oh Yana, these are really pretty, like the bold look of them, especially the second version x
Lovely! It is hard to find card ideas that can be used for men as wet as women and this card fits the bill! Thank you for sharing!
Beautiful work, as always. I love the gold.
Gold plus glitter is awesomeness.
Love the way you used just a part of the stencil.
Love the simplicity of the cards.
WOW
LOVE geometric designs and ADORE your LUXURIOUS gold embossing!
I am definitely going to give this a try. Beautiful cards.
awesome
Lovely cards, modern and chic. What a fun stencil! Thanks for the inspiration!
Love how these cards look. :)
Gold always makes a very elegant Impression. Great for the upcoming Holiday Season.
It makes really beautiful and “chic” backgrounds :-) Thanks for the video.
So unique, yet so beautiful at the same time.
What a Super Incredible Creative job with the stencil!
love the wonderful texture on these amazing looking cards
Wow. These are beautiful. Simple and sparkly.
Beautiful stencil and your cards are fabulous. HUgz
Wow, these are both really cool!! The texture is really fabulous with this awesome stencil!