Yippee for Yana: Delicate Outline Flowers Card

Hi friends! Happy Wednesday! Please join me in welcoming special guest Yana Smakula! Read on and be sure to watch the video to learn all about making this gorgeous card! Enjoy!
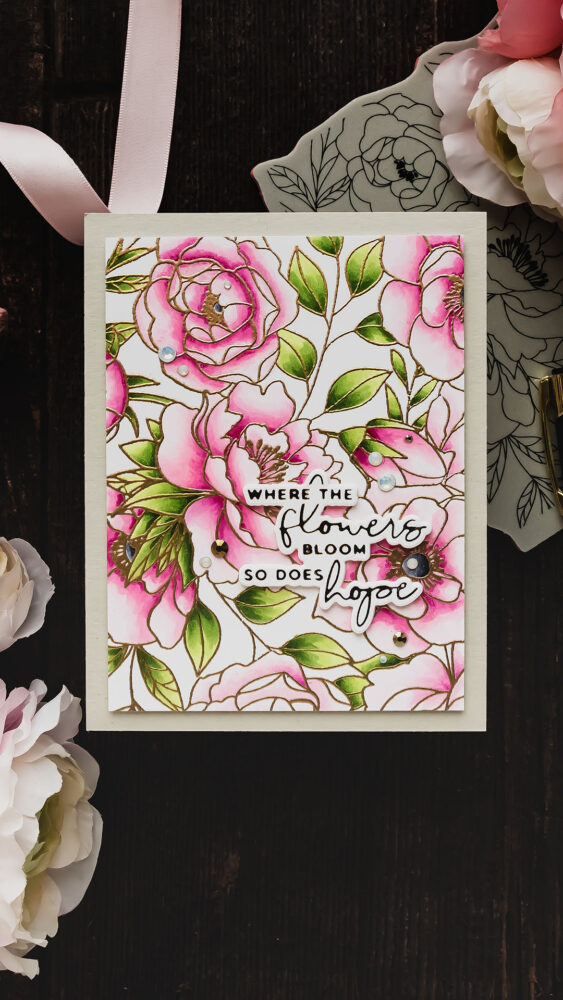
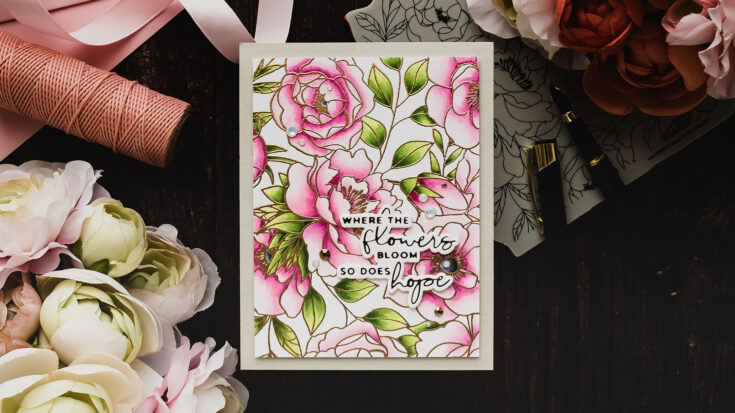
Hello, crafters, this is Yana Smakula for Simon Says Stamp! Welcome back for another Yippee For Yana video! In today’s video I am creating a floral card featuring Simon’s Delicate Outline Flowers cling background stamp.
I used Simon’s 120lb cardstock for my stamping and coloring, I love how Copic markers blend on this paper, it has a special coating and I feel that helps the Copic markers blend. I stamped the image and heat embossed it in Simon’s Antique Gold embossing powder. It is my favorite color and I love to use it most when I am heat embossing florals.
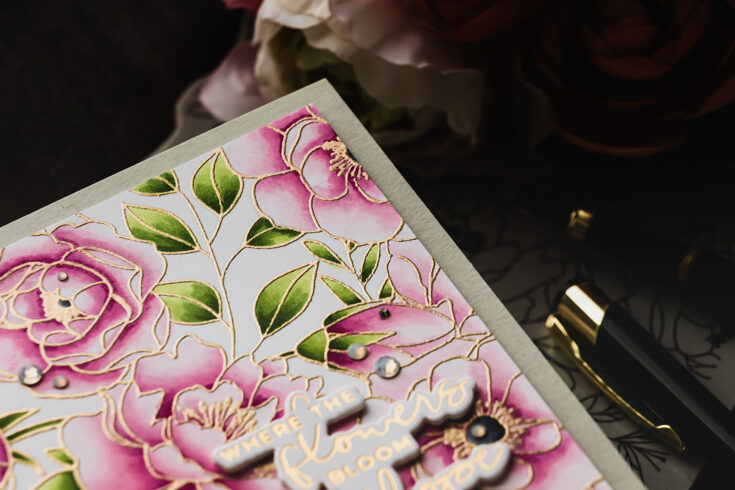
Embossing powder and Copic markers or any alcohol markers don’t really mix well together. You can damage the tip of your marker when you color over an embossed outline so you do have to be careful. I’ve done this quite a few times already and I really love the look of Copic coloring combined with a heat embossed outline, so I am willing to take the risk. But, like I said, do be careful.
I picked just a handful of Copic markers for my coloring, I am not one to use lots of colors, I typically go with just 3 or 4 shades. Here I am using RV00, my lightest pink, this color will coat all of the flower petals to give them a very pale pink tint. I also have RV10, this is my medium pink and also one that I will use to mix with the RV09 marker to really blend the two colors together and, of course the RV09 marker, which is my darkest pink, I will use this to add deep shading to these florals.

I started by wiping the paper with a cloth to remove any residual anti static powder I might have left on the paper. If you don’t do this, you’ll end up picking up that powder with the tip of your Copic markers and that’s not good.
I started by applying the lightest color, the RV00. Next, I applied my medium color, RV10 and I flicked it coming in from the base of the petal. Next, I applied the RV09 color and again, I flicked it coming in from the base of the petal, but not as far as I did the previous color. The RV09 is much, much darker than the RV10 and to create a gradual transition between the 2 colors I kissed my RV09 to the RV09 to temporarily create a different color/shade in my marker. Darker than RV10, but lighter than RV09.
You can do this with all of your Copic markers or all of your alcohol markers – simply touch the marker tips to have one color transfer into the other marker to create a new shade. Touch just for a second or two to have very little color transfer, or touch for a few seconds, maybe 5 or even 10 to have a lot more of the color transferred into the other marker. If you’ve ever used the Chameleon markers, this is the same concept – you kiss two shades, to create a third shade.
Next, I colored the leaves. Here I didn’t use this trick, instead I just picked 4 shades of green – YG67, the darkest green, YG17, medium green, YG03 another medium green and YG01 – the lightest green. I wanted to add very deep dark green shadows to the leaves, so I used the YG67 marker a lot to achieve that look.

I used C9, C7 and C5 to color the flower centers. I wanted to back this panel with light gray cardstock, so I used Simon’s Fog cardstock to cover the front of an A2 card base. I trimmed my colored panel to 3 ¾ x 5” and foam mounted onto the card.
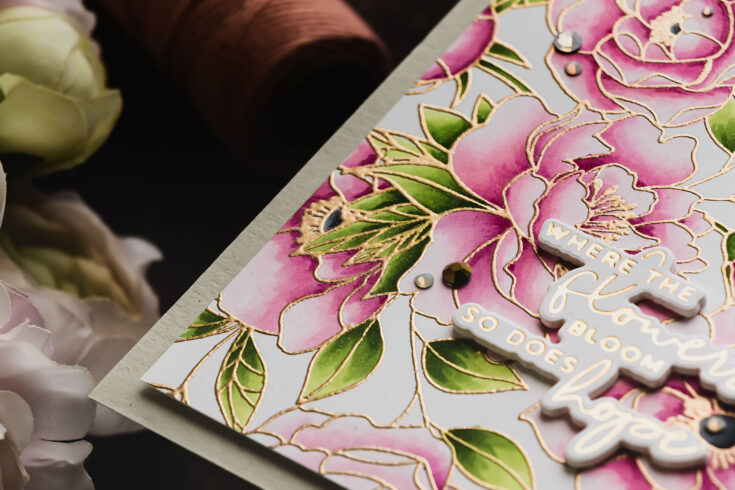
From here you can take your card anywhere you like in terms of a theme and sentiment. I foiled a sentiment for my card and the sentiment reads – Where the flowers bloom, so does hope. I used a glimmer plate from my Blooming Floral Background set from Spellbinders and foiled it in gold foil on Spellbinders Specialty Glimmer cardstock. I love how well this cardstock foils! This glimmer plate also has a coordinating die. I used the die to cut the foiled sentiment out and also to cut 4 additional blank layers. These will help add dimension to my card.
I used Bearly Art glue and adhered the layers together and also onto the card. I also used gems from Spellbinders to add some sparkle to the card. I used some from the Crystal mix and also some from the Gold mix. And that finished my card! Have fun stamping!
WATCH THE VIDEO:
SUPPLIES:
|


Thanks so much for stopping by, and thanks to Yana for being our guest!


It’s gorgeous!!
Absolutely Stunning card Yana!!! LOVE it!!
So gorgeous… I am going to try that Simon gold embossing. It is truly wonderful looking… TFS always appreciate your videos and tips.
Beautiful card Yana-love the coloring!
Just lovely! Liked that tip about touching the tip of another marker to another so that you get a different color. That way you don’t need so many marker colors.
This is so pretty
I really enjoyed learning how you for this fabulous look on your design . I also will take lots of notice of not only your tips for colour mixing but your warning about ruining the end of pens. Thank you for inspiring me x