[3 ways!] Card Making with Tiny Stamps: Yippee for Yana

Hi friends! Happy Monday! These cards are SO sweet we couldn’t resist re-sharing this post and ideas for sweet Easter cards OR any sets from your stash with “tiny” stamps. Please join me in welcoming the oh-so-talented and amazing Yana Smakula! (Please note; our dear friend Yana is Ukrainian, to show support to our brothers and sisters in Ukraine, please see Yana’s post HERE.)
Hello, crafters, this is Yana Smakula for Simon Says Stamp! Welcome back for another Yippee For Yana video!
In this video, I’m sharing several ideas for creating with tiny stamps. Almost every stamp set out there includes some sort of tiny supportive images, the main goal of which is to complement the main image or images in that particular set.
Let’s look at the Bunny Blessings stamp set from Simon, for example, you have your main images – the bunnies in various poses and the 2 birch tree images. Everything in between is filled with tiny images designed to help you build the scenes for the bunnies. You have flowers, eggs, butterflies, and more.
We often forget about these tiny images and can even overlook them in our card making. But creating with tiny images is super fun as there are lots of ways you can use them. I encourage you to dig through your stash, pick a stamp set with some tiny stamps and create with me.
I thought about 3 different ways to create cards using tiny stamps:
- Use just one tiny image repeatedly to create an entire background.
- Use tiny images to form a simple shape on a card.
- Build little scenes using tiny images.
I used my mini MISTI stamping tool and stamped a row of tiny stamps from this stamp set onto white cardstock. I cut my paper into smaller panels to be able to stamp the images efficiently without having to re-position the stamps on the lid of my MISTI.
Next, I used my Copic markers and colored each image using 2 or 3 shades. With the coloring finished I used coordinating dies and cut these out.
Next, I used Simon’s triangle trays and sorted my die cuts – flowers and bows into one tray, carrots into another, butterflies into another, and eggs into another. With the die cuts done I started to build my cards.
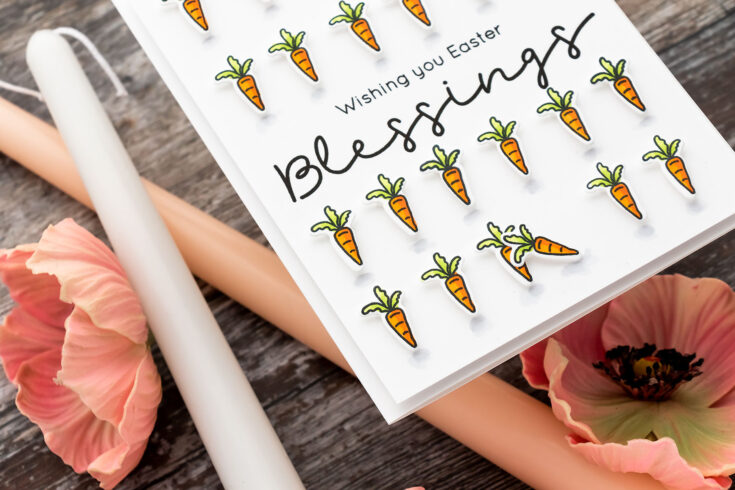
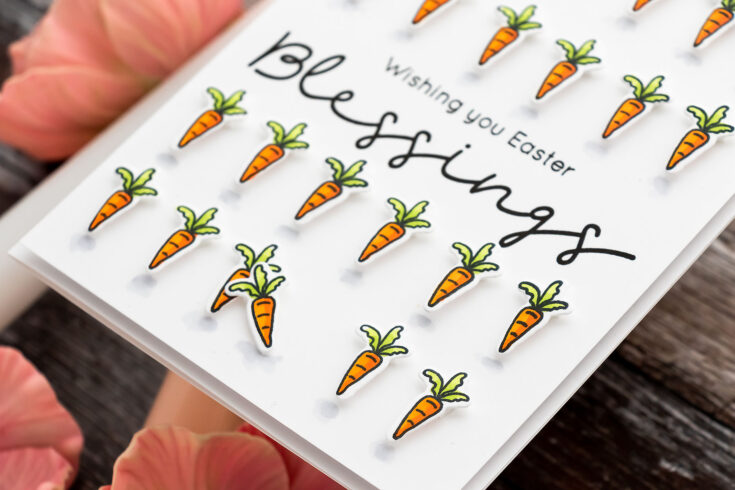
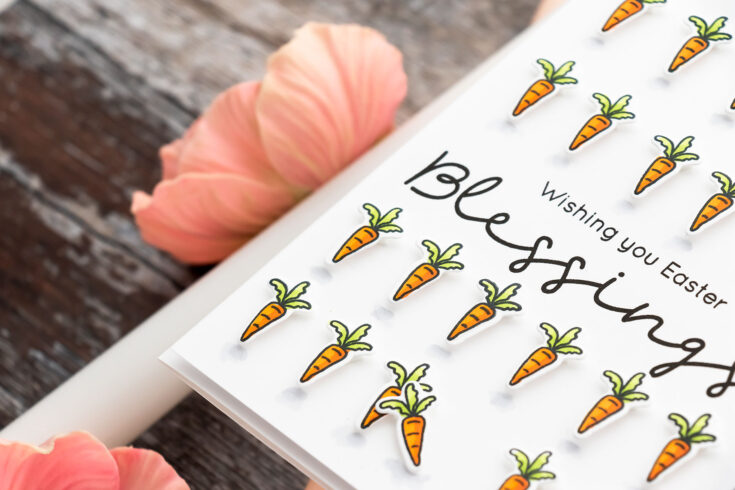
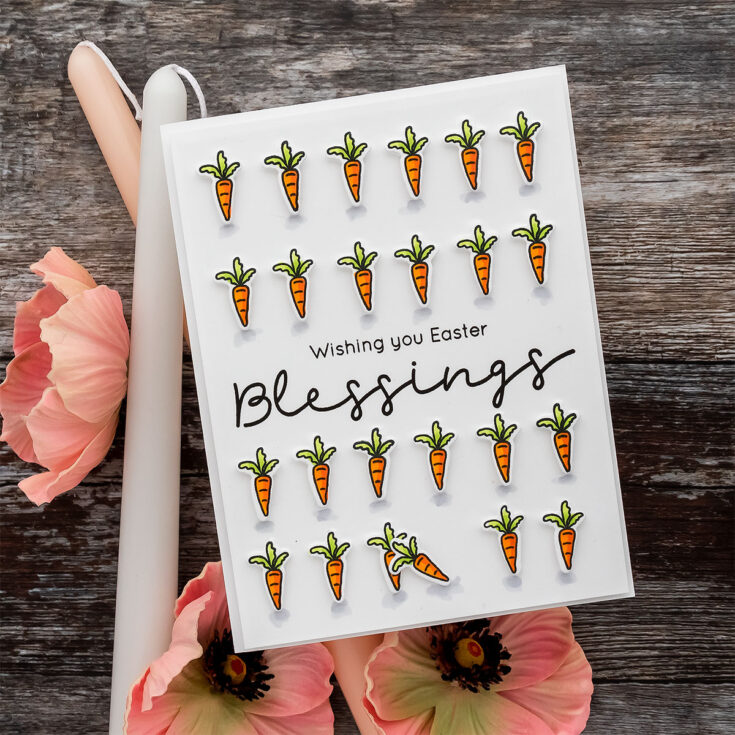
My first card uses just one design, a carrot, to create a linear pattern for the card. I first stamped a sentiment in the center of the panel using VersaFine Onyx Black ink – I’m making Easter cards and the sentiment reads Wishing You Easter Blessings.
I poured my carrot die cuts onto the desk and added a foam square onto each before placing each carrot onto my background. I first needed to position the carrots before I would foam mount them on the card.
You can use a different image instead of a carrot for this type of card background. For example, this can be a heart, a leaf, a tiny branch, a fruit, a tiny gift, and more.
Once I positioned the carrots and was happy with the placement I foam mounted them one by one. I did add a twist to my linear design by leaning one of the bottom carrots onto the one next to it. I wanted to do that to break up the monotony of this design and add an unexpected element to it.
Next, I added shading under each carrot using C3 and then a C1 marker. I trimmed this panel to 4 x 5 1/4” and foam mounted it onto A2 card base creating a very Clean & Simple card.
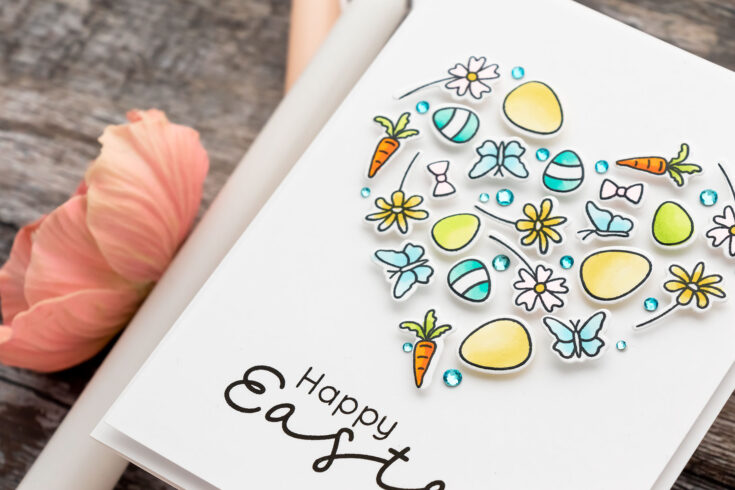
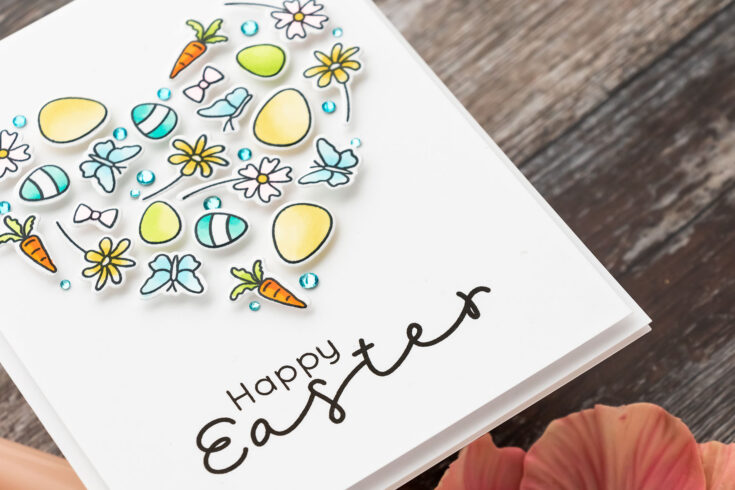
For my next card, I created a heart shape focal point using all of the various tiny images. To make things easier, I used a heart mask from Simon – I positioned the mask onto a piece of white cardstock cut to 4 ¼” x 5 ½” and taped the mask in place. This gave me the perfect guide for creating my heart. I added the tiny shapes one by one filling the heart in.
You can also create a circle shape for an everyday card or an elongated triangle for a Christmas card. Building these shapes is super fun and this really lets you utilize your tiny stamps. If you don’t have a stencil mask to help you define the shape on your background you can simply trace a shape using a pencil and just erase the pencil line once you are done. The stencil masks are optional, but they are like MISTI – they make the job a thousand times easier.
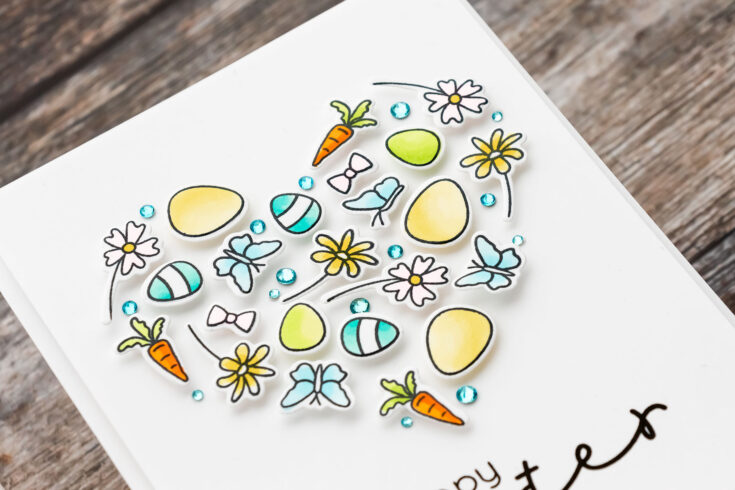
I foam mounted each of the shapes and filled the gaps in with teal gems. I stamped a sentiment under the shape and foam mounted this background onto an A2 card base.
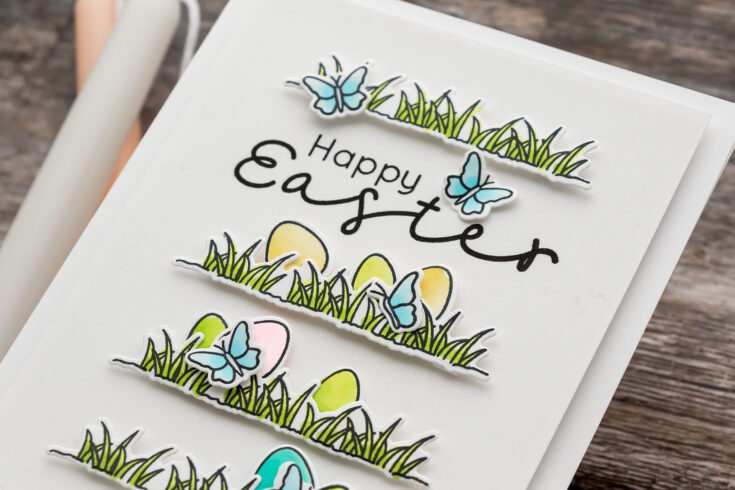
For my third card, I used tiny images to build an easter scene. I additionally stamped, colored, and cut out 4 grass pieces, to help me ground the scene. I used another stencil mask from Simon – this time a rectangle one for A2 cards and added 4 rows of grass, separated by a Happy Easter sentiment and filled with some easter eggs and butterflies.
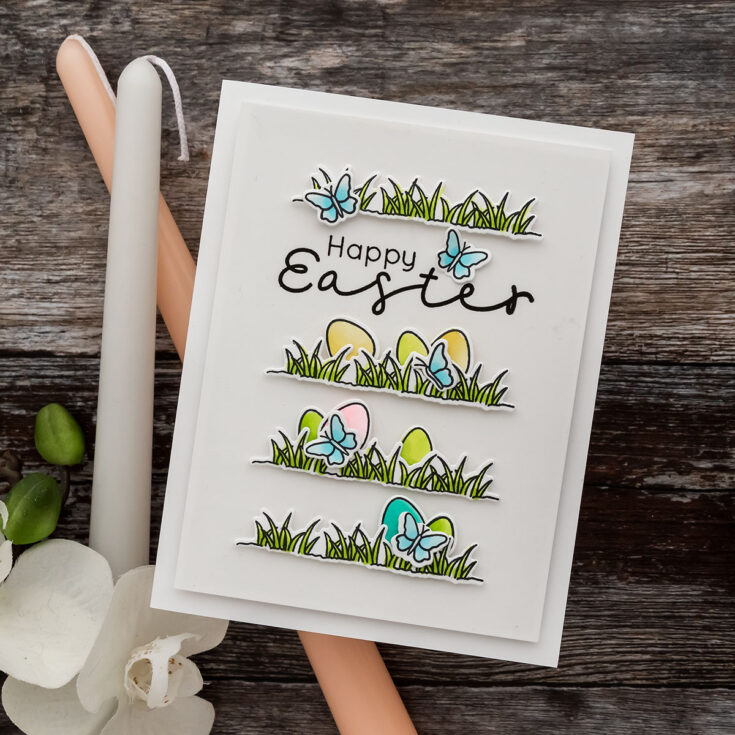
Tiny stamps provide countless stamping opportunities as they allow you to create all sorts of designs. I hope you’ll give this idea a try! Have fun stamping!
WATCH THE VIDEO:
SUPPLIES:
|


Thanks so much for stopping by, and thanks again to Yana for being our guest!
Ways to support Ukraine:
If you are looking for ways to support Ukraine, we encourage you to visit this page on Yana’s blog:


These are Beautiful!!! Thanks for showing these again!!!
Great ideas!
These are adorable … I especially love the heart one