Yippee for Yana: Abstract Backgrounds with Ink Pads

Hi friends! Happy Tuesday! Please join me in welcoming back special bi-monthly guest Yana Smakula to our blog! Read on, and be sure to watch the video for all the details! Enjoy!
Hello, crafters, this is Yana Smakula for Simon Says Stamp! Welcome back for another Yippee For Yana video! In this video, I’m sharing my secret for creating abstract painted-like backgrounds using nothing more but ink pads.
My trick to creating these painted-like abstract backgrounds is using the right type of paper. I’ve found that glossy synthetic papers work best for this technique as they don’t absorb the ink as fast as the regular papers do, giving you lighter color and allowing you time to manipulate the ink on the paper.
I am using Spellbinders Specialty Glimmer paper, it is designed for hot foil stamping, but I’ve found it works amazingly well for this technique. You can try other synthetic or glossy papers you have in your stash to achieve similar results.
I prefer to use Simon’s Pawsitively Saturated inks for this technique. I find this type of ink and this type of ink pad foam to work much better for this technique.
And all I do is direct to paper. I apply the ink onto the paper and next, if I need to, I use my finger to blend it out. I’ve found that the dryer the ink pad, the less ink the ink pad has, the better results I get as I don’t transfer as much ink onto the paper and I don’t have to blend it out as much.
Here are my top tips for building these backgrounds:
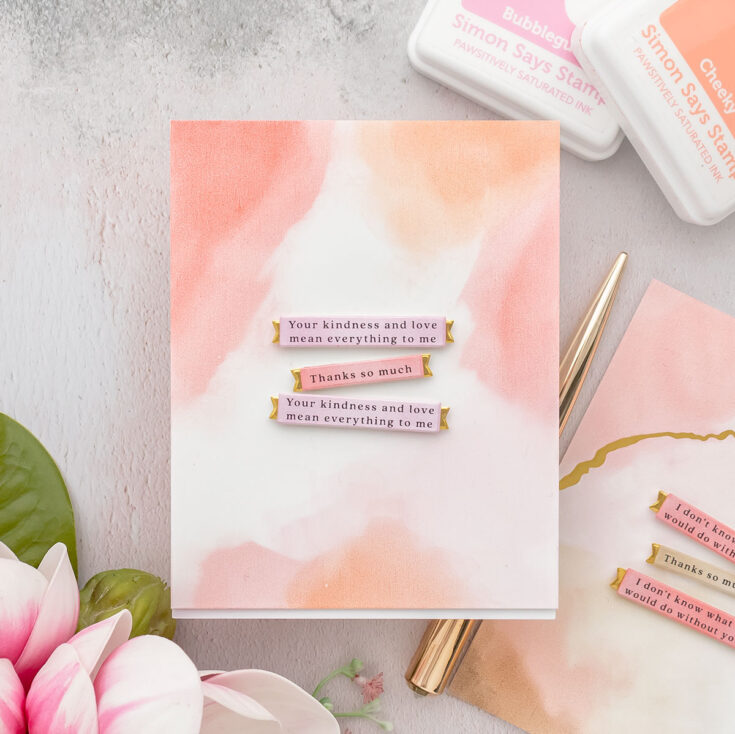
- Apply ink from the edges in. I don’t add ink in the center of the panel, I just add it to the sides of the panel. I can add the ink onto all 4 sides, or just in sections, but never to the center of the panel.
- Leave a bit of the panel free from ink, keep it white. You want some of that white to show. Although, you can create a completely colored background using this technique if you want. I want mine to have a bit of white.
- Start with the lightest color and layering on the darker colors you build your background. I do prefer to use lighter colors, and I stay away from the dark ones, as I feel these backgrounds look so much nicer when lighter colors are used.
- My rule for adding color is to add 90% of the lightest color, 60% of the medium color, and no more than 30% of the darkest color. This will give you a beautiful layered background.
It’s okay to mess your background up. You can wipe the ink away using a cloth if you don’t like the result. You can use a baby wipe to get a lot of the ink off of the background. That’s what’s great about using synthetic paper and this type of ink. The synthetic paper doesn’t allow the ink to go inside, the ink sits on top and because of the ink formula – if needed, the ink can be wiped off.
You can of course try this with other types of ink you have in your stash. I have tried it with dye ink, Simon’s dye inks, and it works, but I still prefer the softness of the Pawsitively Saturated ink.
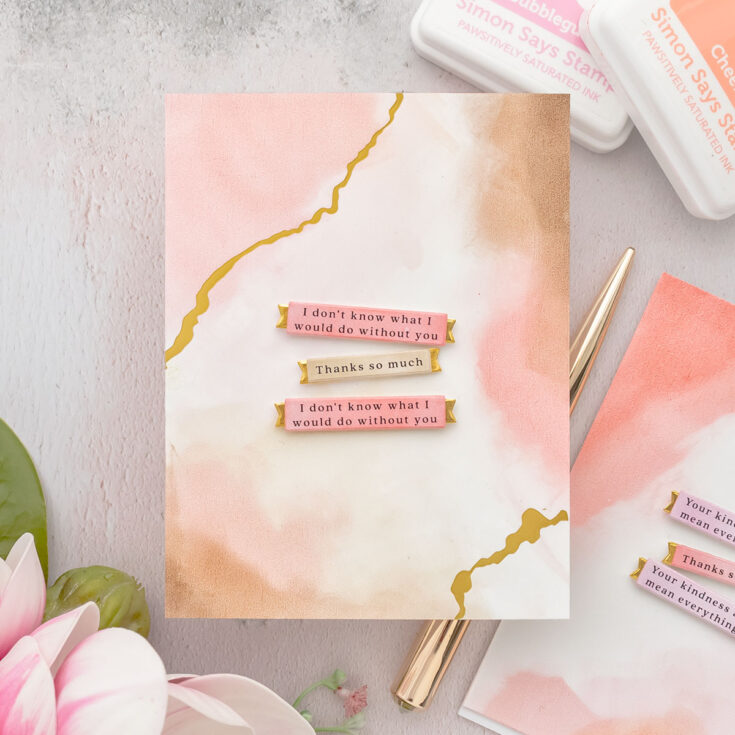
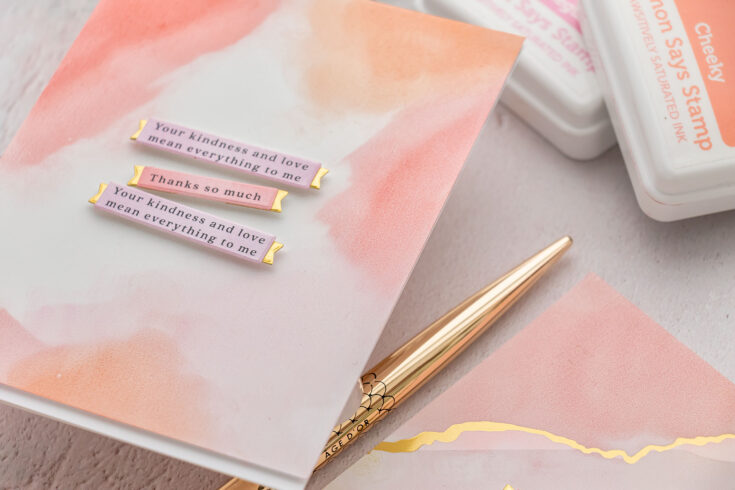
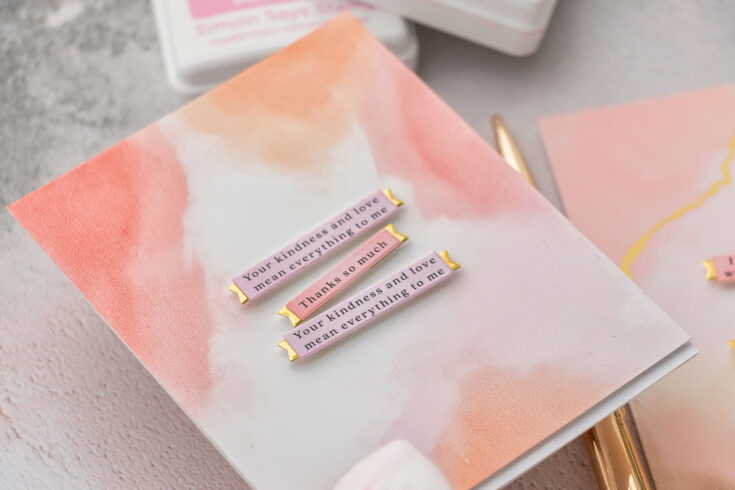
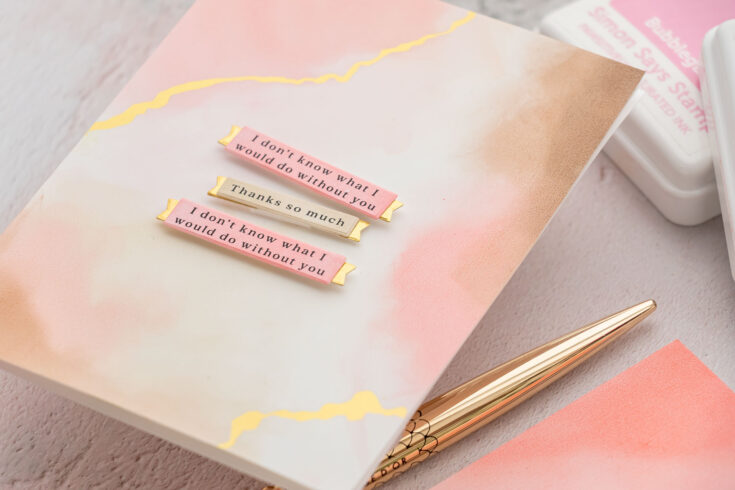
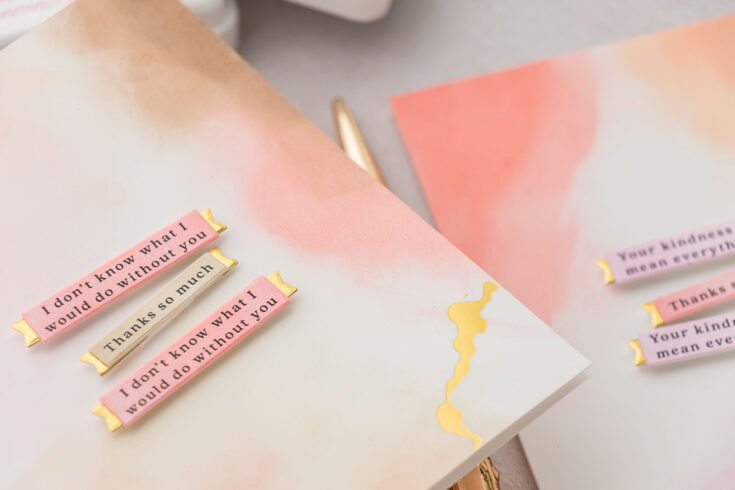
These backgrounds create beautiful backgrounds for cards, you can also use them to die cut something, perhaps a large focal element for your project. I used mine to create Clean and Simple cards and all I did was add a simple sentiment on top.
Thanks so much for joining me today, have fun crafting!
WATCH THE VIDEO:
SUPPLIES:
|


Thanks so much for stopping by, and thanks to Yana for being our guest!


What a great technique. Love the look with the soft colors, especially when you added the gold foiling. I will definitely be giving this idea a try. Thanks!
Beautiful cards!!! Reminds me of finger painting for adults!!! lol
What a great technique. Easy to do and no expensive tools required. I loved this and thank you so much for sharing this with us.
I subscribed to YouTube channel. Your site is a treasure trove of useful information))
I am uk essay writer and I thought that needlework wasn’t for me.Of course, to the skill of Yana, I am still far away, but I try to ))
Pretty! This was a truly noteworthy post. Thankful to you for giving these subtleties. five nights at freddy’s
Hey! I want to share with you the best, in my opinion, solution to the problem of writing essays and other written works. To save time, you need help me with my homework google by https://www.assignmentholic.co.uk/our-services/homework-help/. Real writers will do it for you on time and without plagiarism