Vintage Floral Notebook by Anna-Karin Evaldsson
Hi friends! Happy Sunday, and please join me in welcoming back special guest Anna-Karin Evaldsson to our blog! Read on to learn all about how to recreate this fabulous vintage floral notebook! Enjoy!
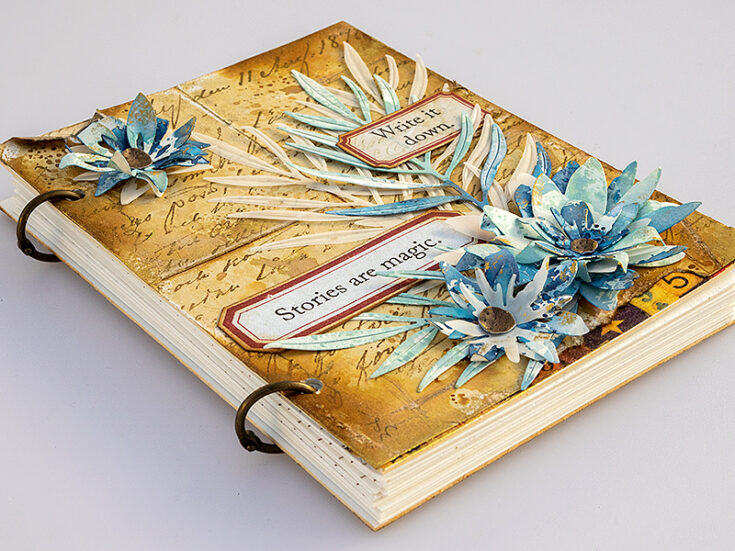
Hi everyone! I am so happy to be here on the blog today to share a vintage floral notebook project, using lots of Distress Ink and Distress Oxide Ink. You can also easily turn the design into a card instead.
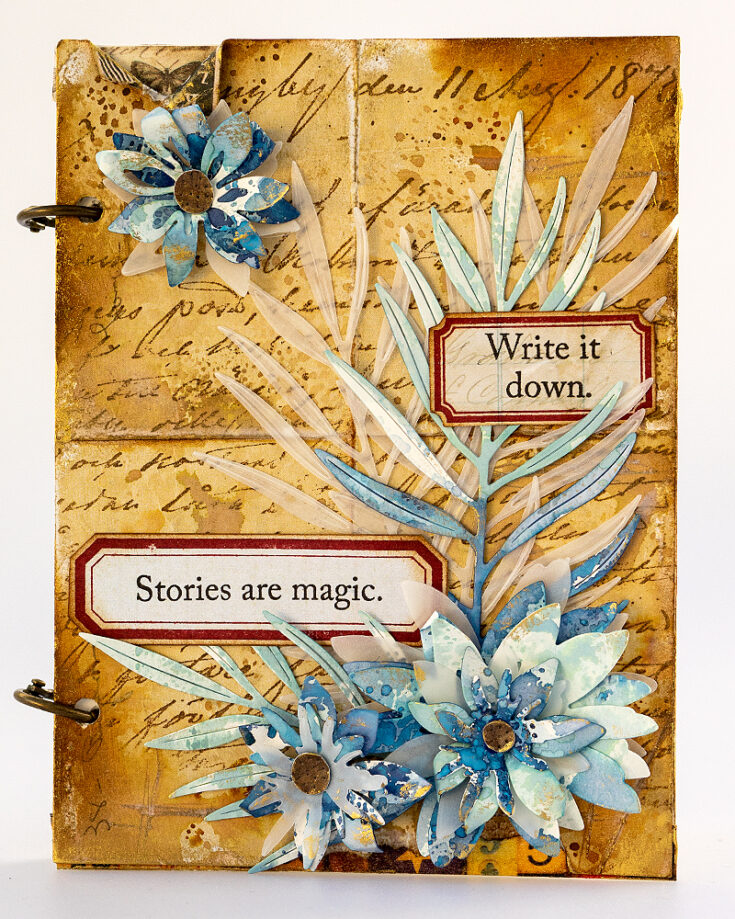
I love to make my own notebooks and sketchbooks. It also gives me the freedom to pick my favorite papers for the inside and to make books in any size that I want. Notebooks are also great as a gifts. I distressed patterned paper for the background and used the Simon Says Stamp Dreamy Daisy Layers die to create the dimensional flowers.
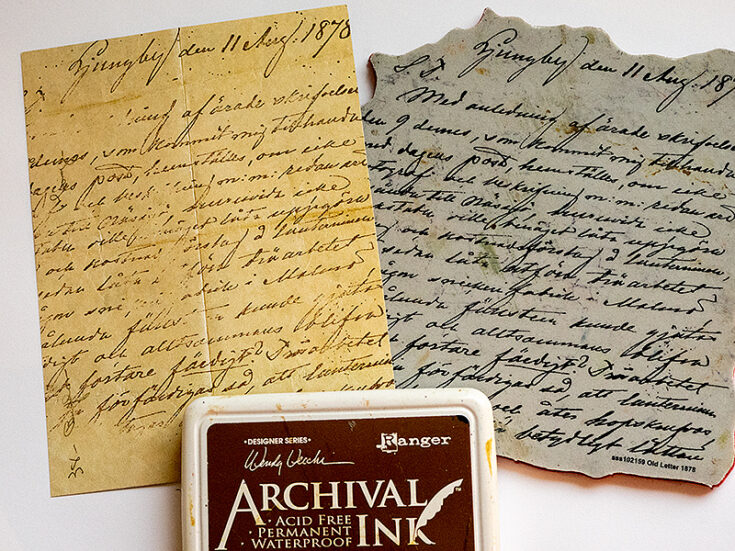
I used one of Tim Holtz Backdrops papers for the background and started out by stamping it with the Simon Says Stamp Old Letter Background stamp and brown ink, to make it look like an old notebook page or a letter.
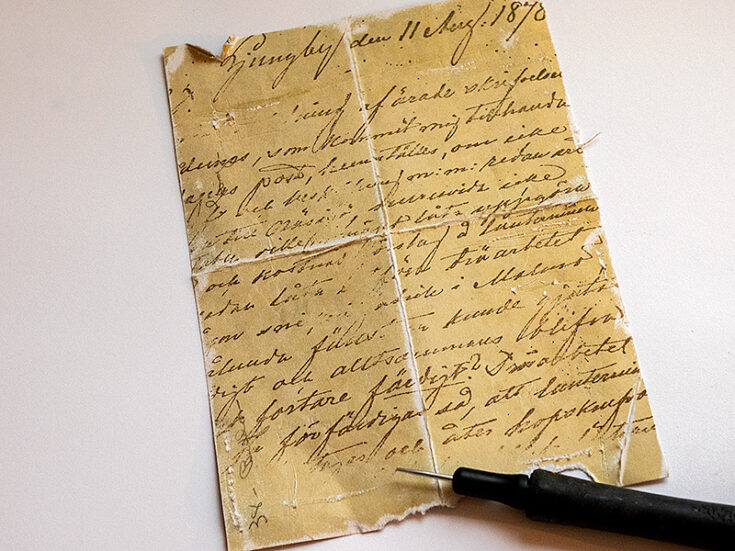
Fold the paper and sand along the folds and the edges. Scratch the paper here and there with a needle tool. Tear the paper in a couple of places.
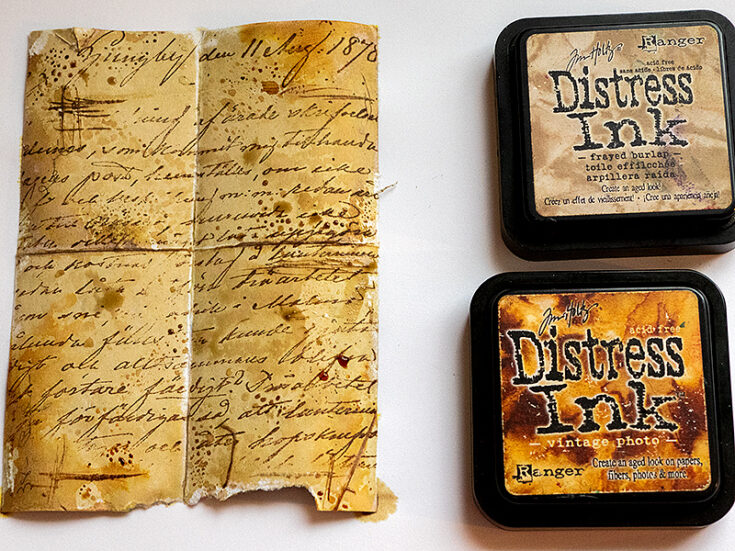
Smear Distress Ink on a non-stick craft stick, mist with water and lightly press the paper into the ink here and there. Try to avoid getting ink everywhere, but instead aim for a splotchy and random look. The scratched areas will soak up more ink and become darker than the rest of the paper.
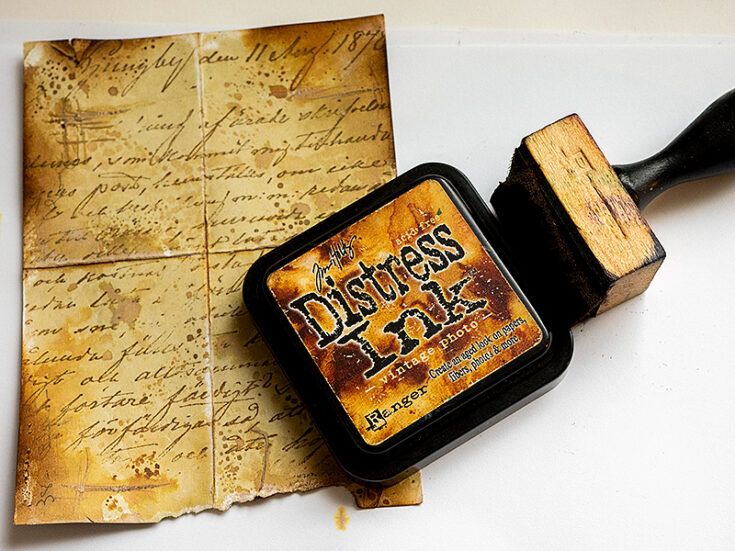
When dry, ink a few areas with Vintage Photo.
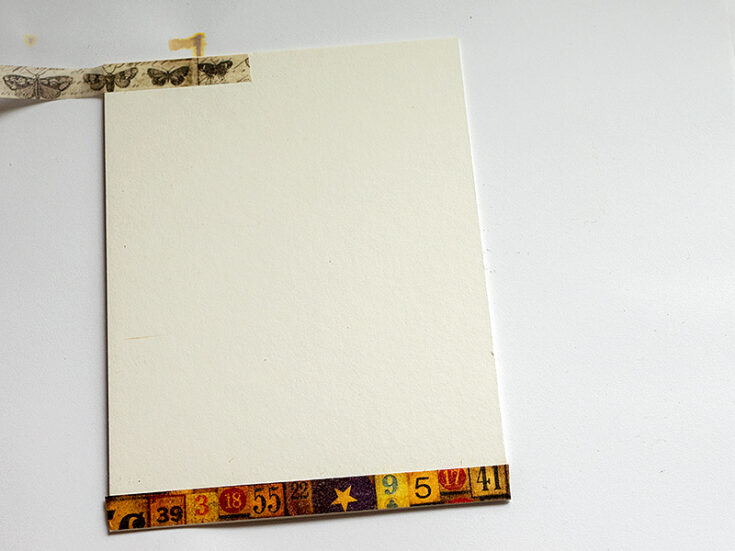
I used Sizzix Little Sizzles Matboard for the covers, which is sturdy and perfect for notebook covers. You can also use chipboard. Place two pieces of Design Tape where the tears in the cover paper will be, so that the tape will show through from underneath, adding another layer.
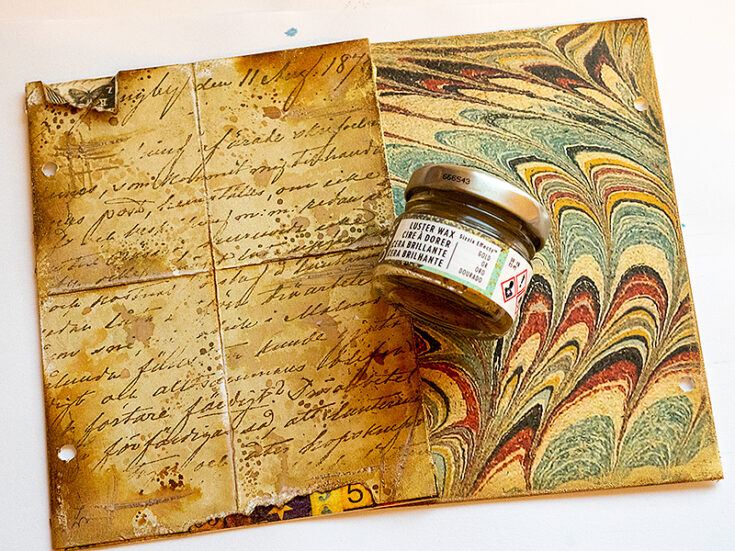
Glue the papers with Distress Matte Medium. Punch holes with a Crop-a-Dile and apply Sizzix Gold Luster Wax around the edges. The paper I used for the back cover inspired the colors used on the front cover.
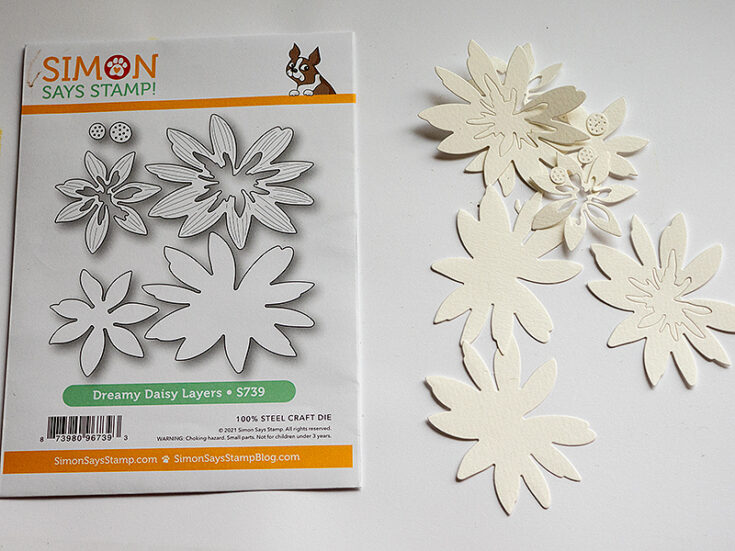
Die cut the Dreamy Daisy Layers twice from watercolor paper. Later, I also die cut it once from vellum.
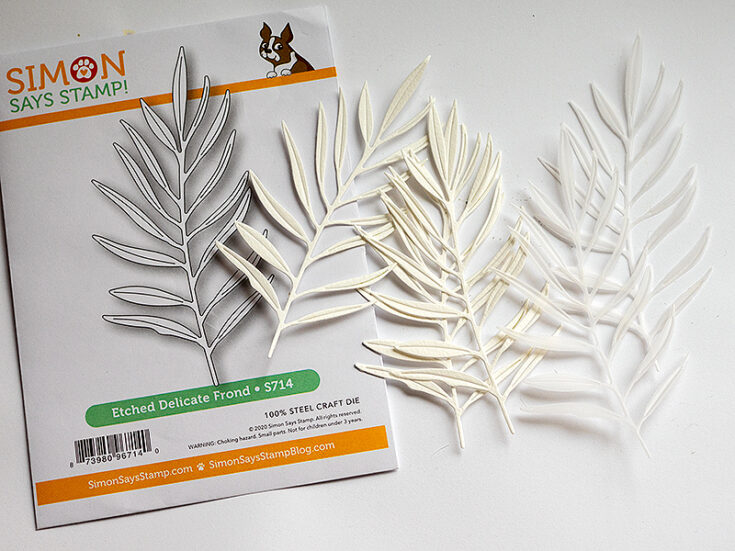
Die cut the Etched Delicate Frond from watercolor paper and Simon Says Stamp vellum.
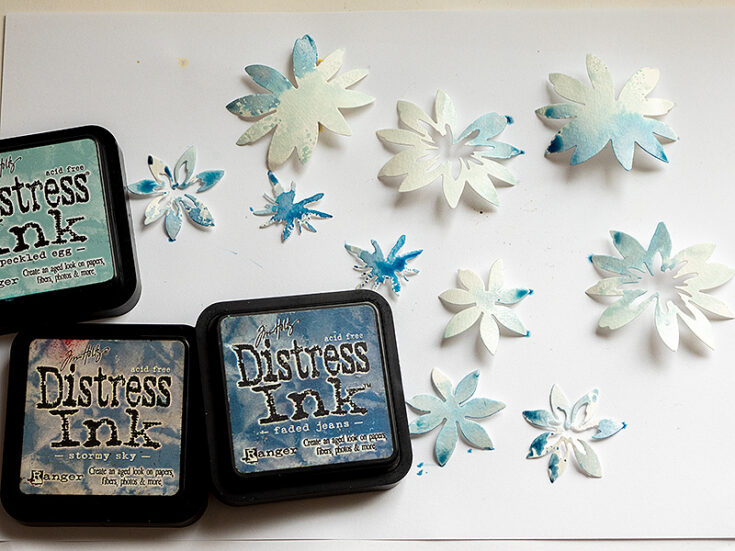
Smear three shades of blue Distress Ink on a non-stick craft sheet and mist with water. Press the flowers into the inks, varying the amount of dark and light blue.
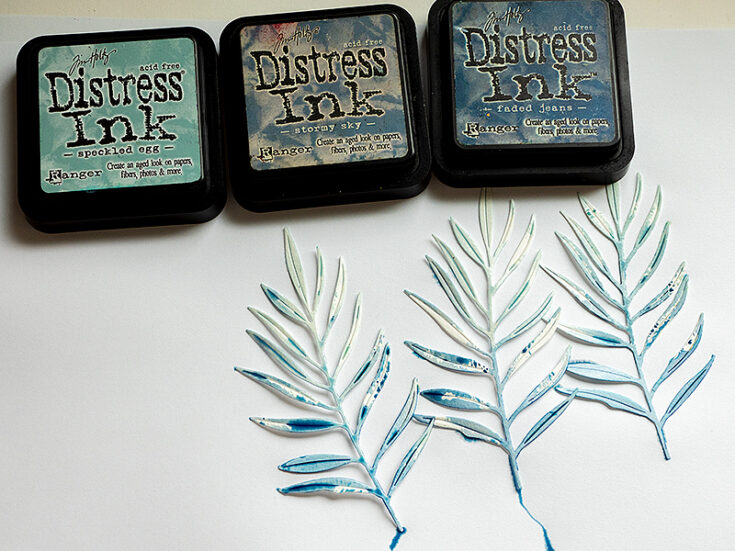
Do the same with the leaves, but make them gradually darker towards the bottom.
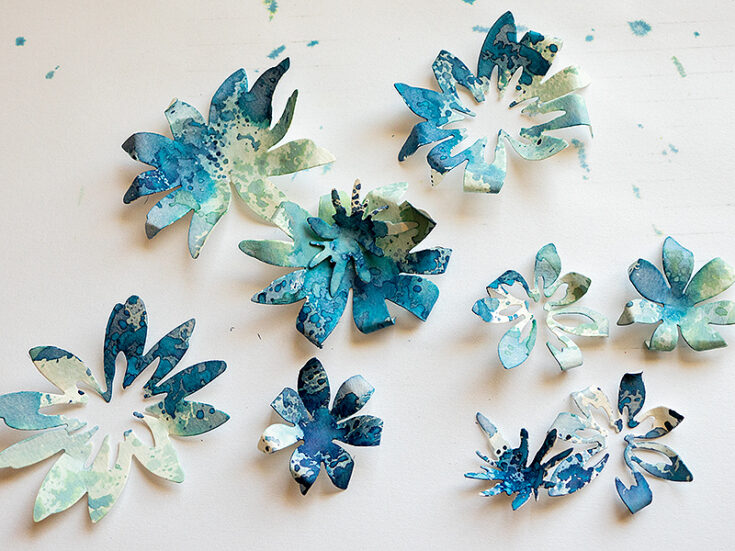
Add another layer of blue inks, with Faded Jeans Distress Ink and Speckled Egg and Faded Jeans Distress Oxide Ink. Don’t cover up the first layer completely.
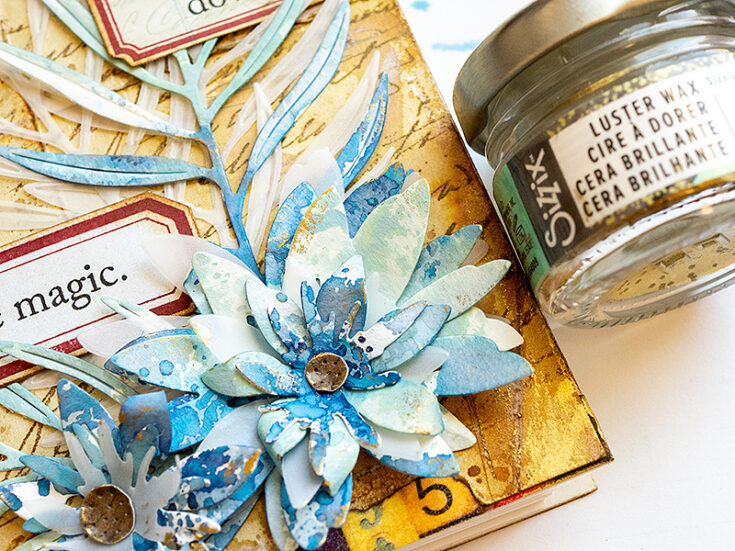
When dry, give the flowers shape and dimension with Tim Holtz Shaping Kit.
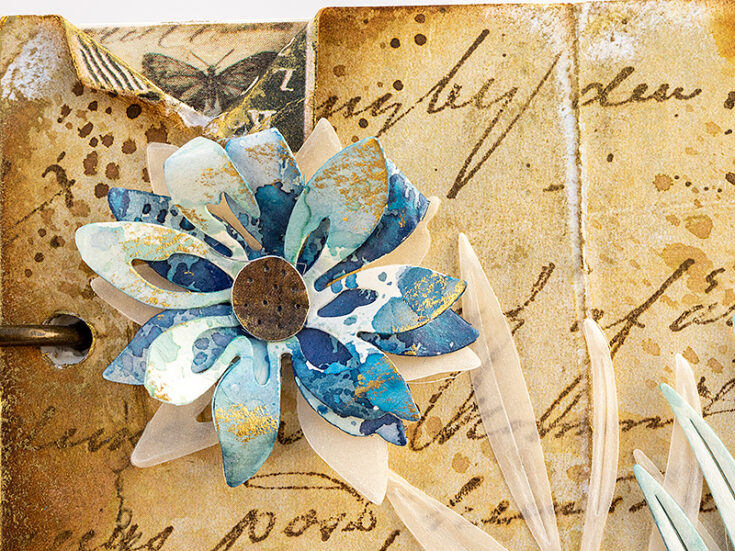
Layers the flowers and glue them to cover. I didn’t use all of the larger flowers. Add a little Gold Luster Wax to them.
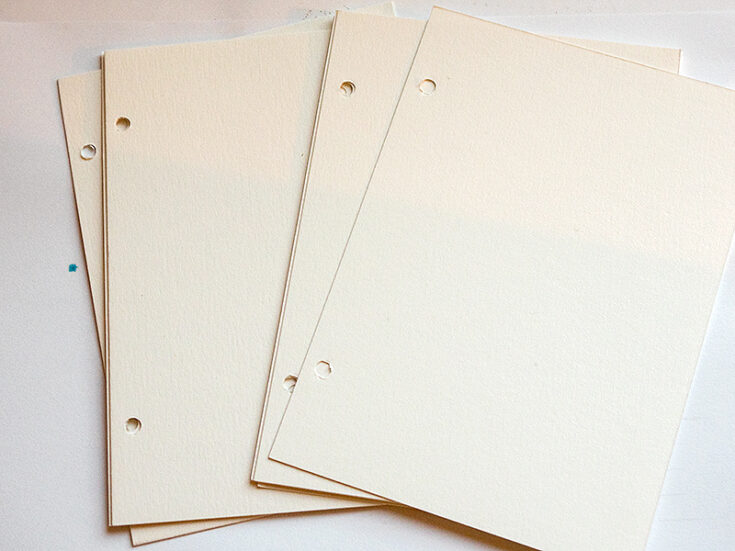
Cut inside pages from your favorite sketch, writing or watercolor paper and punch holes.
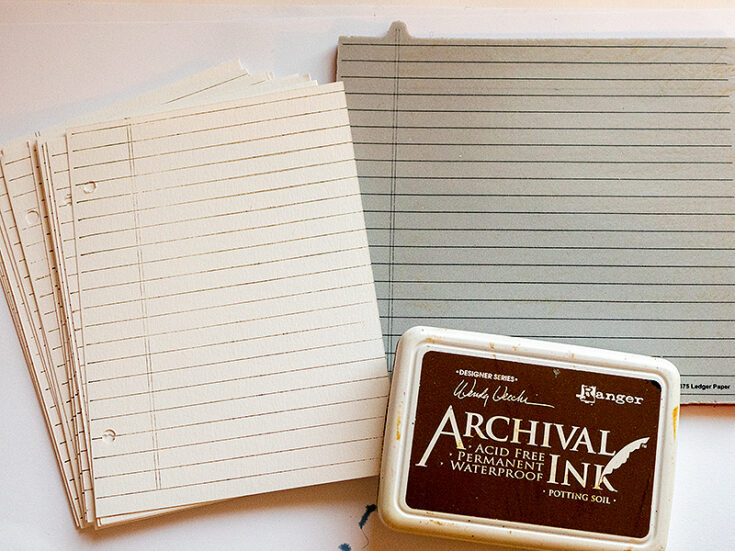
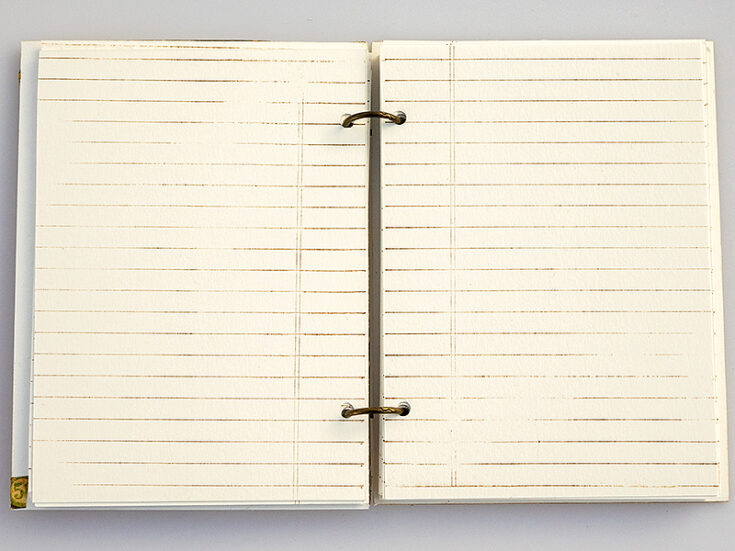
I wanted a lined notebook and used the Simon Says Stamp Ledger Paper Background to stamp the lines. Don’t worry about getting perfect lines. I gave the stamp uneven pressure on purpose so that the lines would be faded in some areas. If you are making a sketchbook, leave the papers blank.
Bind the books with Tim Holtz Mini Book Rings.
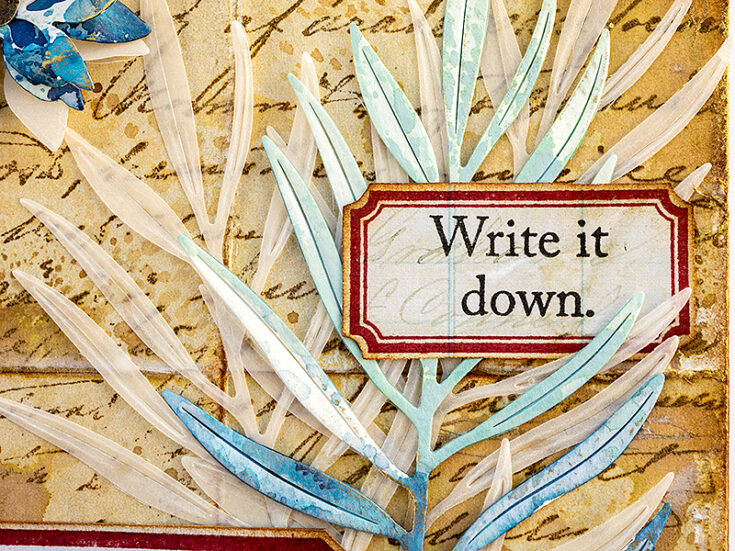
The ticket and the larger label come from Simon Says Stamp Mixed Labels and were stamped with red ink on another piece of Tim Holtz Backdrops paper. Cut by hand or die cut with the coordinating set. The sentiments come from the same stamp set.
I placed a smaller flower under the tear at the top of the cover.
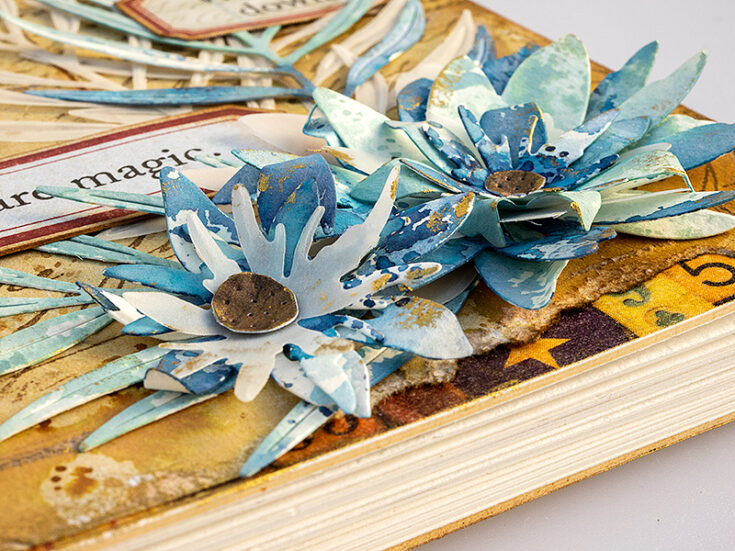
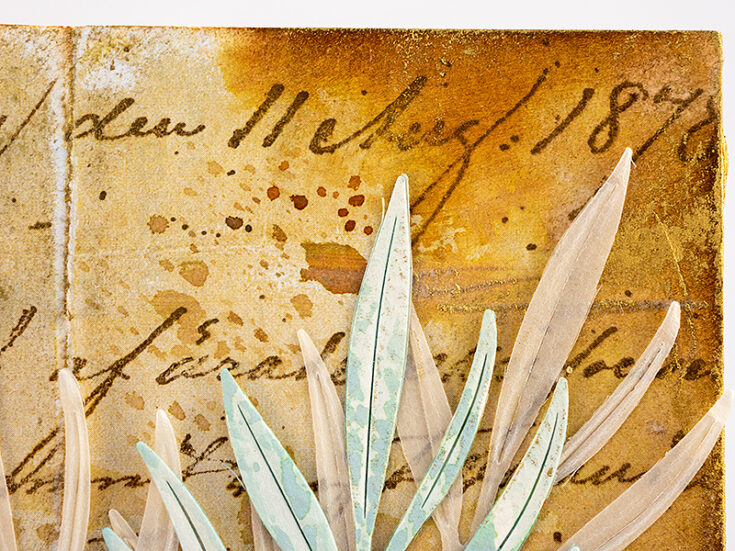
The combination of the patterned paper, the sanding, scratching, Distress Ink, script stamping and the gold wax gives an interesting distressed look to the background.
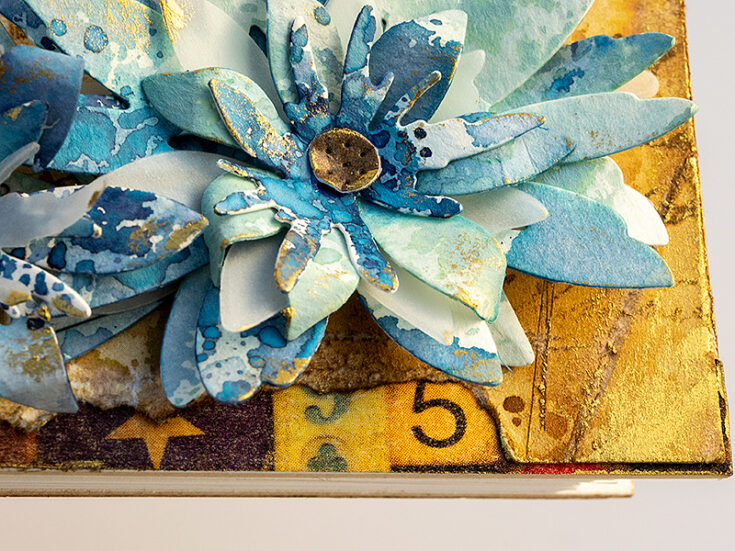
The flowers are quite dimensional, which isn’t always perfect for a notebook cover, but dimensional flowers are so fun to make and since they are distressed it doesn’t matter if they get some wear and tear.

Here you can see the shine of the gold wax better. The Design Tape peaking out makes it look as if they book was made by covering another book.
I hope this tutorial inspired you to distress some backgrounds, make dimensional flowers and create your own notebooks, sketchbooks or journals. Thank you so much for looking! Happy crafting! -Anna-Karin
SUPPLIES:
|
Thanks so much for stopping by, and thanks to Anna-Karin for being our special guest!


Wow!!! Your notebook is Amazing!! I love all the layers on your flowers!!
So beautifully done!!
What a fantastic creation!
This is stunning!!!
Oh wow this is just gorgeous
What a wonderful notebook. Thanks for sharing your process. Sorry if I missed it, but what is the finished size?
i love this notebook! What is the finished size? It looks like 6×6 maybe? How did you cut the 6×13 Sizzix matboards to the size you wanted? Thank you.
This notebook is amazing! I just love it!
I have never come across such an article. Glad to have read it. It is very helpful for me
absolutely gorgeous
Looking at this notebook, it seems like it has been around for a long time