Vignette Shrine by Paula Cheney
Hi friends! Happy Sunday! Please join me in welcoming back special guest Paula Cheney with this super gorgeous Vignette Shrine project! Be sure to scroll through all the lovely step-by-step photos and project details and enjoy!

Hi everyone! I am happy to be sharing a project on the Simon Says Stamp blog today! I have chosen the new idea-ology Vignette Shrine for my structure. The Shrine is 4.75 x 9”, perfect for so many projects from Shabby Chic to Grunge. Today we’re starting with a simple college where layering is key…meaning get out the 3D Foam Squares (and bingo chips) because they will make a huge difference in the finished outcome.
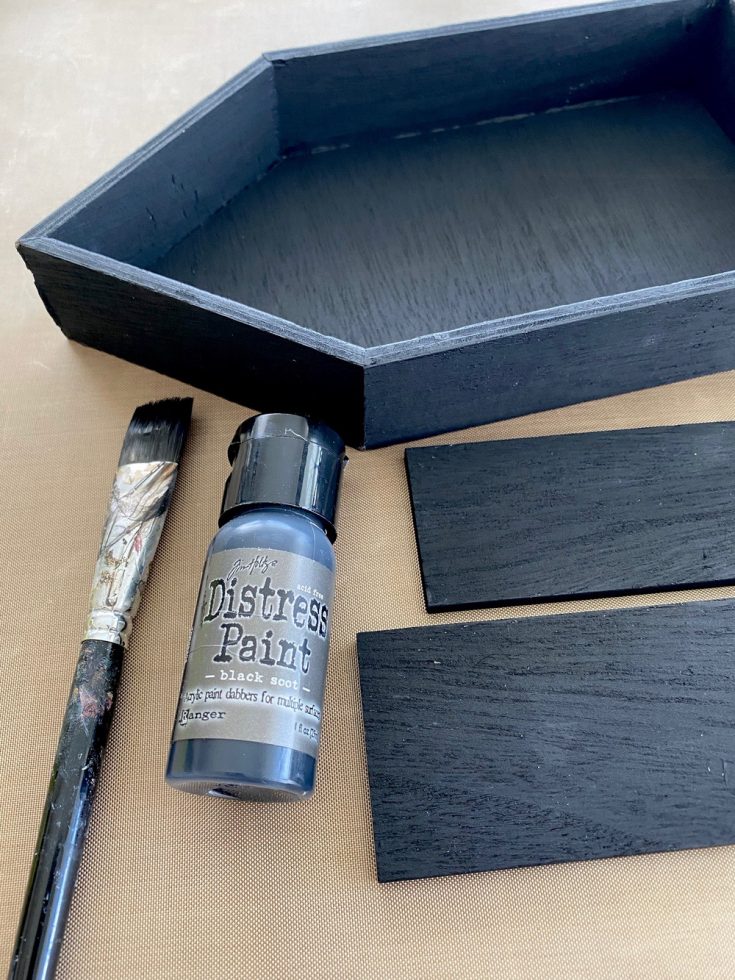
Paint the Vignette Shrine and two base pieces with Black Soot Distress Paint. Remember, the Shrine can be painted according to theme, covered with Collage Paper, or any patterned paper.
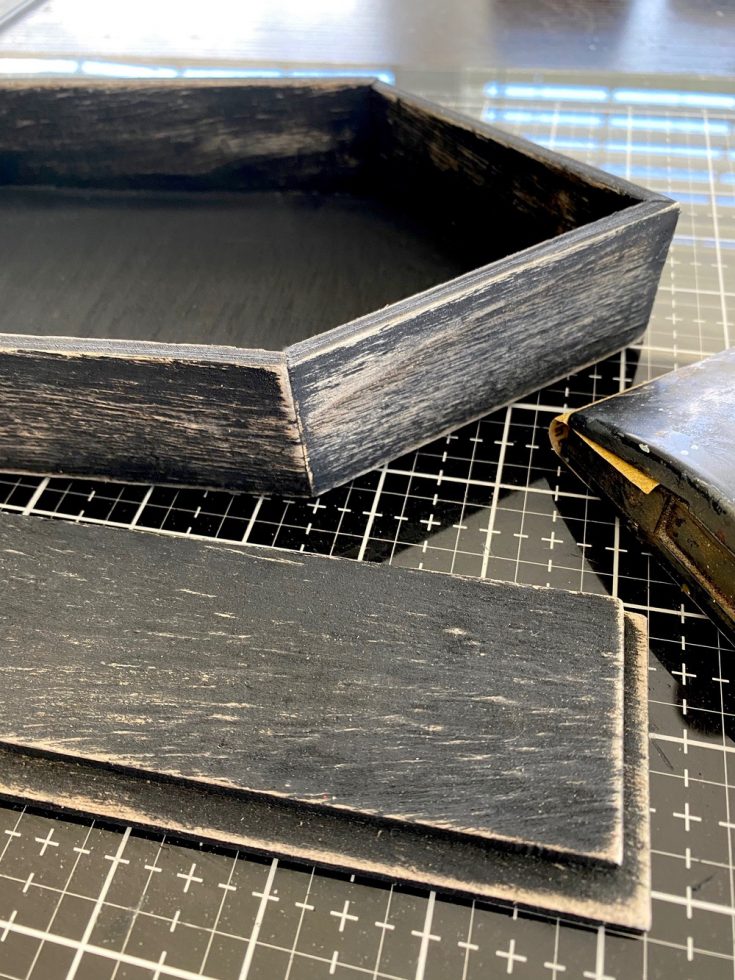
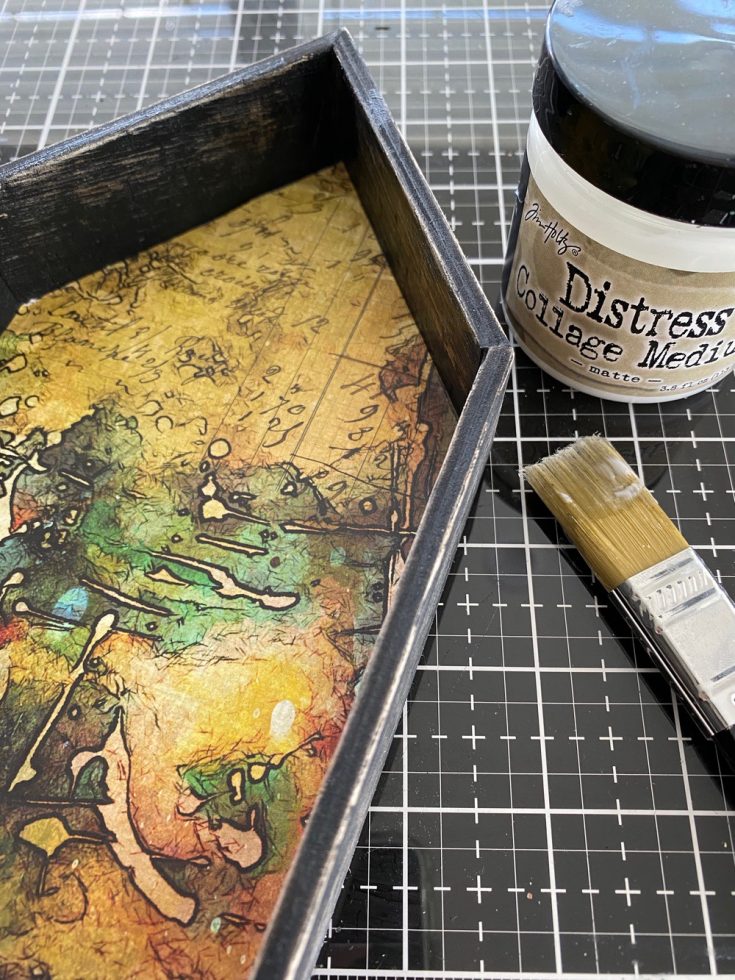
Once the paint is dry, sand the surface to give it an aged look. After the wood has been sanded, I like to paint a thin coat of Collage Medium over the surface. The Collage Medium brings back the deep black color of the paint and seals the surface with a nice finish. Collage medium is matte so it never leaves a ‘shiny’ surface, just one that smooth to the touch.
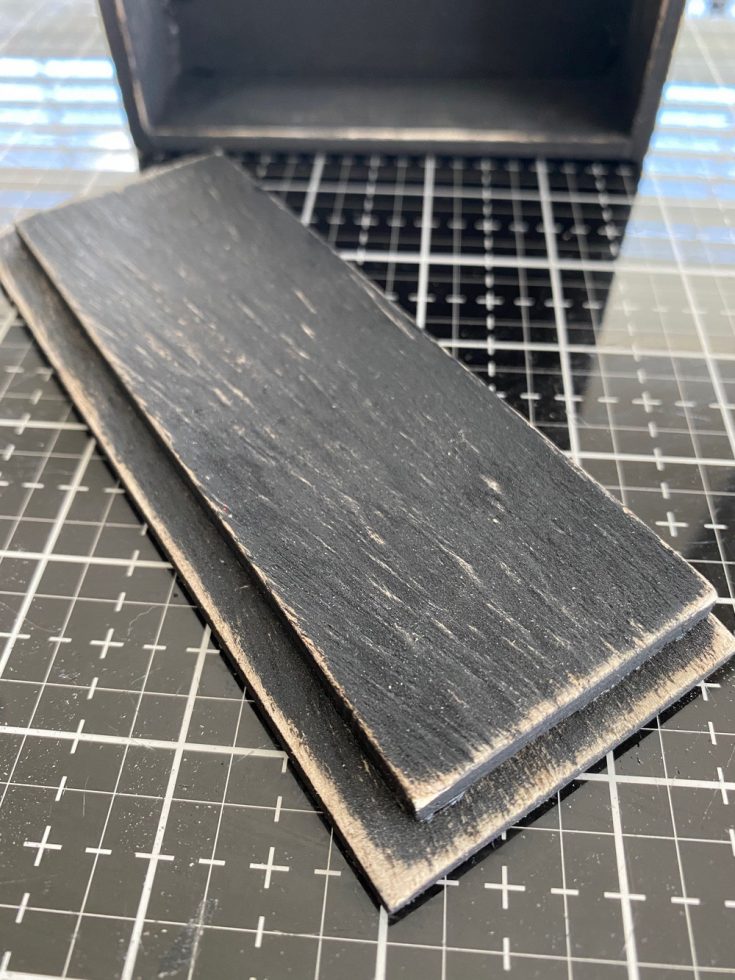
Use a thick coat of Collage Medium to glue the two base pieces together so one LONG side is flush (this will be the back). The stair step will only appear on three sides, the front and two short ends. I like to stack a few books on top while the two pieces are drying.
While the base is drying, let’s work on the Vignette Shrine.
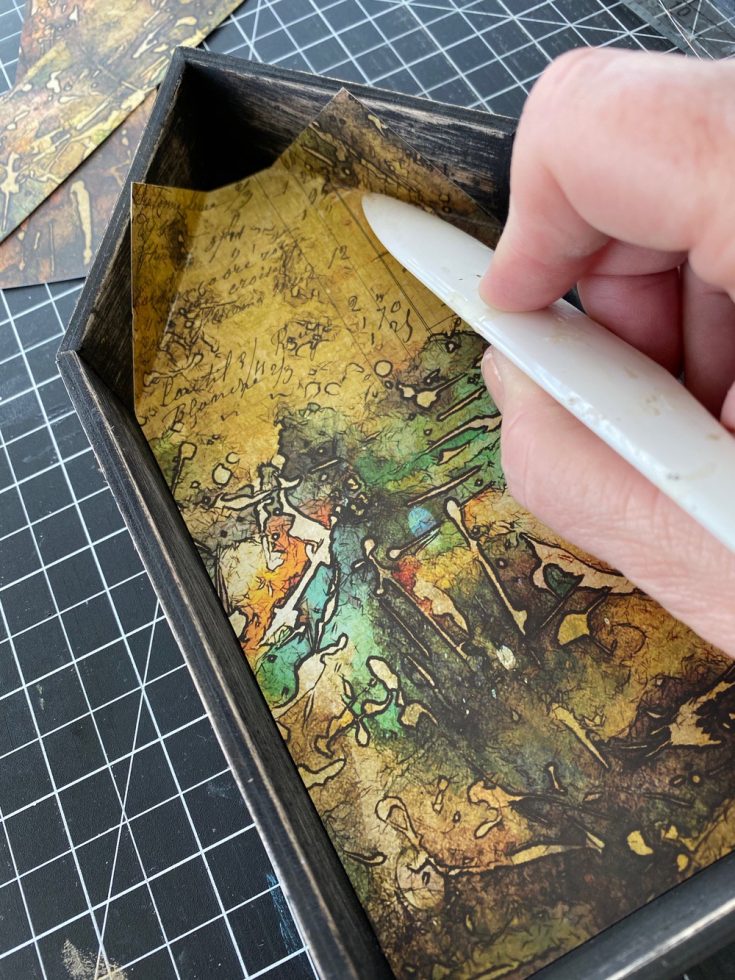
I am using paper from the Abandoned Paper Stash for a rich background. The inside measurement of the shrine is approximately 4.25” wide so I cut my paper accordingly. I slipped the paper into the shrine, making sure it fit properly, then folded back the top edges to fit the roofline. Using a bone folder, I scored the folded edges, then removed the paper to cut away the excess.
I cut a small triangle piece of paper from my scraps to fill in the small gap at the peak (since my paper was only 8” long). Once this was glued into place, I added the larger cut paper using Collage Medium.
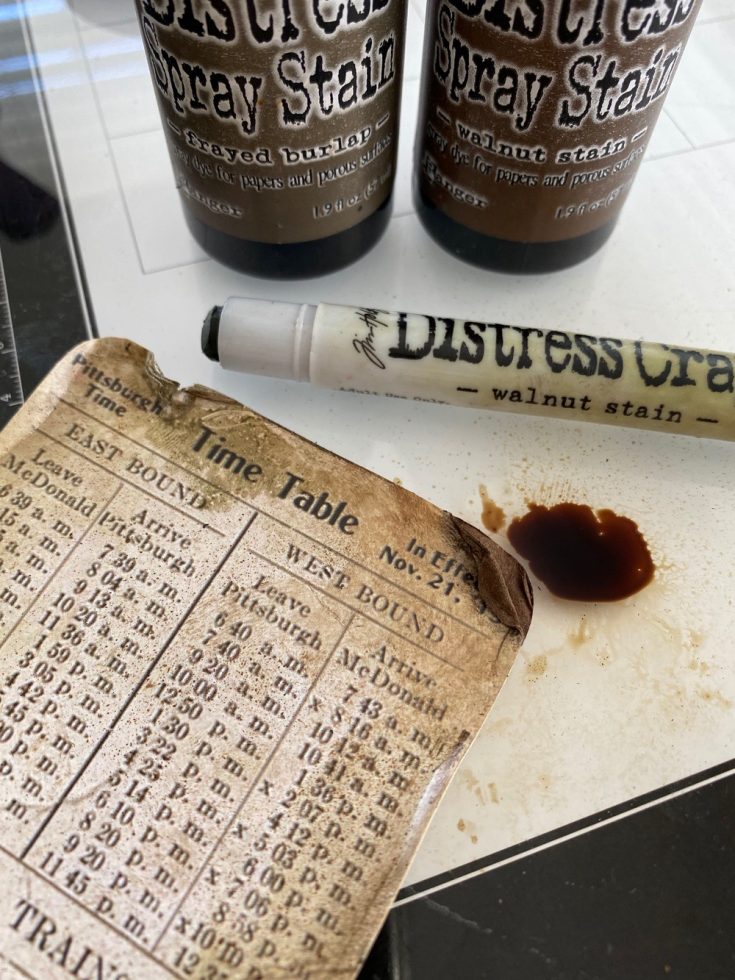
I chose a few pieces of ephemera from the Urban Layers pack to start the center collage. Layers are coated cardstock pieces that work perfectly with Distress Crayons as well as wet mediums. Here I have chose a larger piece to use as my foundation for the collage. I ripped and folded the surface of the Time Table card so that the white core has been exposed. I used Crayon over the slick surface of the card and the Distress Sprays on the white core. The sprays will make the inside feel mushy but as soon as the paper is dry, it will go back to being very sturdy. Also, try different ink colors as they all leave a different result. Here, the right was sprayed with Walnut Stain and the left, Frayed Burlap. Both work together to make for a realistic piece of old ephemera.
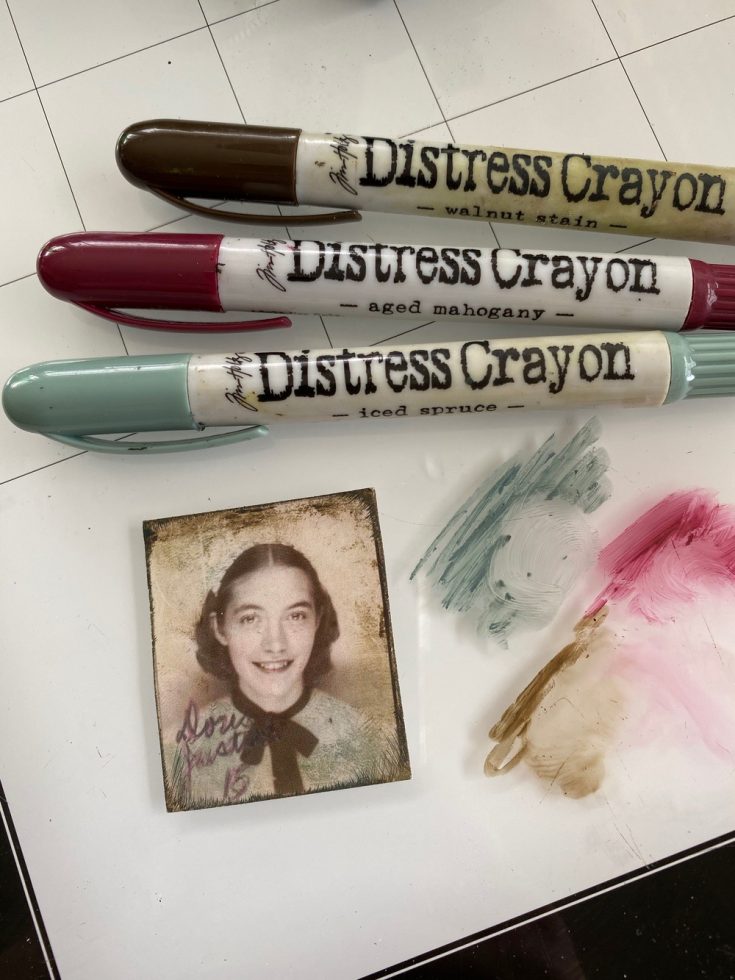
I chose a Photobooth picture that I liked – the ones that have writing on them are my favorite! Scribble Distress Crayon onto your Glass Media Mat or craft sheet. I used Walnut Stain around the edges, Iced Spruce for her top, and Aged Mahogany on her cheeks. Since this photo is very small, I just used my damp finger tip to add the Crayon. You could used a Detail Water Brush if you wanted more precise coloring but I didn’t feel it was necessary in this case.
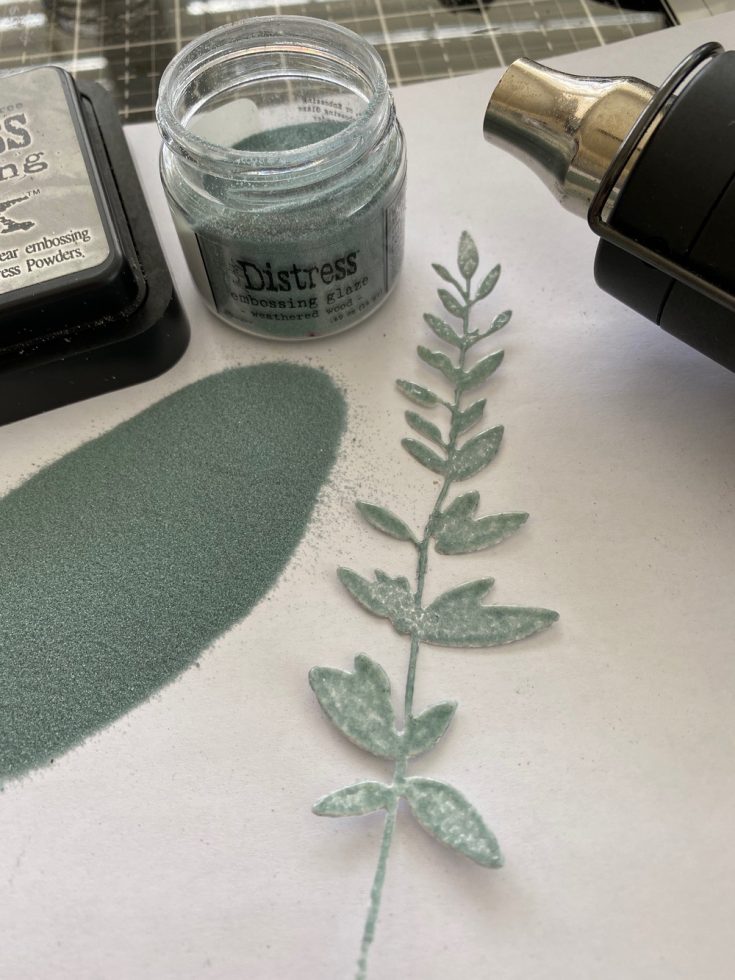
Time for some embossing! I die-cut two stems using the Sizzix Wildflower Stems 1 and Distress Watercolor Cardstock. Following the basic steps of embossing (ink with Embossing Pad, add Distress Embossing Glaze, tap off, heat until melted) I chose two colors of the new Distress Embossing Glazes to use for the stems: Weathered Wood and Peeled Paint.
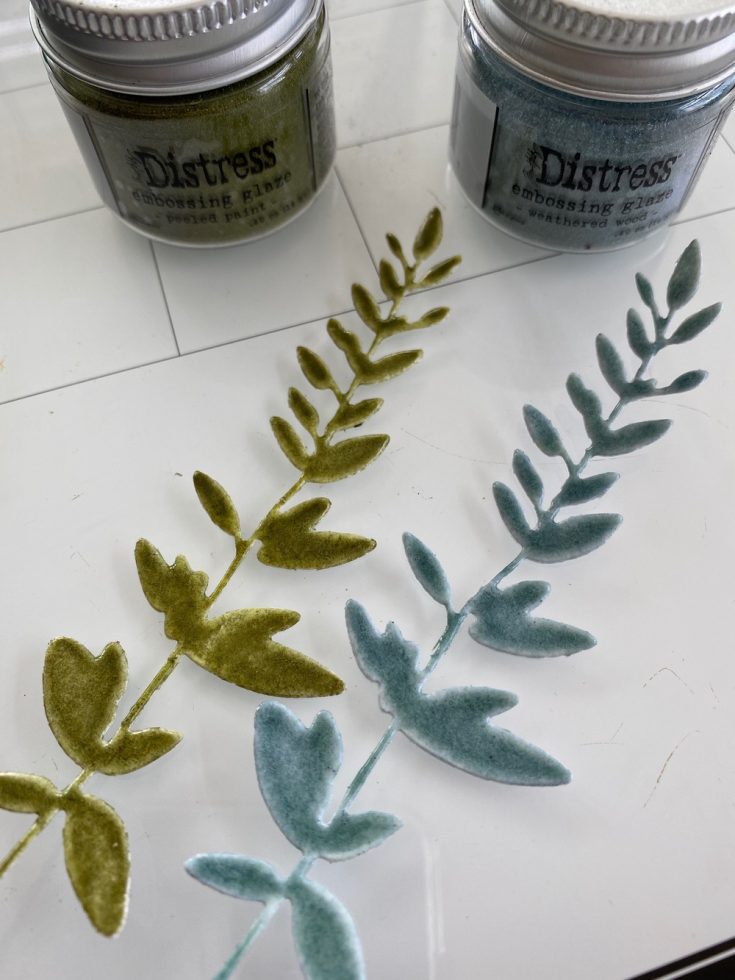
I repeated the embossing process (2x) to create this glass like finish over the stem. It almost looks like the stem is enameled!
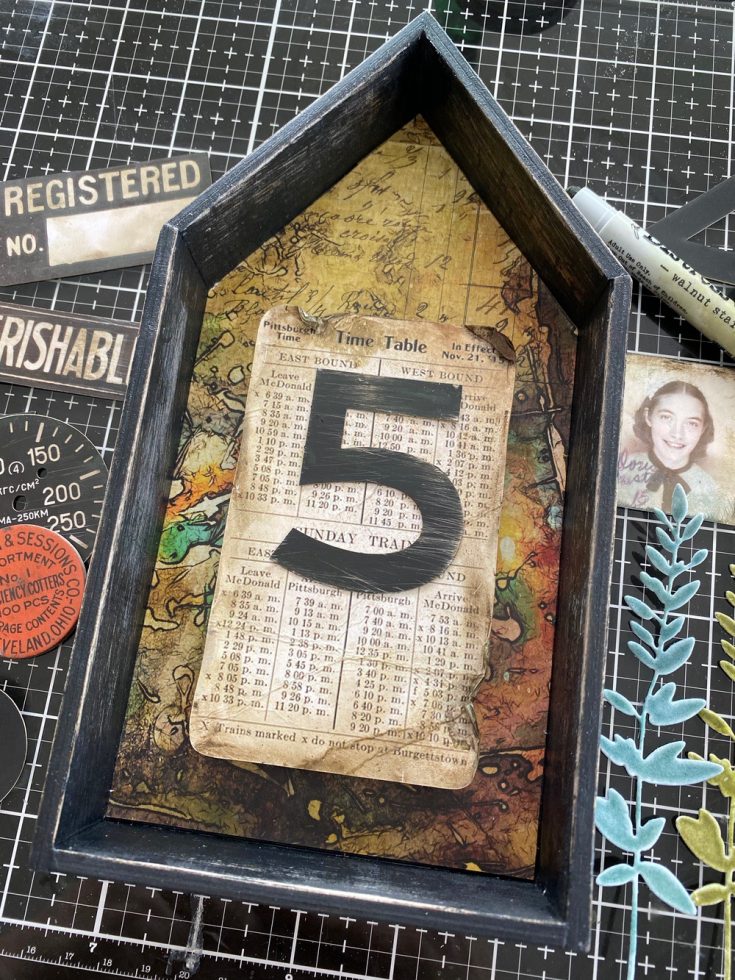
I added one 3D foam square to a bingo chip (4x) and then adhered to each corner of the Time Table card to raise it up from the back. If you don’t have any old bingo chips, you could triple stack 3D Foam Squares or even use a piece of foam core. I also added a giant number 5 from the Urban Layers pack (love these!). No meaning, I just liked the shape of the number on the card.

Junk Drawer is a new Baseboard pack. The pieces are made with chipboard so they are thick and sturdy. I added the orange circle from Junk Drawer to a black dial found in the Urban Layers pack then added 3D Foam Squares to the back.
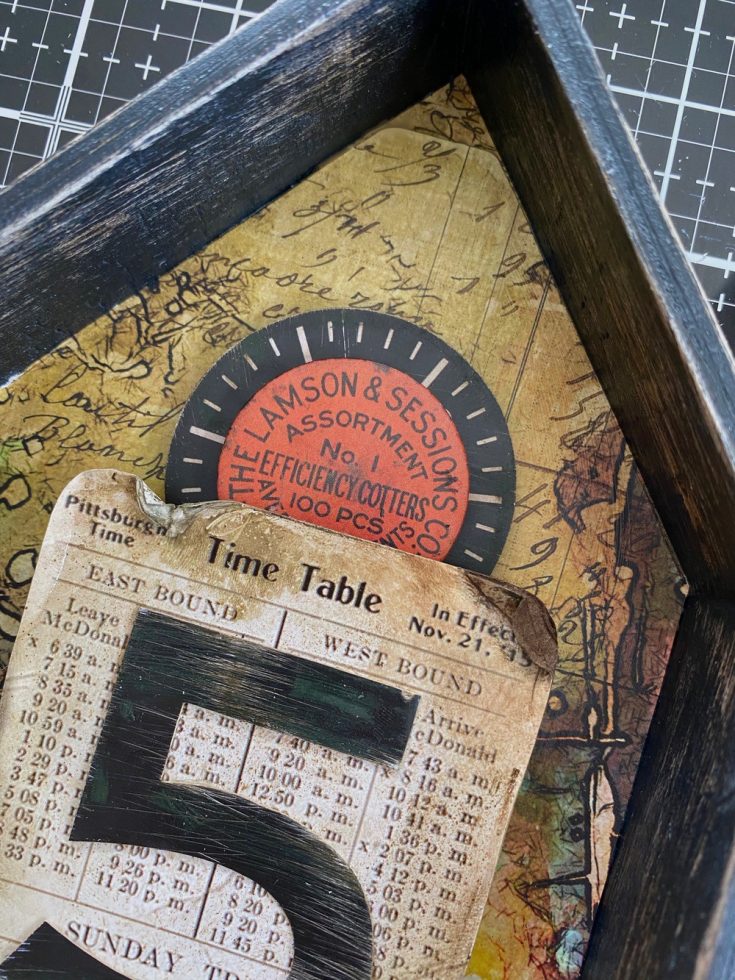
Adhere the circle above the Time Table card (it should slip right under).
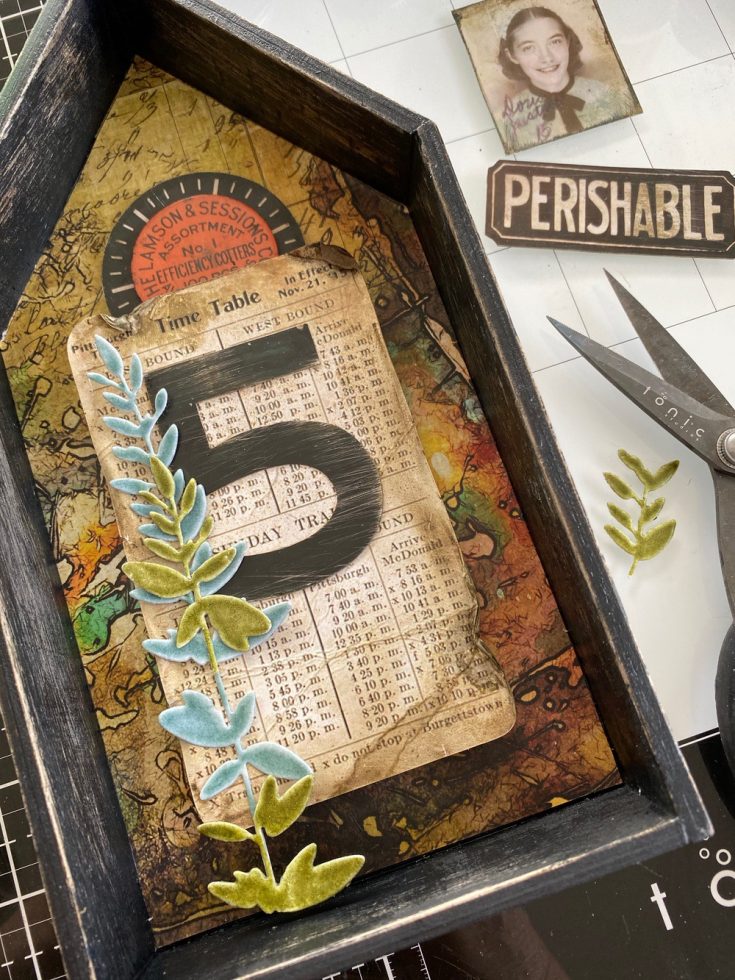
I adhered the Weather Wood Stem to the Time Table card with Collage Medium then cut up the Peeled Paint stem so it could be added in random places. Most importantly for me was covering the space between the bottom of the Time Table card and the base. Adding the larger leaf here covered that disconnect in my mind. You can see I ended up not using all of the green stem (and that is okay).
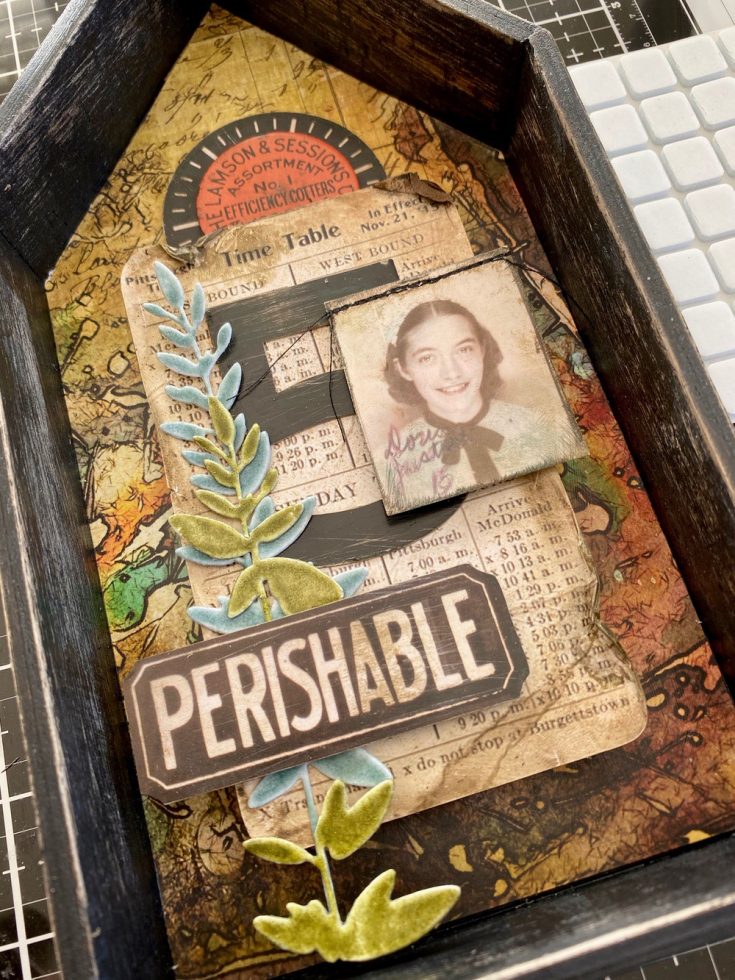
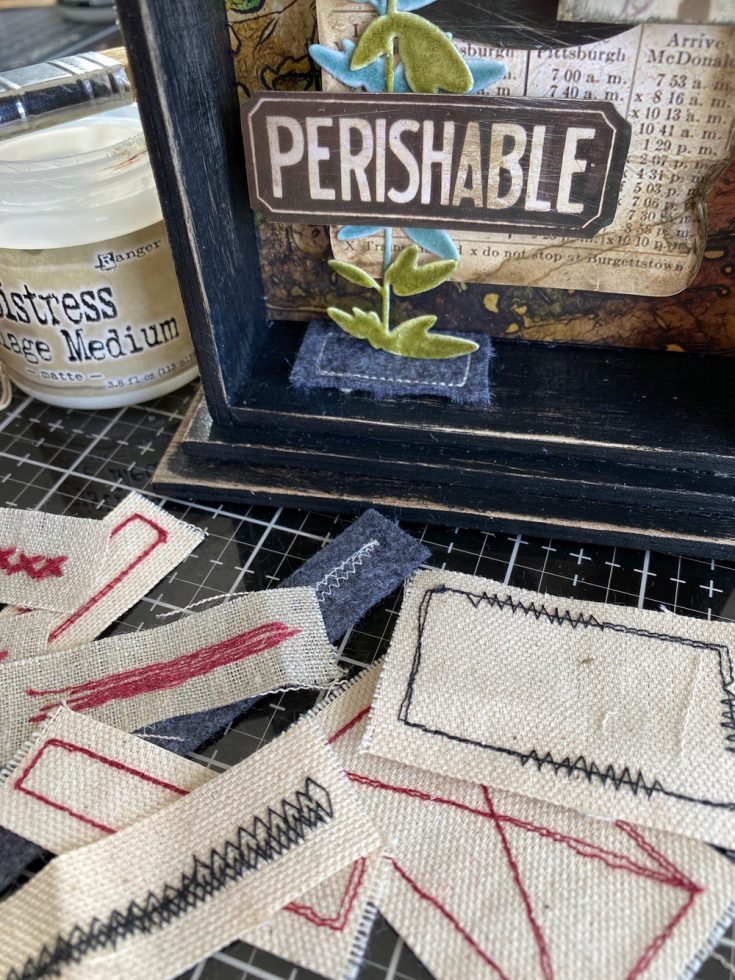
I added the PERISHABLE sign from the Urban Layers pack with 3D Foam Squares. I also stitched back and forth across the top of the Photobooth to create a little texture . The photo was also added to the collage with Foam Squares.
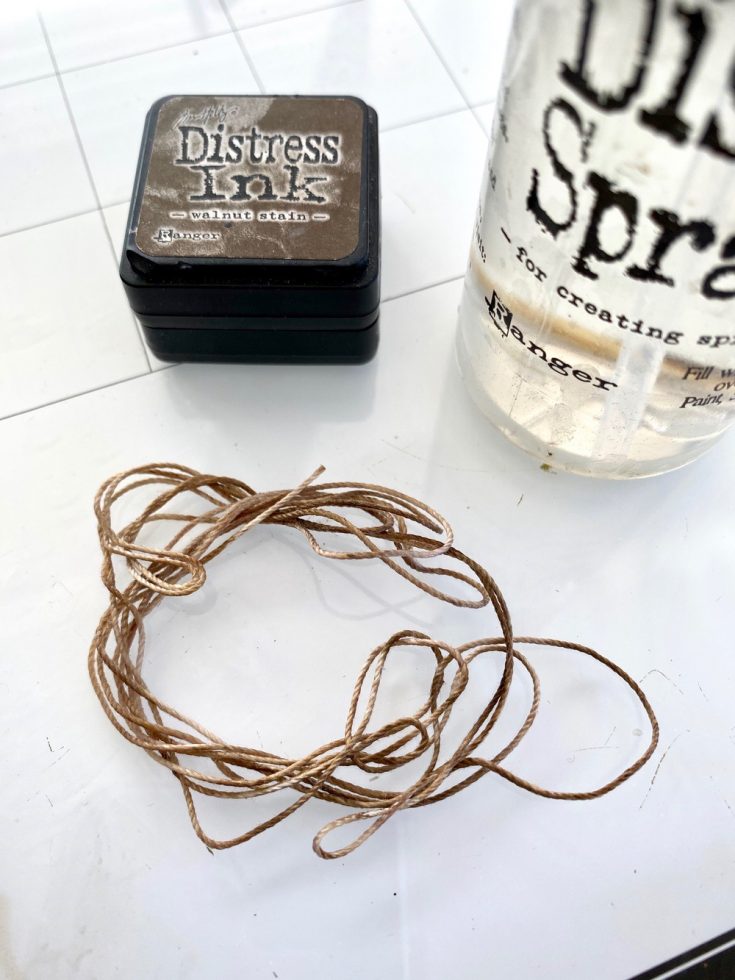
Use Distress Ink and a bit of water to color some cotton string. Let it dry or use a heat tool.
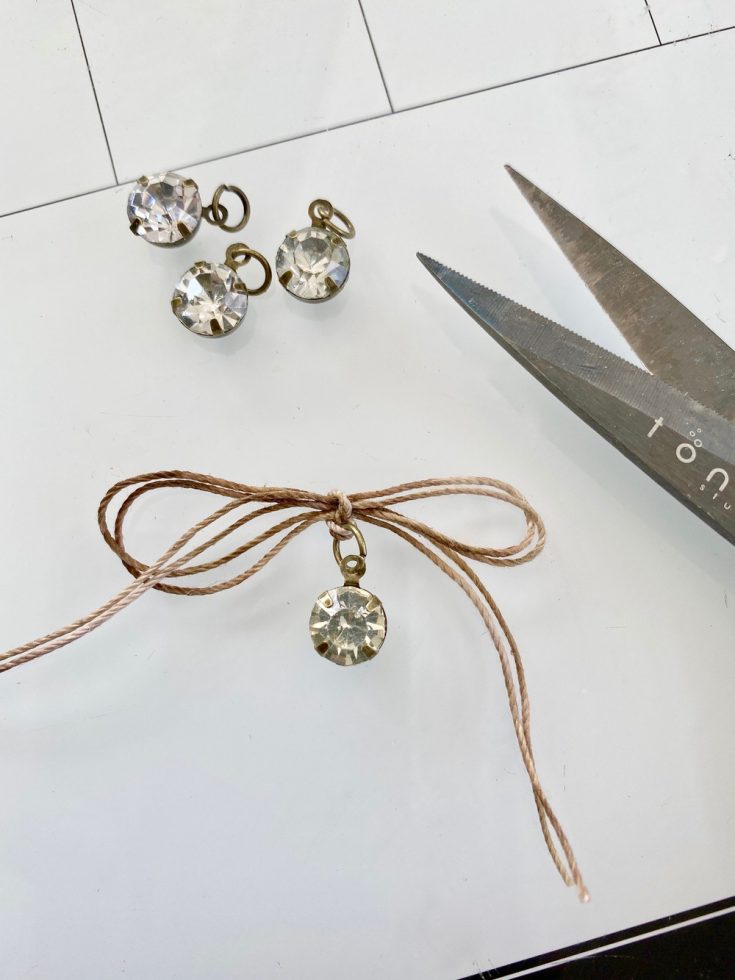
Cut a piece of string 18” long. Fold in half so the string is 9” long. Thread a Antiqued Gem onto the string and tie a bow to secure in place.
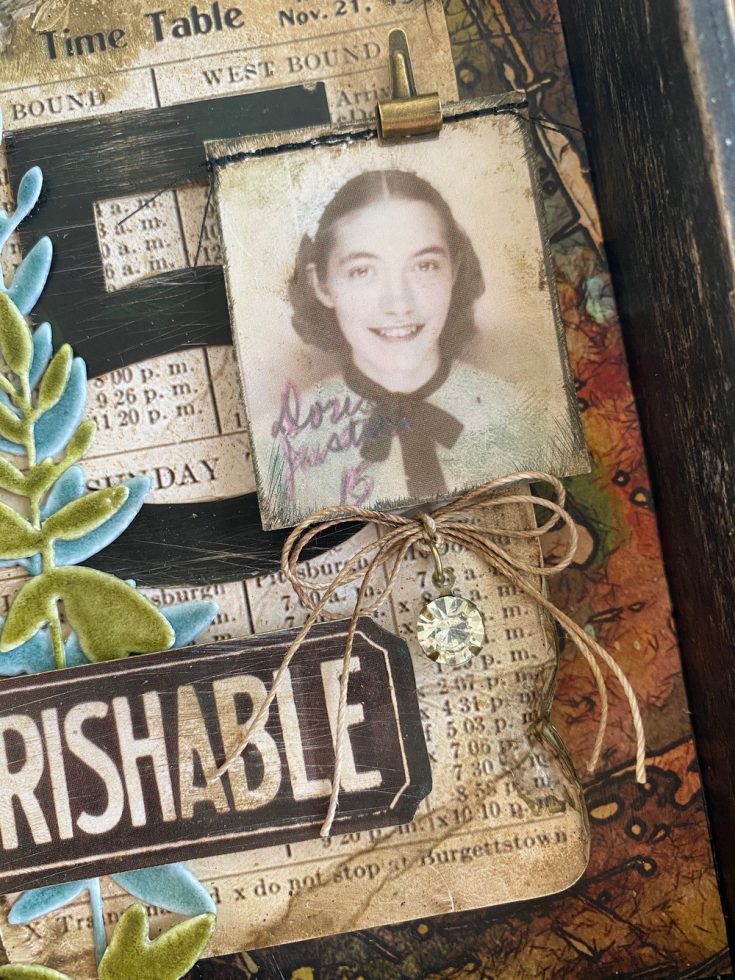
Add a dot of Collage medium behind the knot and add to the collage right under the photo. I also added a Tiny Clip to the top of the photo. I love how these Tiny Clips make such a fun little addition.
Add Collage Medium the bottom of the Shrine and adhere to the stacked base made previously. Remember the back of the Shrine should be flush with the base – in other words, if you were to lay the completed Shrine on its back, it would lay flat on the table. Press into place for at least 1 minute, then leave in place for 10-15 minutes before moving.
While you are waiting for that to dry, choose a piece from the Stitched Scraps to place under the stem. There are so many pieces of pre-sewed scraps for you to choose from! I chose a rectangle of grey felt and glued it to the surface with Collage Medium.
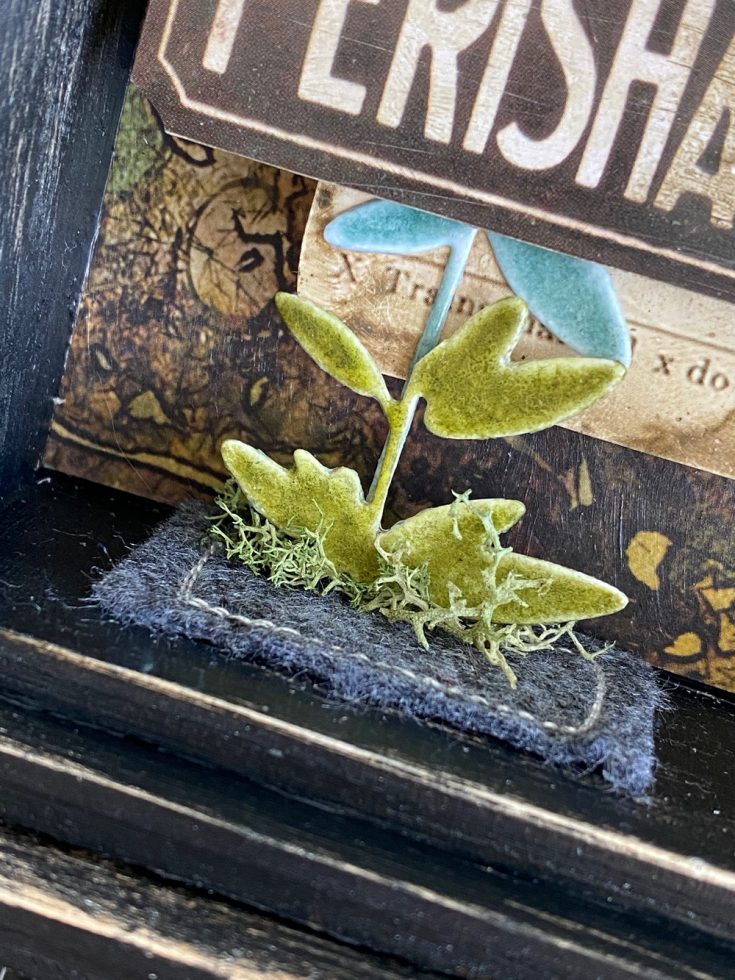
I added just the tiniest amount of moss under the end of the stem just to make it look like it was growing out of the ground. It does not take much for this detail!
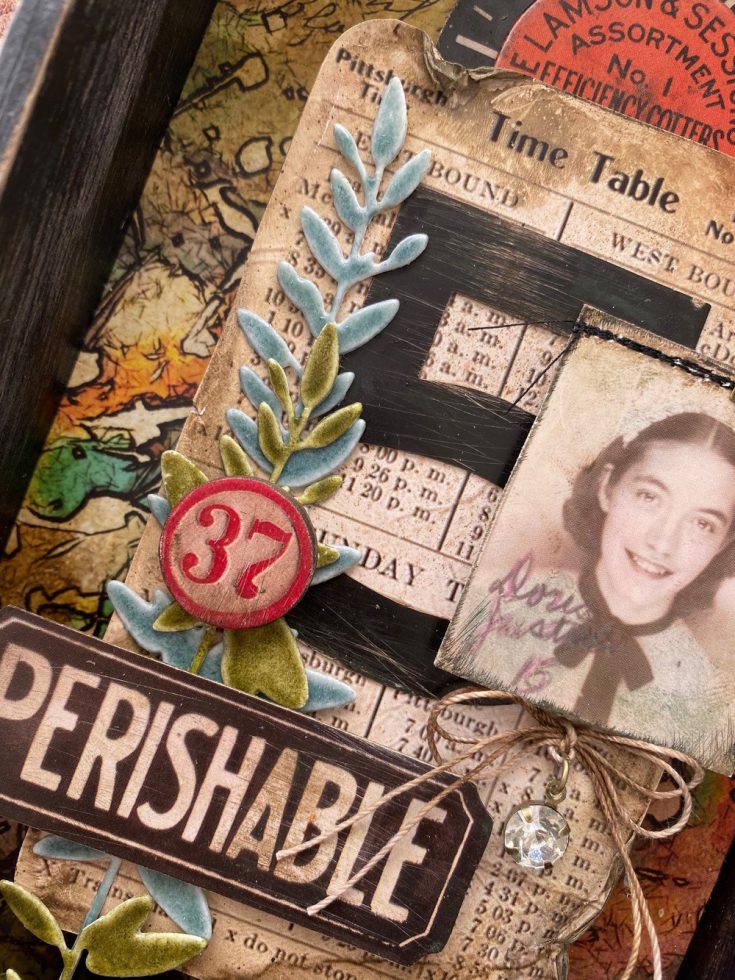
One last little touch, another piece from the Junk Drawer pack, a bingo number! I chose red to pop off the green/blue of the stems and tie into the orange at the top.
Thank you for following along! I hope this opens you up to making a Shrine or two. It’s a structure that has so much potential to tell a story, display a treasure or celebrate a loved one. –now carry on, paula
SUPPLIES:
|


Thanks so much for stopping by, and thanks to Paula for being our guest!


What a wonderful creation! I always admire the creativity of others. Thanks for sharing!
Awesome vignette creation!
Another wonderful Paula creation!!!!
Wow!!!! Gorgeous!!! I need some Glaze!!!
beautiful project Paula, you are the layering queen xxx
Great collection of random items to make art. Great project.
Wow Paula what a awesome vignette!
Always love to see how your projects grow, so stunning what you do.
Thank you so much for sharing your great inspiration, stay safe and have a wonderful day.
So creative!
This is so cool!!
So much attention to so many small detail that really made the project come together. Beautiful!
Very creative!!!
Another beautifully composed project with so much detail.
Love it!
I love all the new products and the completed project is terrific, Paula!
This is very cool!
I love your article on self-love bullet journal spreads as it is incredibly inspiring. As a college student, I would like to incorporate self-care practices like gratitude lists and mood trackers into my bullet journal, as it helps me stay organized and also encourages me to prioritize my mental well-being. Managing tasks goes beyond deadlines and grades, you can delegate it to experts at hhttps://studyclerk.com/powerpoint-presentation-writer resource because taking care of yourself is even more important for academic success.
I love your article on self-love bullet journal spreads as it is incredibly inspiring. As a college student, I would like to incorporate self-care practices like gratitude lists and mood trackers into my bullet journal, as it helps me stay organized and also encourages me to prioritize my mental well-being. Managing tasks goes beyond deadlines and grades, you can delegate it to experts at https://studyclerk.com/thesis-writing-help resource because taking care of yourself is even more important for academic success.
I love your article on self-love bullet journal spreads as it is incredibly inspiring. As a college student, I would like to incorporate self-care practices like gratitude lists and mood trackers into my bullet journal, as it helps me stay organized and also encourages me to prioritize my mental well-being. Managing tasks goes beyond deadlines and grades, you can delegate it to experts at https://studyclerk.com/write-my-lab-report resource because taking care of yourself is even more important for academic success.