Studio Monday with Nina-Marie: Simple Stamp Layering Featuring Hero Arts

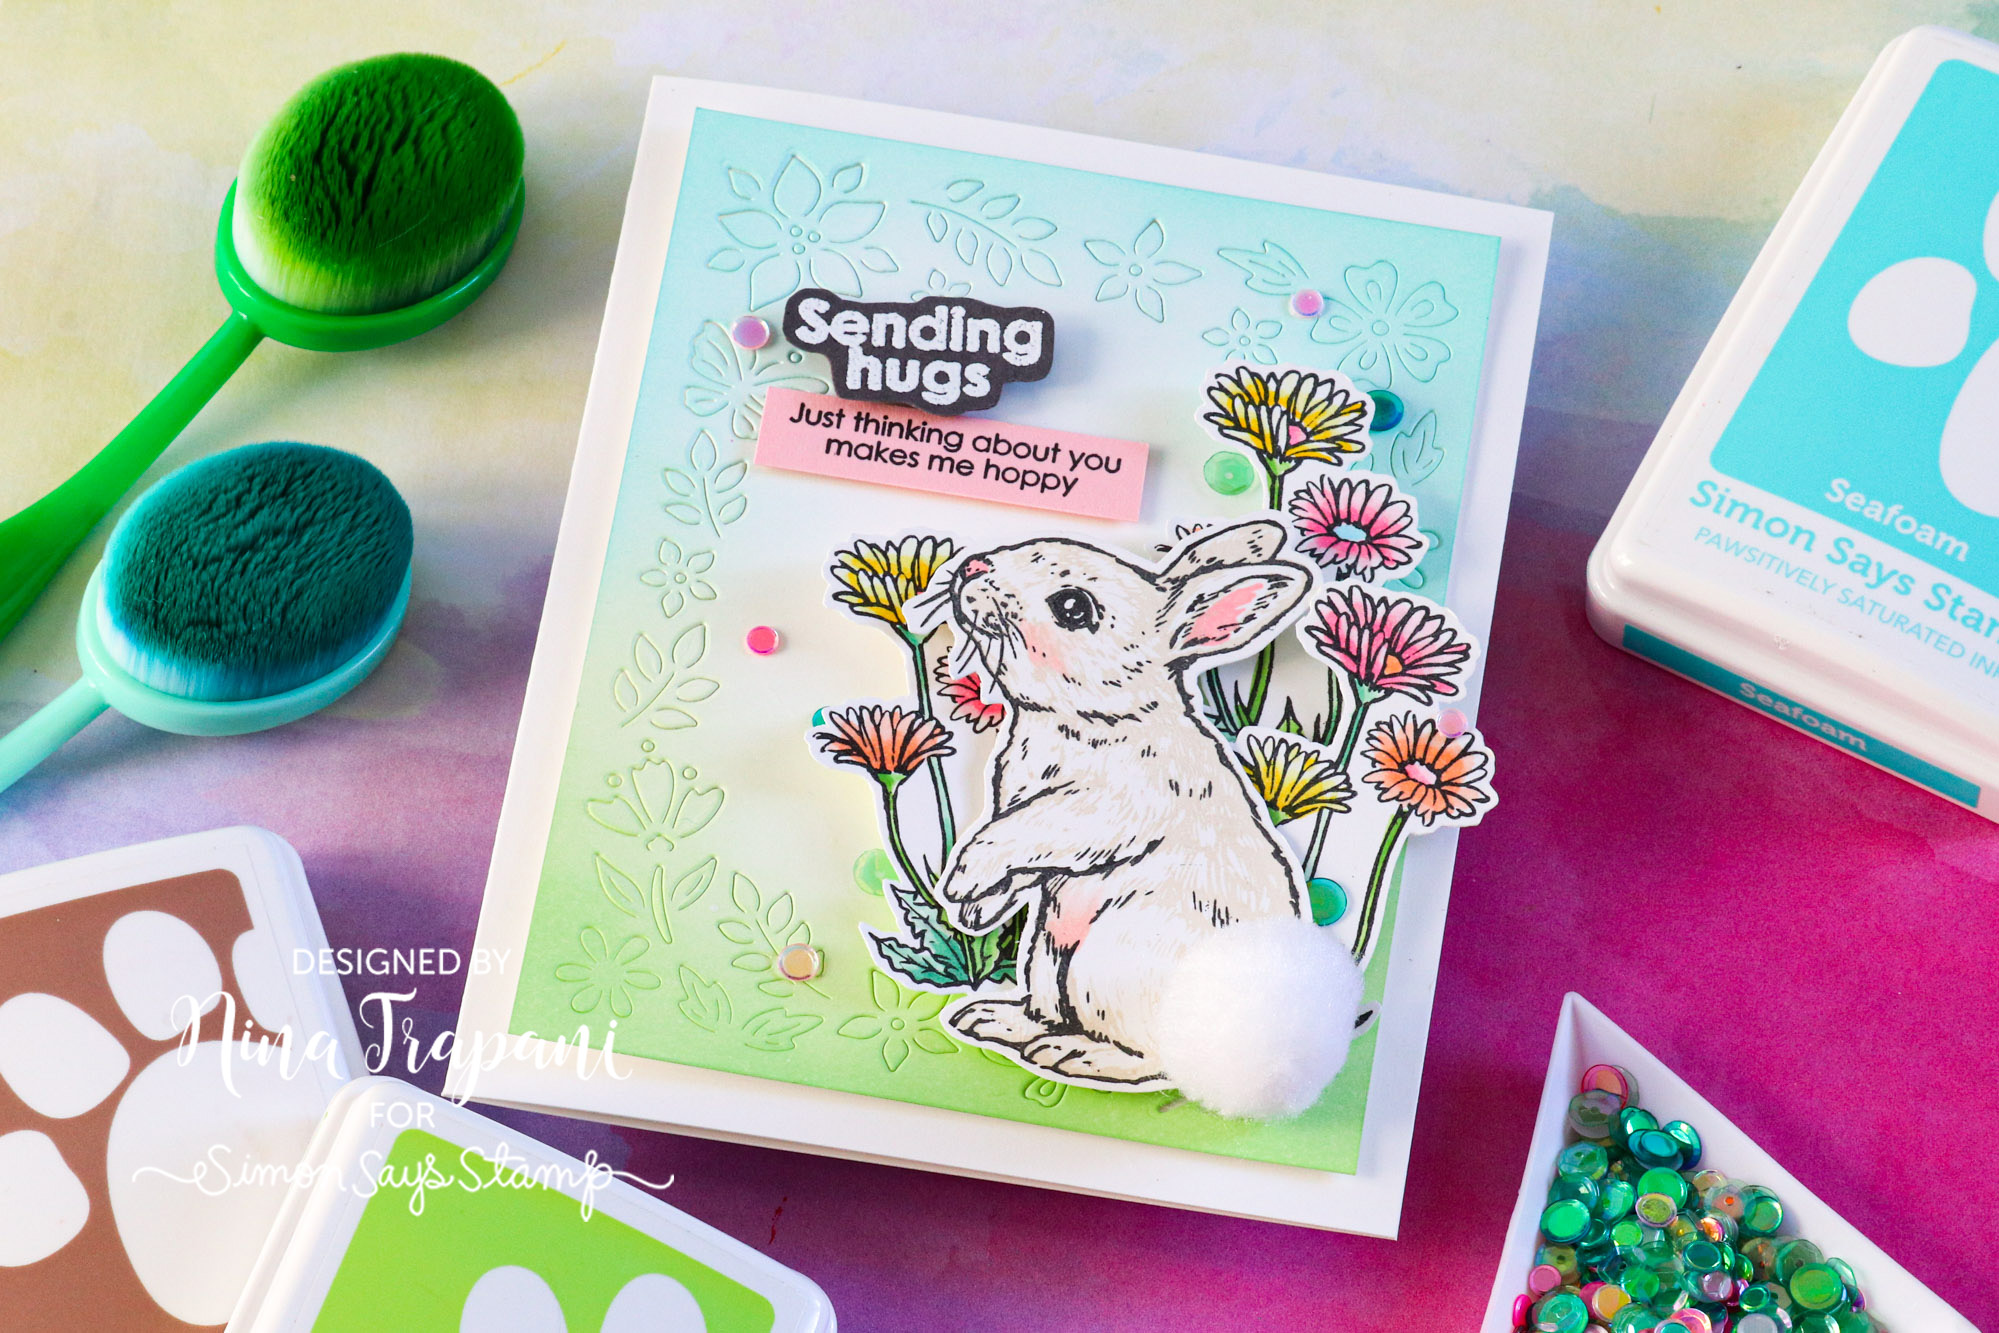
Hello friends, it’s Nina-Marie Trapani here with you! I’m sharing a super-sweet card using products from the new Hero Arts spring collection. One of those sets is the darling Color Layering Bunny. I stamped and “colored” the bunny using inks; it was very simple to assemble.
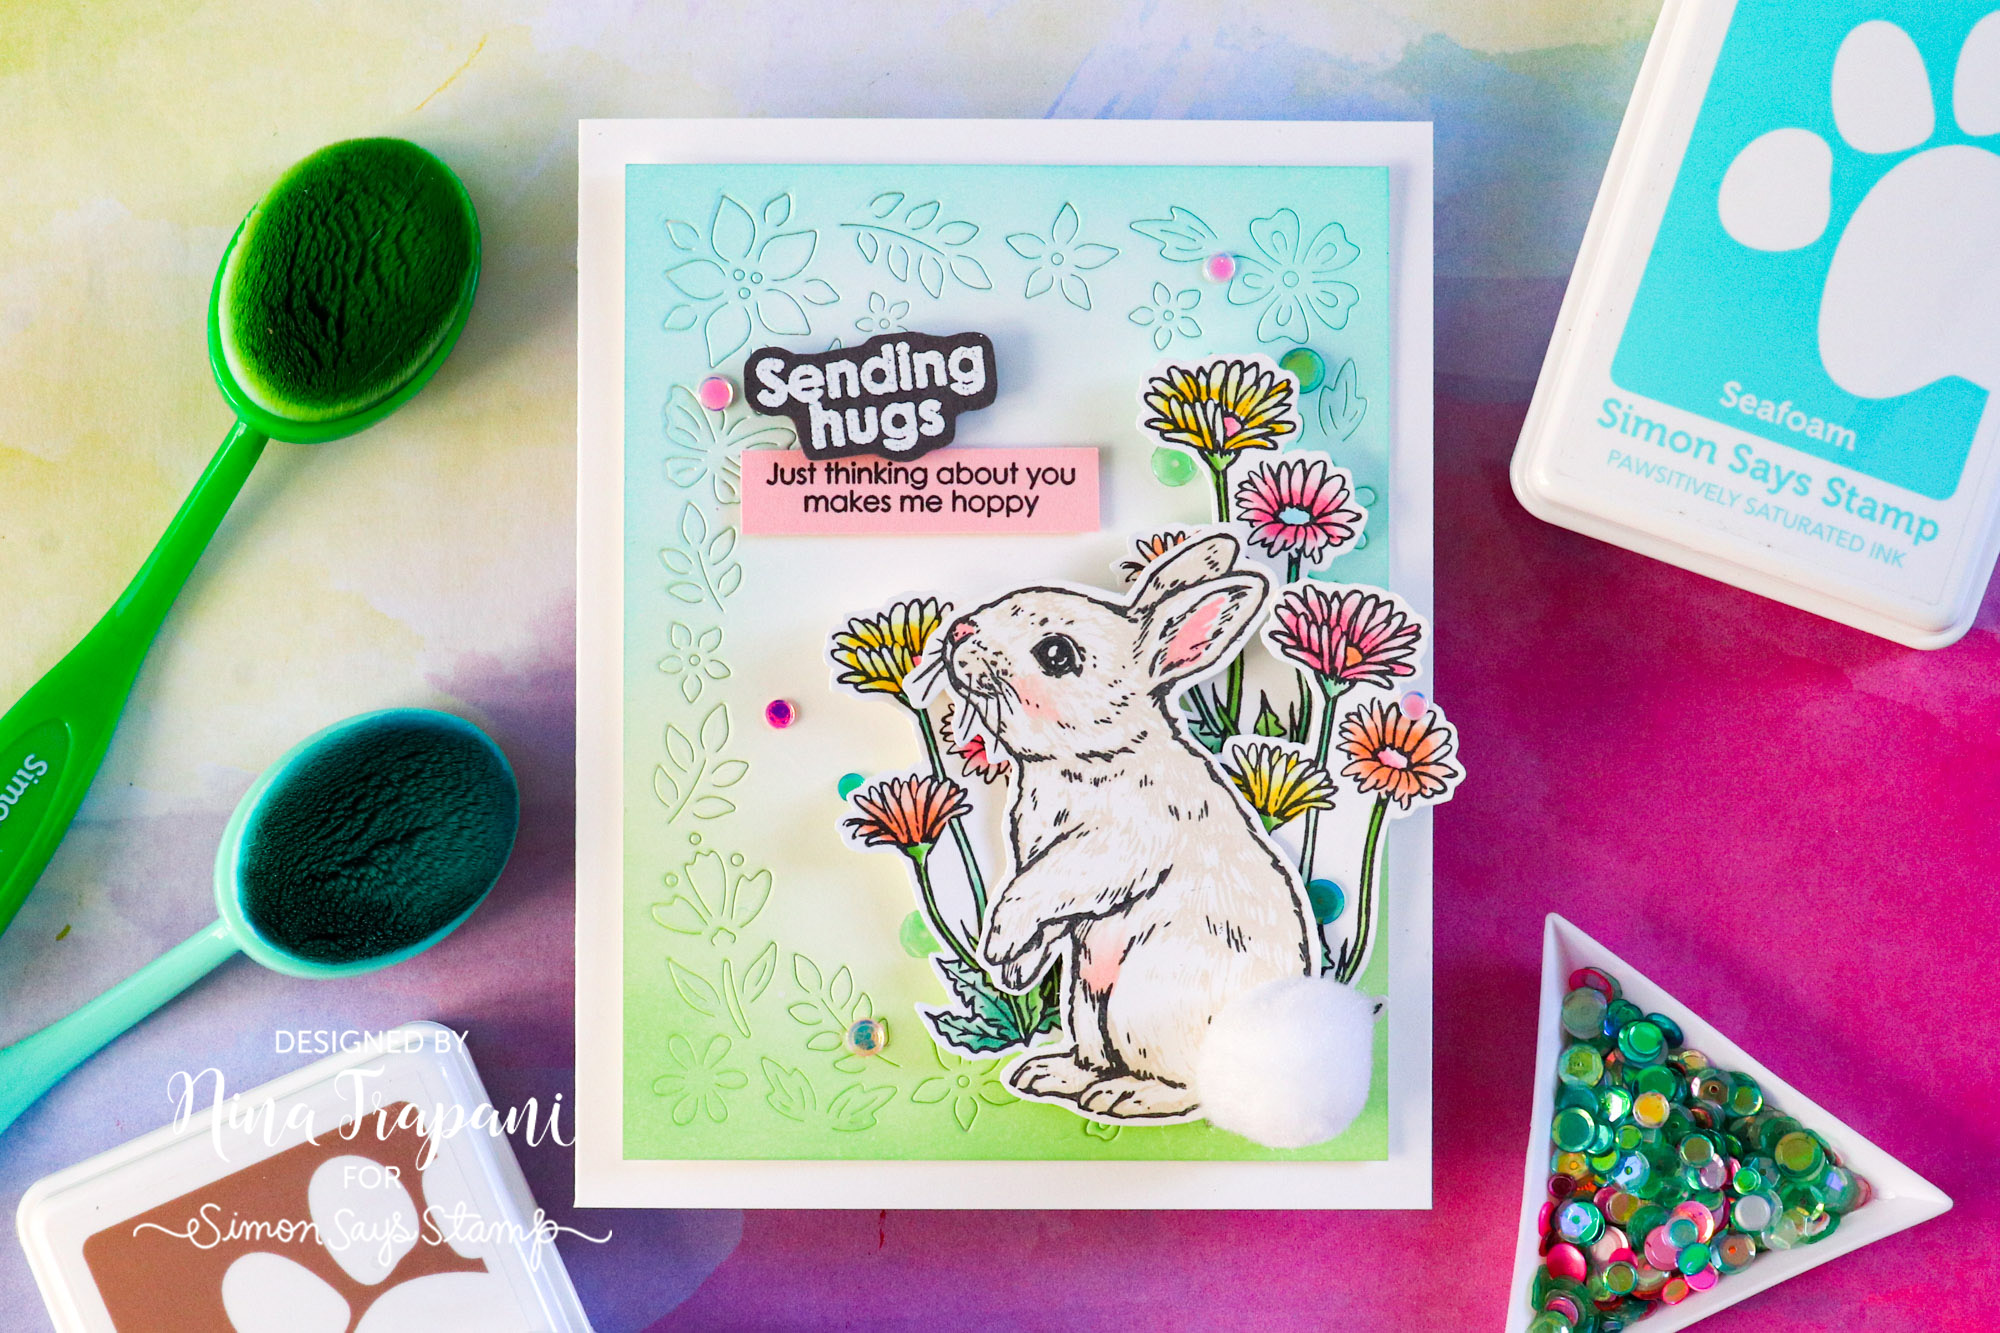
I also used the new Floral Border die to create a frame of flowers around my bunny. This provides texture around the scene making things too busy. I used the floral image from the Color Layering Bunny stamp set to add color around my rabbit. The bunny was stamped with Simon Says Stamp Pawsitively Saturated Inks and I glued a white pom-pom on him to mimic a “cottontail”!

Want to learn how I created this sweet card? Be sure to watch the video below to see all of the details!
Copic markers used:
- Pink: RV10, RV11, RV13
- Yellow: Y13, Y15, Y19
- Orange: YR61, YR65
- Green: YG41, YG45, YG13, YG17
WATCH THE VIDEO
SUPPLIES
|


This was an adorable card. I was amazed the at the difference in the bunny just changing the color of the ink. Thanks for sharing this as just purchased and received this stamp and loved your ideas on how to use it.
This is so sweet
How do you stamp the layers without a stamparatus ? I have tried and can never seem to get them lined up correctly on top of each other which makes an smeared image. Any suggestions would be helpful. Thank you