Studio Monday with Nina-Marie: Last Minute Gift Tags (That Still Look Gorgeous!)
Hello crafty friends, it’s Nina-Marie here with you today for a new Studio Monday video!
This week I want to share a last minute gift tag idea that features both Hero Arts & Simon Says Stamp products! When you think of making something last minute, you usually envision something basic and simple right? We think there isn’t enough time to make it have a “wow” factor.
Not so! Just because something is made during crunch time, doesn’t mean it can’t look like a work of art. The tags I have created today feature a VERY simple Distress Ink and stencil technique that does all the hard work for you in just a couple short minutes… keep reading (and watch the video!) and I will show you just how quickly these came together.
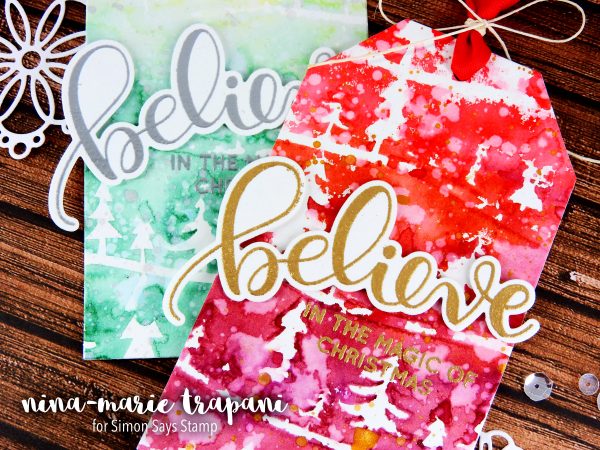
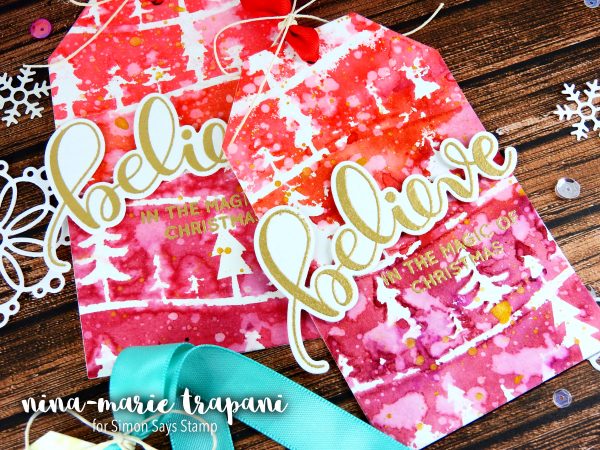
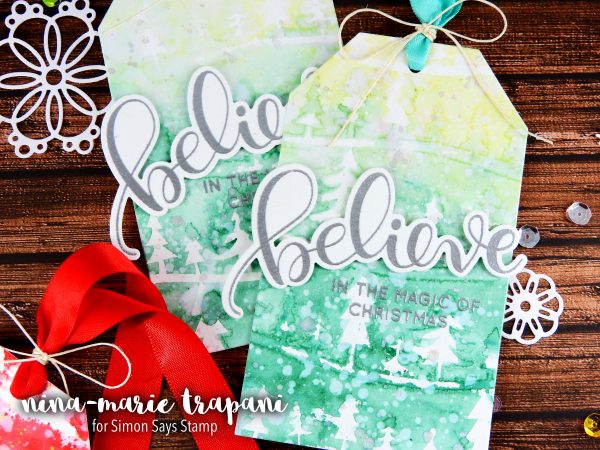
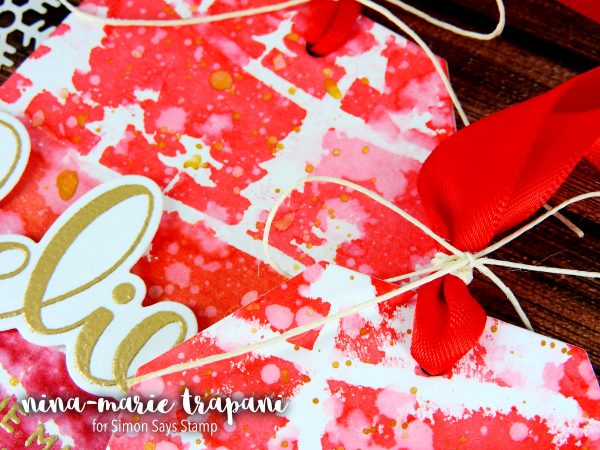
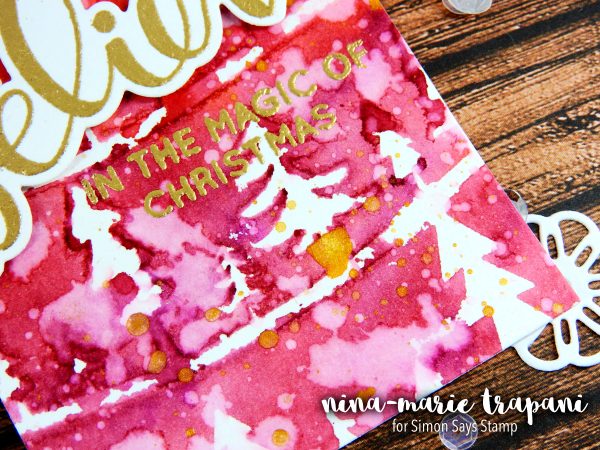
I used the Hero Arts Forest Scene stencil paired with Distress Inks to create the backgrounds for my tags; by applying three different shades of inks through the stencil, I was able to create a variegated color palette that adds instant interest to the tag (the tags are die cut using the Nesting Tags dies from Hero Arts). To further texturize the tags, I added water splatters and flicks of the Finetec gold watercolors.
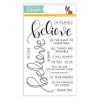
The sentiments are created using the Simon Says Stamp Believe stamp and die sets. I LOVE that script believe, it is just gorgeous! I heat embossed the believe sentiment with embossing powder and die cut it with the coordinating outline die; I then popped it up off of the tag, above where the rest of the sentiment is heat embossed directly onto the tag.
Color palettes are so much fun to come up with… for these tags I chose Festive Berries, Fired Brick and Seedless Preserves for the red tags; and then I used Shabby Shutters, Evergreen Bough and Pine Needles for the green tags. I find that because this stencil is so delicate, it is best to dab onto the stencil instead of brushing over it as you might normally do with a stencil (unless you were to use a temporary adhesive on the back of the stencil to adhere it down to the paper).
The brush I used to apply the Distress Inks was an inexpensive craft foam brush (mine was about 2 inches wide, found at my local craft store). I dampened the brush and squeezed out any excess water before bringing it over to the stencil-covered paper; remember that the more water you use with stencils, the more it will run… so if you want a less defined image, use more water. If you want something more crisp, use less.
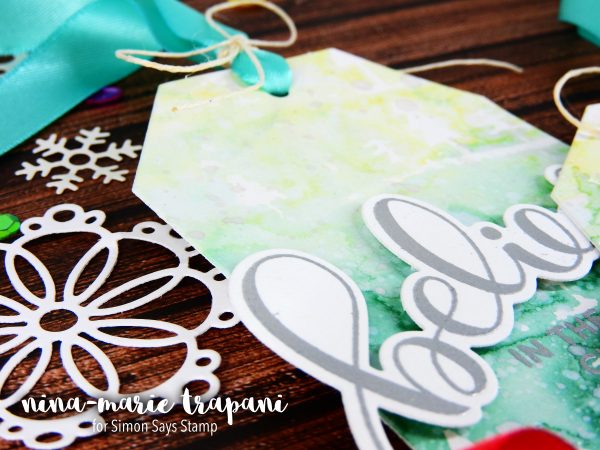
To finish things off, I tied a bit of ribbon and hemp around the tops of tags; to prevent the ribbons from fraying, I used the We R Memory Keepers Ribbon Cutter to seal the ends. This tool is so handy for giving your ribbons a nice, professional look! I’ll show you in the video how I used this tool to trim the ribbons down, so make sure to check that out if you are interested!
In all, these tags took very little time to put together; all four took me less than an hour and I could have made a bunch more in that same amount of time, because I was working in assembly-line style. So I hope this has given you ideas and encouraged you to think that just because something might be last minute, does not mean you have to sacrifice on beauty!
WATCH THE VIDEO
SUPPLIES








Gorgeous watercolor tags, love the embossing!
Love the tags and technique. Great colors!
Awesome tags… they’re a present in themselves!
awesome way to make tags.
Pretty!
what beautiful splashes of color that make each tag unique!
Great this grungy and still christmas-look!
These tags are wonderfully created! TFS
SUPERBES
Awesome backgrounds!
Distress inks, watercolor technique, and the believe die..how can anyone go wrong with these 3 elements…Fantastic tags and think of the cards, scrapbook pages, and journals that one can create with these elements. Thank you for sharing.
love that believe stamp!