Studio Monday with Nina-Marie: Repurposing with Alcohol Inks

Hello crafters and Happy Plant a Flower Day! Did you know that today’s “fun” holiday is a celebration of all things blooming and beautiful!? That’s why I thought today’s video would be perfect for not only Plant a Flower Day, but also for Spring and organization! I’ll be showing you how I repurposed some mugs I had and gave them a fresh, new look with the help of alcohol inks!
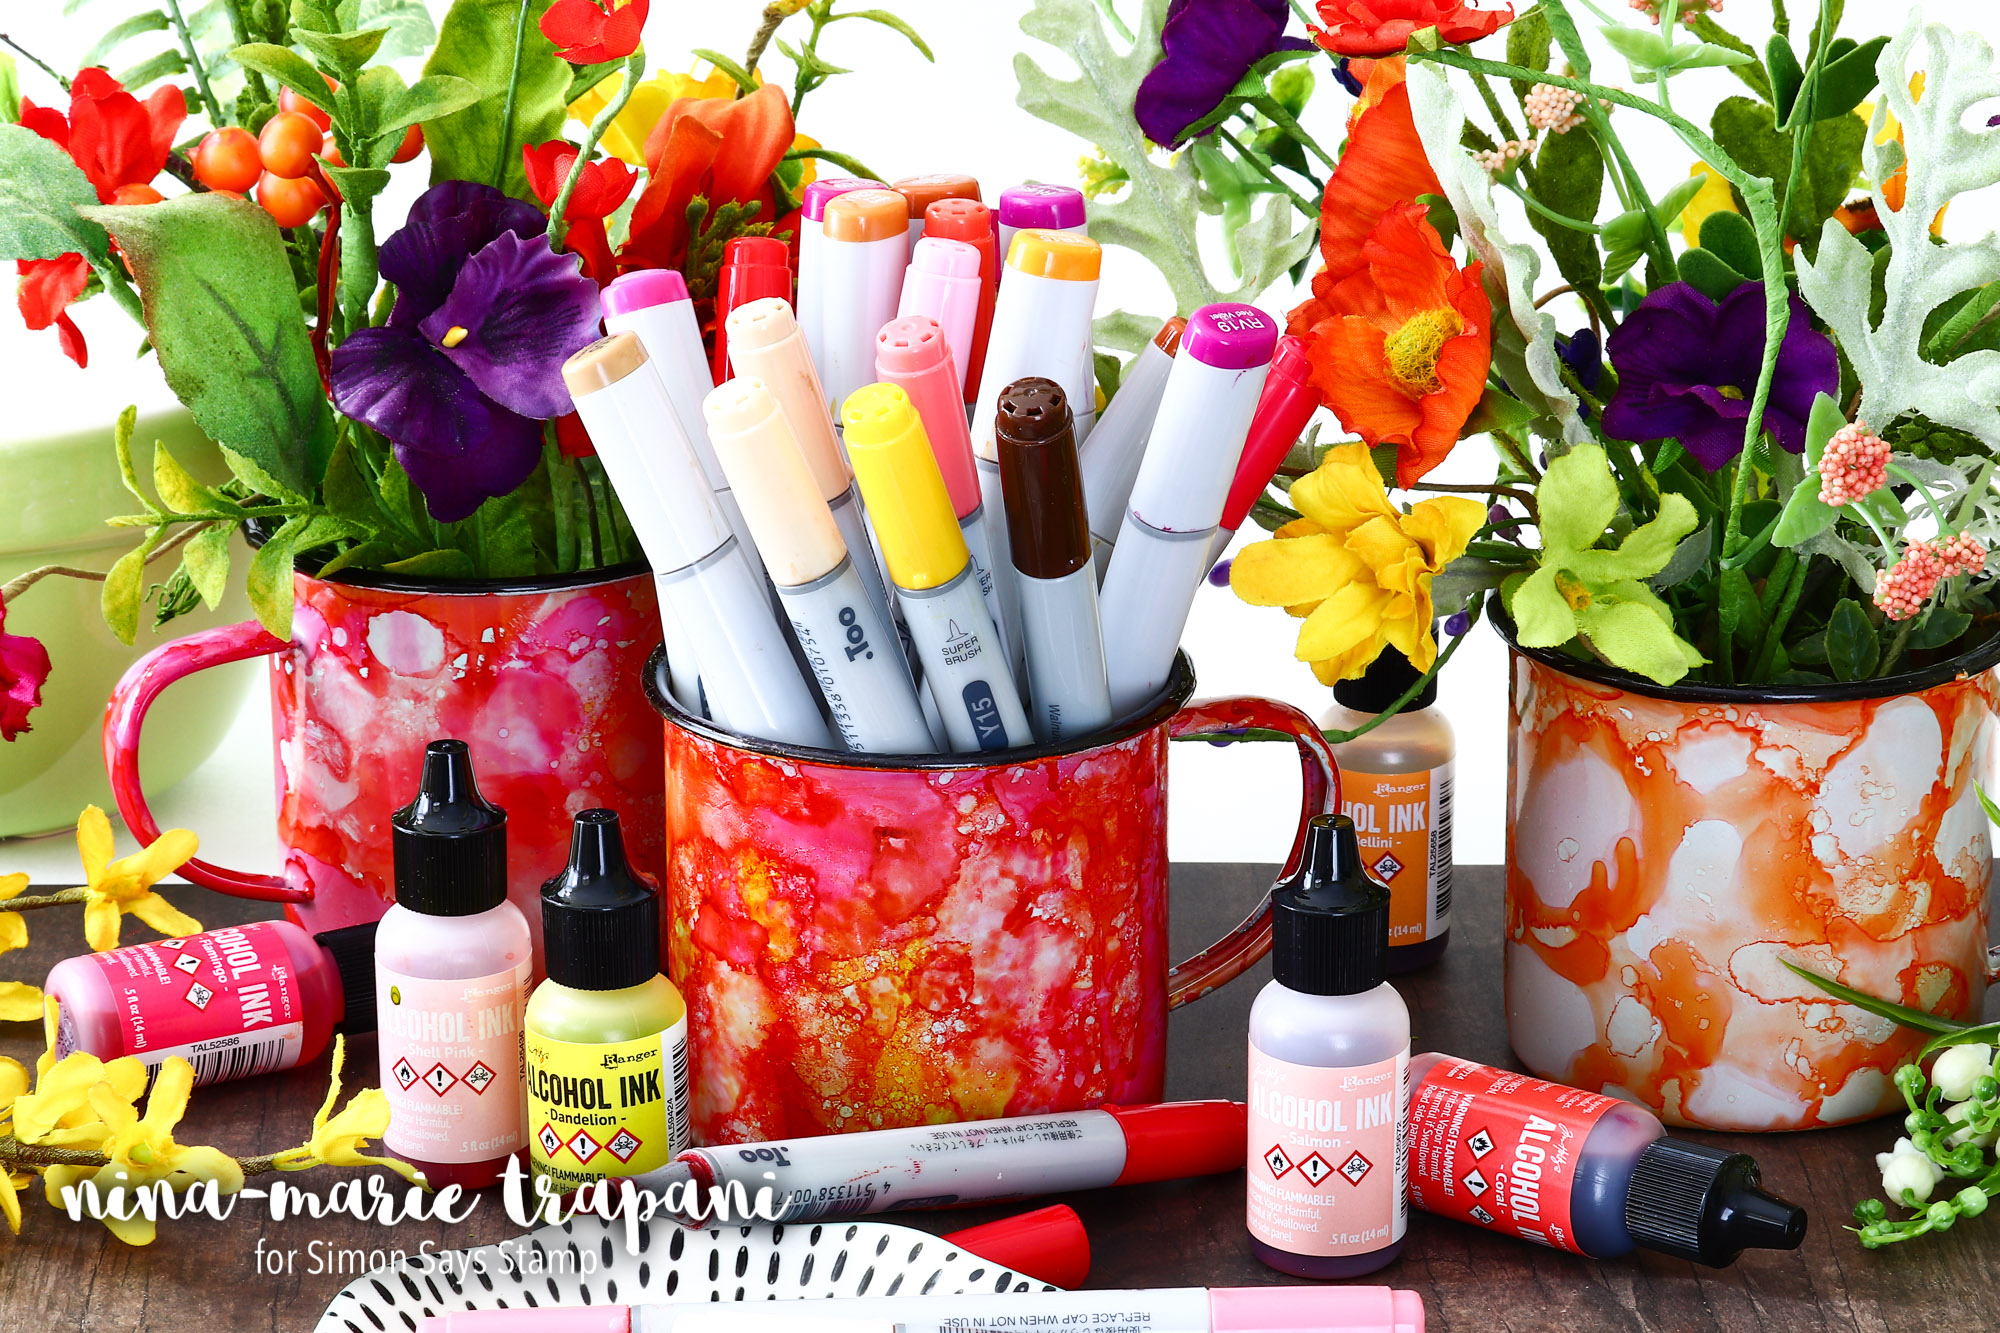
You can apply alcohol inks to just about any surface; I’ve done this on glass before too and it works beautifully! The bold-colored mugs on the left use Flamingo, Coral, Salmon, Dandelion and Peach Bellini.
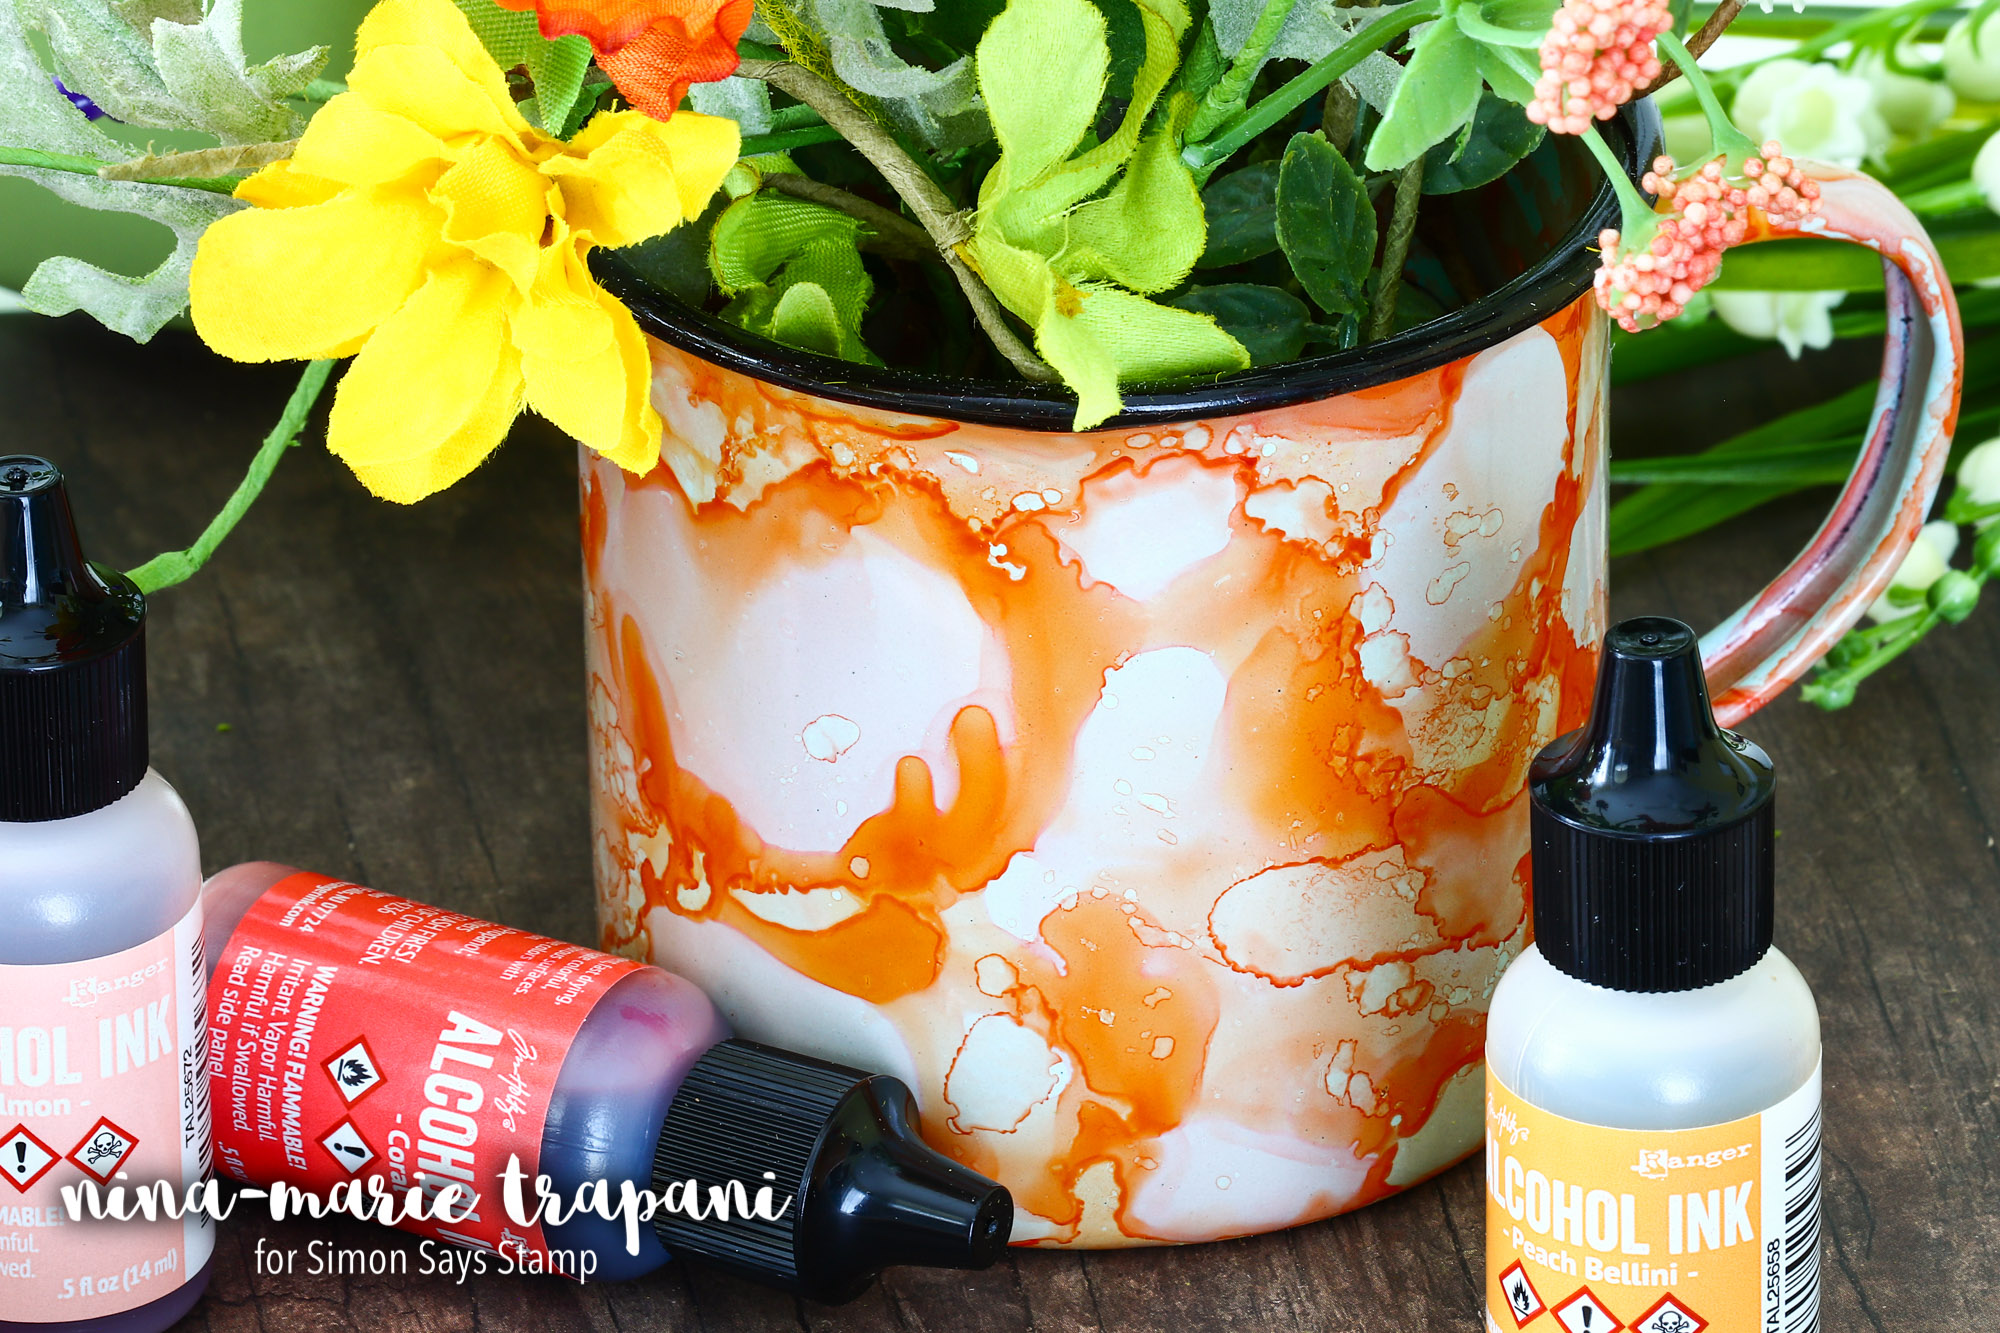
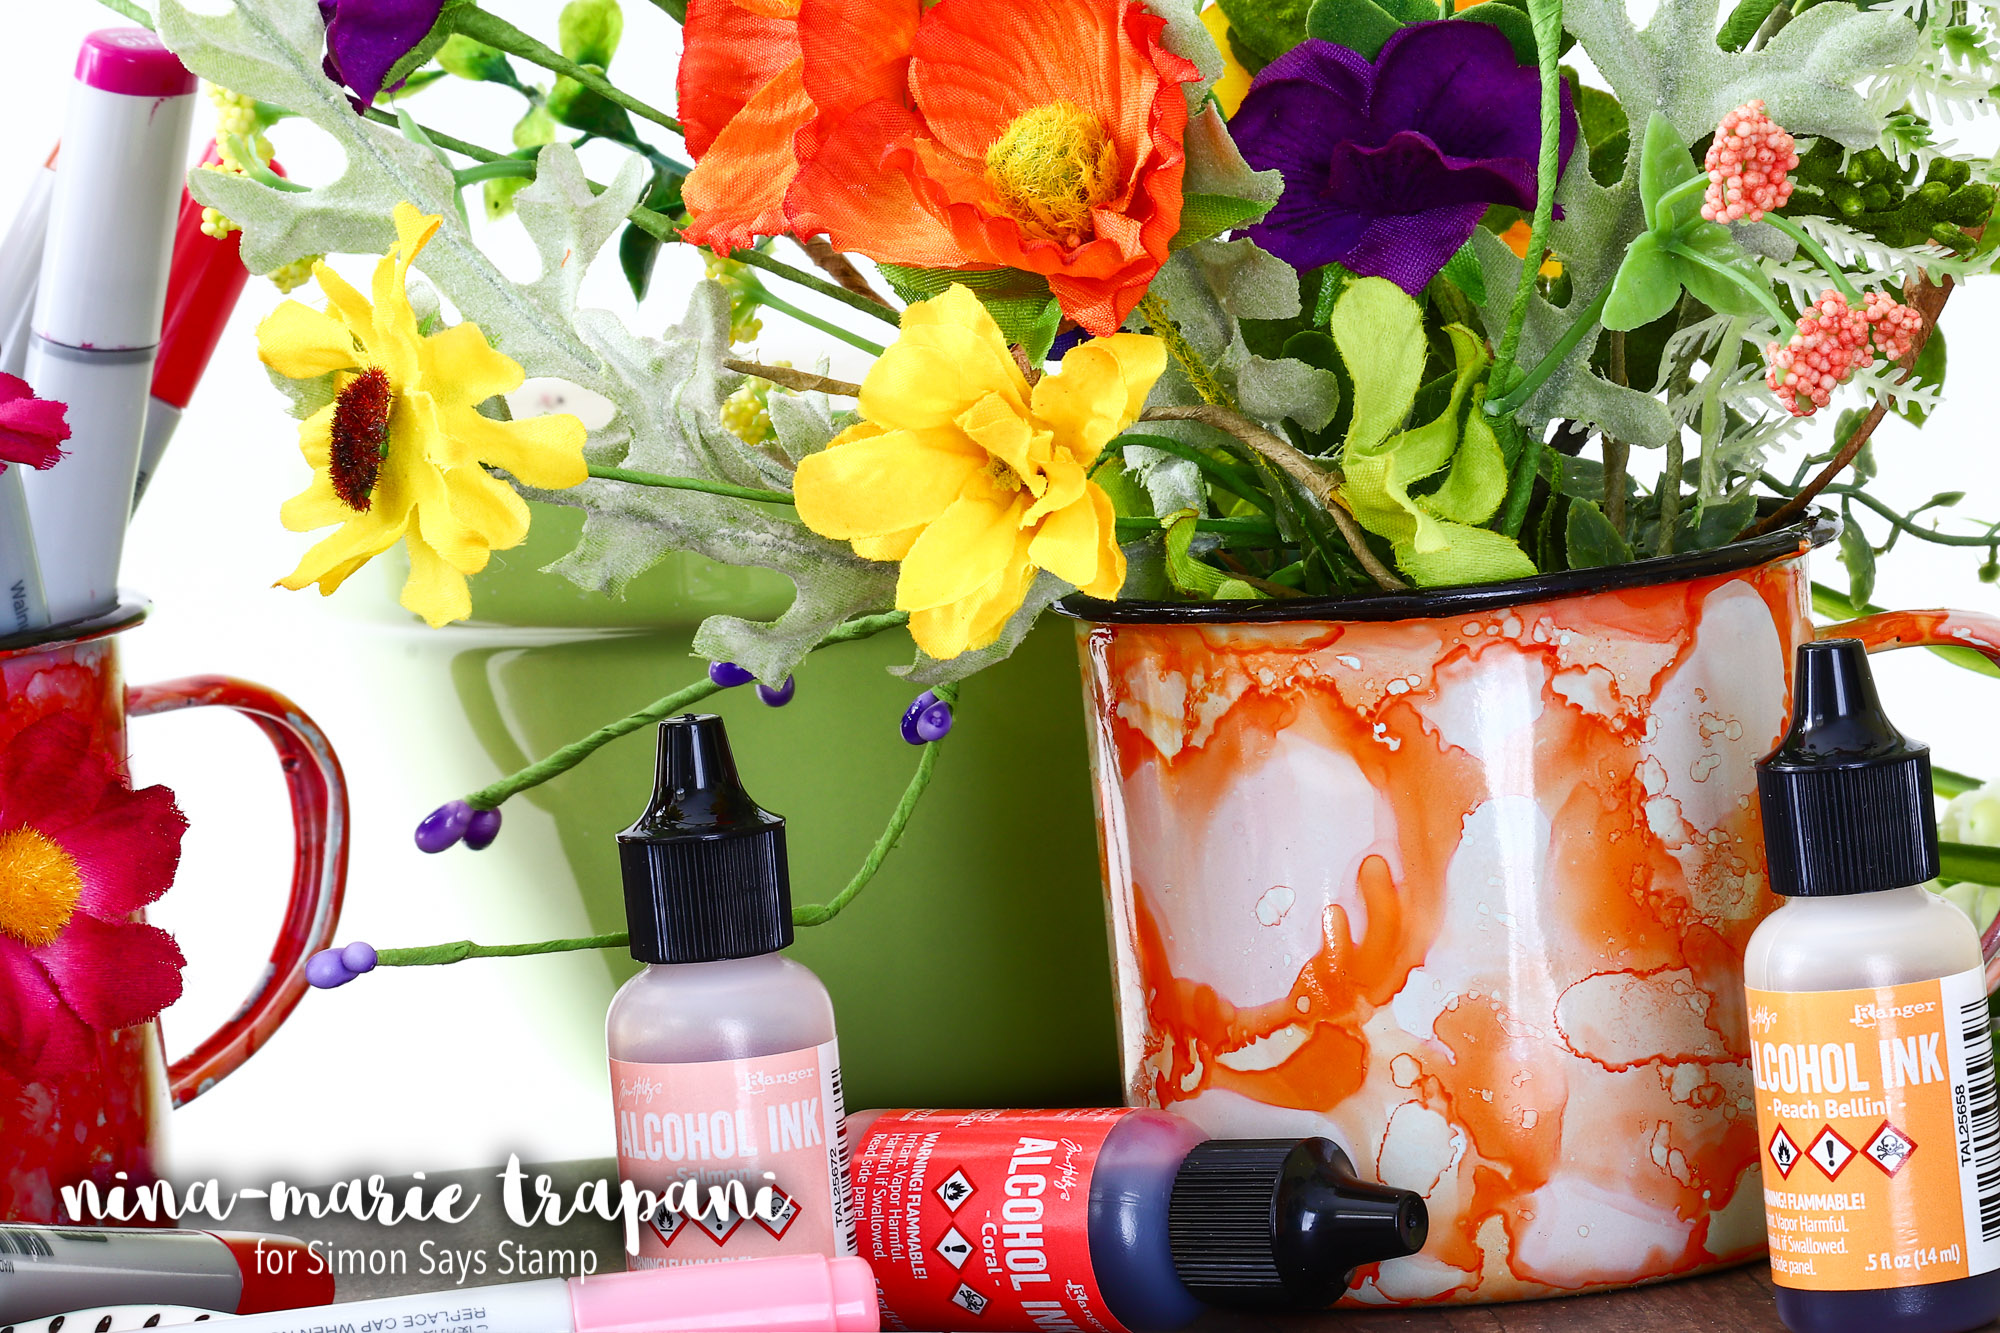
Like I had mentioned, these mugs would make great planters for the Spring flowers that will soon be blooming! Check out the cute mug above with the pretty orange and soft pink colors; I filled this with some Spring silk flowers to brighten my studio! I used Peach Bellini, Salmon, Shell Pink and a VERY tiny amount of Coral.

Or you can use them for supplies and crafting! Here’s the turquoise, green and purple mug I made, which I often use as a water cup for painting. I used Sail Boat Blue, Turquoise, Citrus (very sparingly) and Amethyst.

You can seal these mugs if you’d like to make sure they are waterproof. I chose not to, as I have not had any issue with the mugs getting chipped and the alcohol ink wearing off (a couple of my mugs that I’ve done like this get handled frequently and hold supplies). If you do choose to seal the mugs, Ranger suggests using a water based sealant.
I hope you will check out the video below to see how I made these cute little mugs! I have a blast working with alcohol inks, as they can be used on so many surfaces other than paper!
Thanks for visiting with me today; I’ll be back soon with a brand new Studio Monday video!
WATCH THE VIDEO
SUPPLIES USED
|


Blog Candy Alert!! Follow our blog via email and comment on this post for a chance to win grab bags and blog candy! Remember to tag your awesome projects with #simonsaysstamp on social media so we can see what you are creating! 


Wow! These are super gorgeous! I love the patterns you get with alcohol inks and anything can get a lovely makeover :) Thanks for this cool idea!
Very Cool looking!
Love when crafty supplies are used in another way!
Wow! I didn’t know you could use alcohol inks to paint mugs!
Wow! Very pretty! I can’t wait to try this.
What a wonderful project!!
Cristina
thehouseoftheblackbirds.blogspot.it
That marble effect is very appealing.
I am getting really excited to try alcohol inks
How fun these mugs are! Guess I know what one of my next projects will be! Thanks for the inspiration!
Great use of alcohol inks! I love those old style enameled mugs too, and they would be great for craft room storage. I have a ceramic water holder myself and it is boring, so I may take inspiration from you and use alcohol inks to add some fun to it!
Your mugs are so unique using this technique. This project would make great gifts.
Oooh! I love those cups! Can’t wait to see the video.
These look so fantastic! I wanted to do something similar to my mugs, with the use of nail polish – I love having cheerful and colourful items around me, and if they’re unique and hand made – even better! Thanks for sharing this awesome idea :-)
These are very pretty. I haven’t seen alcohol ink for this purpose before.
So cool. I finally bought some AIs yesterday. It’s going to be fun playing with them.
wow what a great idea, Nina – thanks for sharing how versatile alcohol inks can be:)
Such a great technique! I never thought of using the inks for anything but paper crafting.
What a great way o brighten up the craft room with colorful mugs for hoders. Neat idea.
These look amazing!! I’m so ready for spring flowers!
Those mugs are unbelievably gorgeous. I cannot wait to try this out and use them for storing pens, pencils, etc. Thanks for the great tutorial.
Thanks for the great idea!
Looks like fun!! I’ve only used inks on cards, so thanks for the tips!
Such s great idea and fabulous use of alcohol inks! Love it!
Wow! Those look stunning. What a neat idea and alternate use for alcohol inks!
Love the vibrant colors.
Fun project that makes a beautiful
and useful item
thanks for sharing
txmlhl(at)yahoo(dot)com
These are beautiful mugs, I also like the ink smooshing card panel. Nothing goes to waste.
These are so gorgeous!
WOW these are so beautiful, gorgeous colors and what a great idea!
So fun! I love the bright and happy colors on the mugs, great way to brighten up the craft room.
Wowza, these are all so pretty! What a fabulous gift
a set of these would make for anyone!
Ooh! Love the effects.
HOW COOL, Nina!!!! You did a WONDERFUL JOB on these mugs!!!! My flowers were blooming here, but last night the snow came…. As my daughter said, it looks like the White Witch of Narnia came! LOL ;)
Beautiful project!!! Thanks for sharing!!!
Absolutely stunning!!
Wow, Nina, love this project! Thanks for sharing this cool idea for using our alcohol inks in a new way!
I love this idea Nina! I’ve once applied alcohol inks to a gourd and it also works great! TFS
Love this idea! Looks fun to do and I like how you were able to make backgrounds too from the freezer paper.
These are super cute and not so difficult! How did you know I was looking for ideas for jardinieres? Great timing!
I love this out of the box type of stuff.
Cute mugs! Love the idea! It would make fun little gifts!
How neat! Love the results! Thanks for sharing, gotta try this!
Cute mugs. Great way to use your alcohol inks. Thanks for sharing…
Cute idea!
Very cool looking, wow! I’ve done this with ornaments, but had never thought to do it with mugs. Theses would make great gifts! Must try this! Thank you for the inspiration!
Super cool idea! Thanks so much for the great video too.
Great idea! Super fun.
Beautiful mugs and perfect for planting those spring flowers.
Beautiful! These really look amazing :)
Gorgeous mugs! Love the bright, happy colors.
I have tried this with metal/tin containers. They come out so well.
Wow, who would have ever thought that this would work?