Studio Monday with Nina-Marie: 3 Shaker Cards + One of a Kind Product Inspiration

Hello crafters, its Nina-Marie here with you today and we are going to be shaking things up again this week with a whole new round of shaker card inspiration! As you know, shaker cards are something I am quite fond of making and I really enjoy sharing fun and unique ways to make them!

Today I’ve got three different ideas for you; a shaker over a colored image, a layered die cut see-through shaker and a “stuffed” border die shaker. All of these are very easy to recreate and feature many new products from our recent One of a Kind release! Let’s jump right in, shall we?
SHAKER OVER A COLORED IMAGE
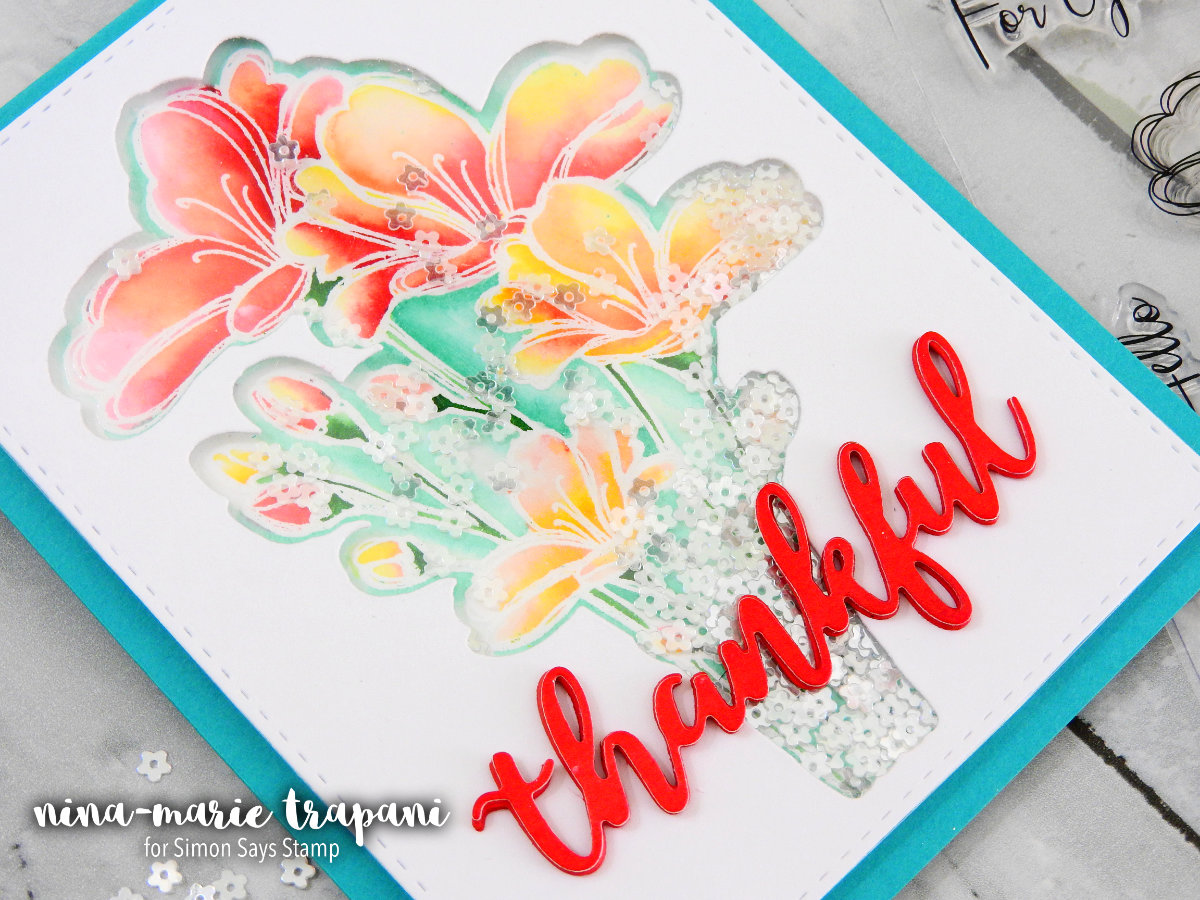
My first idea is creating a shaker over a colored image. This may seem counter-intuitive to put sequins over a stamped and colored image, since you may be questioning why we would cover up our beautiful coloring. But trust me! The effect of putting clear sequins over a colored image really adds a magical feel to the card.
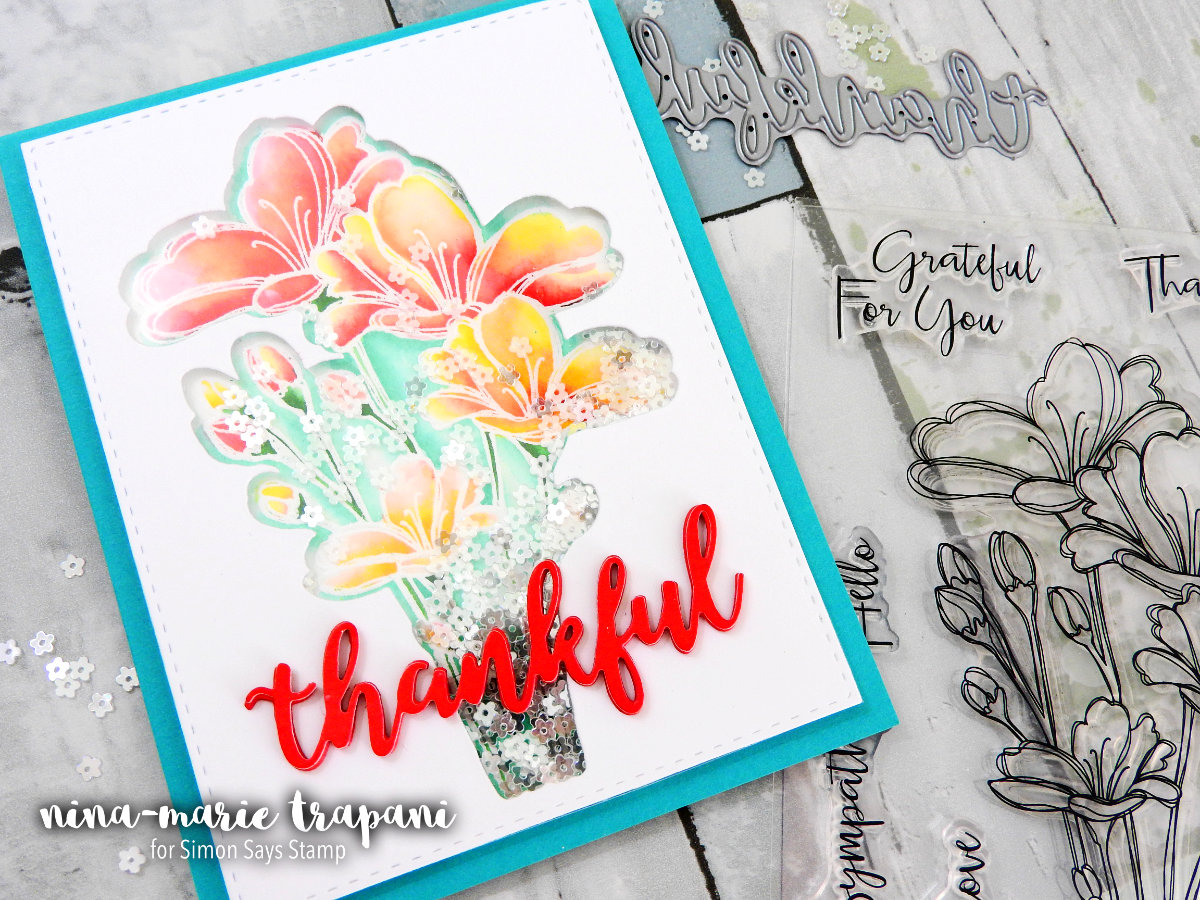
I did this technique with the Bouquet of Thanks stamp and die set, but you could do this with any image you prefer. I think this technique looks really cool when the shaker well is created with the coordinating die for the stamped image, but you could also create the same effect with a window cut from a basic shape die.
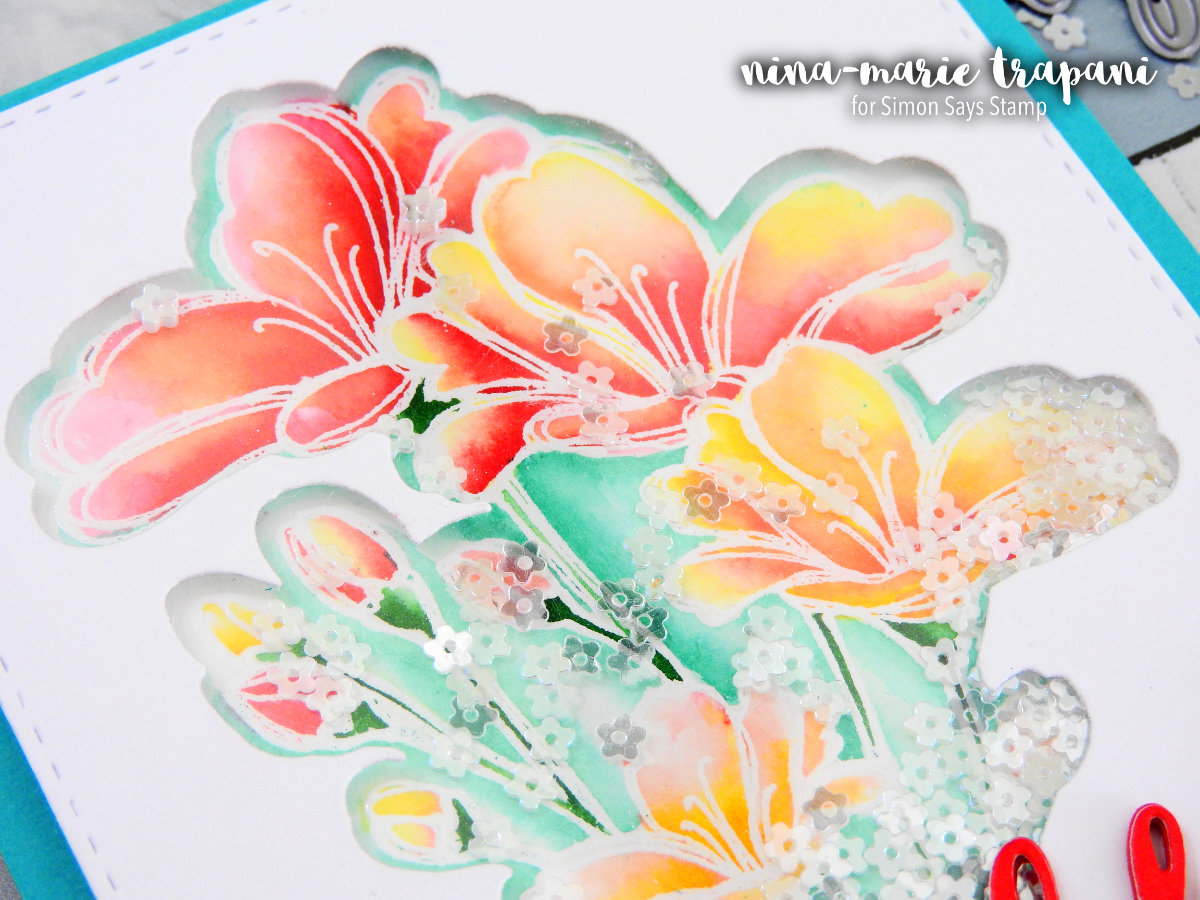
The flowers were white heat embossed onto watercolor paper and colored with Nuvo Aqua Flow brushes from Tonic Studios. I layered multiple colors together to give the flowers a more organic feel. After coloring the image, I die cut the coordinating die into a piece of white cardstock and added some acetate to the backside to make my shaker window.
For this shaker, I used only one layer of foam tape since the sequins I used were flat and I was not using a lot of them. If you are using cupped sequins and want a bit more movement, you could add a second layer of foam tape. One layer of foam tape will work for any size and shape of sequins, but if a large amount of sequins are used, the “shake-ability” will be less. There is no right or wrong way for making a shaker… it is all personal preference!
Normally with a shaker, you would adhere cardstock behind the sequins, but because this is going to be lined up onto my stamped and colored floral image, I needed to ensure it was lined up correctly. To aid with this, I took a second piece of acetate and adhered that behind my sequins, enclosing them into the shaker well. This allowed me to then turn the entire piece over and line the entire shaker over top of my flowers perfectly. This process makes a lot more sense when you see it in action, so I encourage you to check out the video at the bottom of this post!
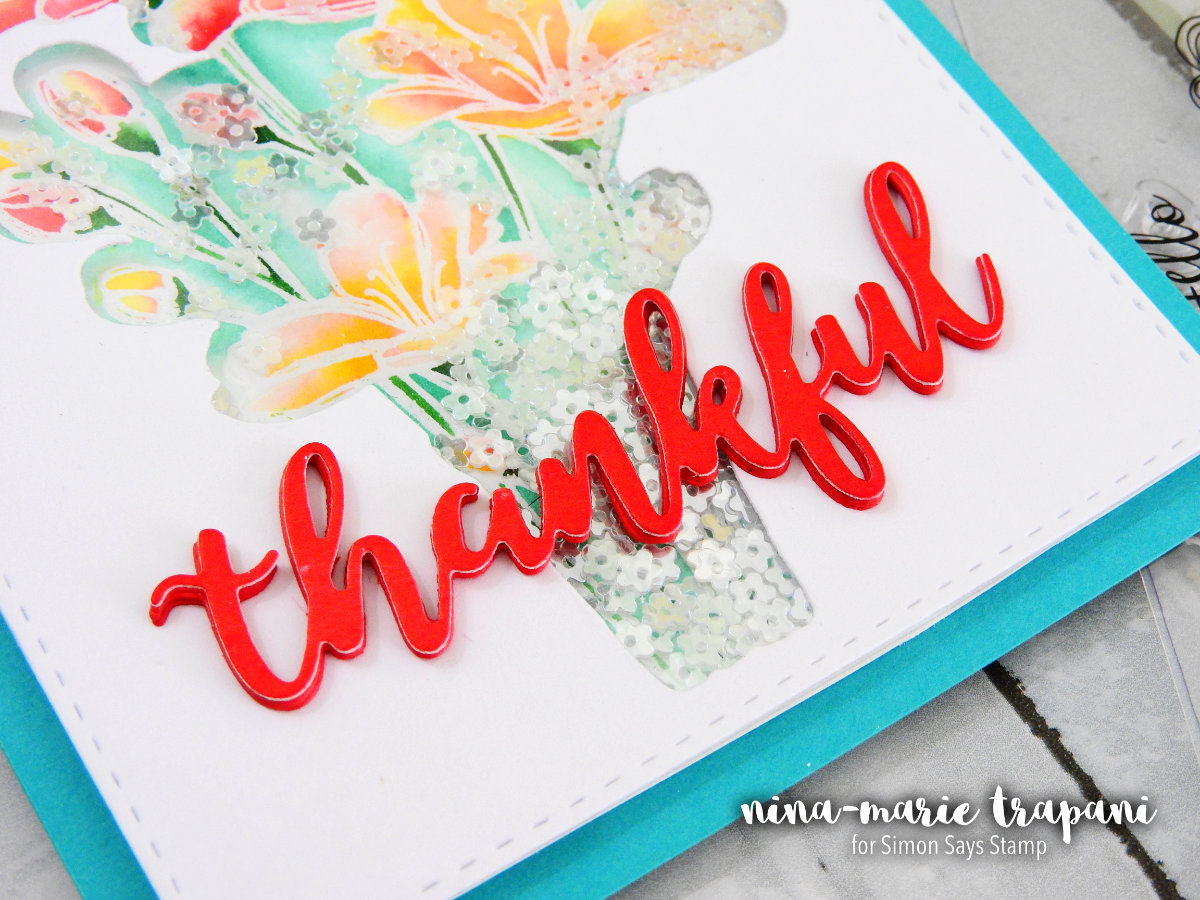
To finish off my card, I added the entire shaker piece onto some Peacock cardstock from Lawn Fawn and adhered a sentiment cut using our Simon Says Stamp Thankful die. I cut the die multiple times and layered the pieces together to create a dimensional sentiment.
The effect of the sequins over the stamped image looks absolutely beautiful… and in this particular case, very ethereal!
“STUFFED” BORDER DIE SHAKER
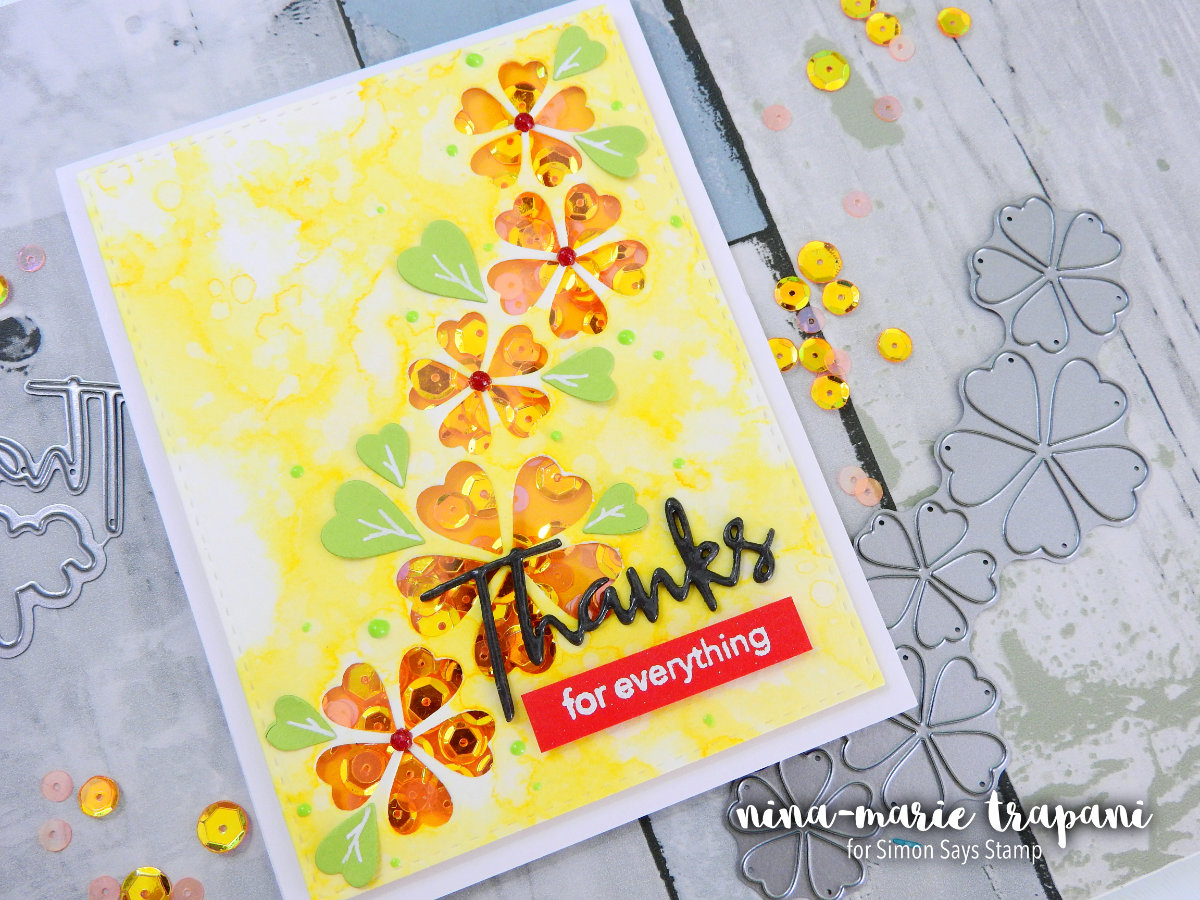
Remember how I was explaining about the amount of sequins in a shaker well with one layer of foam tape and how the sequins won’t shake as much if there are a lot of them inside? Well this is a prime example of that and how you can make a really pretty “stuffed” shaker to create a fill behind a die cut image.
I used our new Floral Burst border die and cut the pattern into some watercolor paper. Using a yellow Nuvo Aqua Flow brush from Tonic Studios, I scribbled color onto the background. I then misted the entire paper with water to make the color blend.
The sequins you see inside my shaker are from our gorgeous Celosia mix. I can’t get enough of the bright happy tones of yellow and orange. Behind the Floral Burst border, they scream summer! To decorate the border, I die cut the Floral Burst die from green cardstock and used the negative pieces to make leaves. I also added some dots of Nuvo Drops in and around the flowers; Ruby Slippers and Apple Green.
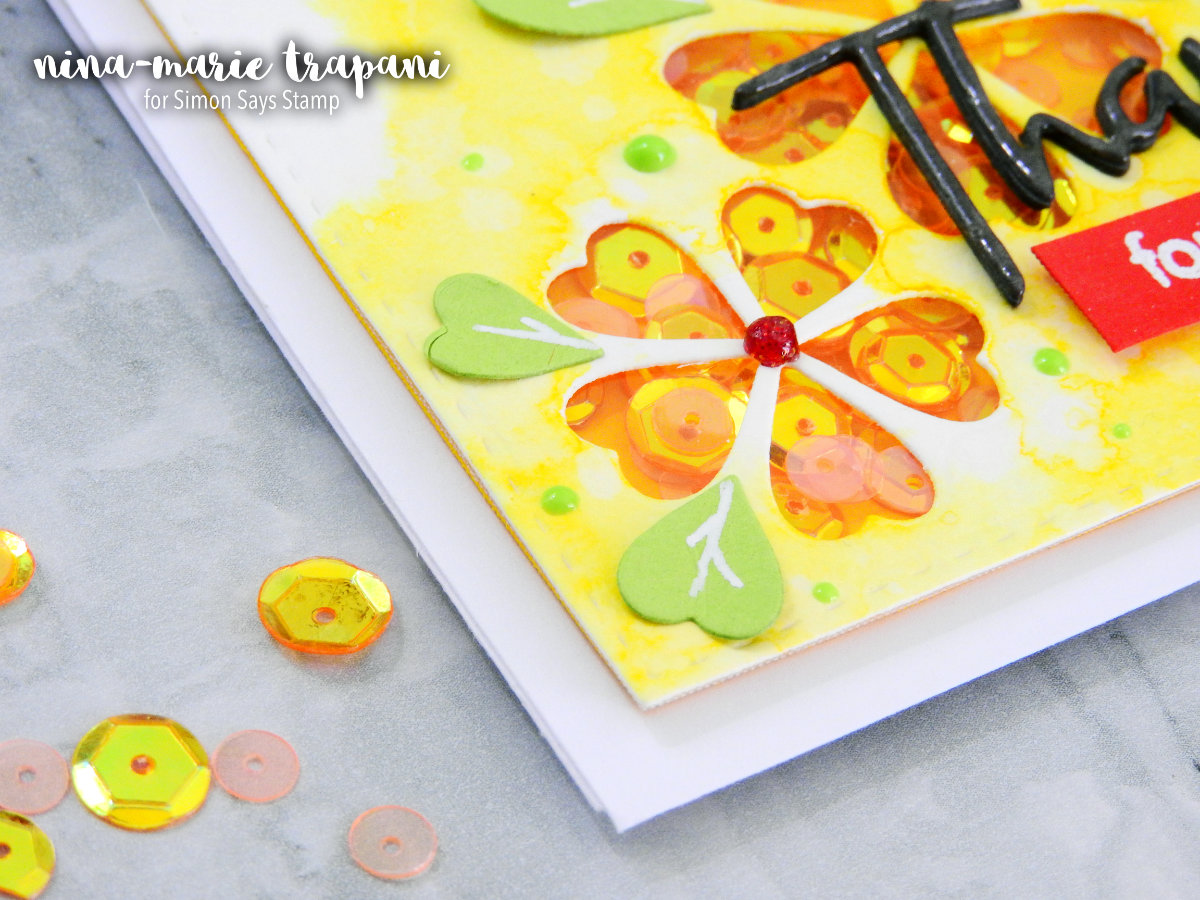
For my sentiment, I die cut the new Script Thanks sentiment die from black cardstock about four times and layered all the pieces together to create a dimensional sentiment; for some shine, I put a coating of Glossy Accents on top. The supporting sentiment is from our Thoughtful Messages stamp set and is heat embossed onto red cardstock.

The fill-effect of the shaker having SO MANY sequins inside looks fabulous behind the floral windows! Plus, I love how bright and happy this card turned out!
LAYERED DIE CUT SEE-THROUGH SHAKER
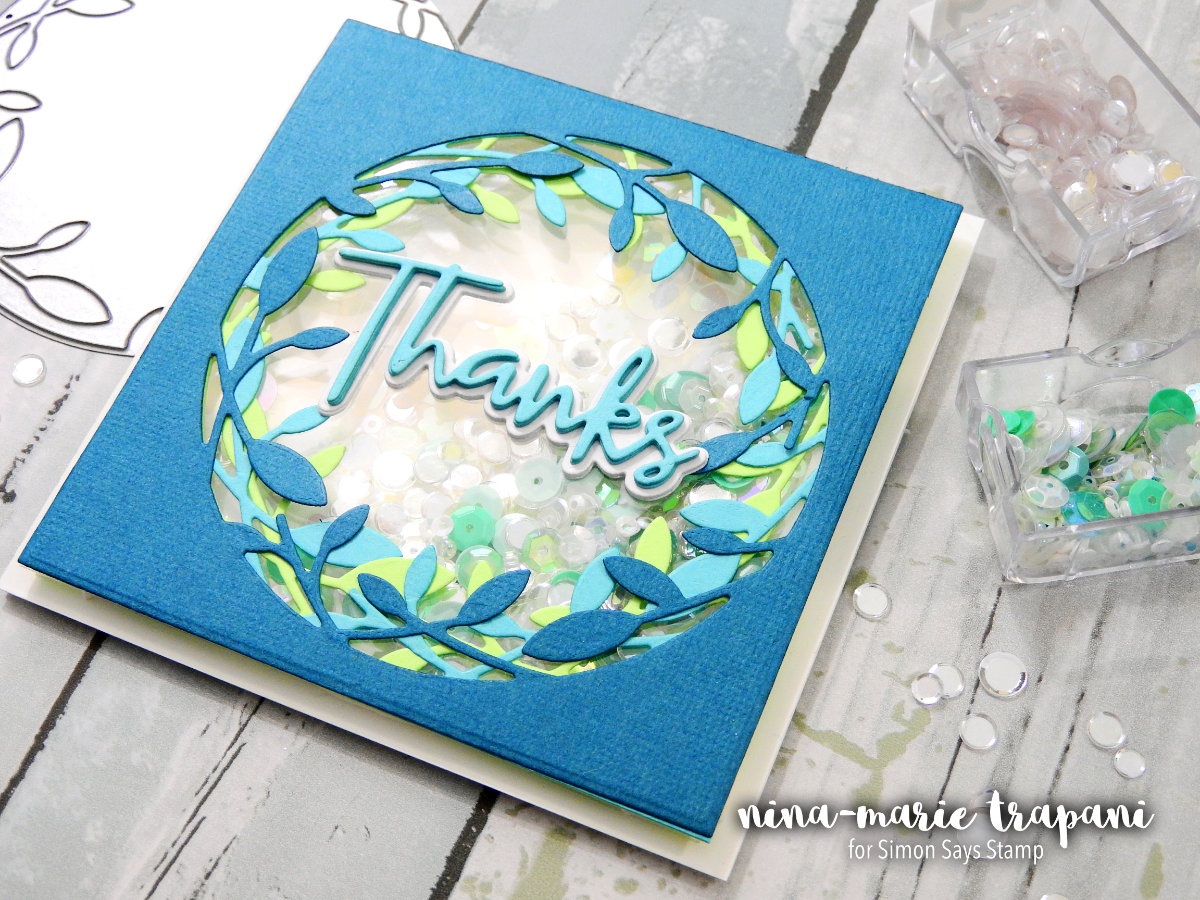
My final shaker idea for today combines two techniques into one and is a layered, see-through design. Both of these ideas by themselves look beautiful; put together they become amazing!
For the leafy window pattern I used our new Frond Collage die and cut it from three different colors of cardstock. There is a slight trick I used to get the offset layer effect, which you will want to check out in the video below!
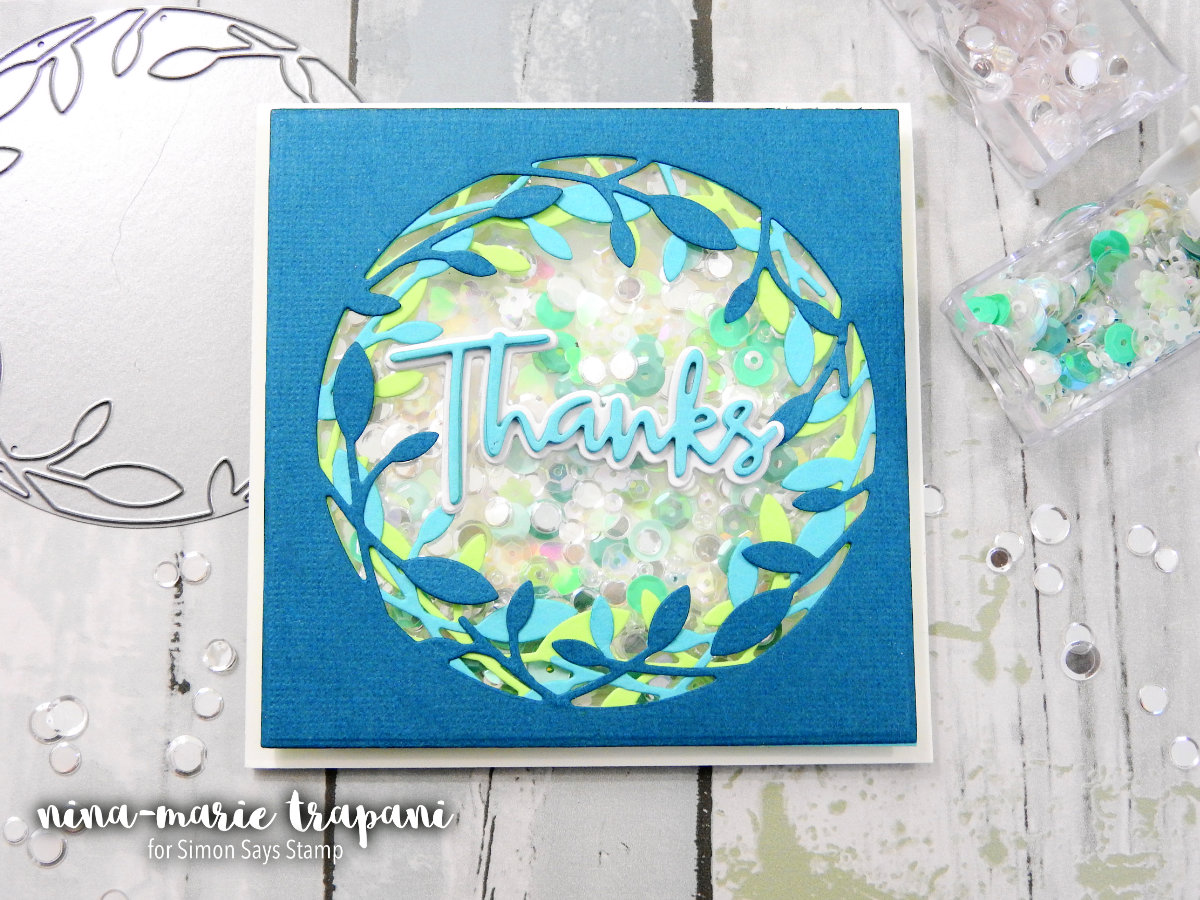
Because this is a see-through shaker, I needed to build the shaker in a way that would allow you to see all the way in to the inside of the card. By cutting a window into the card base and using acetate as the shaker backing panel, I was able to easily achieve this effect. I walk you through this process in the video, but trust me that it really is quite simple!
The shaker is filled with sequins that I felt really complimented the colors of the cardstock used in this card. The mix of sequins are Phosphorescence from Lucy’s Cards and the clear confetti are Simon’s Moonshine sequins.

And for the sentiment of this card, I again used the Script Thanks die; but this time I also used the coordinating outline die. I cut four of each die cut and layered all the pieces together to make a dimensional sentiment. The relief off of the shaker panel gives the sentiment the separation it needed to keep it from being lost amongst all the sequins.
I hope you enjoyed these cards just as much as I did creating them! They are all easy to make and I encourage you to try out one, two or all three of these techniques in your next shaker cards! Make sure you watch the video to see all the shaker-building in action!
Thanks for stopping by and visiting with me today; I’ll be back again next week with a new tutorial for you!
WATCH THE VIDEO
SUPPLIES


Blog Candy Alert!! Follow our blog via email and comment on this post for a chance to win grab bags and blog candy! Remember to tag your awesome projects with #simonsaysstamp on social media so we can see what you are creating!
SaveSaveSaveSave


love the wreath die and the colors you’ve chosen, super shakers
Always love your videos. Thanks for the great inspiration.
Fantastic shaker cards!Thank you for sharing!
Love all these ideas for shakers. May need to give it a try
Awesome cards, really love the shakers over colored images
Oh my goodness Nina, your cards are simply gorgeous! I am SO inspired to make one. I love shaker cards and the tips in here are fantastic and these stamps and dies are so beautiful!
Love those shaker cards! I think they are so much fun! I especially liked the card with the watercolor floral background. Thank you for some great ideas and tips!
Beautiful! Such cheerful colours.
WOWZERS, all 3 shakers are fantastic! Thanks for the video!
Wonderful items from you, man. I have consider your stuff previous to
and you are simply too great. I actually like what you’ve acquired right here, really like
what you’re stating and the way in which you are saying it.
You make it entertaining and you still take care of to stay it wise.
I cant wait to read far more from you. This is really a tremendous website.
The video was fabulous on making all three cards – TFS – great ideas and techniques