Stretch Your Holiday Stamps! Elegant Non-Holiday Cards: Yippee for Yana

Hi friend! Please join me in welcoming back the oh-so-talented and amazing Yana Smakula! (Please note: our dear friend Yana is Ukrainian. To show support to our brothers and sisters in Ukraine, please see Yana’s post HERE.)
Hello, crafters, this is Yana Smakula for Simon Says Stamp! Welcome back for another Yippee For Yana video! Holiday stamps don’t have to be limited to one season — and today I’m sharing how to stretch a Christmas floral stamp set into beautiful, non-holiday birthday cards using layered stamping, soft color palettes, and a continuous background technique.
If you’re like me and still have a few holiday supplies lingering on your craft table, this project is the perfect way to give them new life while building your everyday card stash.
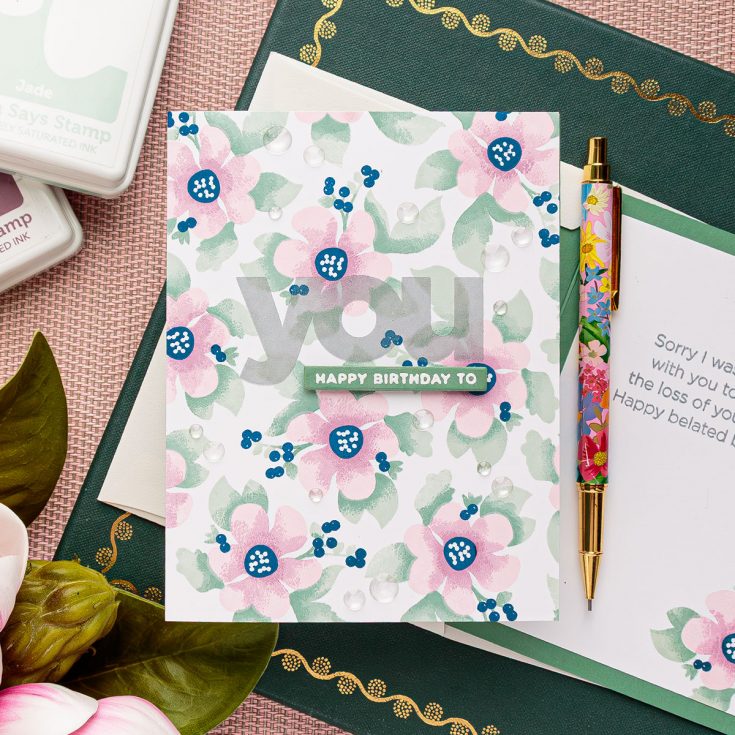
The Warmth and Wonder stamp set includes a beautiful build-a-bloom floral image made up of three separate layers. When stamped in different ink colors, these layers create a richly detailed flower that feels sophisticated and timeless.
While this set works wonderfully for Christmas cards, the floral design easily transitions into birthday cards, thank-you cards, or everyday greetings simply by changing the color palette.
For this project, I chose:
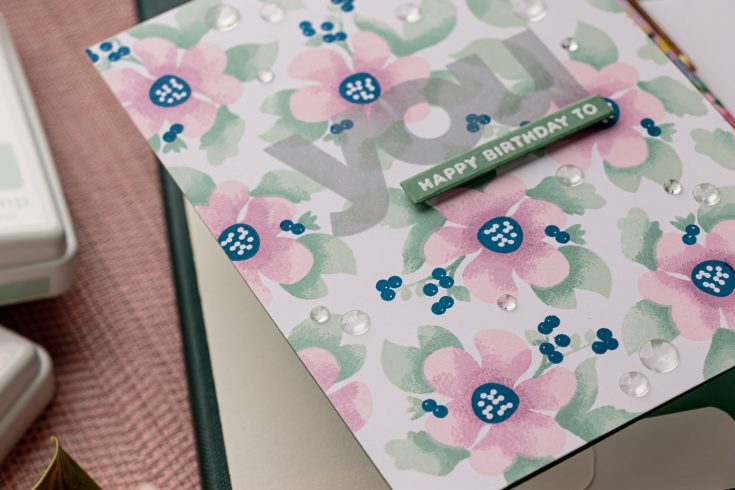
- Muted greens for the foliage
- Soft pinks for the petals
- A deep navy blue for the flower centers and berries
This color combination instantly removes any holiday feel while keeping the design elegant and refined.
Instead of stamping individual flowers, I created a full stamped background using one floral image repeatedly across a larger panel of cardstock.
Key steps:
- Stamp on a 5.5″ × 8.5″ panel (half of a letter sheet)
- Allow the images to bleed off the edges for a seamless pattern
- Cut the panel in half to create two A2 card fronts
This technique makes the design look like it was cut from a larger sheet of patterned paper — and it’s a fantastic way to get two cards from one stamping session.
A stamping platform like a MISTI is essential here, as it allows you to layer ink and restamp in the exact same position.

To give the florals more depth, I applied ink directly to the stamps using small blending brushes:
- Light ink for the base layer
- Medium ink for soft shading
- Dark ink for shadowed areas
This technique creates the look of hand-shaded images — without any coloring afterward. It’s all done at the stamping stage.
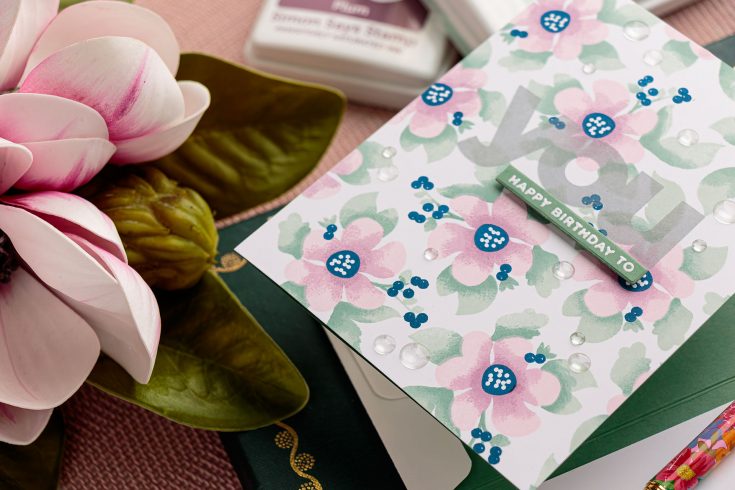
Once the backgrounds were complete, I added sentiments directly on top.
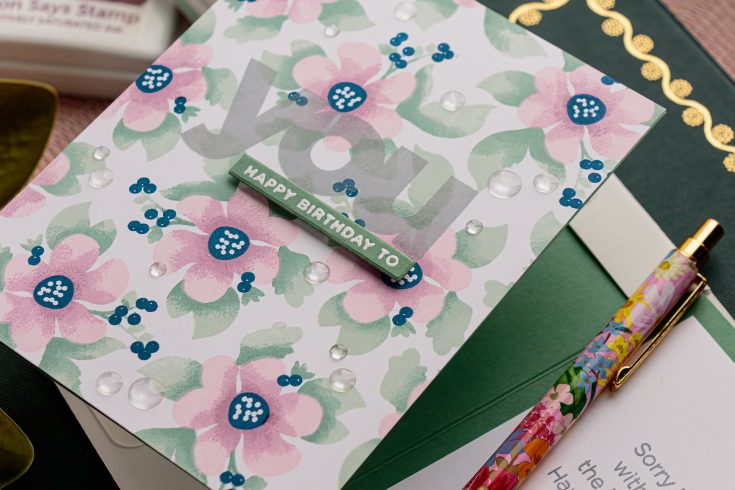
- The large “YOU” stamp from CZ Design was stamped in a soft gray for subtle contrast.
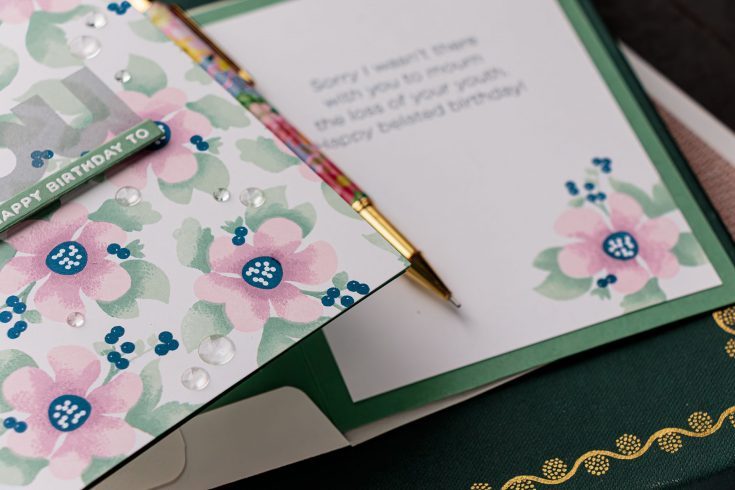
- “Happy Birthday” was heat-embossed in white on sage cardstock strips.
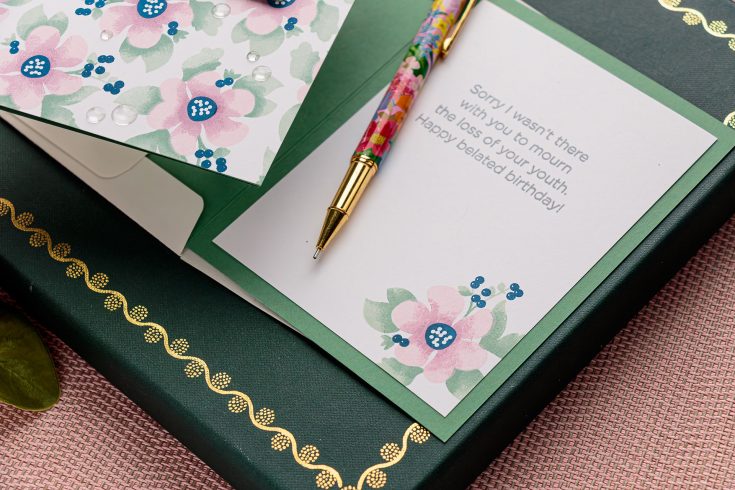
- Inside the cards, I used the Inside Greetings: Birthday stamp set for coordinating messages.
Adding a small floral image to the inside of each card ties the design together beautifully and makes the cards feel extra special.
The result is a pair of elegant birthday cards created from a holiday stamp set — proof that your supplies can work much harder than you think.
If you’ve already packed away your Christmas stamps, I encourage you to pull them back out and look at them with fresh eyes. Many holiday florals are incredibly versatile and perfect for year-round card making.
By changing colors, layouts, and sentiments, you can turn seasonal stamps into timeless designs you’ll reach for again and again.
Thanks so much for crafting with me today — and I hope this inspires you to stretch your stash!
Happy stamping,
Yana
WATCH THE VIDEO:

SUPPLIES:
|


Ways to support Ukraine:
If you are looking for ways to support Ukraine, we encourage you to visit this page on Yana’s blog:

A big thank you to YOU, our reader — and to Yana for being our guest!


National ID Ethiopia Login. Ethiopia’s Digital Transformation,
LOVE THIS! Absolutely beautiful. I will look through my stuff and see which florals I can use to do this technique. I really like that Warmth/wonder set, but I am (sort of) trying to behave for a few wks in terms of not over-ordering.
Lori S in PA
This is so pretty