Selective Embossing with DIY Diffuser
Hi all! Kristina here. :)
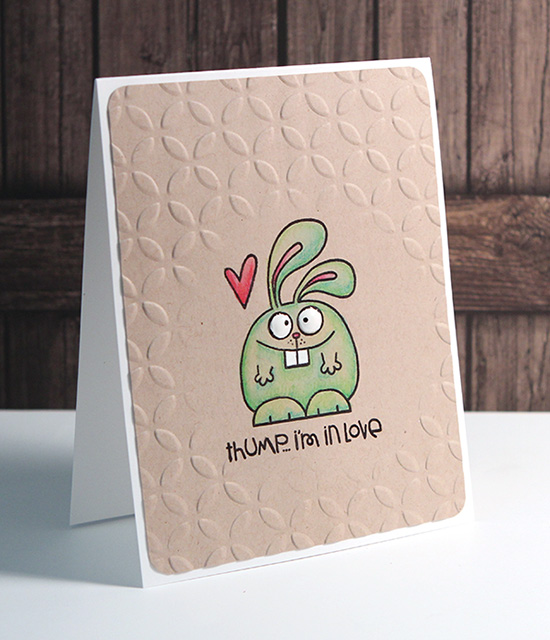
Did you notice how the little bunny has embossing around him? I was able to leave the area around the bunny untouched by using a diffuser. For an easy to use diffuser, you can try the Tim Holtz Diffusers, but I wanted the non-embossed area to be lower on the card so I created my own diffuser for when I embossed the cardstock with Spellbinders’ Simplicity embossing folder.
Be sure to watch the video below to see how to use a diffuser. I also explain how I made it using 6 sheets of 120# Ultra Thick Cardstock (really just one and a half sheets since I cut them down). You can use chipboard or other thick materials for the diffuser as well. The key is to experiment and see what works best for you. :)
I colored in the cute bunny stamp from Paper Smooches with Inktense pencils. To add the goofy eyes, I used Ranger Enamel Accents.
Watch video below | Watch at YouTube
|
|
 |
|
|
|
|
 |
 |
|
|
 |
|
|
|
|
|
 |
|
|
|
|
|


There are no comments.
Leave the first?