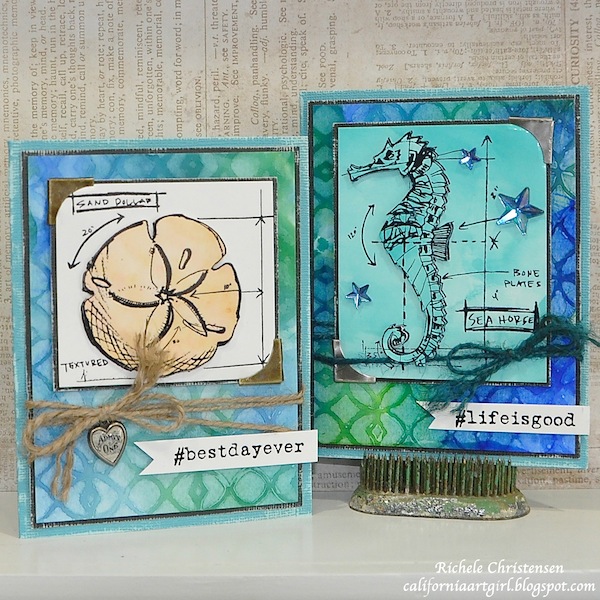
Seaside #bestdayever
Hi readers! Happy Thursday to you! Thanks for joining us today!
So… I thought I was really longing for beach time. Then, I saw this gorgeous card duo by Richele Christensen and now I REALLY am counting down the days until beach time! Do you live near a beach? There’s something about an ocean breeze + sunshine that is just pretty much a zen like experience for any and every time I find myself at a beach. Anyhow, I’ll stop rambling so we can get down to business! I hope you love today’s inspiration as much as I do!
Enjoy!
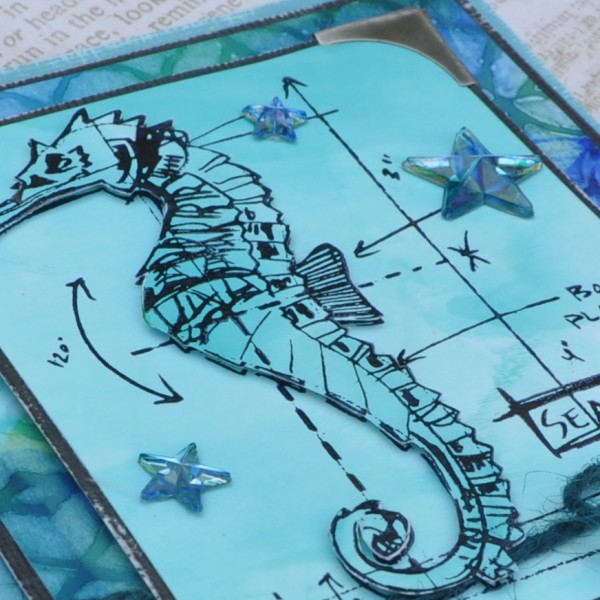
Hi everyone! It’s Richele Christensen…I’m so happy to be back with this fun technique with Layering Stencils and Alcohol Inks. Did you know you could use Alcohol Inks with your stencils? Tim Holtz taught this Faded Layers technique in his Creative Chemistry 102 Class.
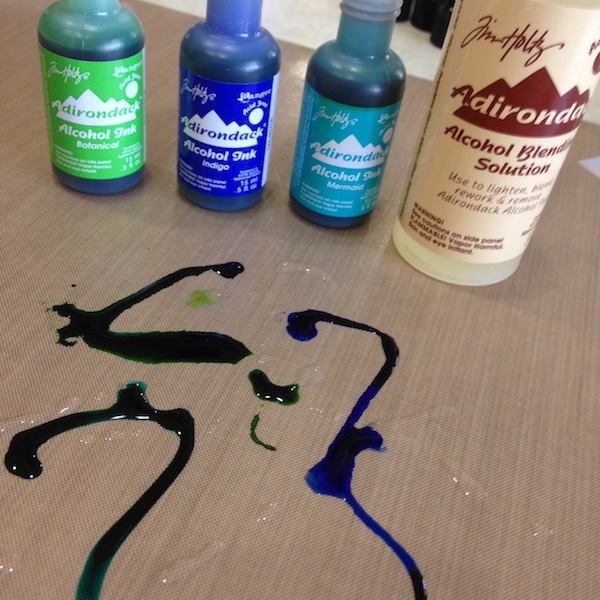
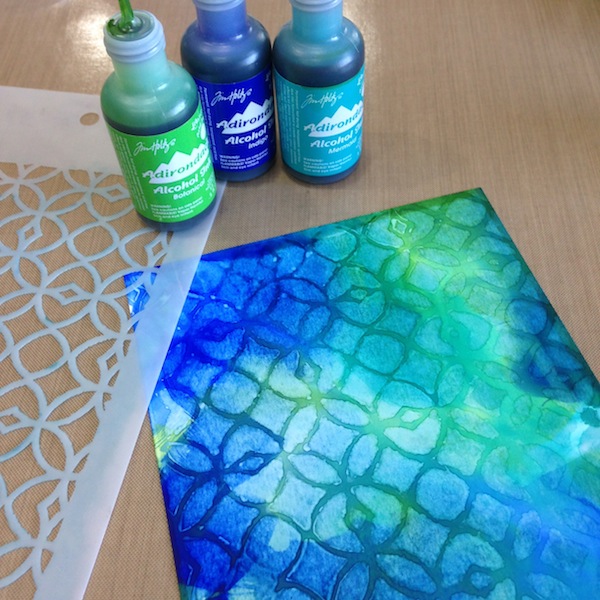
- To create our background apply Alcohol Ink directly to your Craft Sheet. Add Blending Solution to the inks. I’m loving the new colors!
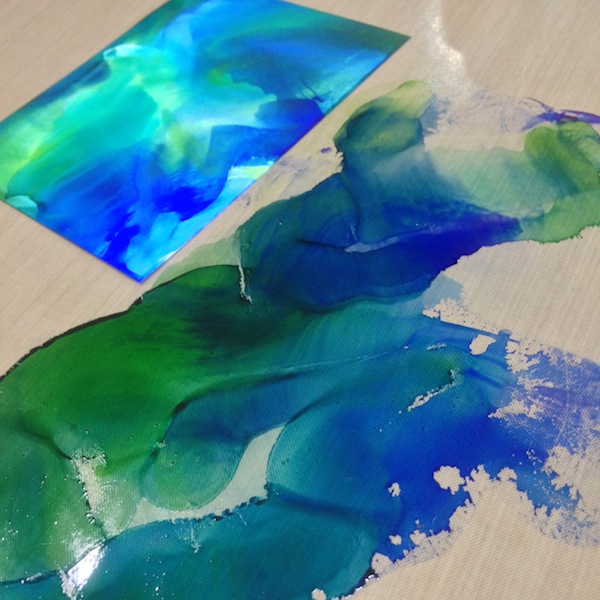
- Swipe Alcohol Ink Card Stock through the inks.
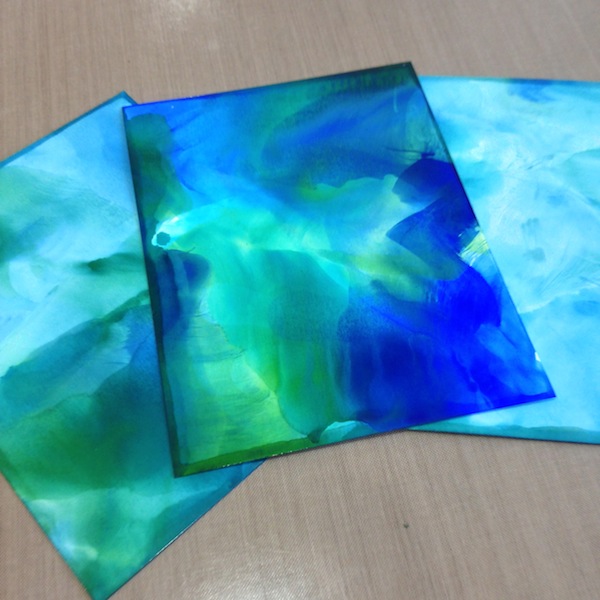
- I was able to create 3 generations from the inks on my craft sheet, a dark, a medium and a light version. Great way to make several cards at the same time.
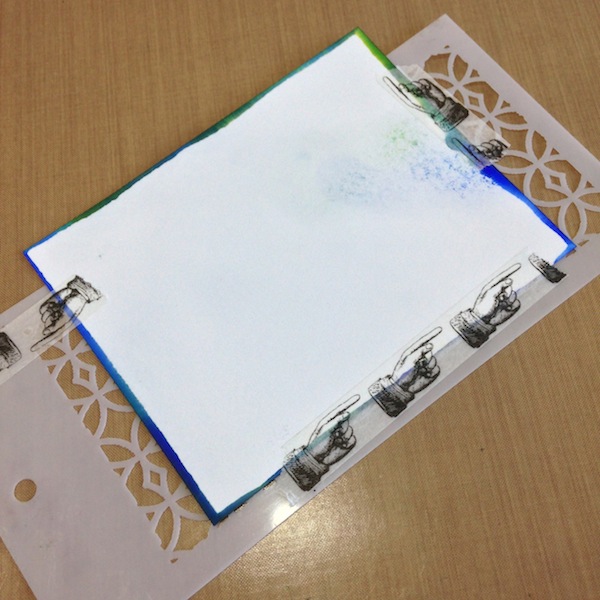
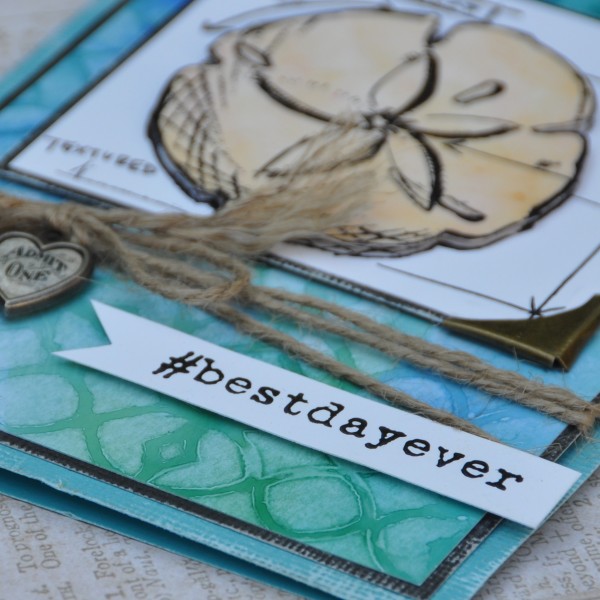
- Tape Layering Stencil from the back of the card stock to hold in place.

- Apply a little Blending Solution to a new Ink Applicator pad and pounce over the entire stencil. You may have to go over the stencil a few times. Trust your tuition that the technique is working. Tip: Less is more…to much Blending Solution will make it bleed under the stencil.
- Move the stencil as need to cover the entire piece of card stock.
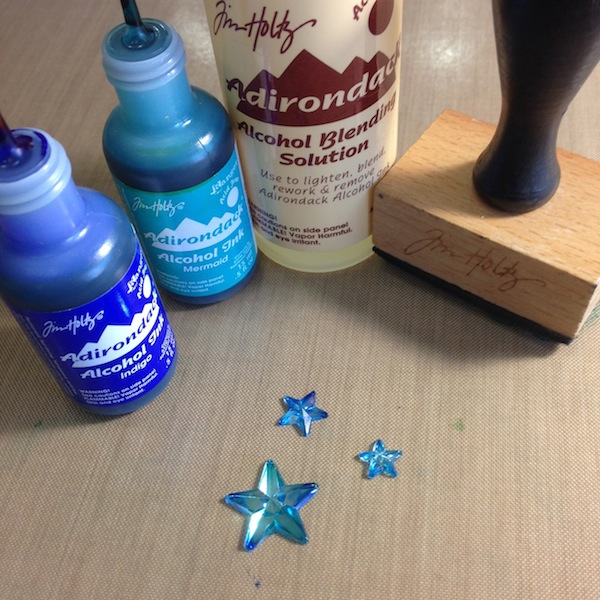
- Color the Mirrored Stars by apply Alcohol Ink and a little blending Solution to the Applicator tool and pouncing over the Star.
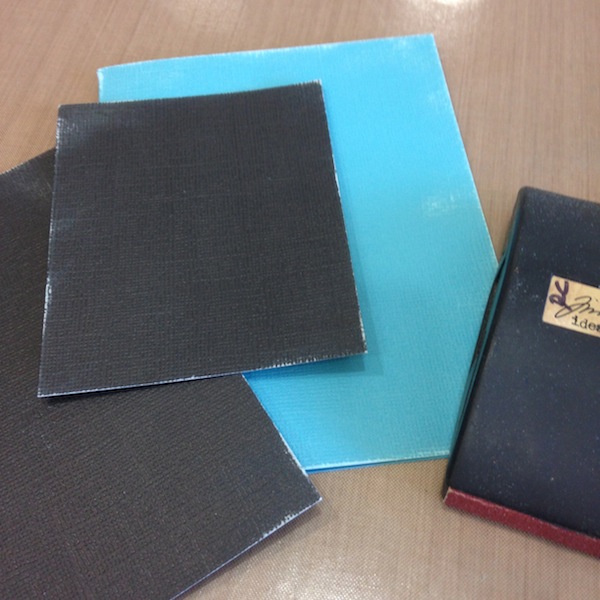
- Sand the Core’dinations Card Stock to reveal the core with a Sanding Grip.
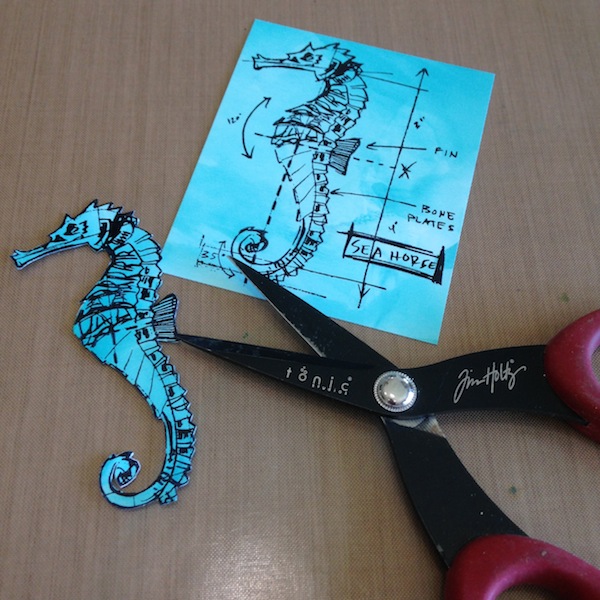
- Trim pieces as desired and mat with black card stock. Adhere together.
- Add Mini Corners with pliers.
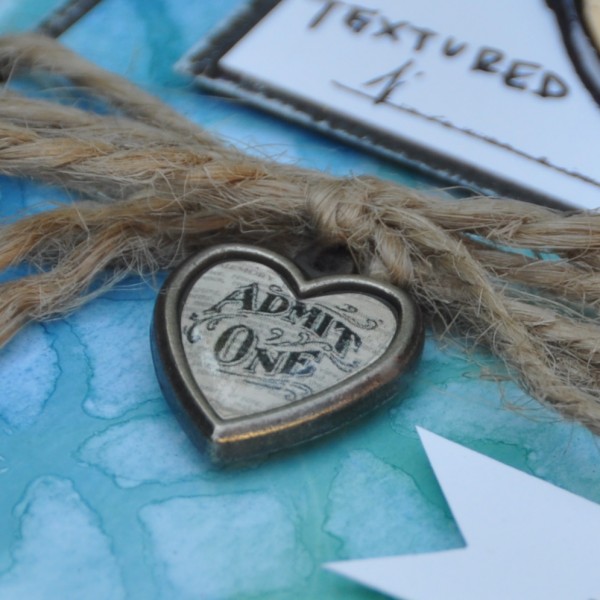
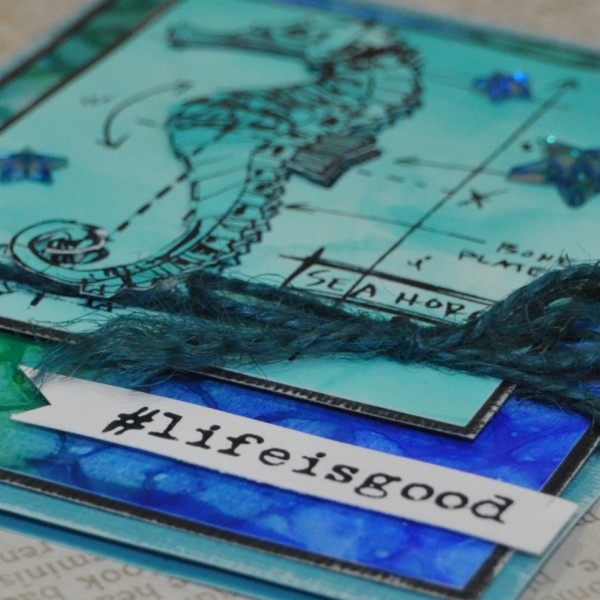
- Tie Jute String around card with a bow.
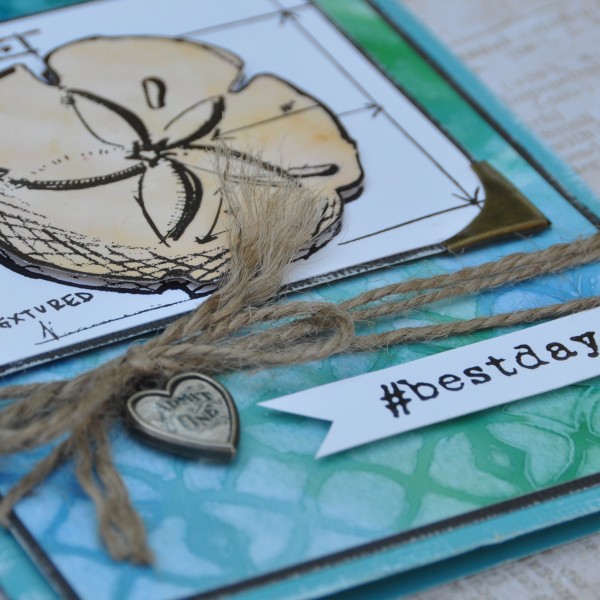
- Stamp a Hashtag message with Jet Black Archival Ink. Trim message with a “V” on the left side to create a little flag. Use foam tape to adhere to card.
- Add embellishments as desired.
I hope you will try this fun technique! It’s so easy and the results are magical!
Thanks for stopping by!
SUPPLIES:
 |
 |
 |
 |
 |
 |
 |
 |
 |
 |
 |
 |
 |
 |
 |
 |
 |
|
|
 |
Blog Candy Alert!! Follow our blog via email and comment on this post for a chance to win a special blog candy!


Beautiful card a disliked seeing the simple use of alcoholinks
Oops my iPad corrected my spelling on above comment, what I meant to say was I LIKED the simple use of alcohol inks, sorry
Great cards and fun technique! TFS
A really cool technique and beautiful cards as the results of it too.
Those are amazing backgrounds with the alcohol inks! Great cards!
Great backgrounds.
So many techniques that are amazing and I love the results. Beautiful!
gorgeous!
Beautiful backgrounds! Thanks for sharing the alcohol ink stencil technique! Who knew? Can’t wait to try this!
Wow! Great techniques for an awesome finished card!
What a fun technique and one that’s new to me! Awesome.
Fun technique with beautiful results.
Awesome tutorial! I have not tried this before. I love how your cards turned out!
Great use of technique!
~God bless~
I never thought to use my alcohol inks with stencils – I’m off to try!
Beautiful cards! Great techniques!
Fabulous cards and technique.
Awesome! I love these cards! The layout, subject, colors, everything. Perfect!
Beautiful! Thanks for sharing the technique.
I simply love that card! Love how you used the inks and the blending alcohol to make such a beautiful design. I’m really into beachy and nautical things right now, so these stamps are awesome. Thanks for sharing your technique with us.
Absolutely stunning! After living at the beach for many many years, I miss it so. These cards bring back great memories for me! I’ll be bring my AIs out again!
Just had to tell you how much I loved your informative blog post! Can’t wait to try this. Thank you!
These cards are stunning!! Thanks, Richele, for sharing and inspiring!
Beautiful cards! Love how you blended the alcohol inks. This is a great tutorial, can’t wait to try this out myself.
What a fabulous new way to use stencils. Love it!
Like the cards, I like the use of the blending solution. I have a bottle of the solution and have not tried it; It has been sitting with my inks for several months. Thank you for sharing and the
inspiration. I will definitely have to use my blending solution .
WOW!! LOVING the AWESOME tutorial for today!! THANKS for sharing this technique and have a FABULOUS & BLESSED EASTER WEEKEND!! =)
Wow the backgrounds of the cards are amazing. Love the colors you used. The cards turned out beautifully. Thank you
These are absolutely gorgeous! Now I have to get out my alcohol inks and play!
Great technique, love the sea color on this project, so fun
Love the stenciling part of the card
awesome tags! Thanks for the great technique instructions… totally have to try this.
These projects turned out perfectly…amazing results! Thank-you for the step by step instructions.
Love haow the backgrounds turned out. Great cards!
Beautiful! Love the colors and of course could smell and feel the ocean breeze looking at these mini works of art. Thank you!
Great cards and great technique tutorial! TFS ;-)
I love the color outcome! Perfection of a seascape theme! Very nicely done!!!
Awesome technique on the background!
Beautiful cards and I love this technique. Thanks for sharing!
Love the sea horse!
Amazing card and great tutorial too!
Great cards and fun technique! thanks!
Wow amazing technique and your cards are just gorgeous thank you for the great tutorial!
Beautiful colors! Great cards! You can’t go wrong using Tim Holtz products. He’s the Bomb! Thanks for sharing this stencil technique!
Beautiful backgrounds. What paper did you use? Glossy cardstock?
Wow–amazing technique & cards! Love this!
Gorgeous technique on the background!
Great tutorial … Thanks Richele
great card
Amazing backgrounds! Great techniques.
Such beautiful bold colors and these stamps are perfect!