Postage Stamp Notebook by Anna-Karin Evaldsson
Hi friends! Happy Saturday! I’m delighted to welcome back special guest Anna-Karin Evaldsson with this gorgeous notebook inspiration to share today! Read on to learn more, and enjoy!
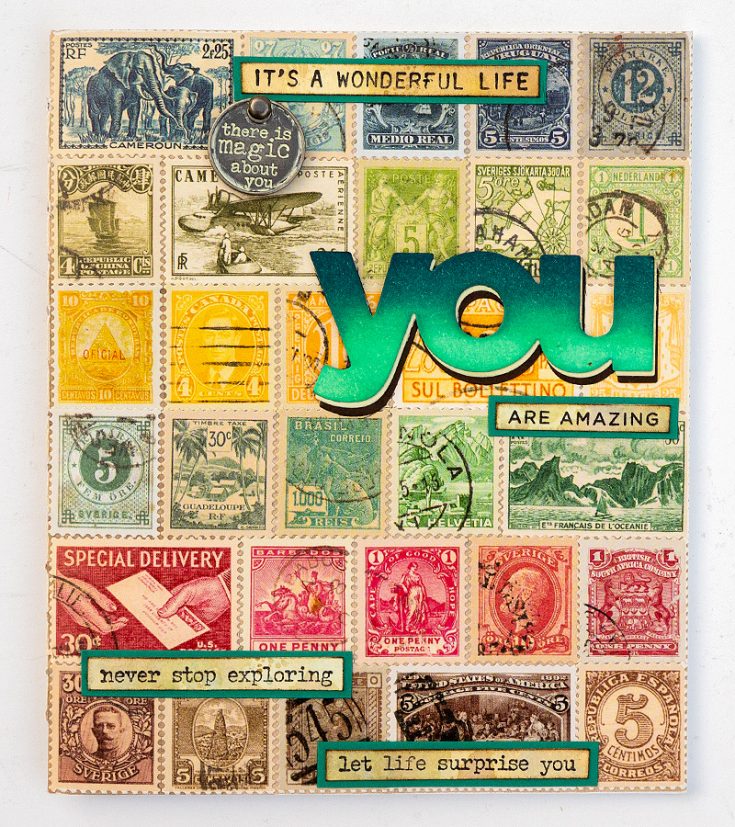
Hi everyone! I am happy to be back here on the Simon Says Stamp blog with a new tutorial. Ever since I was a small child, I liked notebooks, sketchbooks and journals. Big ones, small ones, pretty ones, interesting ones and almost any type of notebook. I still like notebooks just as much and often make my own. Today, I am going to share an easy notebook/sketchbook with a stitched spine.
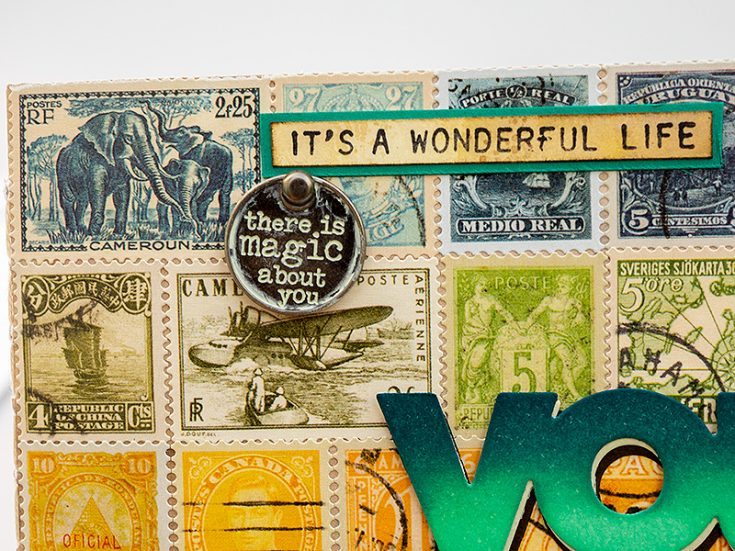
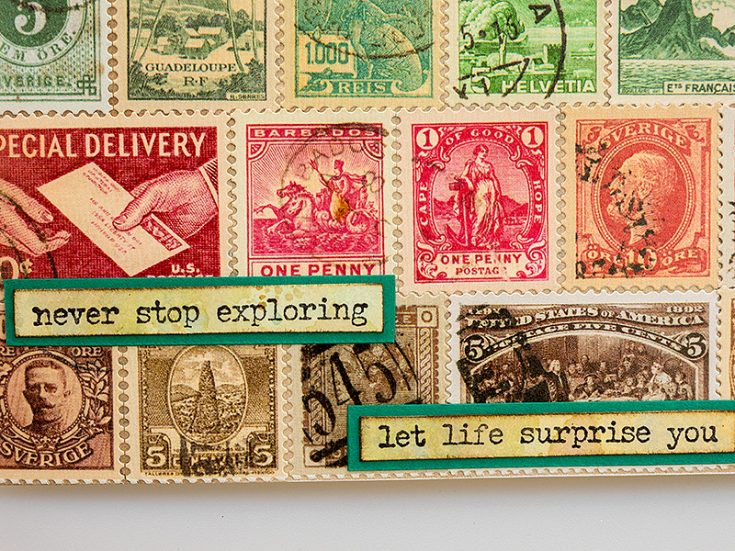
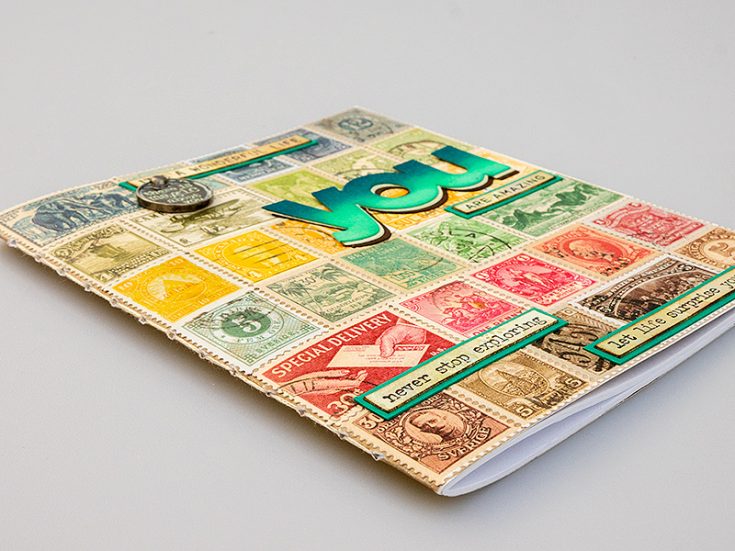
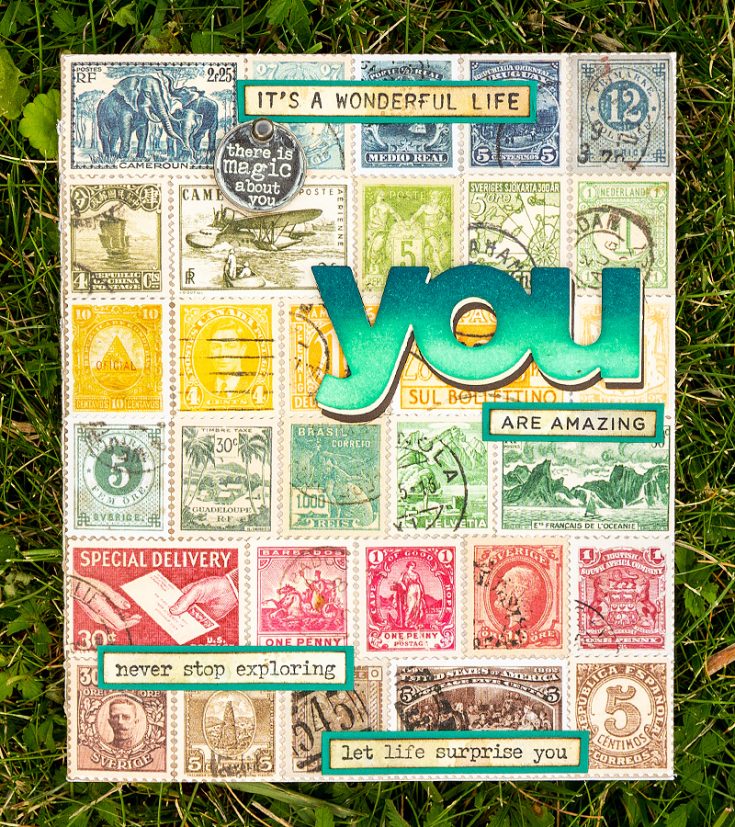
When I saw Tim Holtz Postmarked Sticker Book, I thought it would look great to cover an entire notebook front cover with the colorful stamps. The stamps are so pretty that all you need to add is a title and some sentiments. If you don’t want to make a notebook, you can use the cover design on a card instead. Let’s start!
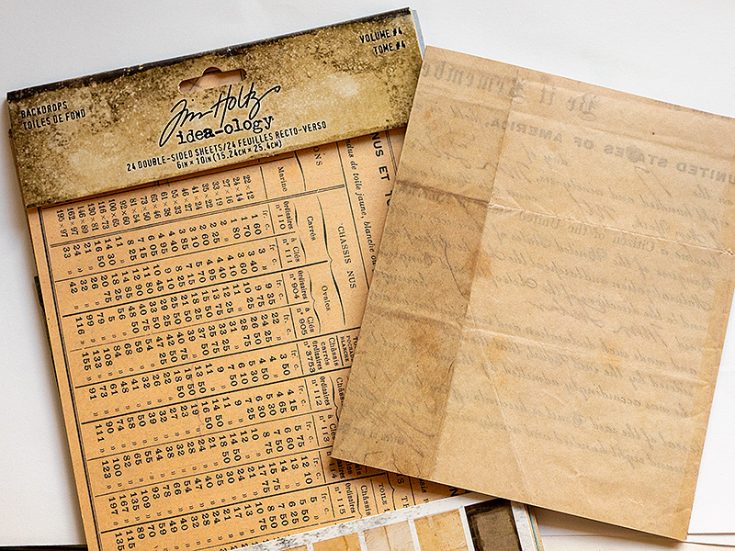
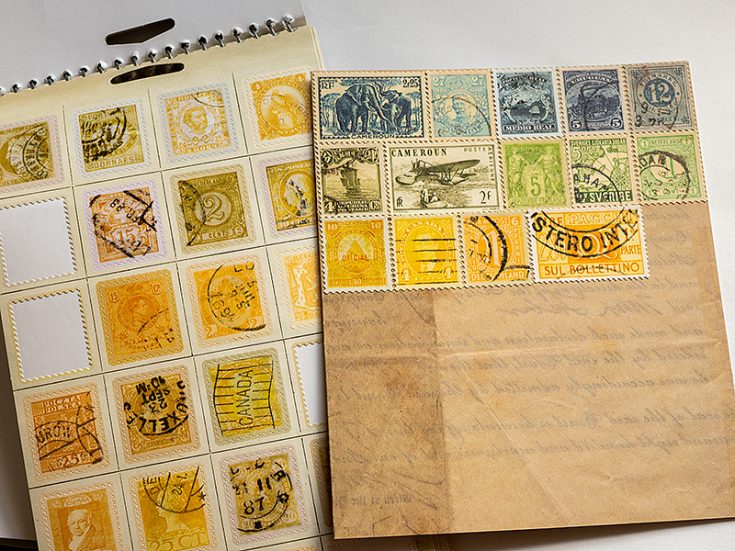
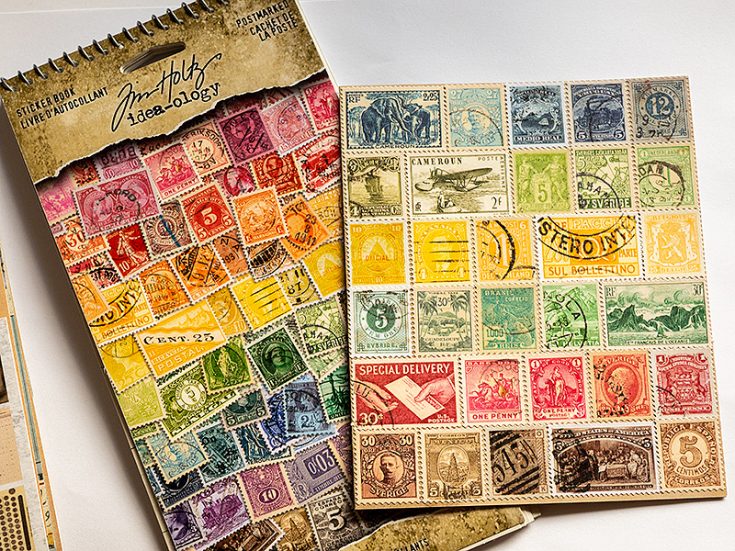
I used Tim Holtz Backdrops paper for the cover. These papers come in many great designs, and it is always hard to pick which one to use. Since they are double-sided, you also get a pattern on the inside covers. Fold one of the papers.
Start adhering the stickers. If you use one larger stamp and four ordinary stamps, they fit perfectly on the folded Backdrops paper.
I picked the stamps that I liked the most (such as the elephants in the top left) or that had a connection to places where I have been. I was happy to find a whole bunch of Swedish stamps.
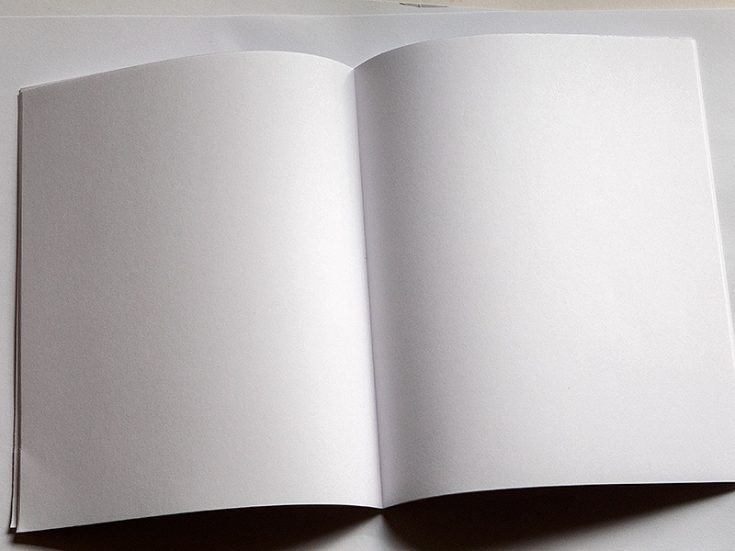
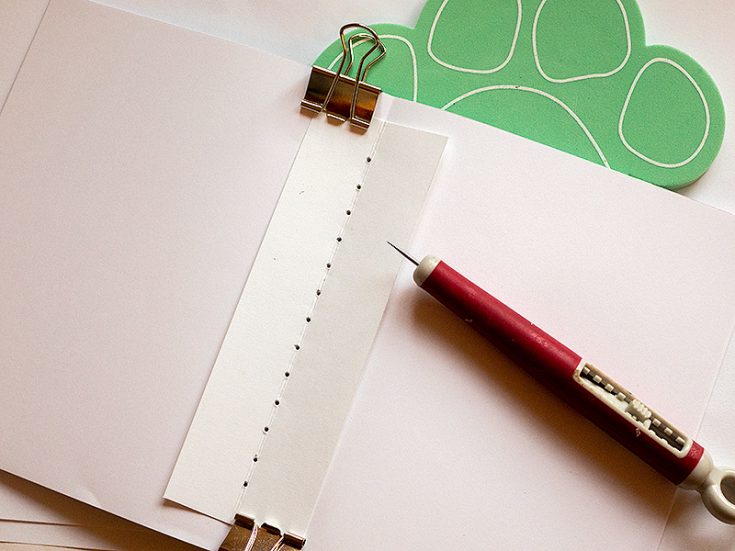
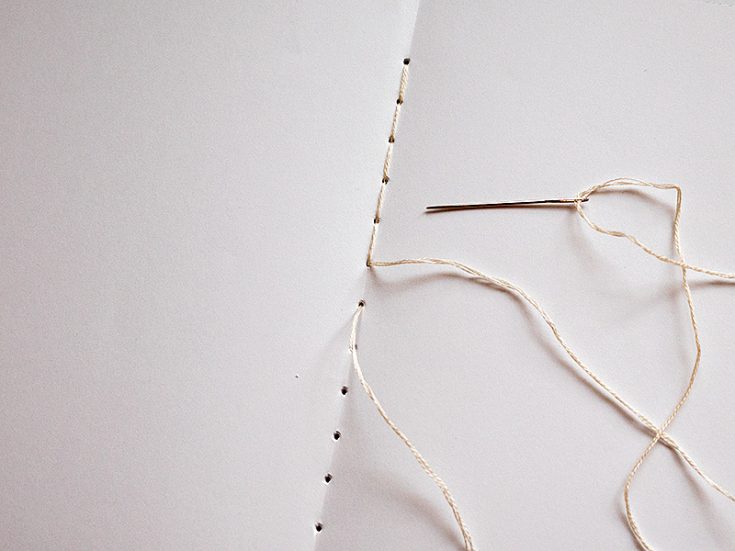
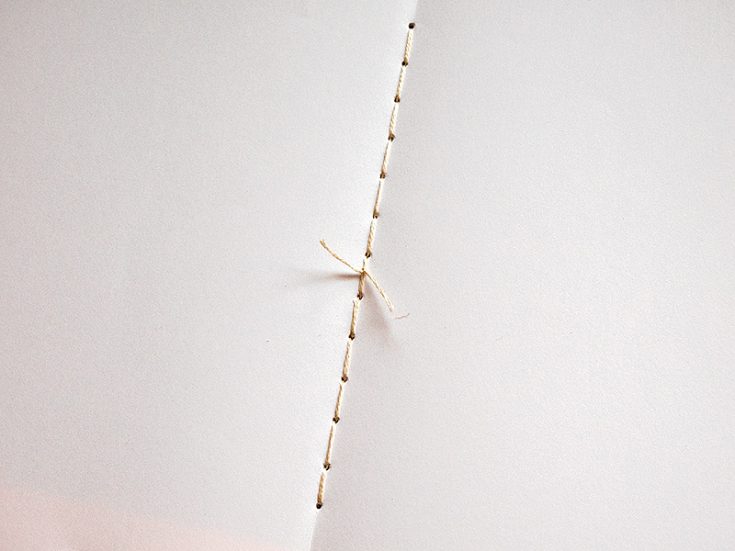
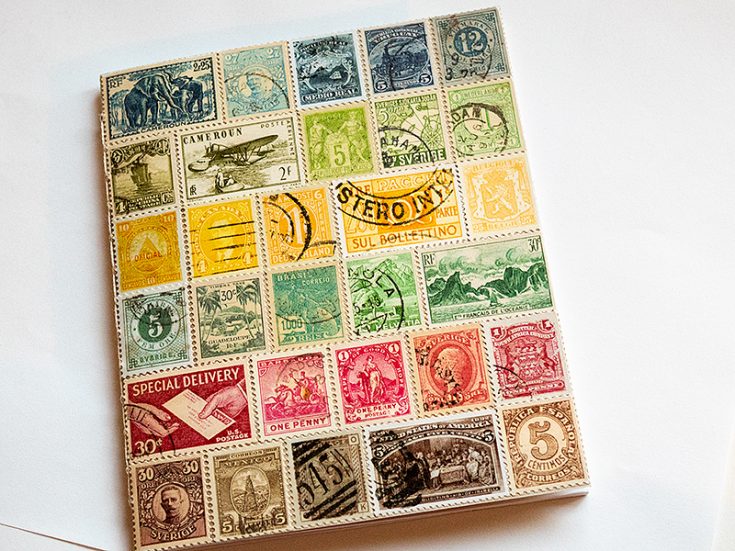
One of the best things with making your own notebooks or sketchbooks is that you can fill them with your favorite papers. I often use watercolor paper or sketching paper. For this notebook, I used a thinner type of paper. Cut the papers slightly larger than the cover, fold and score. If you use thicker papers, you might need to use fewer papers. I used ten papers.
Make a template by folding and scoring a piece of cardstock. Pierce holes about 10 mm (0,4 in) apart. Place the pages inside the cover and hold everything in place with clips. Place the notebook on a Simon Says Stamp Pawsitively Perfect Craft Pad and pierce the holes with a Tim Holtz Craft Pick.
Use three strands of embroidery thread to stitch along the spine, start in the centre and stitch first in one direction and then back in the other direction.
Tie the tread.
I used Tim Holtz Craft Knife and ruler to trim the edges of the notebook.
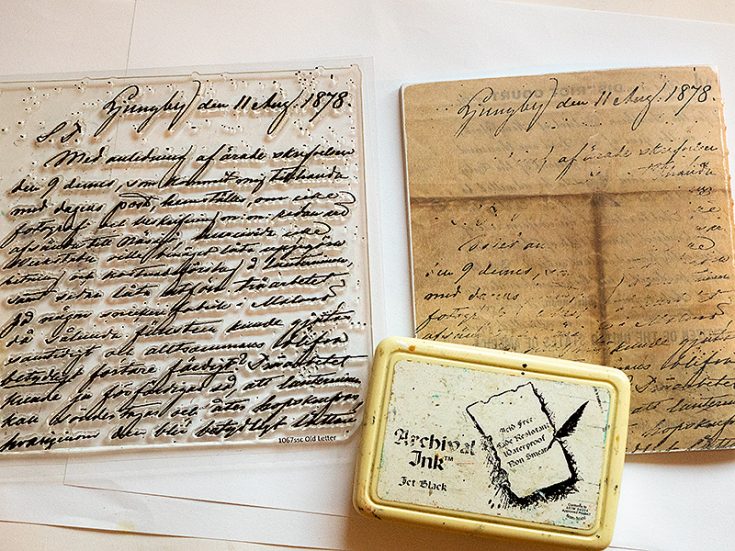
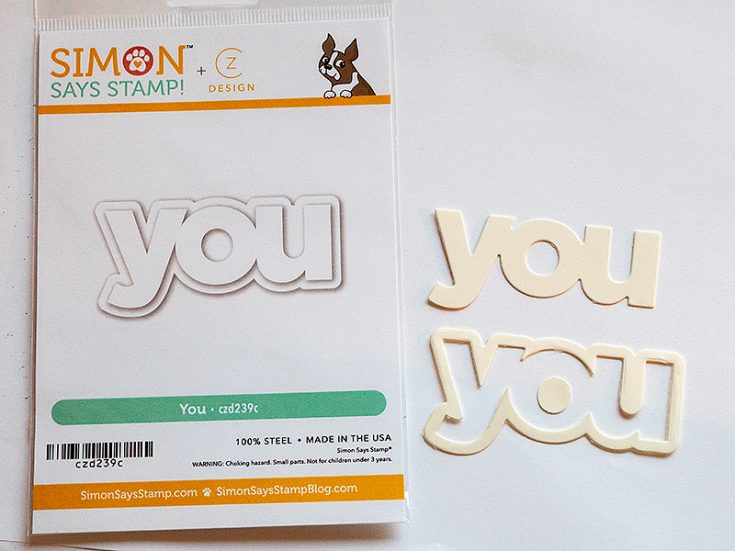
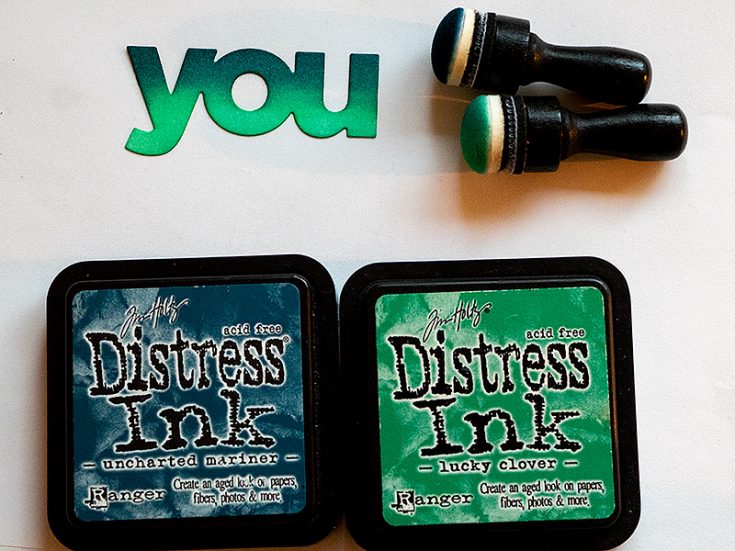
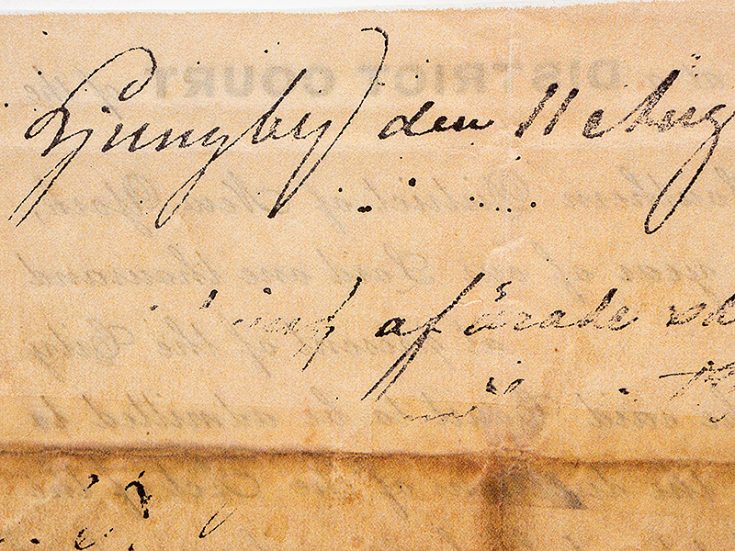
The back cover was stamped with Simon Says Stamp Old Letter, from the Cheering For You release. I aimed for uneven stamping.
Die cut Simon Says Stamp You from Heavystock paper. This die comes from the Cheering For You release.
Ink with two shades of Distress Ink.
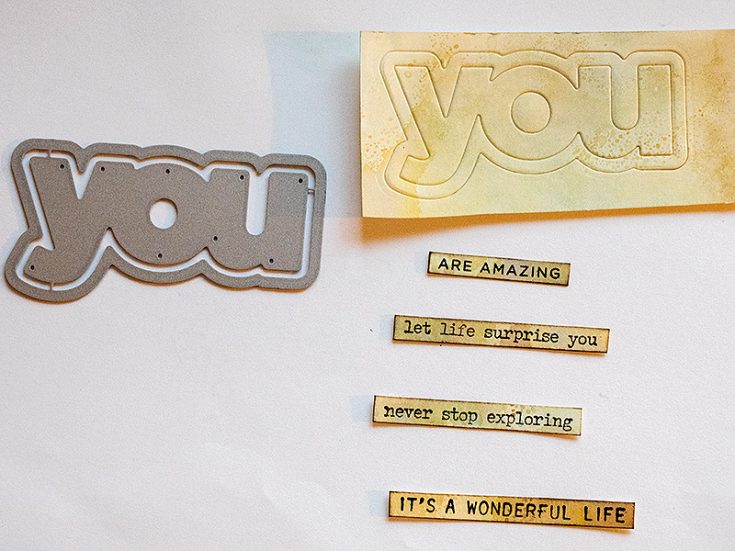
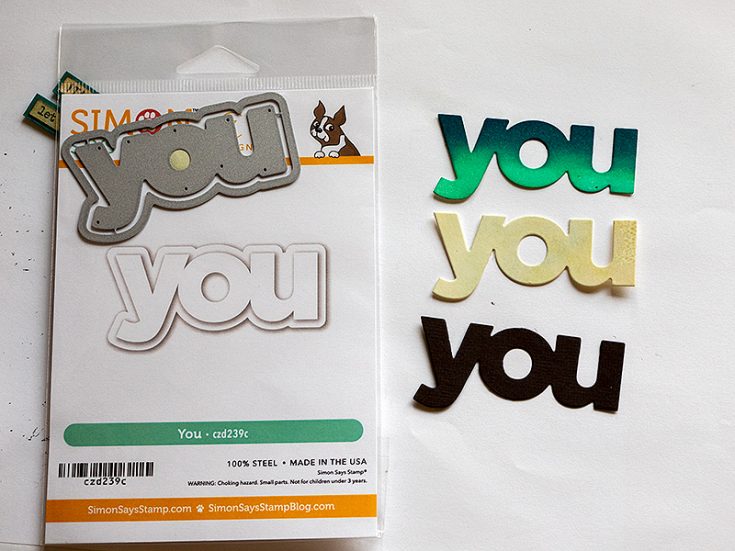
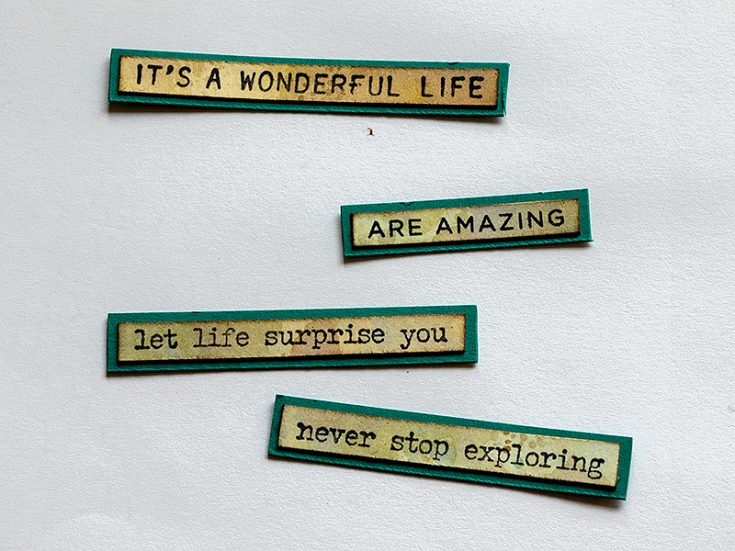

Die cut the word again from leftover inky paper and stamp sentiments on the same paper. The paper had been inked with Antique Linen and Frayed Burlap Distress Ink.
Finally, die cut the word one more time from black cardstock.
Matte the sentiments on Simon Says Stamp Peacock Teal cardstock.
Glue the three words together as shown, by offsetting each color slightly. The smaller sentiment comes from Simon Says Stamp You stamp set.
Rub Antique Linen paint into a Tim Holtz Typed Tag, let dry for a short while and then rub most of the paint off.
Glue the rest of the sentiments to the cover. I used Simon Says Stamp Craft Tacky Glue.
By only pressing down here and there on the stamp, you can get uneven stamping, giving a distressed look to the back cover. I also sanded the back cover slightly.
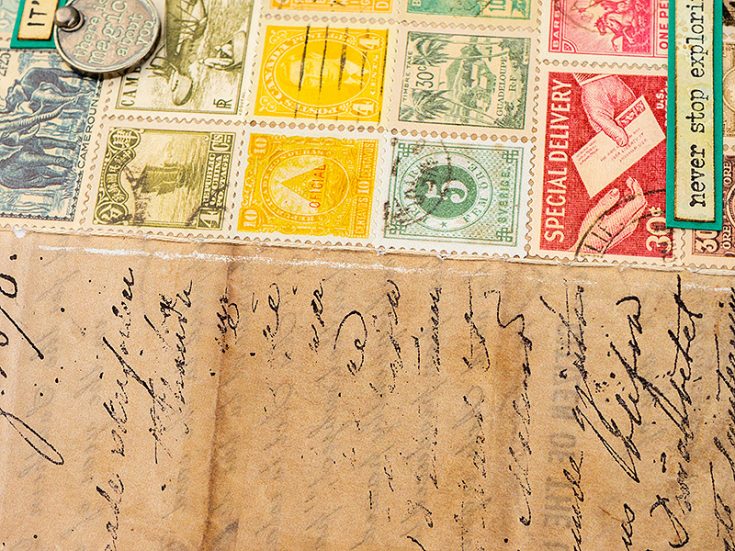
If you want a different look to the spine, use a contrasting color thread.
You can make lots of these notebooks using different cover designs. Handmade notebooks are also great gifts. Another idea is to cover them with word stickers or with Design Tape.
Thank you so much for looking at this tutorial! I hope it inspired you to make your own notebooks, sketchbooks and journals. Happy crafting! –Anna-Karin
SUPPLIES:
|
Thanks so much for stopping by, and thanks to Anna-Karin for being our guest!



So unique and beautiful
Wow!!!! This is Gorgeous!!!!!
This is so cool … I love those stamp stickers!!