Photography Tips & Tricks
Hi there! Happy Sunday! We get a lot of questions on how our designers get such fabulous photos of their projects, so we thought it might be fun to ask one! The always awesome Debby Hughes graciously agreed to share some tips and tricks with us on our blog!
Enjoy!
Hi there, it’s Debby here and today lets talk about taking pictures of your cards. Whether you take a snap of the cards you’ve made for your own record keeping, for sharing them to online galleries or for publishing them to your blog, chances are that you are taking a picture of the things you’ve made. I often get asked about my card photography and as a result I started a Lime Light series on my blog sharing tips and tricks to getting a good photograph. Let me start off by saying I’m not a professional photographer, just an enthusiast who over time has learnt techniques which have helped me and I’d love to share them and hopefully help you too :D I’m not going to get into the nitty gritty of camera settings, today we are talking simple things that we can all do whether we have a fancy DSLR camera or use the camera on our phone.
Set Up
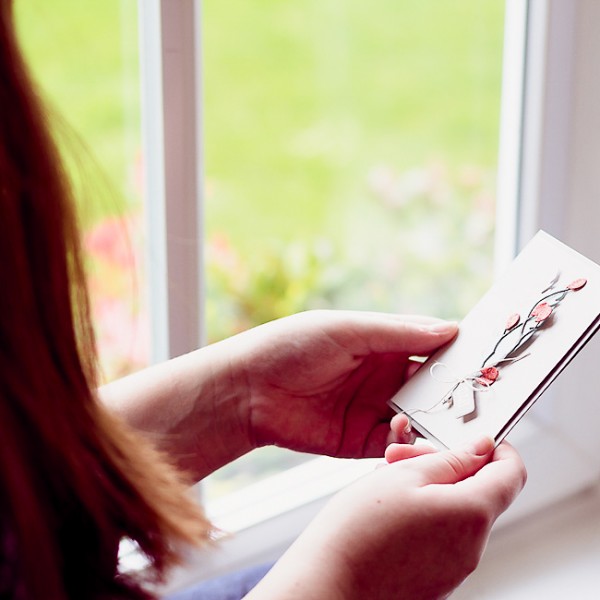
To start let’s think about what we want to achieve when we take a picture – where do we want to get to in effect. Even if your only aim is to have a form of record keeping a bare minimum should be a picture that is clear, pin-sharp and showing the details of the card. A finishing touch might be that the project is set nicely and engaging to those viewing it. For me, although it is not an essential point, the latter is where I usually start. It stems from the interaction I believe we have when we give a card to a person. They hold it in their hands, look at it, examine the details and hopefully appreciate the care and love with which it has been made. This little bit of card hopefully engages them and connects them with the person who sent it.
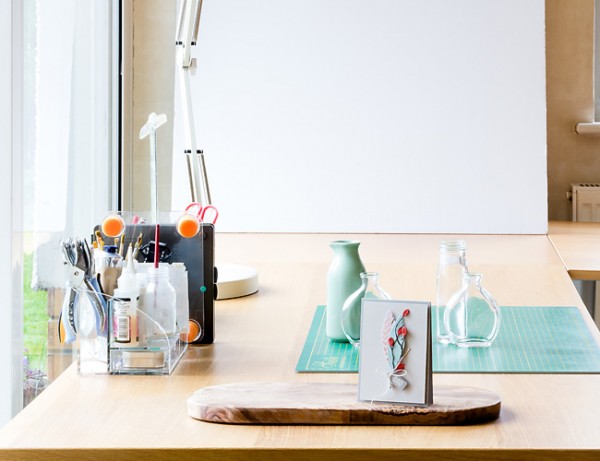
So how do we achieve that? Well, to start with it isn’t essential to have a fancy set up. This is how I take my pictures:
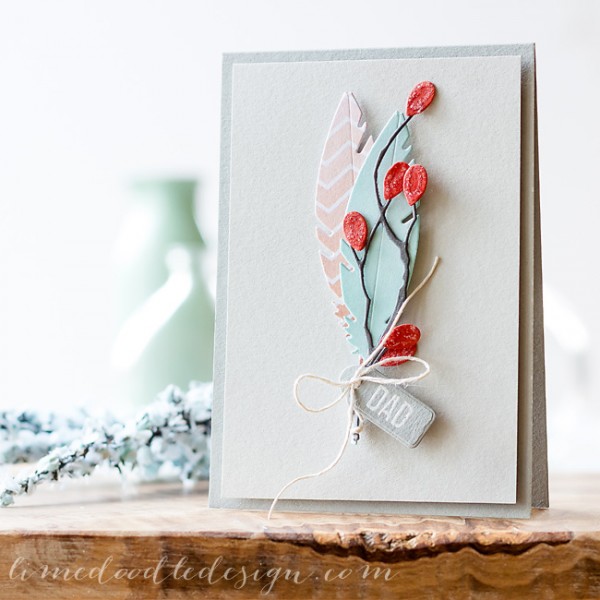
Personally I prefer natural light; well it’s less expensive and easier than the alternatives! You will want something nice for the card to sit on, perhaps some items in the background to add colour and interest and a simple backdrop. More than anything, having a simple backdrop allows the eye to focus on the main event – the card. A lot of people use two pieces of patterned paper – one for the card to sit on and one for the backdrop. It really isn’t fancy, but here’s my first tip – when you take your picture get down low so that your camera is on a level with the card. If you take a picture from too far above, looking down, you loose some of that connection to the person viewing the picture. Get down low so that the card is the focus of the picture, as if the person is holding it in their hands.
Angle of View
My next tip is to find some good light and then have that coming at the card from the side. In the above set up I have a large window by my desk and I place the card so it is at 90 degrees to that – the light coming in from the side. Then I angle the card just slightly back towards the window, this will bring out the dimension of the card. Here’s an example:
The card on the left is straight on to the camera with the window to the left. The light isn’t catching the elements of the card and it all appears a bit flat. By angling the card towards the window (centre) the light catches the elements and throws soft shadows to show the dimension. However, I’d debate that this card angles away too much, although there is lots of lovely detail, somehow that elusive connection is lost as the card appears to be for the person sat to my left. The final picture on the right is a happy medium – a slight angle to the light allowing the details and dimension to shine but not so much angle that the connection to viewing the card is lost.
Pin Sharp
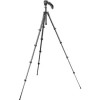
So now we are taking clear, engaging pictures, which allow the light to highlight the details in our cards but what about getting a sharp picture? My best tip here is to stabilise your camera – don’t hand hold it. Unless you live somewhere with lots of lovely light allowing your camera to take a fast picture then the chances are that the natural movement of your hands will cause the camera to shake giving less than sharp pictures. Put your camera on a tripod if you have one (I use this one), or on a stable surface if you don’t. Then having got the camera nice and stable, don’t hit the button causing it to shake again. Instead, use the timer on the camera so that once you’ve pushed the button the camera has a few seconds to stabilise before taking the picture. I have my camera set to a 2 second delay from when the button is pressed to when the picture is taken. I recently shot a little video chatting about this and showing the timer on both a smart phone and my camera. You can see that video here.
Summary
- A simple, clean set up with a perhaps a few items to add interest but not so much as to detract
- Get down low and take the picture with the card as the main focus
- Natural light is lovely and works well when coming from the side
- Angle the card slightly to the light to pick up dimension and details
- Stabilise the camera to get a sharp picture – use a tripod if you have one
- Use the timer button to help keep the camera stable while the picture is taken
I hope you find these simple tips useful. If you would like a slightly more detailed view on the above then please pop over to my Lime Light series where I will be continuing with hints, tips, techniques, editing etc all with a view to getting the best picture :D





Very helpful!
THANKS Debby, these are such great tips. I’m heading over to you blog now to read more. Thanks SSS for this article.
Great tips, my pictures of my cards aren’t very interesting.
Great tips. Your photos are always so beautiful. Now I know why. Hopefully mine will start to look better.
Very usefil. . I usually hand hold my camera
. Will work on it. . Thanks
Thanks so much Debbie ! I love your cards and your pictures are awesome! TFS
Thank you for sharing these fantastic tips Debbie.
Great tips
Great tips! Thanks for sharing.
Katie B.
Very, very informative article. I am definitely checking out your Limelight series too! Thanks.
Beautiful! Thanks for the tips!
Thank you so much for the tips . Really appreciate you sharing with us.
I was doing everything wrong. But now I have seen the “light”! These tips were invaluable. Thanks so much!
I am just learning how to stage my photos and this has been so helpful …. Thank you for all the tips and I will be putting a lot of this into practise xx
Thanks for the hints because I am doing a challenge to photo once a day.
Every photographer is aware of how important it is to choose the best composition for the shot in each particular circumstance. As a result, I suggest that you read through and consider the information https://skylum.com/blog/how-to-take-a-good-selfie . There, you can evaluate various compositions before selecting one to use and continuing. I sincerely hope I was helpful.
Here are some general photography tips:
Pay attention to lighting: Good lighting can make a big difference in the quality of your photos. Try to shoot in natural light or use artificial lighting to create the desired effect.
Composition: Consider the placement of your subject, framing, and other elements in your shot to create a visually appealing composition. You can experiment with different angles and perspectives to add interest to your photos.
Focus and sharpness: Make sure your subject is in focus and sharp. This can be achieved by using a high-quality lens, adjusting your aperture and shutter speed, and making sure your camera or smartphone is stable.
Use the rule of thirds: Divide your image into thirds both horizontally and vertically and place your subject at the intersection of these lines. This creates a more balanced composition and adds visual interest.
Photography is a constantly evolving art form, and even experienced photographers can benefit from new tips and tricks to improve their craft. For hair and beauty photographers, it’s essential to have a solid understanding of lighting, angles, and also you can visit https://www.touficaraman.com/hair-and-beauty-photographer/ to composition to create striking images that showcase the beauty and intricacies of their subjects. One useful tip is to experiment with different lighting setups, such as softbox lighting or natural light, to create a variety of moods and effects. It’s also important to consider the positioning of the subject and the camera angle to highlight the unique features and details of the hair and makeup. By staying open to new ideas and techniques, hair and beauty photographers can continue to push the boundaries of their art and create stunning images that captivate and inspire viewers.