One Stamp Five Ways: Snow Globe
Hi friends! Happy Friday and 1st day of November! As we begin to look forward to the holiday season, Suzy Plantamura has brought our adorable new Christmas Globe stamp set to life in 5 super sweet ways! Read on to learn more and enjoy!
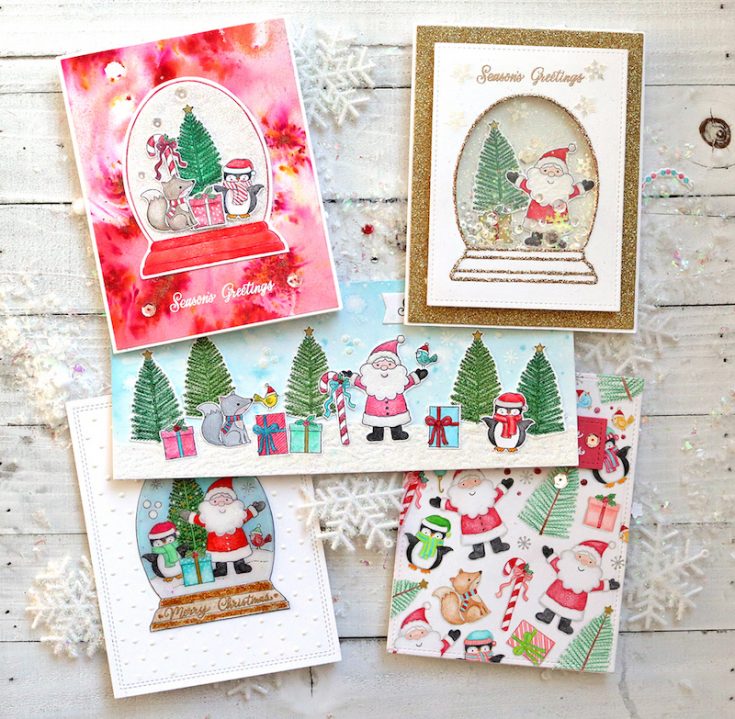
Hello friends! I can’t believe it’s time to make holiday cards already – it just sneaks up on us doesn’t it? Today, my “one stamp, five ways” post uses a stamp set from the Cheer and Joy release called Christmas Globe. I wanted to use it for 5 cards since I illustrated it. It was fun thinking of ways to use a stamp set that I actually drew hoping others would enjoy using it. So I tried to come up with some different techniques that I hope you will enjoy! Let’s get started!

If you have seen many of my “one stamp, five ways” posts on my blog, you have definitely seen me do this technique a lot. I can’t resist it when I’m using stamp sets with small images. I love arranging them in a puzzle format repeating them until they fill a card front. I used a light color of ink here so I could color them with no outlines. I used colored pencils to color them in. I added a gray shadow behind the images so they looked more dimensional.
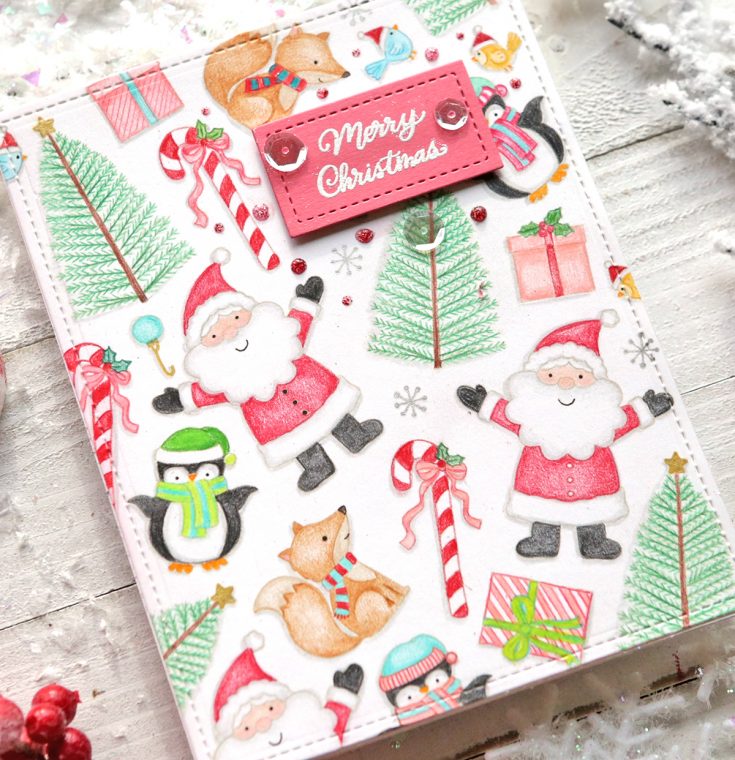
As you can see, that makes for a pretty busy background, so I don’t add much more to these type of cards. They also take a bit of time to color, so they are fun to make while watching my favorite TV shows! I added a sentiment from the stamp set on a small stitched rectangle using white embossing powder. I added some sparkling clear sequins and some glitter Nuvo Drops around the sentiment.
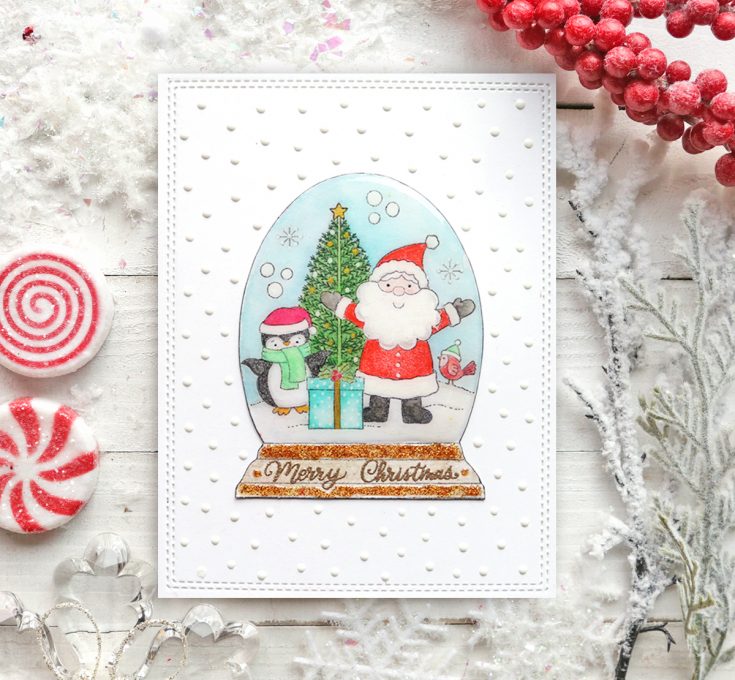
This was my favorite card of the 5 I am sharing today. I started with a card size piece of white cardstock and I used the Lawn Fawn Just Stitching Double Rectangle Dies to give it a fancy border. I then stamped the snow globe with black ink on white cardstock. I cut around the outside edges and used a black marker around the outside edges to make it blacker along the edges. I then stamped the images that are inside the snow globe on masking paper and cut them out. Using black ink, I stamped the present first inside the snow globe since it is in the foreground. I then put the mask on it and stamped Santa and the penguin. I then put masks on both of them and stamped the tree.
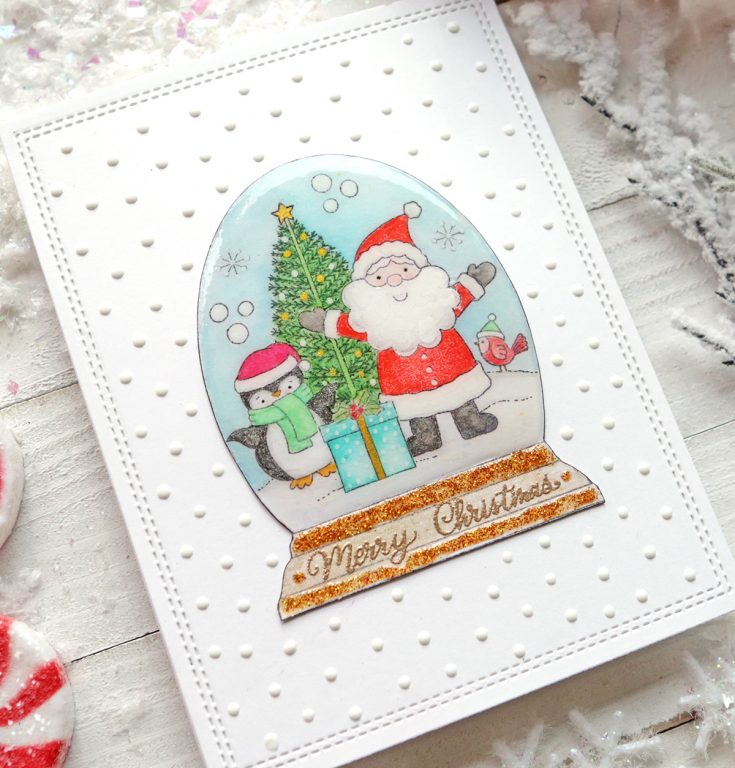
Once all the images were stamped, I colored the sky blue and drew lines for a ground with a fine tip black marker. I colored in the stamped images with colored pencils and added some shading on the snow with a light gray pencil. I colored the bottom of the snow globe gold. I then covered the snow globe glass portion with a very thick coat of Glossy Accents and set it aside to dry. Once dry, I embossed the sentiment on the bottom of the snow globe with Antique Gold Embossing Powder and added some Golden Sunset Glitter Nuvo Drops above and below it. After glueing the snow globe to the card front, I used Glossy White Nuvo Drops to add little dots over the white card base.
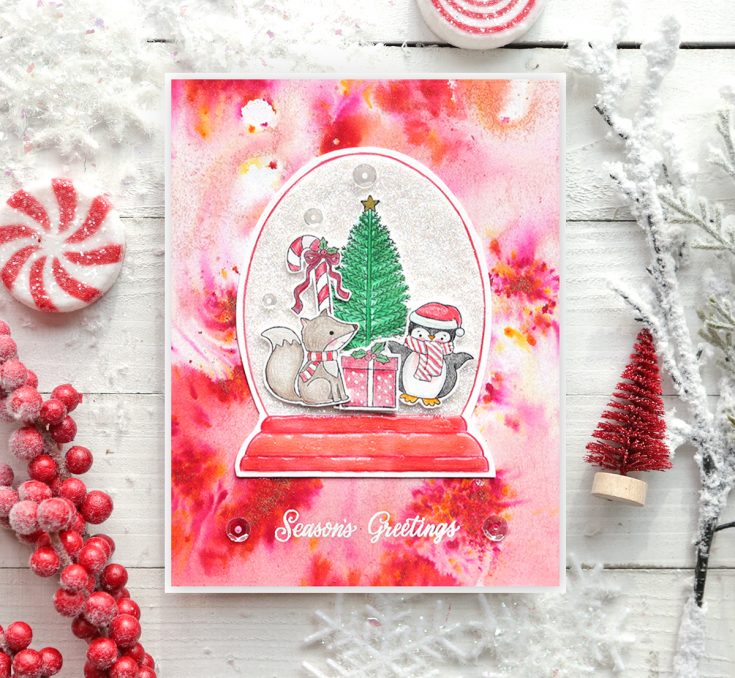
I know this card is a bit crazy or shall we say busy, but I just went with it! I just purchased all 11 of the Tonic Shimmer Powders and I am completely in love with them. I made the background of this card with Catherine Wheel shimmer powder used over Ranger Watercolor Paper. I wet the entire paper first and then squeezed some of the powder onto the paper. I used a paintbrush to move some around, but let some of the color just blossom out. These shimmer powders have multiple colors in them, so they are so fun to work with! I embossed the sentiment from the stamp set on the bottom of the card using white embossing powder.

I stamped the snow globe on white cardstock with a light color of ink and then drew over the lines with a red colored pencil. You could just stamp the image with red ink to get the same look, but I like to do things the hard way – haha. I covered the inside of the globe with a thin coat of White Blizzard glitter Nuvo drops. I then poured white glitter over it to make sure it was extra shimmery! It had to compete with that crazy background! I colored the bottom of the snow globe with the red pencil and then applied Strawberry Coulis jewel Nuvo drops over it. I stamped the images on white cardstock with black ink and colored them in with colored pencils. I cut them out and put them inside the globe. I added some Sparkling Clear Sequins. It looks like a couple of them on the right side fell off before I photographed the card!
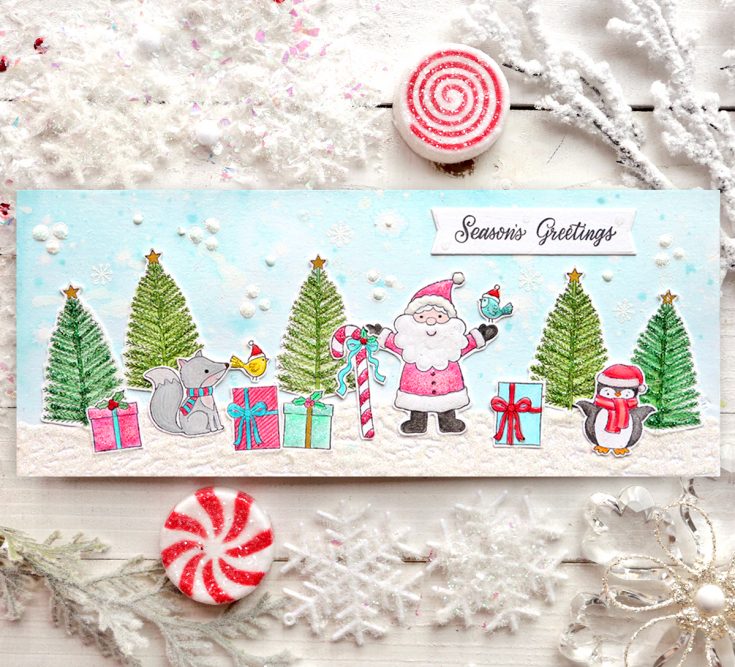
This is a slim-line card which I love to make when I want to fit a lot of images on one card front! I made it by cutting an 8.5”x 11” piece of cardstock to be 7” wide x 8.5” long. I fold that in half for the card base. I cut the remaining piece to be 3.5” wide x 8.5” long to use for the card front. You should have about ½” left over piece of cardstock. This size card fits in standard legal size envelopes as the finished card is 3.5” x 8.5”. I used watercolor paper for my card front piece and I painted the top third with blue watercolor. I flicked some white paint over it and some water over it to make it splotchy for a sky. I covered the unpainted portion with White Blizzard Nuvo Drops and covered that with white glitter for snow.
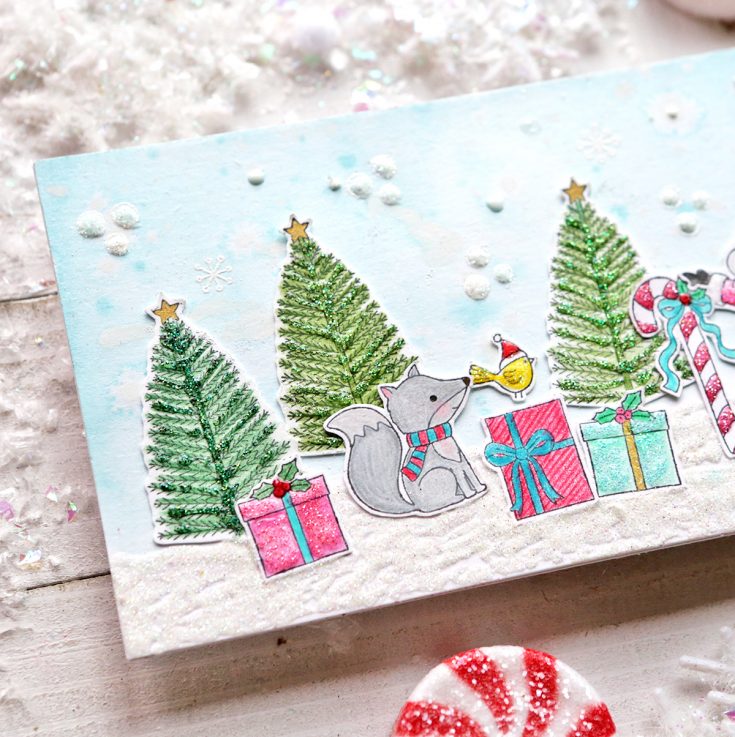
I stamped all of the images I used on white cardstock with black ink. I colored them all in with colored pencils and then cut them out. I used glitter Nuvo Drops to decorate them a little more! I attached them all over the card front to create a scene.
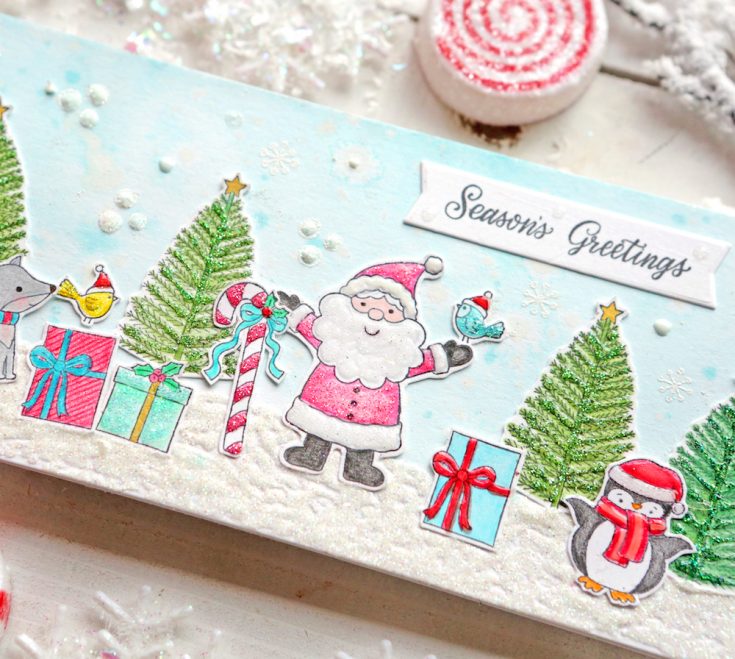
I stamped the sentiment on a small white banner and attached that to the top of the card. I embossed the snow balls and snow flake stamps with white embossing powder all over the sky of my card. I filled in the snow balls with white Nuvo drops covered with glitter. This was definitely NOT a quick card to make, but I love how it turned out!
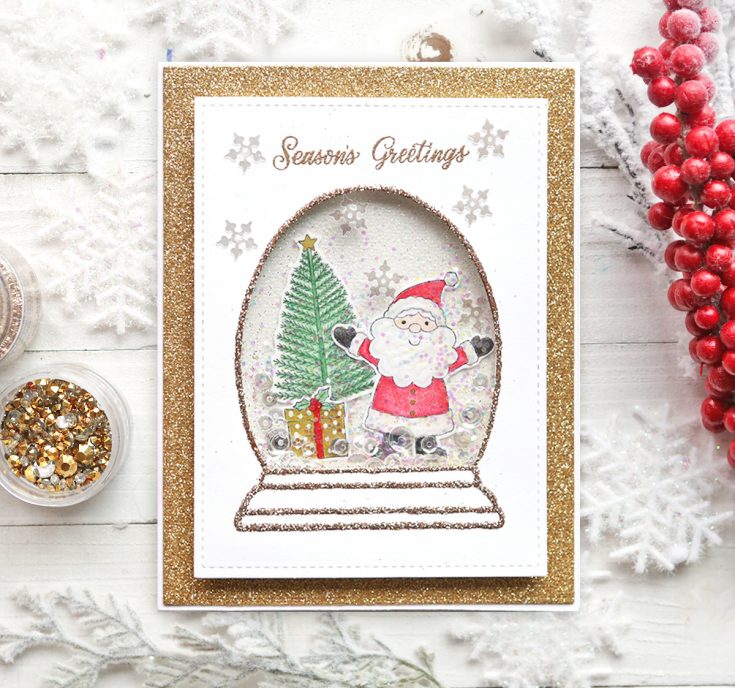
I stamped the snowglobe with black ink on white cardstock. I cut the inside of it out along the black edge. I die-cut the piece to be a small stitched rectangle. I then outlined the black lines with Copper Penny Nuvo drops and poured gold glitter over that for a nice glittery outline! I could have embossed it instead, but this way was more dimensional. I then used foam tape and a transparency to build this piece into a shaker window. I die-cut a piece of gold glitter paper to fit behind this piece and attached that to a white card base.
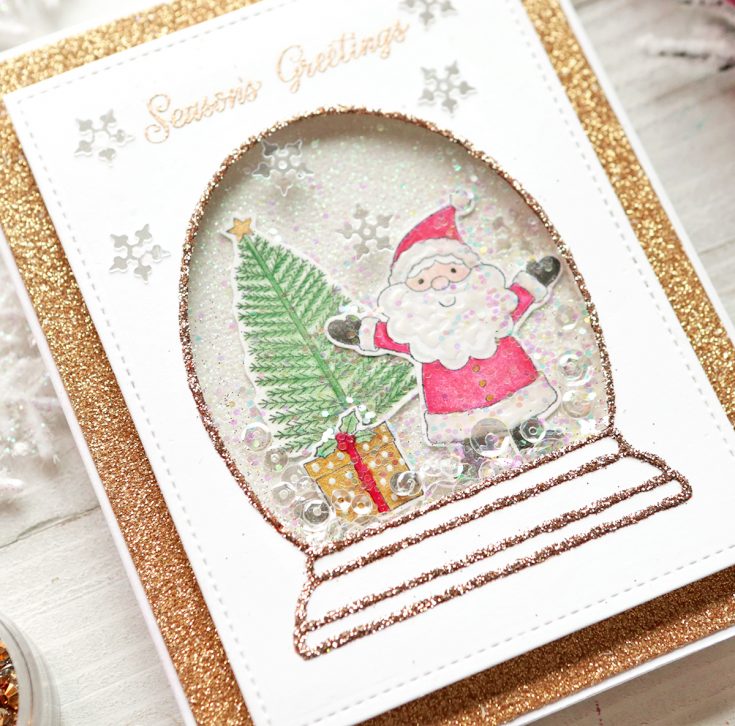
I used a piece of white glitter paper underneath the shaker window. I then stamped the images I used on white cardstock with black ink and colored them in with colored pencils. I attached them to the white glitter paper arranging them to fit inside the globe. I used sparkling clear sequins and clear chunky glitter inside the shaker window. I embossed the sentiment on the top of the card with Antique Gold embossing powder. I attached some snowflake sequins over the window and around the sentiment.
I will publicly admit that these cards took a boat-load of time! I did have fun making them and I especially enjoyed the challenge of thinking of 5 ways to use this fun new stamp set! I hope I have motivated you to think of out of the box ways to use your stamps so you can get more use out of each set! Have a great time making holiday cards – tis’ the season! Suzy
SUPPLIES:
|


Thanks so much for stopping by and thanks to Suzy for being our guest!
Blog Candy Alert!! Follow our blog via email and comment on this post for a chance to win special blog candy!


Great ways to use the snow globe set. tfs
Just goes to show how adaptable these dies are if you’ve got the imagination! Love these 5 cards. Xxx
Amazing job coloring! :) I love all of these cards.
Love the snow globes!
We collect snow globes so love these.
Beautiful cards! I love snow globes!
They took a lot of time but they are beautiful and so fun! Thank you for sharing your wonderful talent and ideas with us!
Beautiful cards! I love the snow globes and all of the details.
Always enjoy these fab range of projects.
Wow, I am blown away by how beautiful these all are.
Amazing variety from an adorable set. Think it time for me to make a seasonal start.
So inventive! All these cards are wonderful
Amazing cards, love all the deatails! You are so talented, great work!
AWESOME creations!!! I especially love the Shaker card!
Fabulous ideas. I love the one where you stamped the christmas characters all over the background. Very fun. Hugz
Gorgeous cards Suzy, this stamp set is so versatile, I love it. Thank you so much for sharing.
I LOVE the first card with the stamped and colored “background” paper. I love the gray shadows to help make the images pop!
Awesome cards!
I love these!
These cards are so magical!!! Just beautiful!!
I’m really enjoying the snow globes and shaker cards
Love all these cards!! So adorable and fun! I can’t wait to try to recreate them, and have bought the stencil set. Thank you for sharing and creating!