One Stamp, Five Ways: Mandala Blossoms

Hi friends! Please join me in welcoming back special monthly guest Suzy Plantamura with another fun rendition of “One Stamp, Five Ways” featuring our newly released Mandala Blossoms set! Read on and learn more! Enjoy!

Hello friends! My “One Stamp, Five Ways” post today uses the Mandala Blossoms Stamp, Die, and Stencil bundle from the You Are My Favorite Release. I used this stamp set for one card right after the release, but I loved it so much I wanted to create more with it. The stencil that is made for it works so well and makes coloring a breeze! Here are my five new cards as well as the card I previously shared:

I made this card 5×7” so I could fit more of the floral bouquet stamp on the card twice. I stamped it once on the top and once on the bottom of my cardstock overlapping the edges using Latte PSInk. I used the matching Mandala Blossoms Stencils with Pawsitiviely Saturated Inks to color it. I then added some shading with colored pencils.

I cut this piece down a little and mounted it on a card base made with Lawn Fawn Guava cardstock. I stamped a sentiment from the stamp set using Watermelon PSInk since it was the darkest color I used on my card. I die-cut it out with the matching dies and attached it to the center of the flowers with foam tape behind it. I added some sequins around the sentiment using the Mermaid Tail Embellishment Mix.

I cut a piece of Arches watercolor paper to be an A2 card size. I then embossed the floral design and two of the butterflies on it using white embossing powder. I painted all the images in with Karin Brush Markers which are great for watercoloring if you want bright colors!

I made the background by pulling some of the color out of the flowers with a wet brush. I also touched the tip of a blue marker to get more color on the background using lots of water to keep it soft and muted. Once it dried, I flicked the blue marker over the background to get splotches. I stamped a sentiment with Guava PSInk and die-cut it out with the matching die. I attached it to the top of the card with foam tape behind it. I added some Mermaid Tails and Lilac Embellishment Mix around the sentiment.

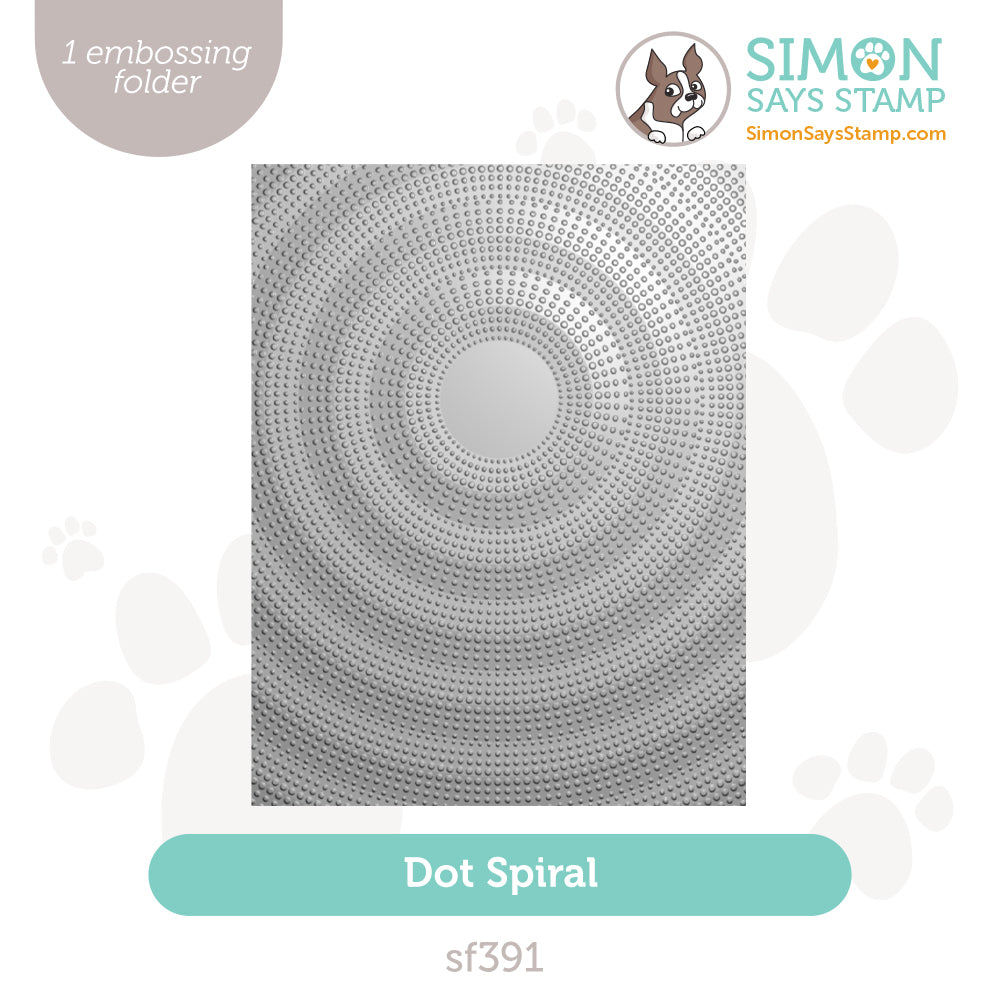
I embossed the Dot Spiral Embossing Folder using white cardstock. I just love this stencil for card backgrounds! I stamped a few of the 3 butterflies in the stamp set with Latte Pawsitively Saturated Ink. I colored them all with colored pencils which is easiest for no-line coloring. I then die-cut them all out with the matching dies.

I used a shimmer pen over all the butterflies and bent the wings up. I glued them to the background (which I left white but would have been pretty with some blue ink blending on it!). I glued the butterflies on it by attaching just the bodies and keeping the wings bent upward. I stamped a sentiment with black ink and attached that to the upper corner. I added some sequins from the Mermaid Embellishment Mix around the butterflies.

Even though I love to color, I wanted to show the stencils used alone for those that prefer to use inks to color. I stamped the images with black ink and then used lots of Pawsitively Saturated Ink colors on this one! The stencils make it so easy and I love how it turned out! I also inked the 3 butterflies but only used one on my card.

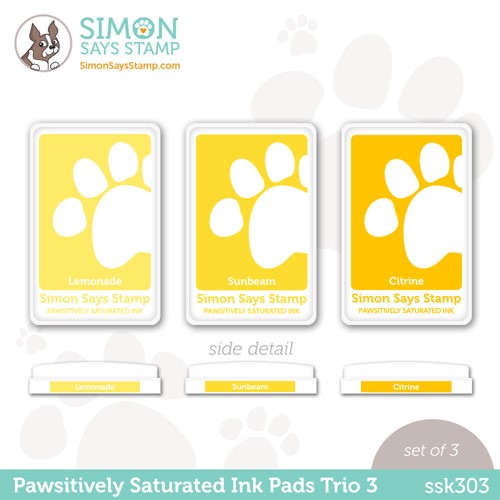
I die-cut a rectangle using the new A2 Rectangle Dies and ink blended it with Lemonade PSInk. I attached it to a white card base. I added the flowers and one butterfly with foam tape behind them. I stamped two sentiments with black and Zest ink and attached them to the bottom of the card. I used some Duckling Embellishment Mix sequins around the flowers.

I gotta be honest – this card is NOT my favorite. I decided to keep it in the mix as I think the technique is interesting but could be performed with better results! I wanted to show a way to use the flat stamps in the set, so I thought a random-stamped background would be a good idea. I started with Arches watercolor paper and then stamped them with Distress Inks. After stamping a few, I went over them with a wet paintbrush to give them a watercolored (messy) look. I used the paintbrush after just a few stamped images each time, so they weren’t completely dry as that makes it harder to spread the ink.

I stamped the floral grouping with Latte Ink and cut out the large flower. I painted that with the same colors of Distress Inks. I die-cut the background with one of the A2 Rectangle Dies using foam tape under all of it to keep the watercolor paper flat. I attached it to a card base of Guava Cardstock. I stamped two sentiments from the stamp set with Guava and Zest PSInks and added them above and below the flower. I used some sequins around the flower.

Here is an image of the card that I already shared on my blog during the blog hop for the You Are My Favorite release that also uses this stamp and die set. I colored it with Copic Markers and shaded it with colored pencils. I used the Dotted Diamond Embossing Folder for the background.
Thanks so much for visiting today. I love coloring flowers but it was fun trying some new techniques for this post. I hope you are motivated to use your stamp sets for multiple cards, so you get more use out of them. If you feel stuck, check out the product page on the SSS website or the gallery for each release on the blog to find lots of inspiration! Suzy
SUPPLIES:
|


Thanks so much for stopping by, and thanks to Suzy for being our guest!


stunning cards
These cards are all sooooo Beautiful!!!!
Beautiful cards
Absolutely loved the creative ways you’ve used the mandala stamp—so inspiring On a different note, if anyone’s into casual style, check out Wearable Outfit for some super comfy and trendy Oversized t Shirts Pakistan. Perfect blend of style and comfort
Just gorgeous cards – and a really lovely stamp set
Wow, this is an amazing post! The way you’ve articulated these ideas is truly impressive. crossy road can tell you’ve put a lot of care and effort into this.