One Stamp, Five Ways: Blissful Bouquet

Hi friends! Happy happy last day of May! It’s always a treat to welcome back special guest Suzy Plantamura where she showcases 5 stunning ways to use one stamp set! Read on and enjoy!
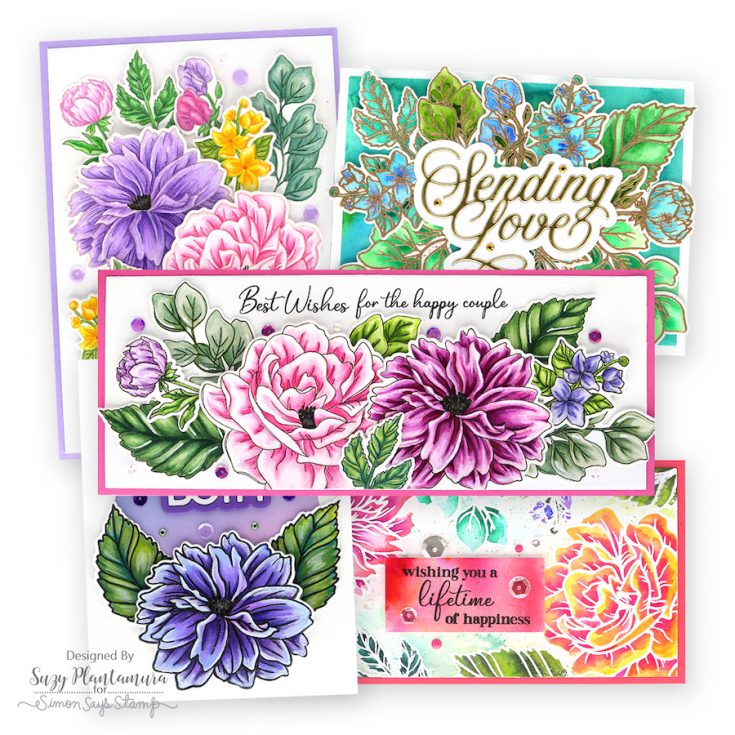
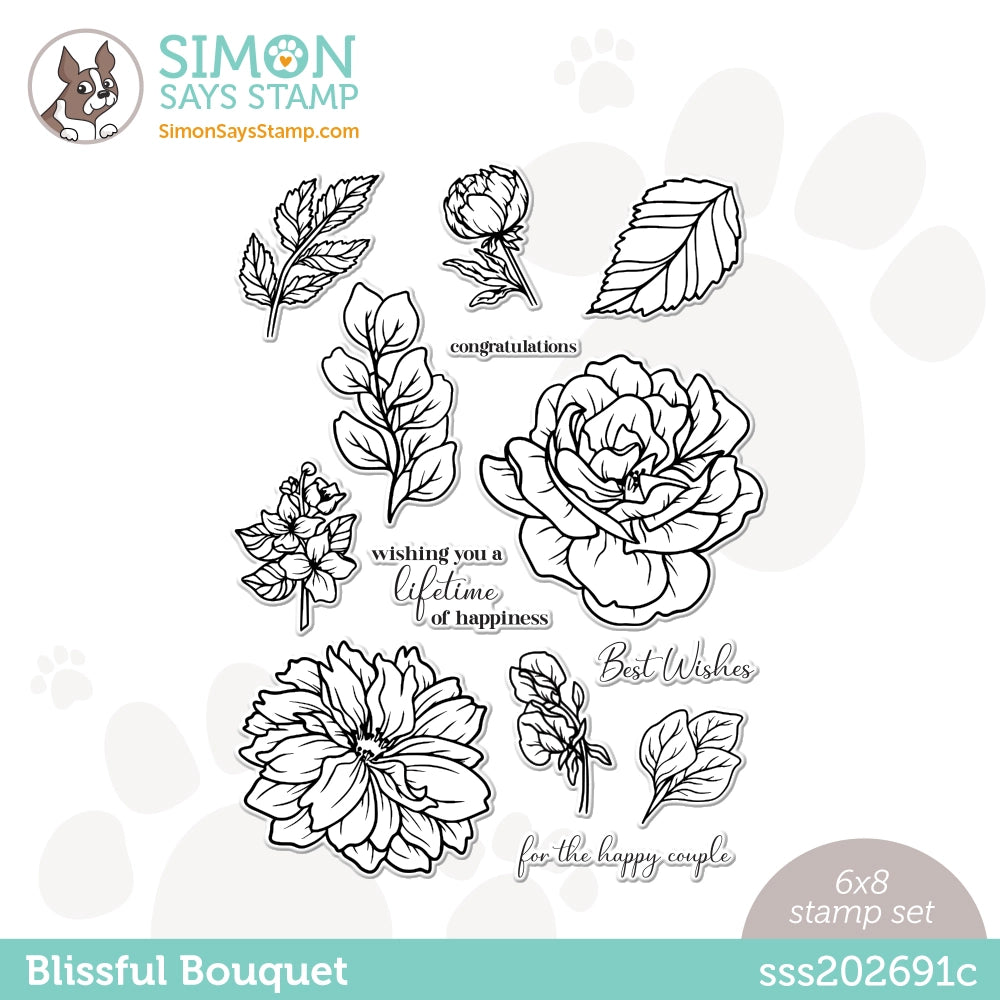
For today’s “one stamp, five ways” post I used a brand-new stamp set from the Dear Friend release called Blissful Bouquet. After you see this post, I think you will agree this 6×8” stamp set is indeed blissful! It’s full of spring blooms that are just waiting to be colored. All my cards are colored with different mediums to get you inspired to color with whatever you want!
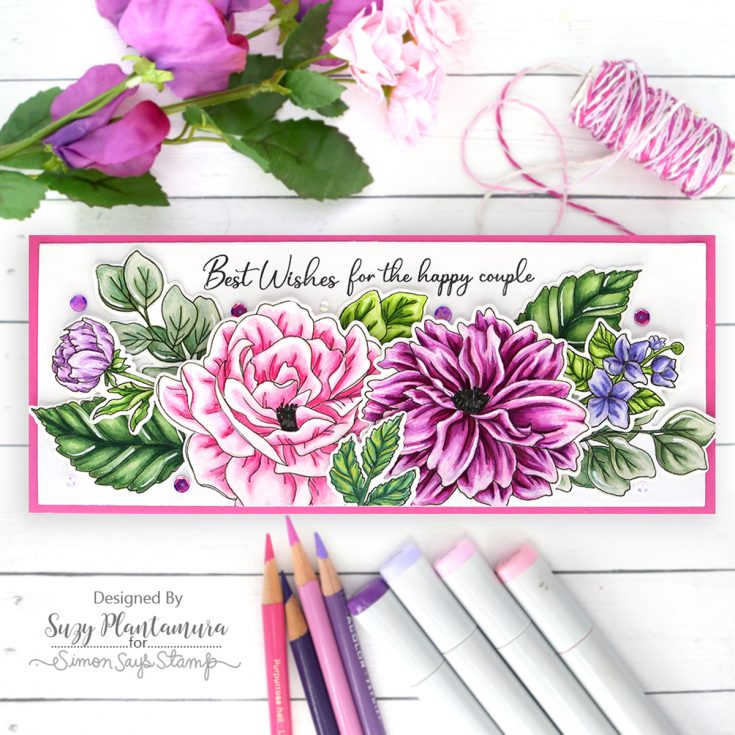
I stamped all the stamps in the set (including 2 of the two largest leaves) with Latte Pawsitively Saturated Ink. I then colored the images in with Copic markers first as a “base coat”. I then added shading with colored pencils. I love mixing Copics and pencils together lately! I outlined the images with a fine tip black Micron marker. I also added some lines to the images with a white Uniball gel pen.

I die-cut all the images with the matching dies. I die-cut a rectangle using the Nested Slimline Rectangle Dies and white cardstock. I then arranged all the flower and leaves over the front of it to create the look of a bouquet. I trimmed the bottom edge of the flowers and attached it to a pink card base. I stamped two sentiments from the stamp set with Intense Black Ink across the top of the card. I added some Peony Sequin Mix around the flowers.
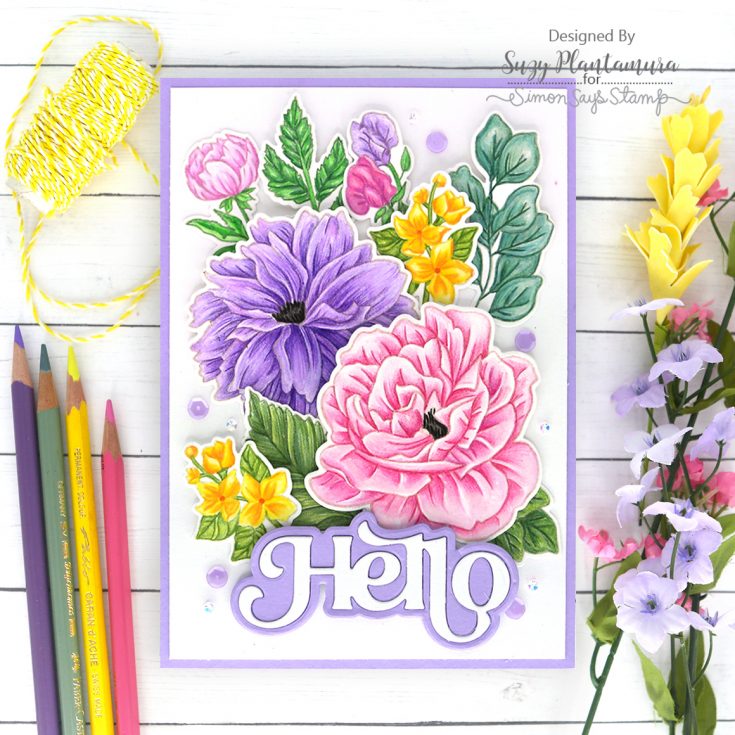
I stamped all the images in the stamp set with Latte Ink again. I don’t like black outlines, so I often use Latte ink and then add a fine black line like I did on the last card. This time I colored all the images with just colored pencils. Pencils make it easy to stay in the lines and outline the images with the color you are using! I used a black Micron pen for the center of the flowers. I die-cut all the images out with the matching dies.
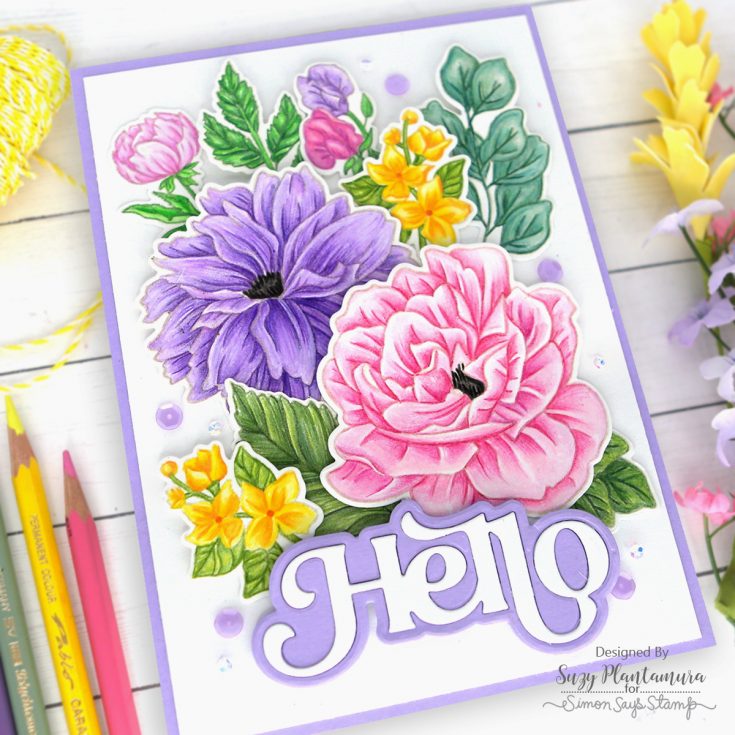
I decided to make a 5×7” card since all the images I colored wouldn’t fit on an A2 size card. I cut a white rectangle a little smaller to use as my background. I arranged all the images over it into a floral bouquet. I then die cut the new Fancy Hello Wafer Die from white and lavender cardstock and layered them together. I attached this to the bottom of the card with foam tape behind it. I added some of the Peony Mix Sequins in just lilac and 3mm clear around the flowers.
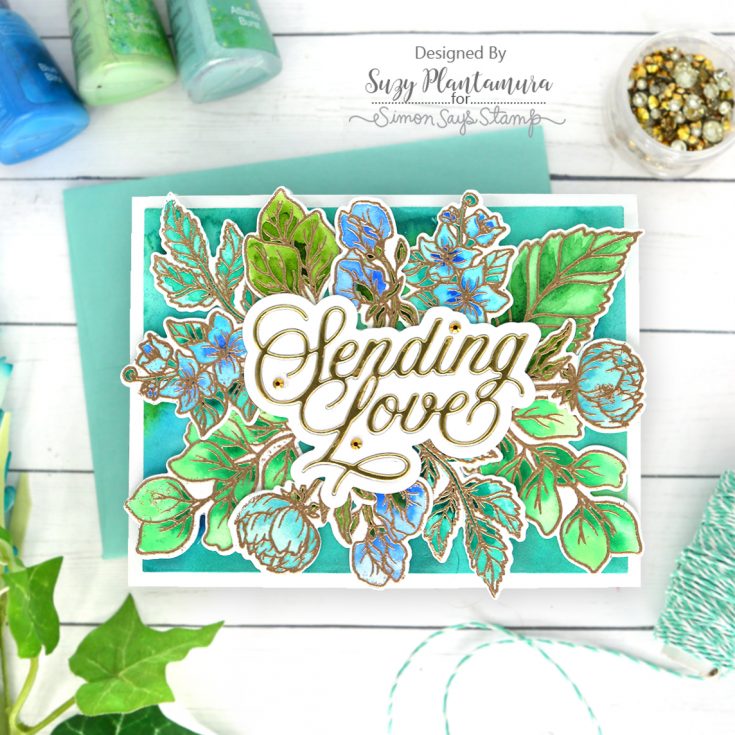
I embossed all the leaves and smaller flowers in the stamp set twice with SSS Gold Embossing Powder on Arches Cold Pressed Watercolor paper. I painted them with Daniel Smith Watercolors and die-cut them out. I die-cut the large Sending Love die from both SSS Gold Matte Cardstock and white cardstock. I then attached the gold letters to the white one.
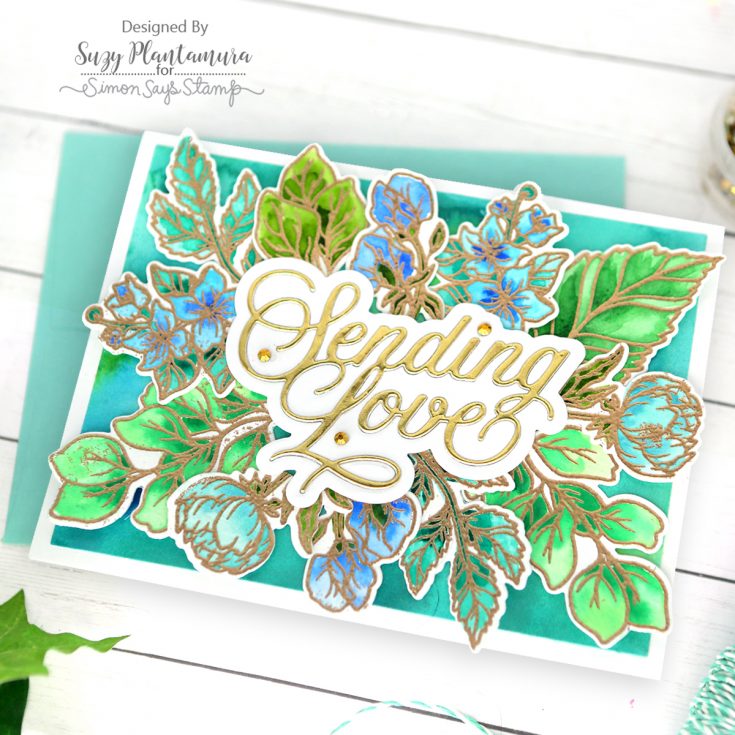
I made a background with Nuvo Shimmer Powder in Atlantis Burst and die-cut it with a SSS Basic Rectangle Die. I attached that to a white cardstock base. I then added foam tape behind the sentiment and attached that to the center of the card front. I added all the painted leaves and flowers around the sentiment, trimming them to slip under it a little. I only attached the inside of the leaves so the outsides would float up. I added some Honeybee Back to Basics Gem Stickers in gold around the sentiment.
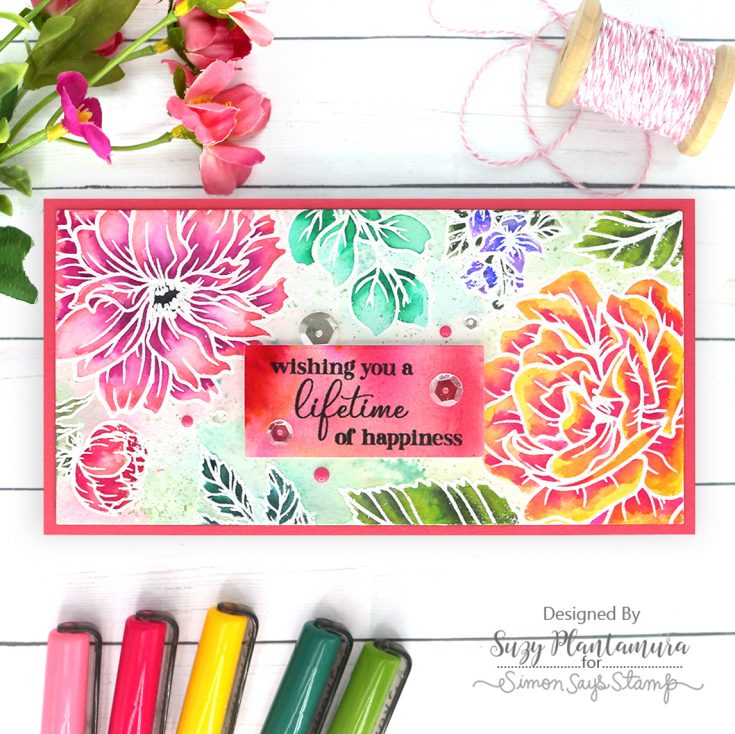
I die-cut a rectangle using the SSS Mini Slimline Rectangle Dies and Arches Cold Pressed Watercolor Paper. I then embossed all the stamp images around the outside edges of this piece with white embossing powder. I painted the images in with Karin Brushmarkers and then used a wet paintbrush to move some of the color around the images for a background wash. I flicked some of the colors over the background as well.
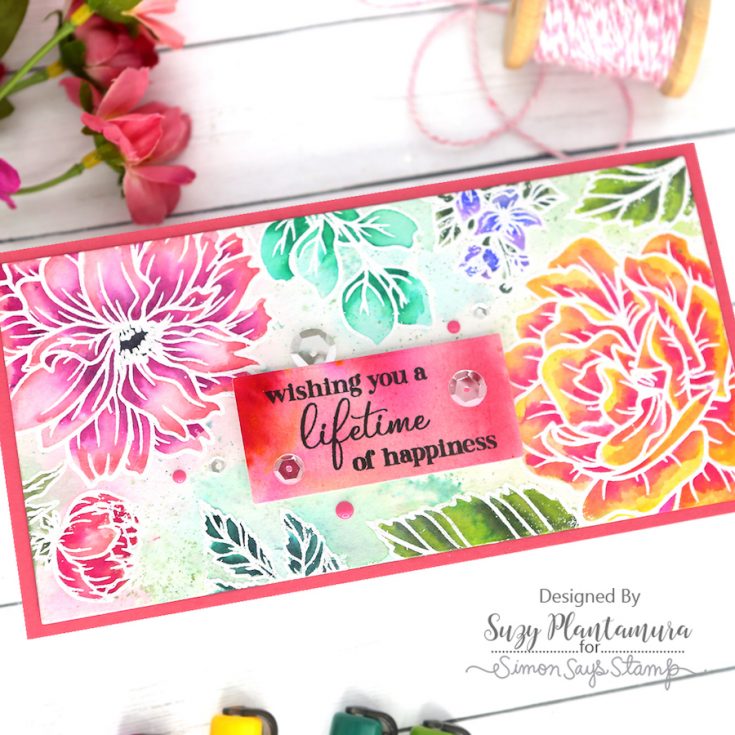
I attached this piece to a red cardstock base. I then took a scrap I had of paper that had been painted with Catherine Wheel Nuvo Shimmer Powder and die-cut it with a rectangle die. I stamped a sentiment from the stamp set using black ink. I attached that over the center of the card with foam tape behind it. I added some sparkling clear sequins around the sentiment. I also added some Julie Hickey Tutti Frutti Glossies that matched the cardstock.
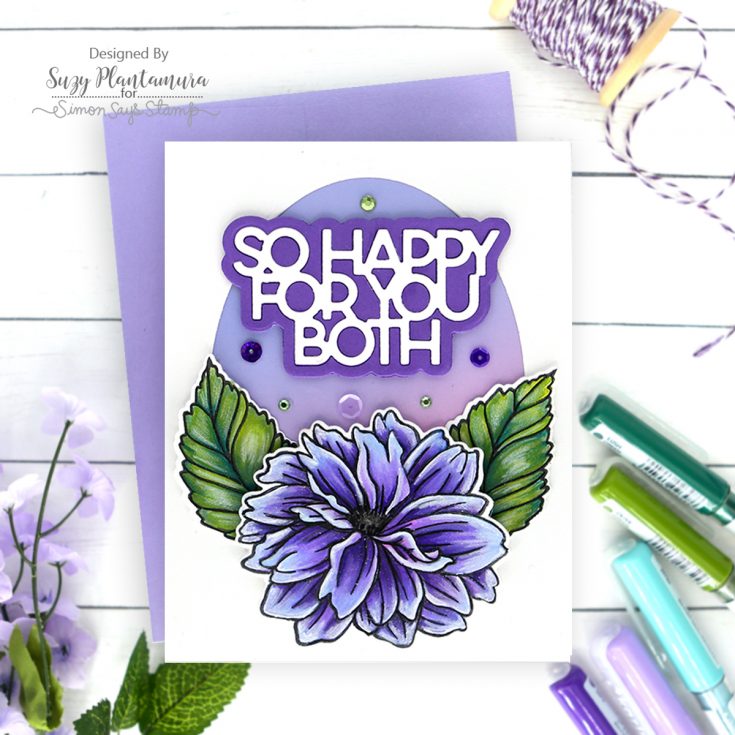
This time I wanted to use my Karin Decobrush Markers that are like acrylic paint, so they are opaquer. I stamped the flower image and two leaves in black ink. The outlines are thick on the stamps, but I like black with these markers as they are so heavy. I colored the images with the markers just doing one petal at a time, so the colors are still wet as I blend them. This leads to better results. I used a black Micron fine tip pen for the flower centers and to re-outline them where the paint covered the outlines. I used a white Prismacolor pencil to color over the center of some of the leaves to add some shading. I die-cut these images out.
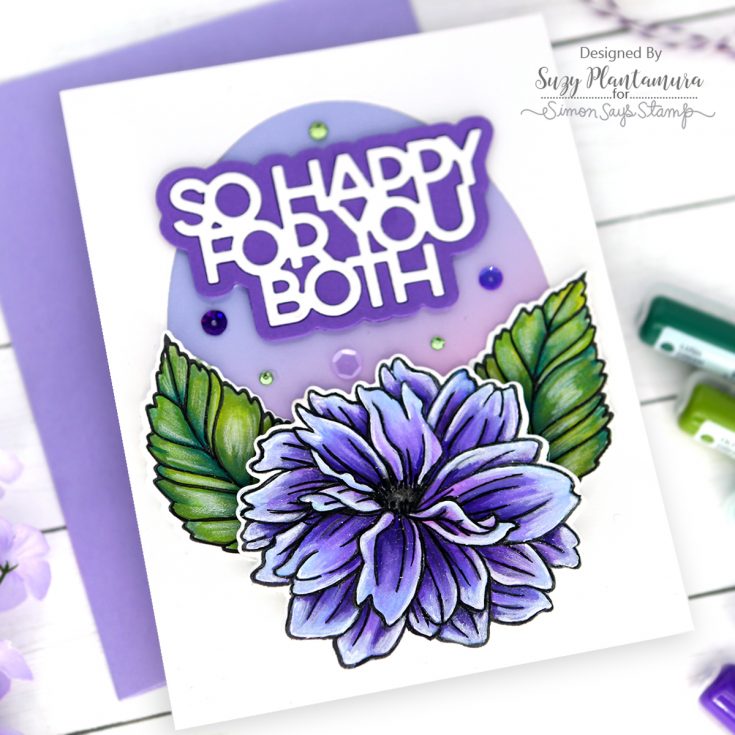
I die-cut an oval from the center of a piece of A2 white cardstock using the SSS Nested Oval Rectangles. I backed it with a piece of SSS Pastel Colorblend Cardstock that matched the colors in my flower image. I arranged the flower and leaves on the bottom of the oval using foam tape beneath them. I die-cut the new So Happy For You Both Wafer Die with white and purple cardstock and layered them. I attached that over the top of the oval. I added some sequins over the Peony Sequin Mix – I used this on almost every card so this mix is a must have for my typical colors I use!
Whew – this post is always so long to type that I hope some of you use all the detailed directions! I love flowers and I love coloring flowers, so this Blissful Bouquet stamp set was right up my alley! The flowers are all blooming in my backyard now that it is finally spring which is giving me lots of inspiration for color choices! I asked my gardener to ONLY use white, purple, and pink flowers in my yard which isn’t surprising considering those are the only colors I use on flowers on cards haha! Have a great month of June friends and thank you so much for visiting today!
SUPPLIES:
|


Thanks so much for stopping by, and thanks to Suzy for being our guest!


Wow!!!! Amazing cards!!!! I love all of the different coloring mediums you used!!!
These are so pretty
Loved how you colored these blooms. They looked real and made your cards a beautiful showing. Thanks for your ideas and designs.
gorgeous cards!!