One Stamp Five Ways: Birthday Bears

Hi friends! Happy Thursday, and happy last day of June! My goodness! Time is flying! Please join me in welcoming back special guest Suzy Plantamura in her monthly installment of our One Stamp Five Ways series! Read on to learn more and enjoy!
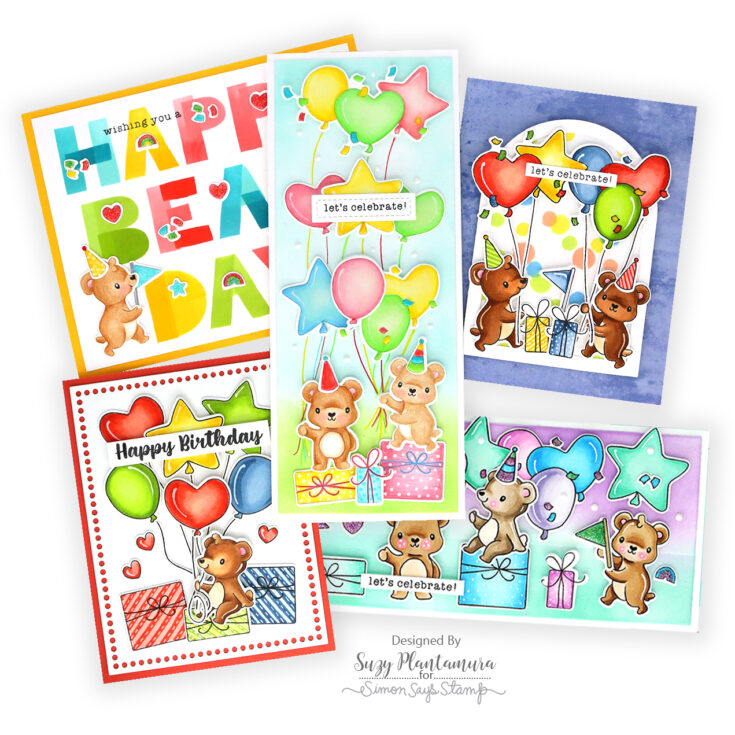
Hello friends! Today I have a “one stamp, five ways” post to share with you using the new Birthday Bears stamp set and matching dies from the Let’s Chill release. I picked this stamp set because I love critters and I never have enough birthday cards, so making 5 cards with it will hopefully benefit you as well as me! Here we go …..
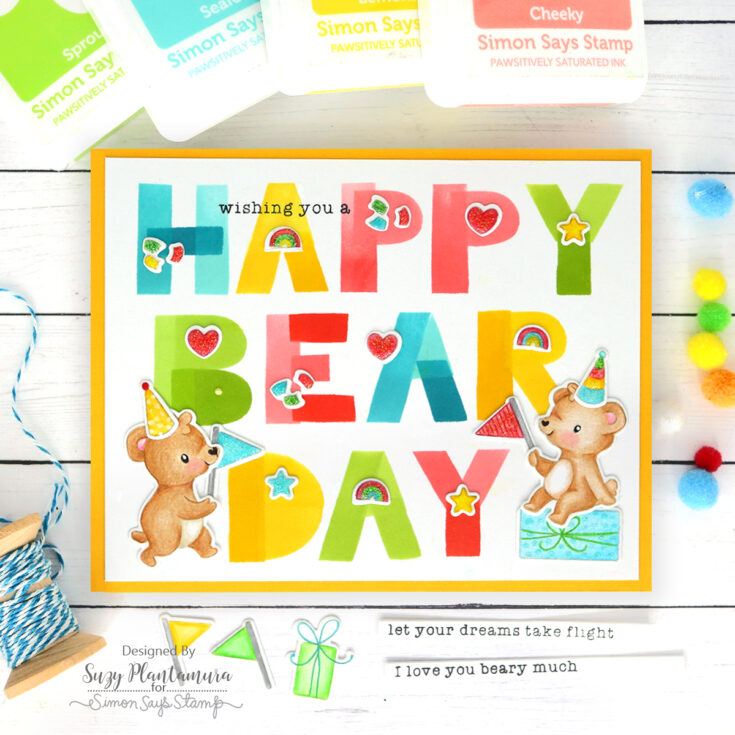
I thought I would start with my favorite card. I had these Layered Alpha stencils from the Happy and Joyful release that I hadn’t had a chance to use yet, so I decided they would be perfect for a big birthday greeting. I wasn’t sure what size the card would need to be, so I started by just inking the letters on white cardstock. I used the new Round Blending Brushes as they are just the perfect size for these stencils! I used Pawsitively Saturated Inks in Seafoam, Surf, Lemonade, Sunbeam, Citrine, Cheeky, Blush, Pucker, Celery, Limelicious, and Pearfection. Once I had the greeting all done, I cut this piece down and it ended up being around 5” x 6.5”. I attached it to a dark orange cardstock base and made a white card for it.
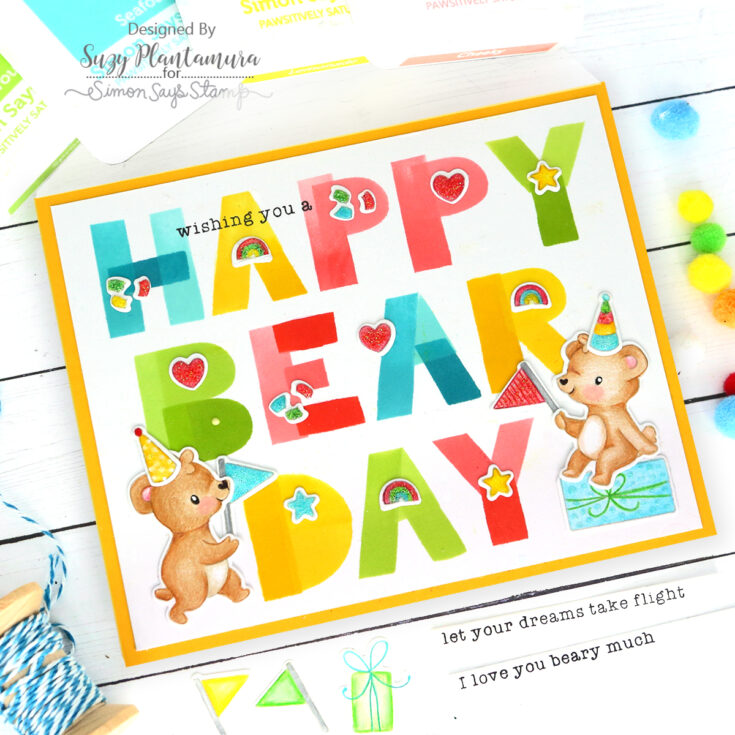
I stamped a set of my birthday bear images on white cardstock with MFT Natural Ink on white cardstock and I colored them in with colored pencils. I made several of the little images to decorate the letters. I attached two of the bears on each side of the letters and added a few of the other images like hats and flags and a gift. I used Nuvo Glitter Drops over all of the little images. After this card was all done, I ended up stamping that little sentiment on the top as an after thought and it’s my favorite part of the card ha!
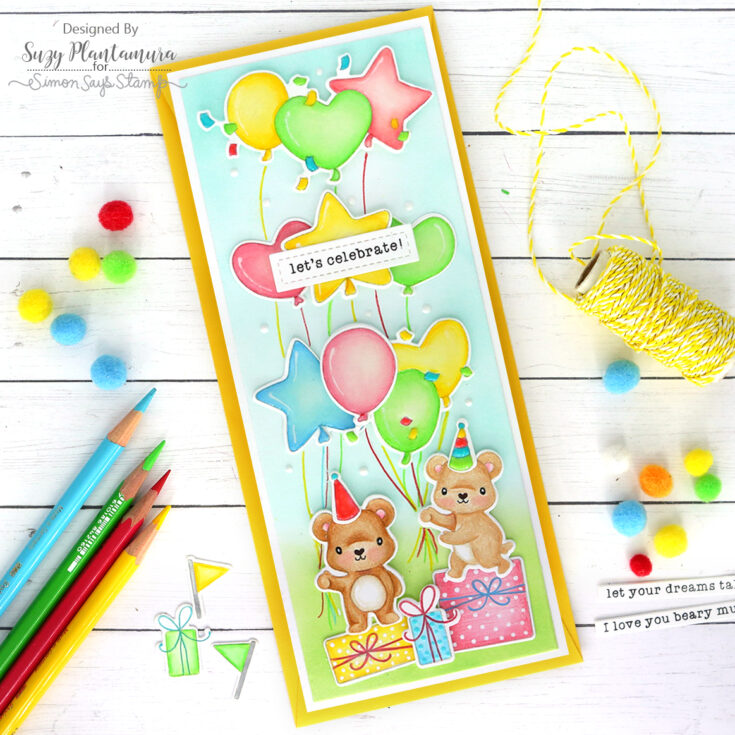
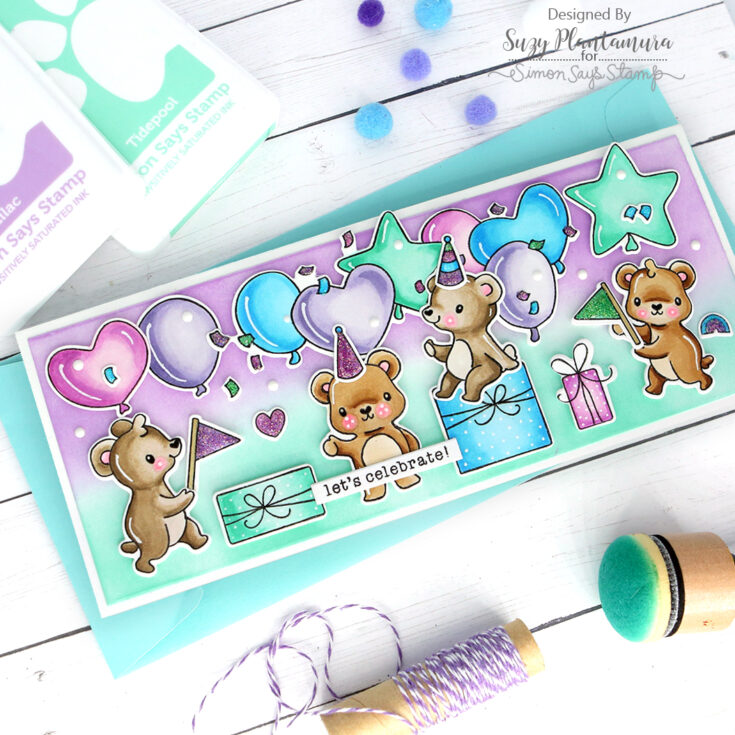
I ended up making two slimline cards as I love creating scenes with this type of stamp set! I die-cut a large rectangle using the SSS Slimline Nested Rectangle Dies and white cardstock. I applied Pawsitively Saturated Ink in Sprout to the bottom and Seafoam to the top. I stamped a bunch of the balloon images and two more of the bears, hats and presents with MFT Natural Ink and colored them in with colored pencils again.
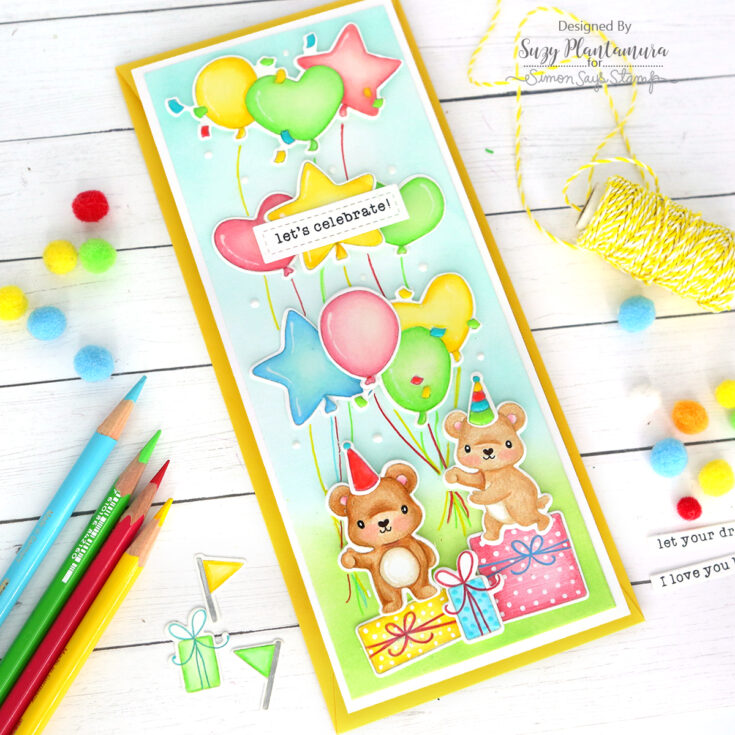
I attached all of the balloons in the sky area by cutting apart the grouping to use in two places. I used a white Uniball gel pen to cover the areas I had colored between them. I also used the white gel pen to add dots to my presents and attached those with foam tape to the bottom. I added a couple of bears and drew the strings with colored pencils. I used Glossy Nuvo Drops over the hats and confetti. I stamped a sentiment on a small rectangle die and attached that over the center balloons. I added some Chalk Stick white Nuvo drops around the sky area.
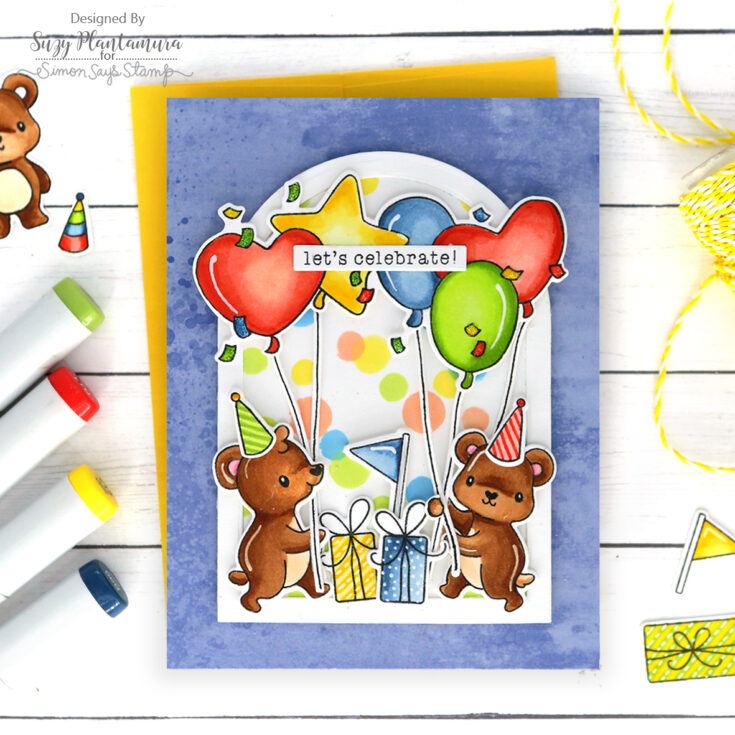
I wanted to create a really small scene with some of the stamped images, so I used the Domed Arches dies to make a frame (before I cut the dies a part I made a few frames so I didn’t have to line them up, but just use two arches together to create a frame). I used two of the smaller circle stencils from the Layered Confetti Stencils to create the inside piece for the dome. I applied four colors of PSInks (Limelicious, Grapefruit, Marine, and Lemonade) with the new small round blending brushes. I attached this dome to the front of an A2 sized card base covered with a piece of patterned paper in blue. It was from the Paper Rose Rainbow Poppies 6×6 Paper Pad.
I stamped several images from the stamp set on white cardstock with Intense Black Ink and colored them in with Copics. I cut one of the balloons off the grouping and attached it to the top of the dome. I used a couple of the bears and gifts on the bottom. I die-cut several of the straight balloon strings and then drew them on with a black fine tip pen as I have the hardest time die-cutting them in the right place after I stamp them! I somehow made the strings “look” like they were being held by the bears by cutting off one of the bears hands and replacing it over the strings. It took some precision, but I’m a perfectionist haha! I added a sentiment stamped on the thinnest SSS Sentiment Label dies.
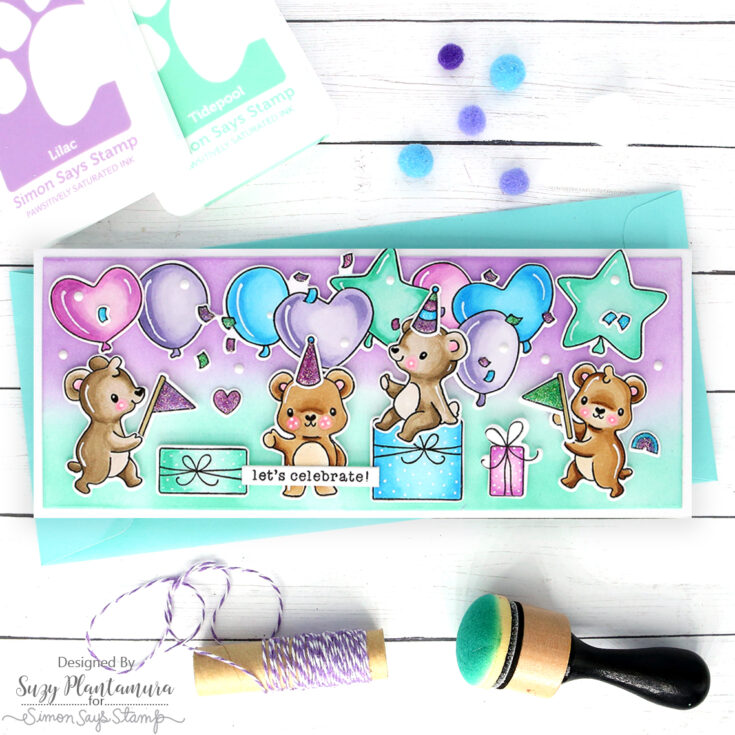
My second slimline card is a horizontal one and started with the same rectangle die cut from the SSS Nested Slimline Rectangle Dies. I applied PSInks in Lilac to the top and Tidepool to the bottom. I stamped all of the images in the stamp set with black ink on white cardstock and colored them in with Copic markers again.
I attached all of the images (and yes, I think I used every image in this stamp set on this card) to the front of the card with foam tape behind some for dimension. I used a white Uniball to add dots to the presents. I used Nuvo glitter drops over the party decorations. I added some Chalk Stick Nuvo Drops to the background.
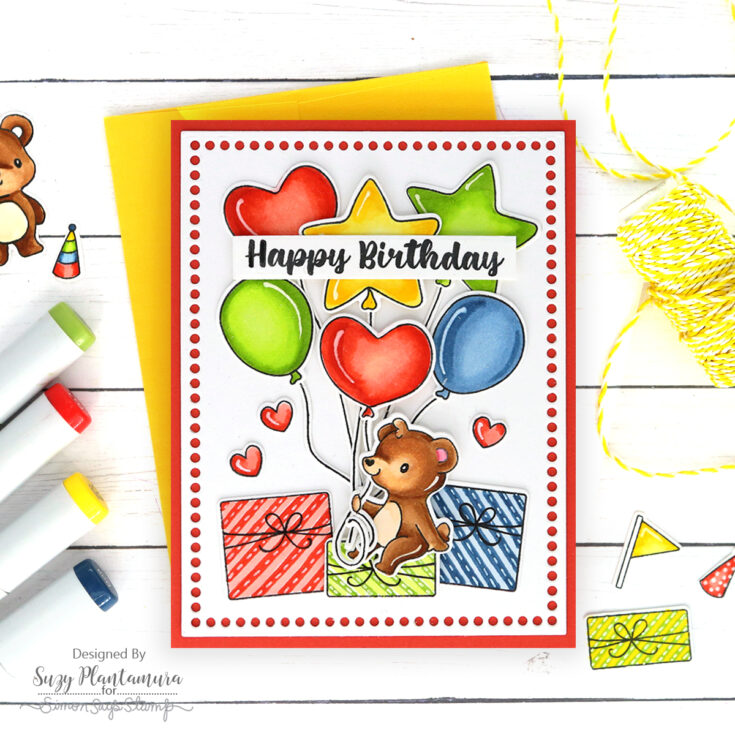
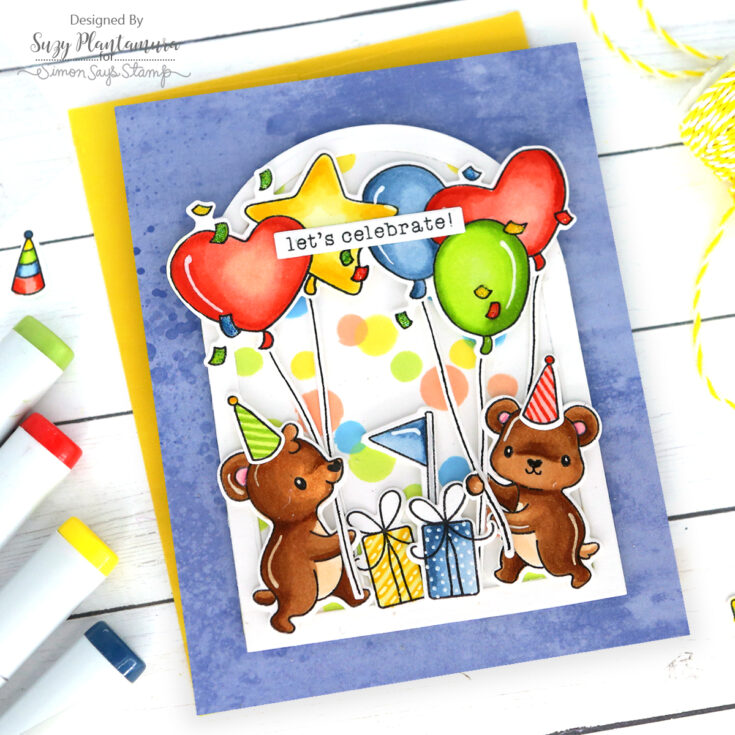
I started by die-cutting an A2 Marquee die from white cardstock for the background of the card. I attached that to a red card base. I love this die as it is really festive for birthday cards. Quick hint: use a metal shim when die-cutting it so all of the small dots come out easily.
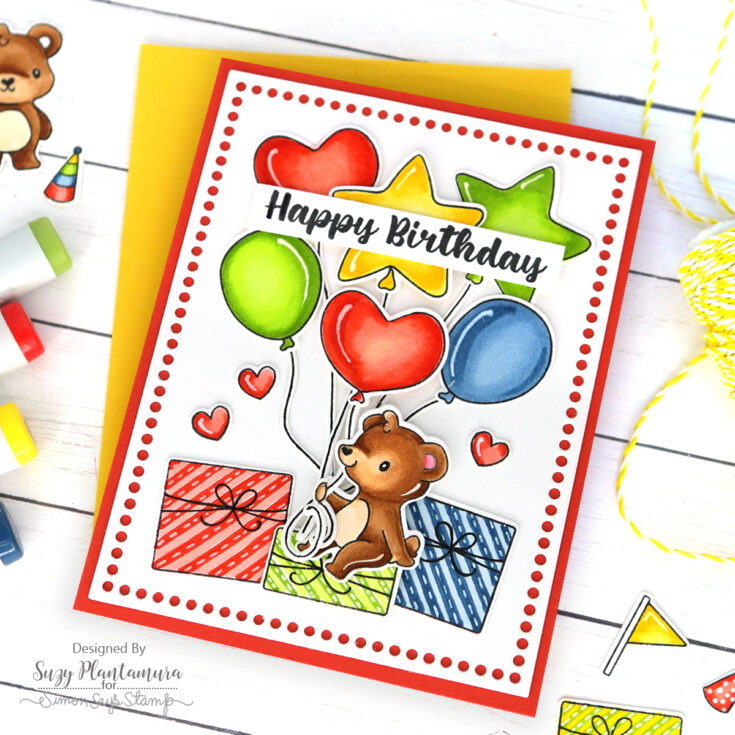
I stamped all of my images with black ink on white cardstock and colored them in with Copics. For the presents, I used two colors of markers to make stripes and then used a white gel pen to add dotted lines over the darker color of stripes. I just like to decorate presents I guess! I arranged all of the images over the background with foam tape under some. I die-cut all of the different string dies and then drew them on again and attached them under the bears hand (yes, I cut it off and replaced it again!). I kept some of the strings unattached at the bottom so they look realistic. I used the Happy Birthday sentiment in the stamp set with black ink on a SSS Sentiment Label die over the presents.
I always love a stamp set even MORE after I make 5 cards with it and this one is definitely a new favorite! I didn’t realize until I was typing this post that I had used the “let’s celebrate” greeting on three of my cards! There are LOTS of greetings in this stamp set and many are not just for birthdays which is another benefit of the stamp set. I hope you are inspired to make more cards with each stamp set you purchase! Thanks for visiting today! Suzy
SUPPLIES:
|


Thanks so much for stopping by, and thanks to Suzy for being our guest!


Wow!!! Absolutely Adorable cards!!!
Love the inspiration using this adorable stamp set!
Delightful, fun and festive cards, my faves are the first and fourth, thank you for the amazing inspiration!
Delightful cards!
These are so fun!
so super cute