Mixed Media Tag Notebook
Hi friends! Happy Sunday! This is the perfect project to grab your favorite beverage, get cozy, and keep scrolling to learn all of the fabulous details! Take it away, Anna-Karin Evaldsson!
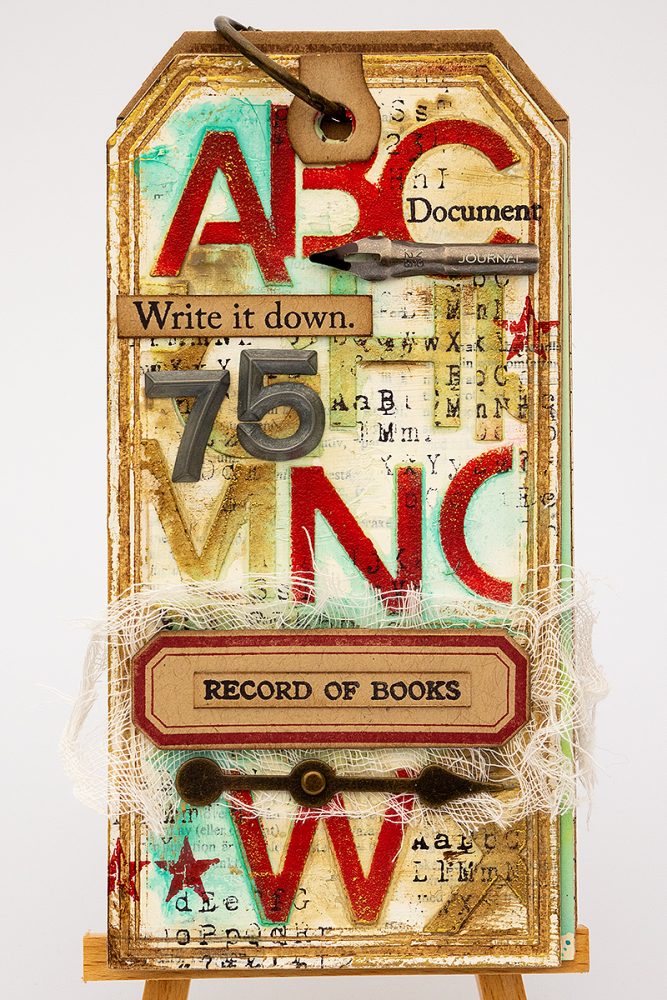
Hi everyone! I am happy to be back here today with a new tutorial, a mixed media tag notebook or journal. From when I was about eight years old until my early twenties, I documented all books that I read in a notebook, with the basic info: title, author, publication year, but also with a short summary, favorite quotes and a grade from 1 to 5. I called the notebook my ‘Book Book’ and thought it was time to make myself a new one. You can of course make a tag book or journal for any theme.
I went with the format of a tag book since it reminds me of bookmarks and since it is easy to add new tags to the book. You can of course make a tag book for any theme or you can use these mixed media techniques to make individual tags or cards. To fit my theme, I used many products related to typography and writing.
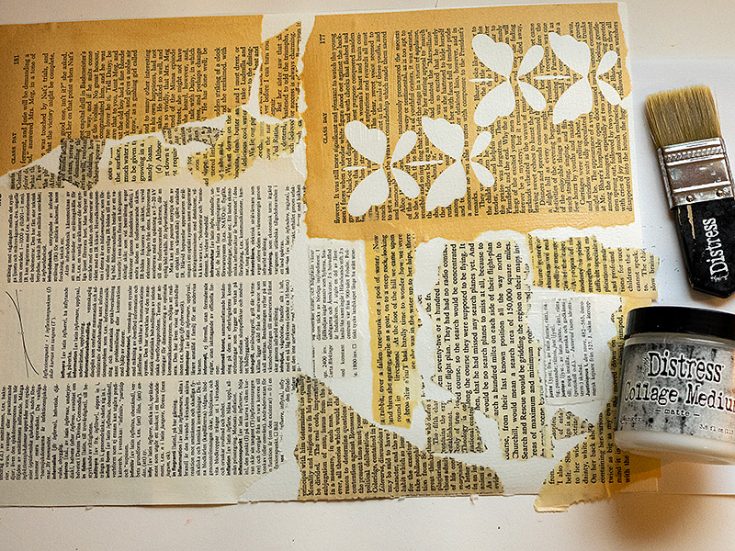
Start by covering an entire sheet of watercolor paper with old book and dictionary paper. Tear most of the edges and use both smaller and larger pieces. I also used a left-over negative die cut. Apply with Matte Medium and add a layer of medium on top too.
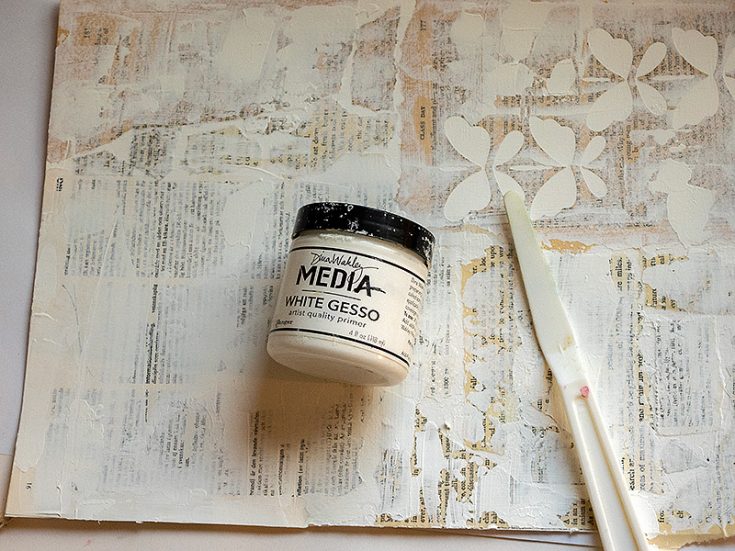
When dry, apply gesso with a palette knife. Don’t cover up all the text.
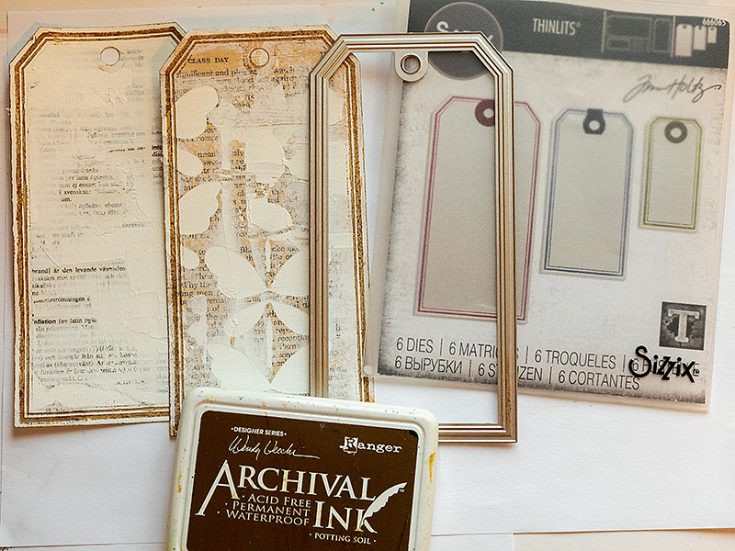
When dry, die cut the covers of the tag book from the text paper using Tim Holtz Framed Tags. Ink the die with Archival Ink Potting Soil for a letterpress effect. Simply rub the ink pad on the die. We are not aiming for a perfect look.
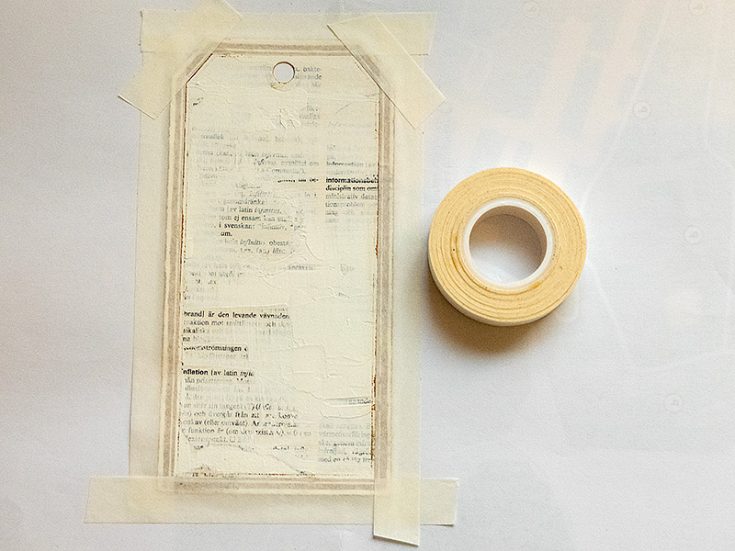
Protect the edges of the tag with Simon Says Stamp Very Very Low Tack Tape.
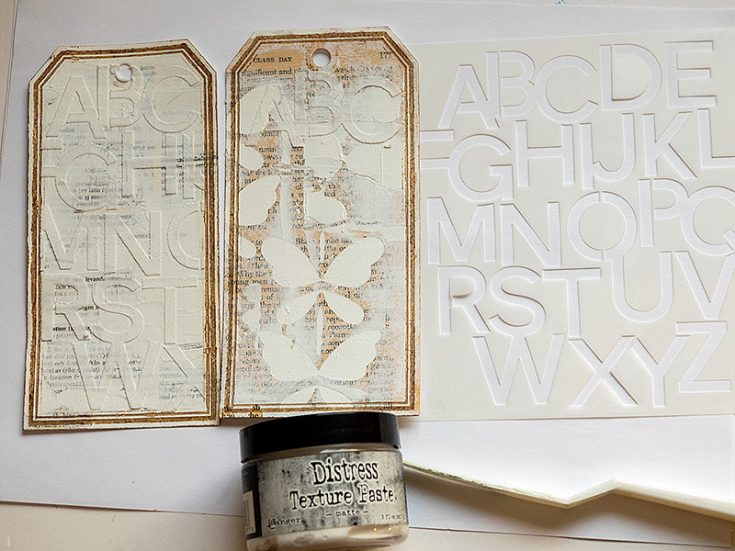
Apply texture paste through the Simon Says Stamp ABC stencil using a palette knife. Remove the tape and let dry.
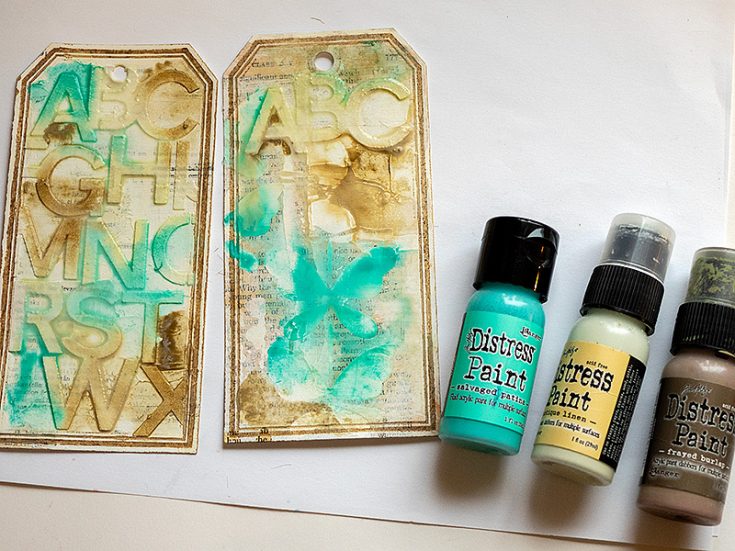
When the paste is dry, paint the tags with Distress Paint. Mist with water to blend.
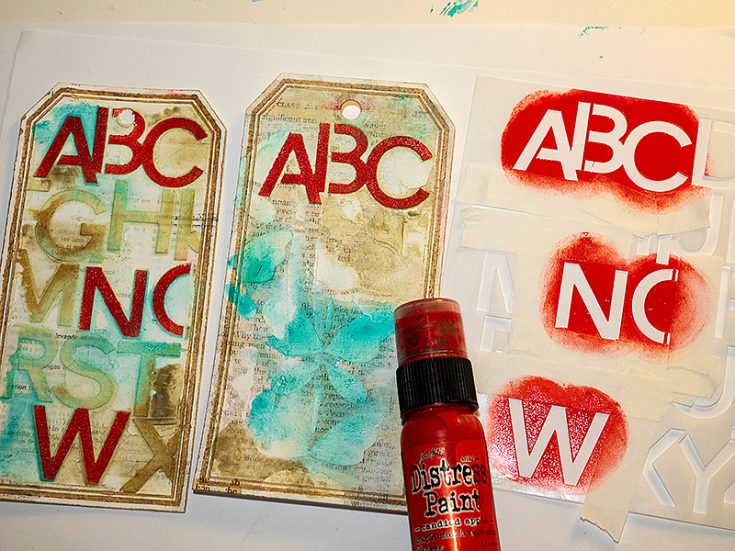
Let the first layer of paint dry and then place the stencil back on the design. Use Very Very Low Tack tape to prevent paint from getting in places where you don’t want it. Sponge Candied Apple Distress Paint on some of the letters.
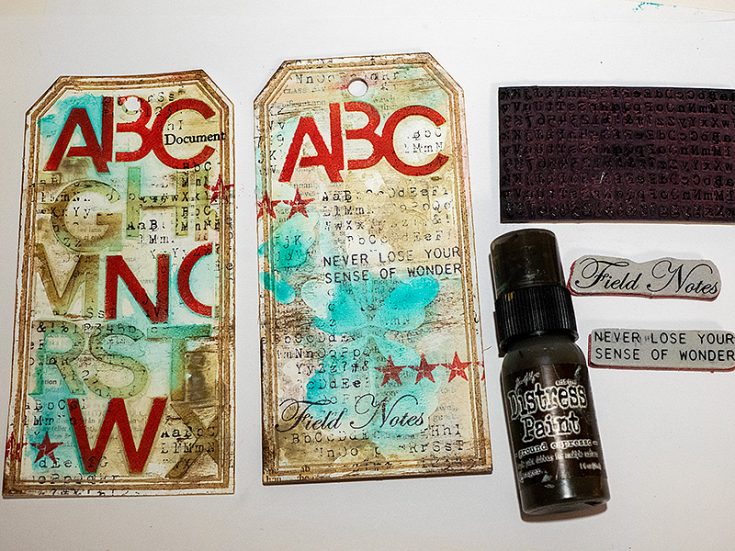
Dry brush a little Ground Espresso on the tags. Stamp a few sentiments. The ones I used come from Simon Says Stamp Document It and Tim Holtz Nature’s Wonder and Classics #17. To add texture, I stamped here and there with an alphabet stamp from Tim Holtz School Desk.
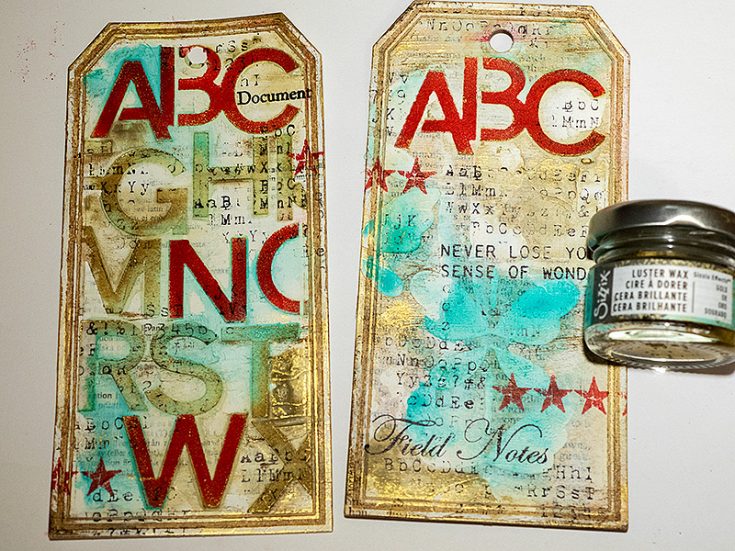
Apply a little Sizzix Gold Luster Wax to the tags.
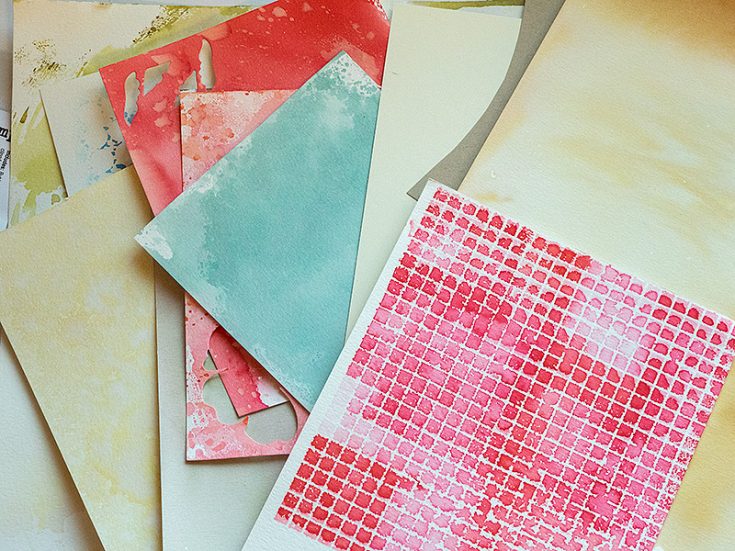
The inside pages were mainly made from scrap papers.
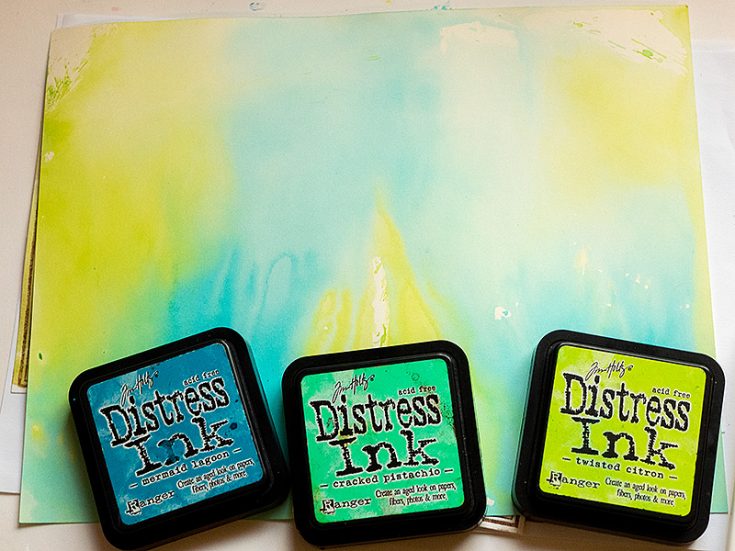
I wanted some turquoise papers and didn’t have enough among my scrap papers. Smear Distress Inks on a non-stick craft sheet, mist with water and press Ranger Heavystock paper into the ink. Repeat on the back of the paper.
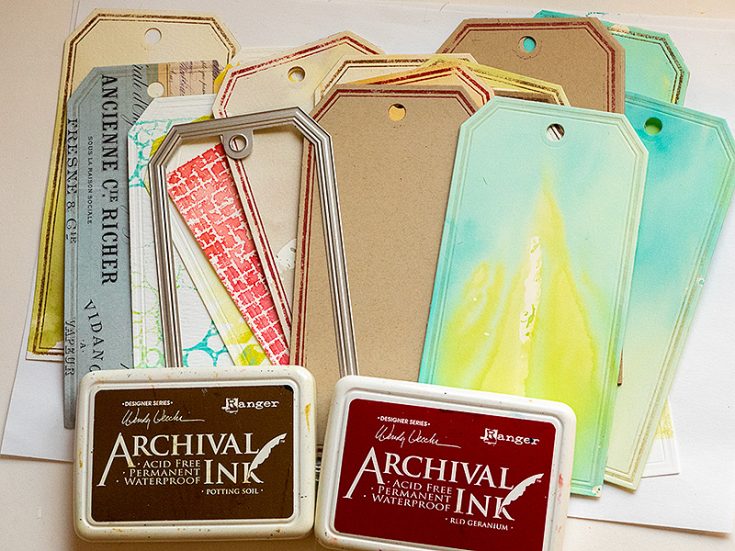
Die cut tags from the papers. I used Archival Ink Potting Soil and Red Geranium for the frame effect, but left some of the tags with only the embossed frame.
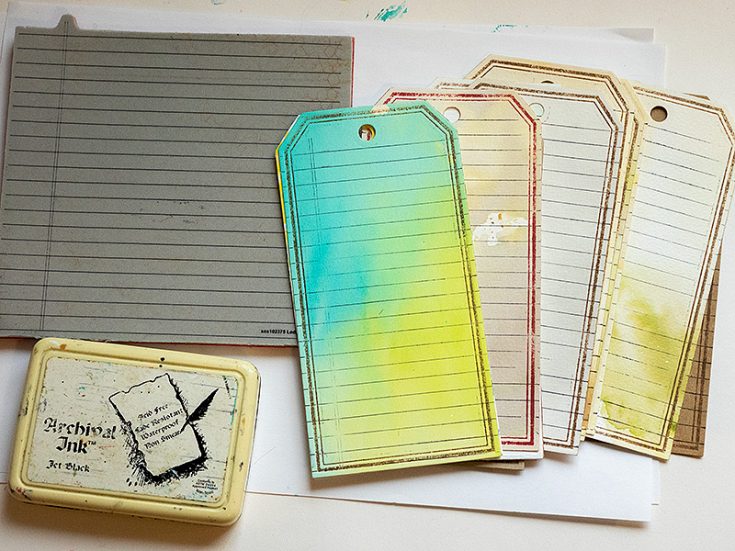
Most of the tags were stamped with Simon Says Stamp Ledger Paper background, since I like to have lines to write on. Don’t worry about getting perfect stamping.
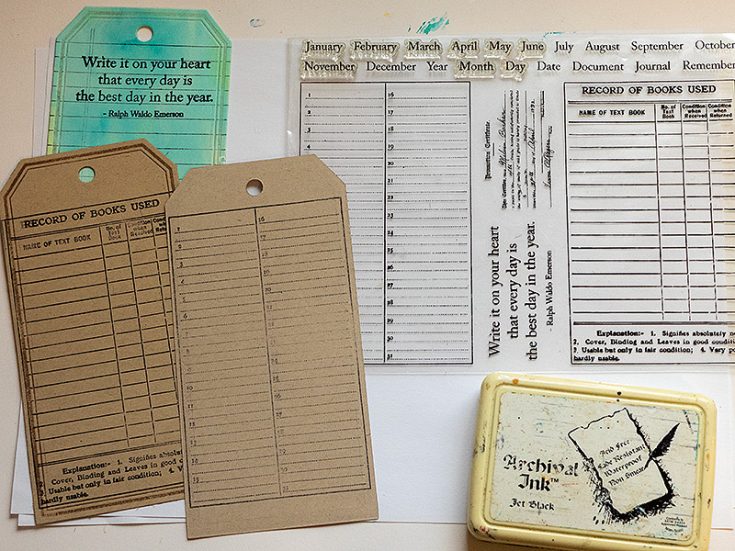
I stamped some of the tags with stamps from Simon Says Stamp Document It, since they fit well with the book theme.
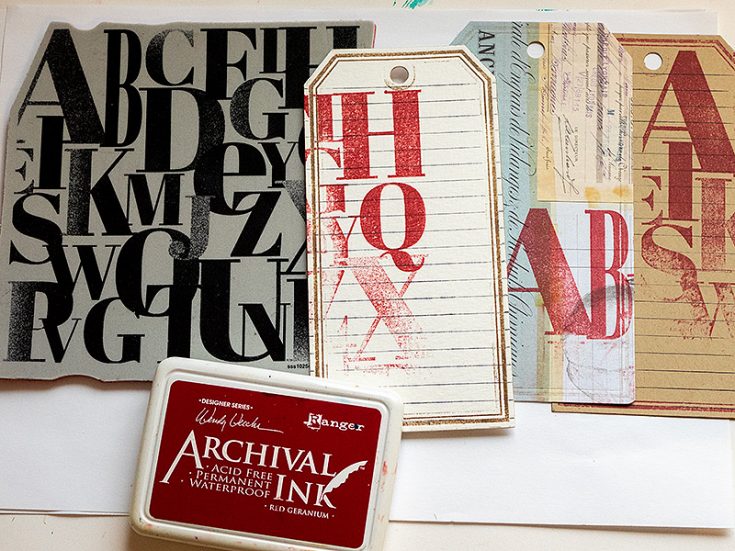
A few of the tags were stamped with Simon Says Stamp Mixed Alpha and red ink.
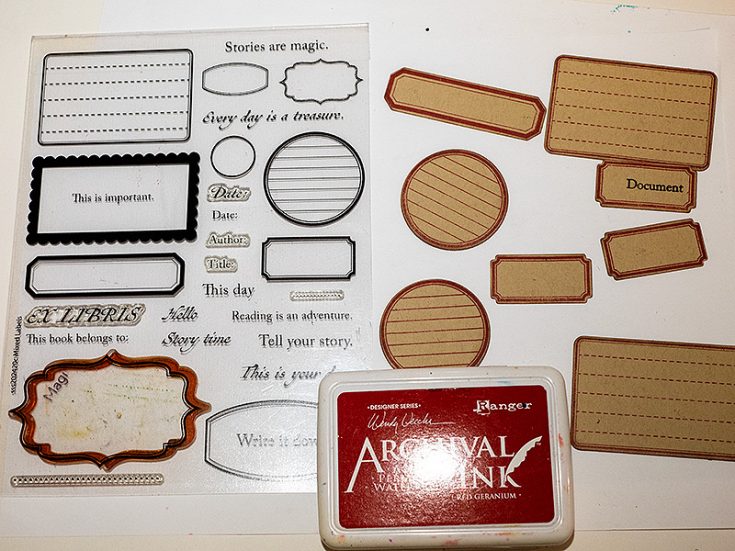
I also stamped labels on kraft paper using Simon Says Stamp Mixed Labels and die cut with the coordinating dies. I always liked the look of red ink on kraft paper.
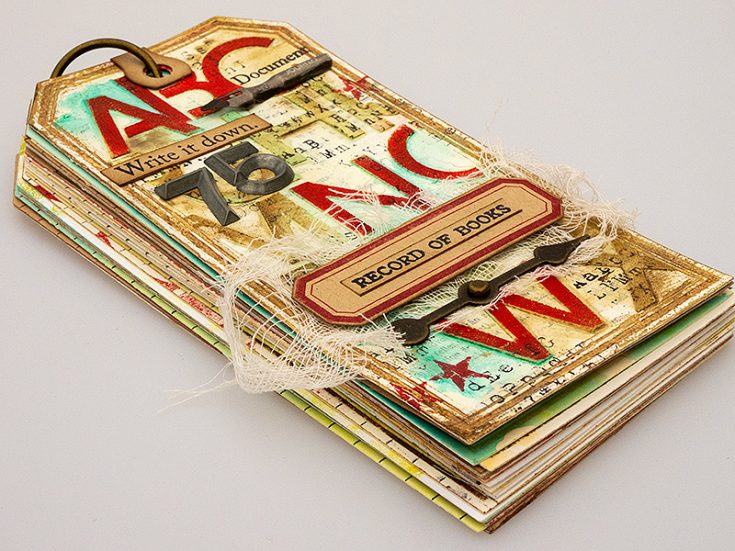
Use a binder ring to bind the tags. You can use Tim Holtz Mini Book Rings, but my tag book was a little too thick and I found a slightly larger ring in my stash.

The title was stamped with one of the stamps from Document It and cut into a strip. Ink the edges and place on one of the stamped labels. Adhere with Pawsitively Perfect White Foam Tape placing a piece of cheese cloth underneath.
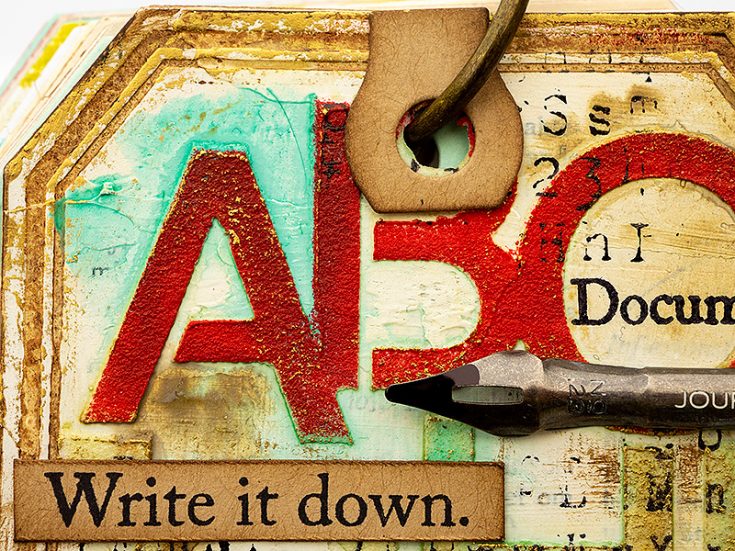
The idea-ology pen nib was colored with Pitch Black Alcohol ink.
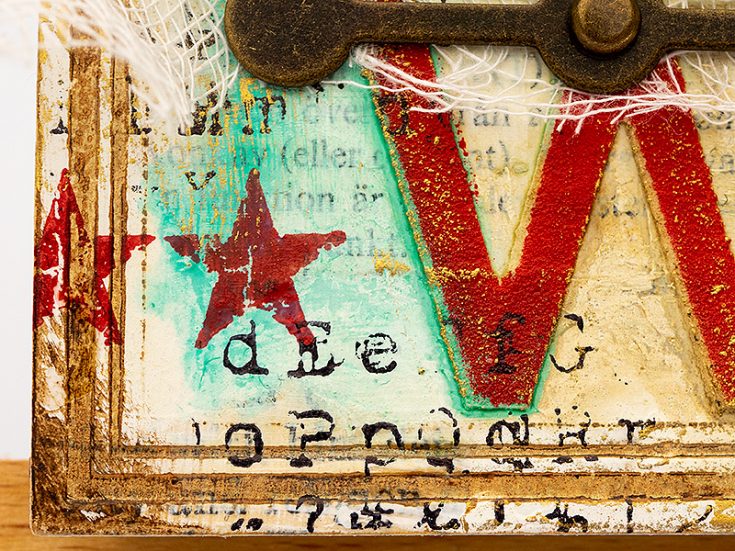
The stars were stamped with Tim Holtz Rock Star. Here you can also see the effect of the Gold Luster Wax.
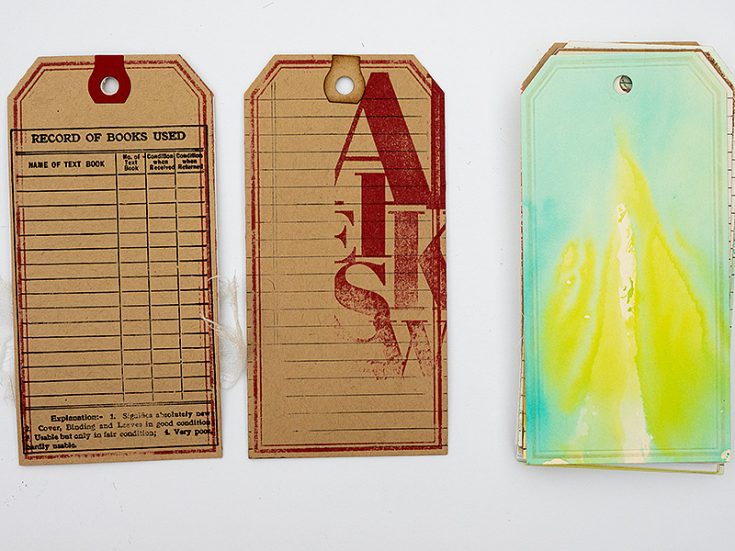
I adhered a kraft tag to the back of both covers, to make them sturdier.
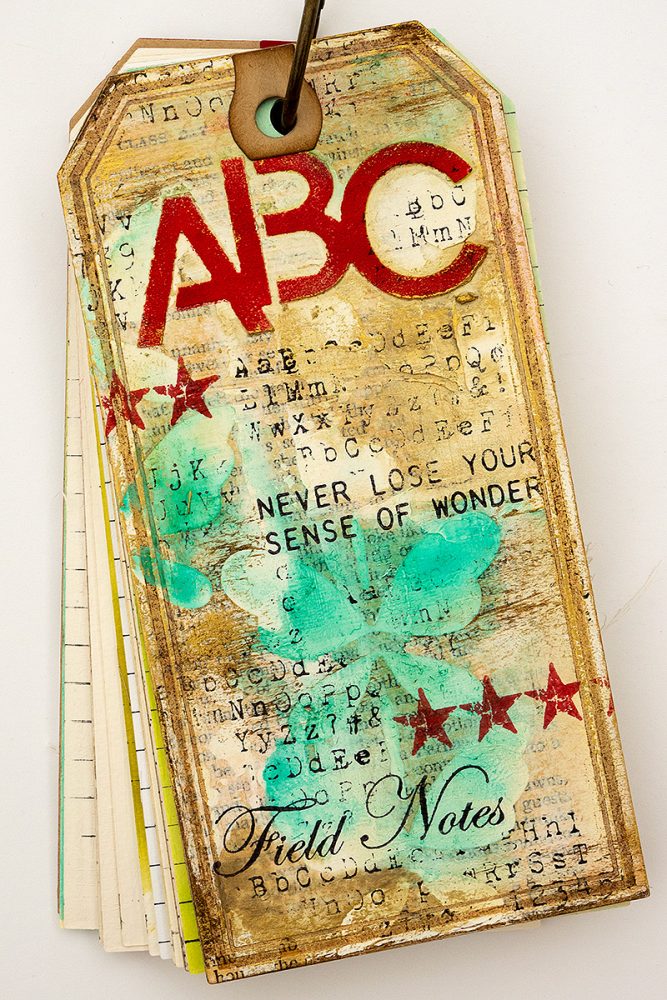
The back cover could have been the front cover too, but I didn’t want to hide the butterflies with the book title, which is why I used that tag for the back instead.
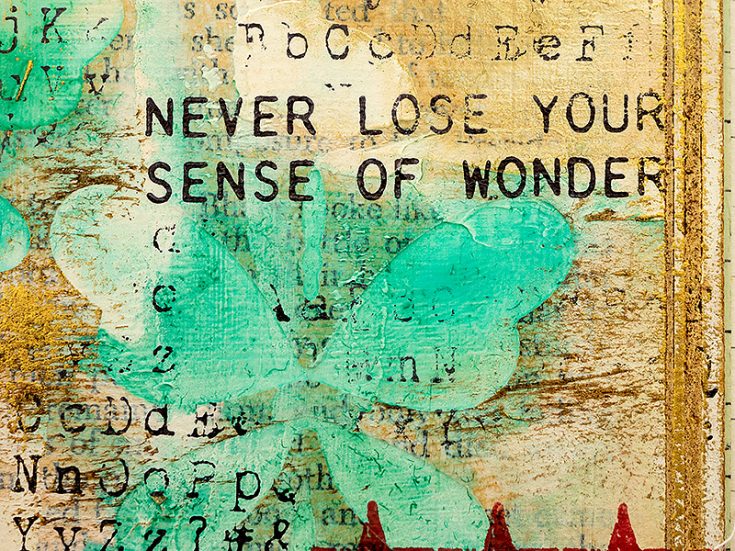
Left-over paper from die cutting is great for these types of mixed media backgrounds and adds unexpected elements.
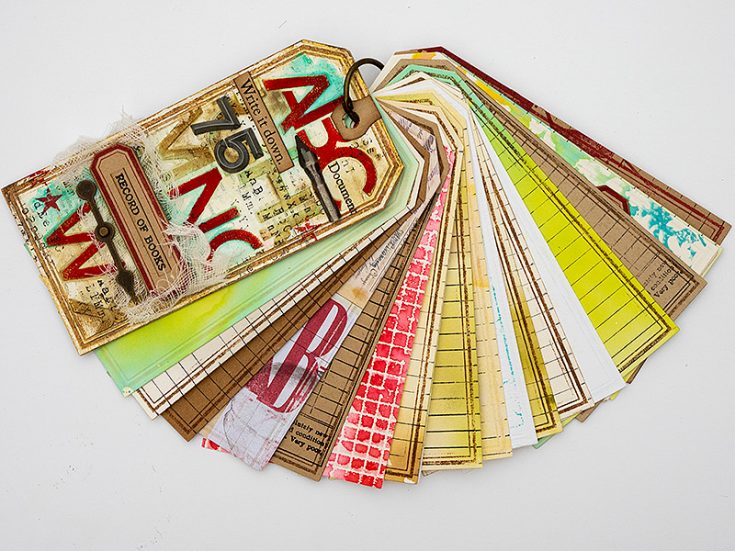
You can add as many tag pages as you want and it is easy to add more or to change the order.
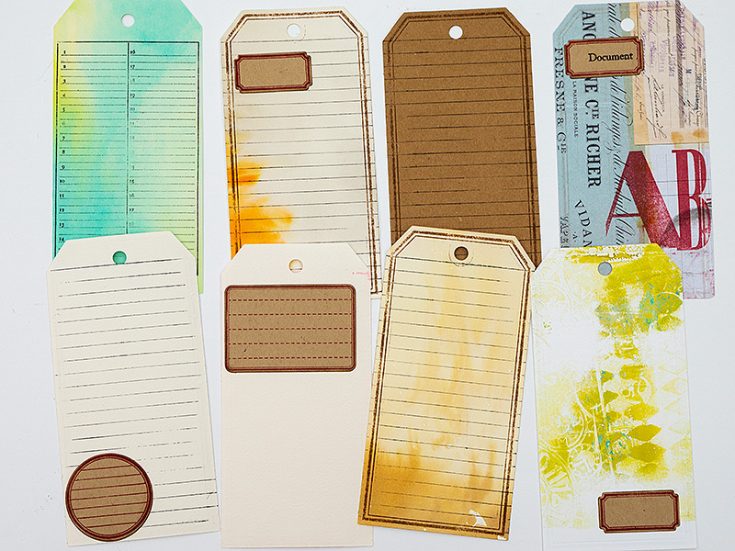
Here you can see some of the tags. One of them was die cut from a Tim Holtz Journal card. I added the stamped labels and tickets here and there.
Most of the tags are neutral and will be easy to write on, while some have patterns and stronger colors.
I hope this tutorial inspired you to make a tag notebook or to use old book paper in your next project. With old book paper in the background, you get great texture and it is also interesting to see a word here and there.
Thank you so much for looking! Happy crafting! -Anna-Karin

SUPPLIES:
|
Thanks so much for stopping by, and thanks to Anna-Karin for being our guest!


What a great idea. I have been thinking about designs for tags and I think I have found them!
A fabulous project, and your documented work flow is very easy to follow. Amazing work! ❤️
Beautiful notebook!!! I love your tags!!!
This is amazing! I have a ‘book book’ too – a purchased notebook and nowhere near as pretty as yours!
Beautiful tags and great lesson. Thanks for the tutorial.
What a brilliant concept! I believe I have discovered designs for tags after considering them.
just gorgeous!!