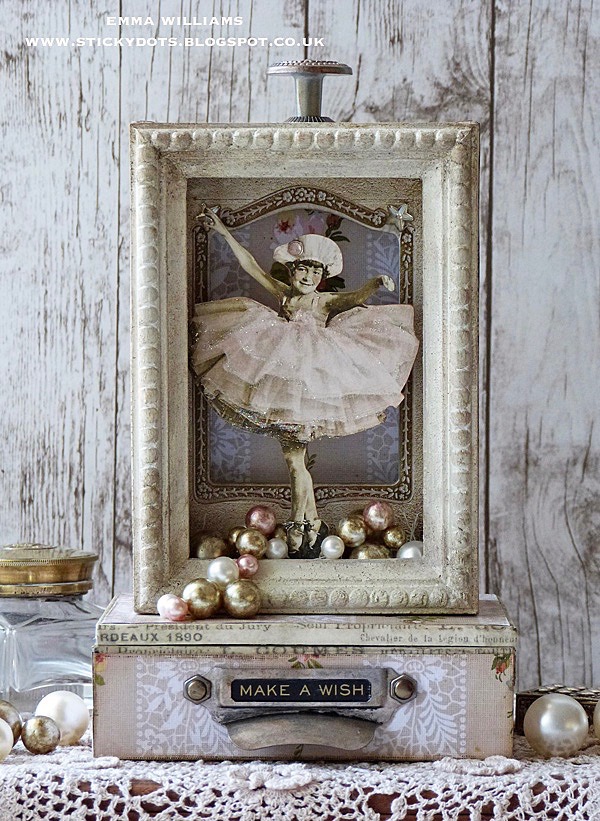
Make A Wish Diorama Keepsake Box
Hi friends! Happy Sunday! Welcome to another special mixed media post with the incredibly awesome and talented Emma Williams! She’s kindly shared this fun project along with a step by step process of how to recreate this gem for yourself! To see more of her work, please be sure to visit her blog HERE. Read on and enjoy!
Happy Sunday everyone ~ it’s Emma here and I’m thrilled to be back on the Simon Says Stamp blog to share my latest project with you all.
I’ve always loved making little boxes and creating functional pieces that are beautiful to display around the home. So with this in mind, I used some of my favorite Tim Holtz products to create this diorama keepsake box and with this tutorial, I’ll take you through each step of how I made the box and bought this beautiful little paper doll to life.
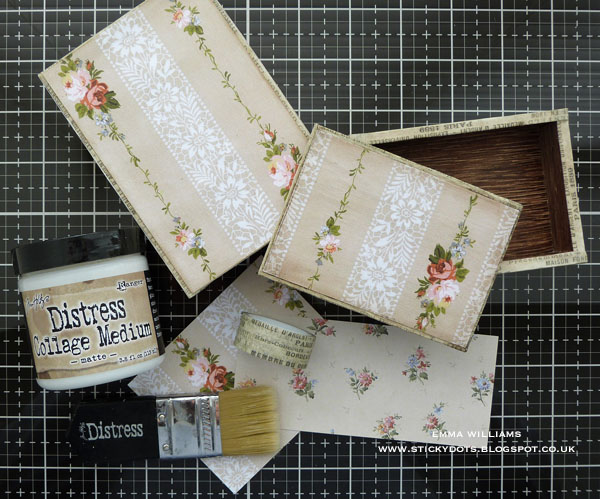
For this project, I used the two middle-sized Vignette Boxes and one Vignette Panel that fits the top of the smaller sized box.
Starting with the larger box, I applied a coat of gesso on the inside and once dry, I applied a coat of Antique Linen Distress Paint. Dry the painted surface and then dry brush small amounts of Pumice Stone Distress Paint over the top to create a more aged, worn look to the woodwork. Allow drying thoroughly.
Cut a panel of Worn Wallpaper to fit on the inside of the larger box and adhere with Matte Collage Medium applied with a Collage Brush.
Apply French Design Tape to all of the raw edges on both boxes and also the edges of the Vignette Panel.
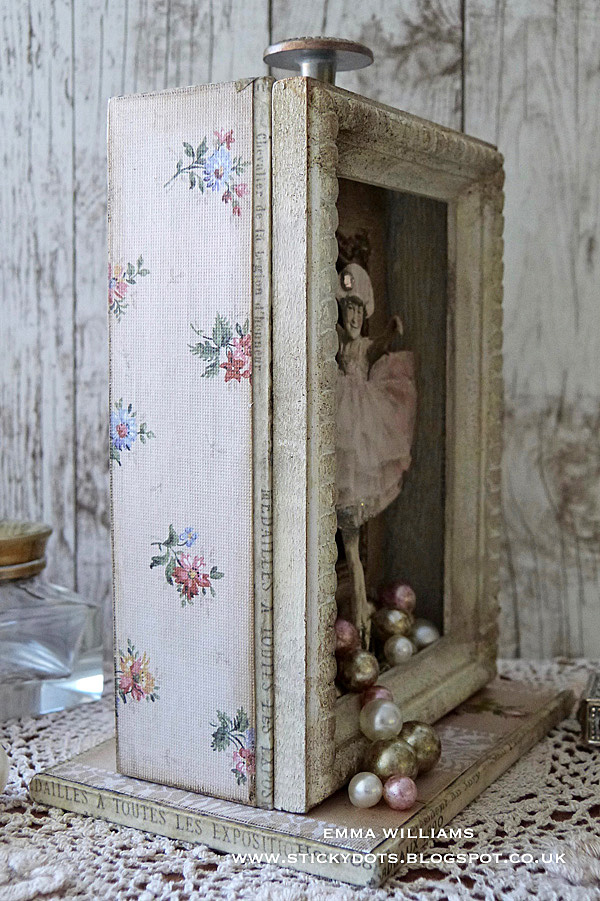
Cut panels of Worn Wallpaper to fit the sides of each of the boxes and also a further piece to fit one side of the Vignette Panel ~ I used two different coordinating designs of the paper and on the larger box. You will also need a panel of paper to cover the back as this will be shown.
Ink the edges of each panel of paper with Frayed Burlap Distress Ink and adhere the paper pieces to the boxes and the top of the Vignette Panel using Matte Collage Medium. Apply a coat of the medium over the top of the papers to seal them.
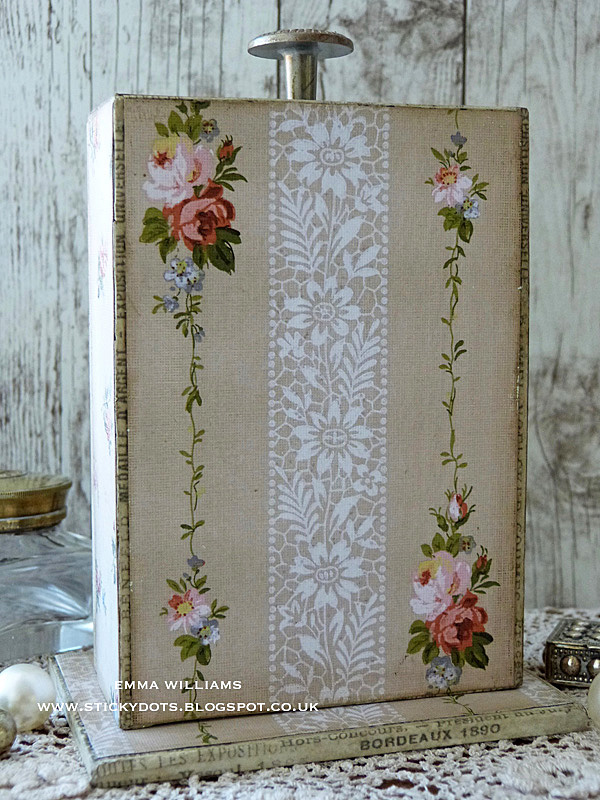
Once the medium is dry, run the Ground Espresso Distress Crayon along the edges of each piece of paper. Take a semi-dry baby wipe and blend the crayon into the edges to create a vintage look to the paper.
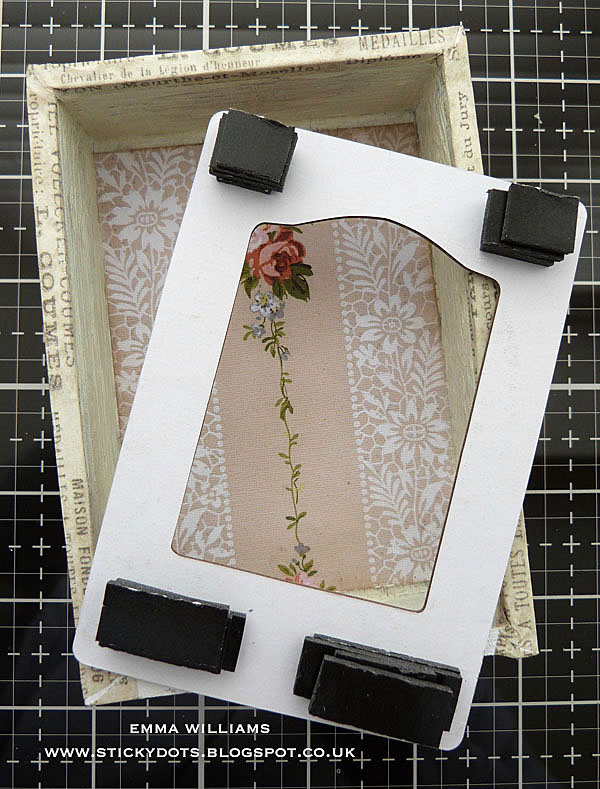
Cut and attach small sections of foam tape to the back of a Baseboard Frame, adding three layers placed on top of one another to create the dimension needed for the diorama. Attach the frame to the inside of the larger box.
Apply Mushroom Alcohol Ink to two small mirrored stars and place the stars in the top left and right-hand corners of the baseboard frame.
Adhere the large box centrally onto the Vignette Panel using a layer of Matte Collage Medium and set to one side to dry.
Prime the Collage Frame, (same size as the larger vignette box) with a coat of gesso and allow to dry before adding a layer of Antique Linen Distress Paint over the top. Dry the painted frame and then dry brush with Pumice Stone Distress Paint.
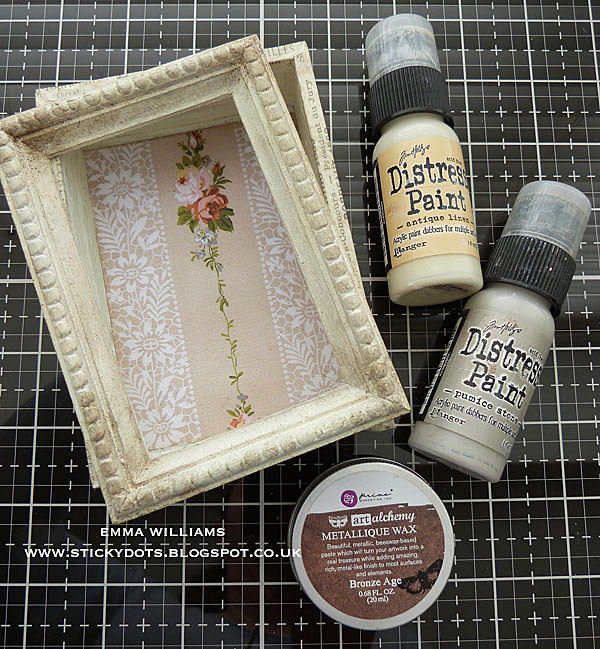
Allow the paint to dry thoroughly before applying Bronze Age Alchemy Wax with a Dabbing Brush, pouncing small amounts of the wax over the painted wood, concentrating on the mitered corners especially, to create a more worn look to the frame. Set the frame aside.
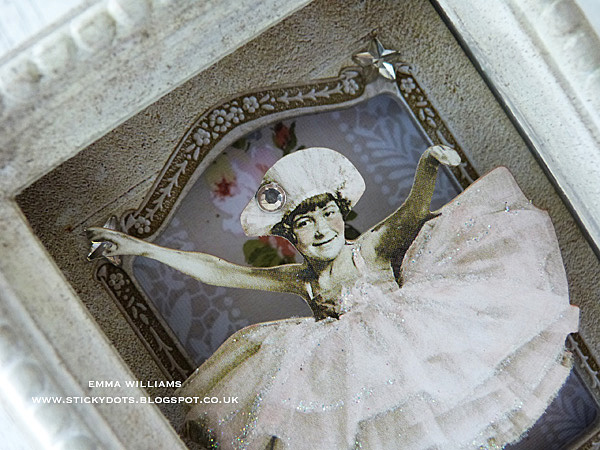
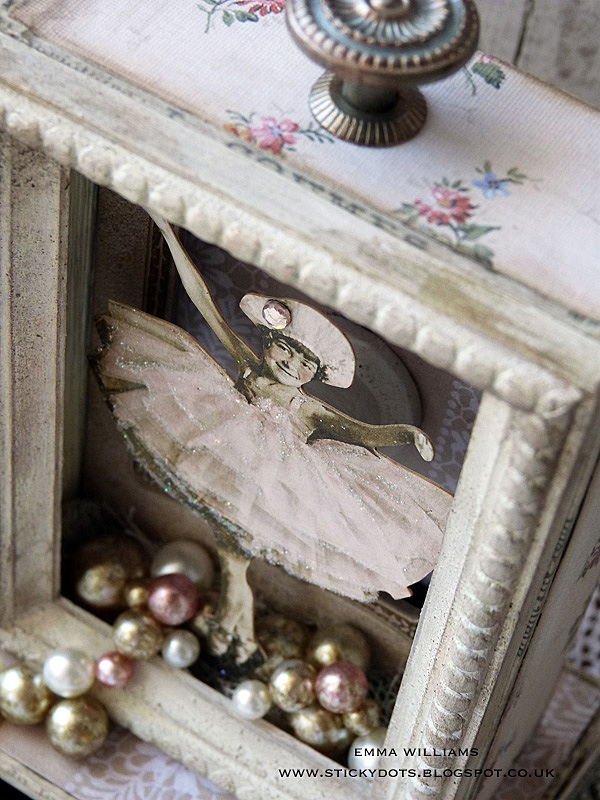
Moving onto the Paper Doll, color tint the dress and her cheeks using Spun Sugar Distress Marker Pen, applying the ink directly to the dress and wiping away any excess color with a soft cloth.
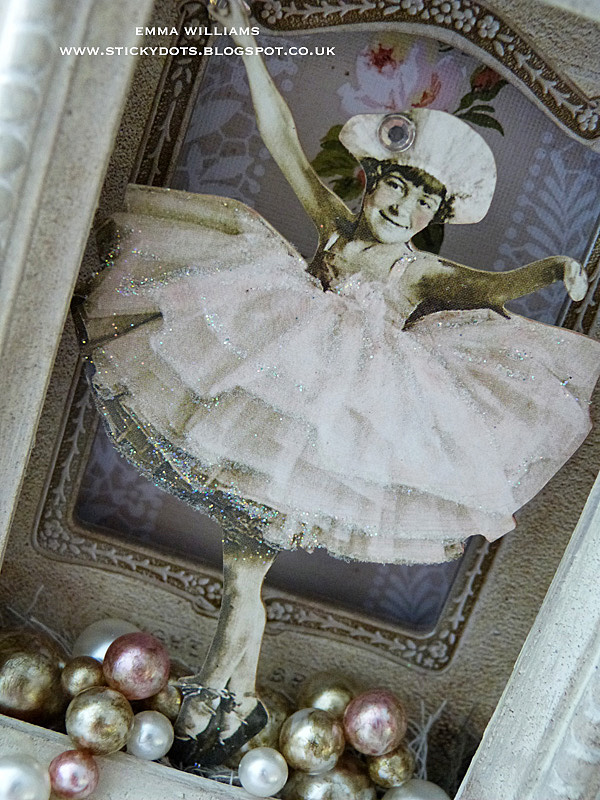
Taking a Glue Pen, apply the glue directly to the folds of the dress and sprinkle Rock Candy Glitter over the top. Add a crystal jewel to her hat and set aside to dry.
To create the diorama effect within the box, I attached a small cotton spool from my stash and adhered this to the back of the doll with Collage Medium.
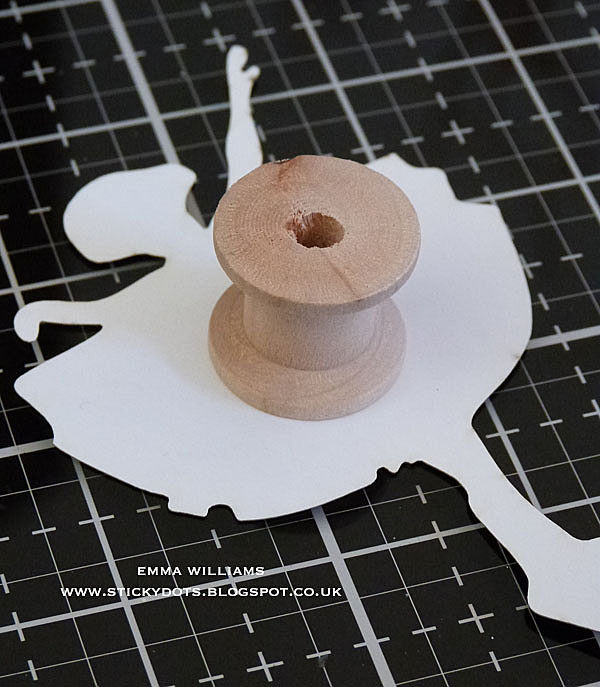
I then attached the doll to the inside of the box. The cotton spool is discreetly hidden behind the paper doll but you can see it in place in the photo below.
To color the Bauble Findings, place the pearls into two separate self-seal bags. Drop a small amount of alcohol ink, (I used Pink Sherbet and Mushroom to color mine) into the bag and then give the pearls a shake within the sealed bag covering the bauble completely in the ink.

Remove the Baubles from the bag and using the majority of the pearls, together with some of the plain natural coloured baubles, attach these with small dots of Matte Collage Medium applied directly onto the pearl itself and adhering them one by one to the inside of the box, arranging them along the base over a bed of cheesecloth.
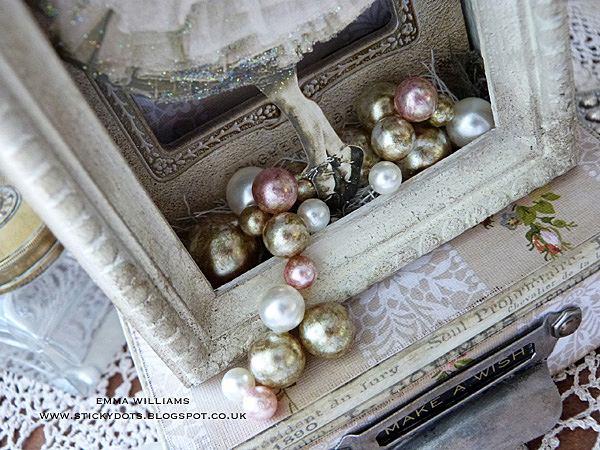
Attach the painted frame onto the front of the box and using the remaining pearls, attach these to cascade out of the box, again fixing them into place with the Collage Medium. Set the box aside for the pearls to dry thoroughly, preferably overnight if you have time and patience!
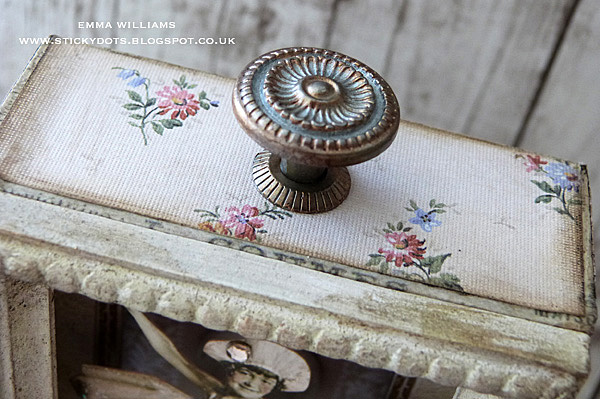
Apply Mushroom and Rose Gold Mixative Alcohol Ink to the applicator tool and color the Mini Hardware Knob and the Mini Hardware pull with the ink. Remove the screw from the knob and using the Collage Medium, apply the adhesive directly to the metal pieces and attach the knob to the top of the diorama box. Allow drying. Once the medium is set, it will hold the knob solid enough to be able to lift the top section of the box.
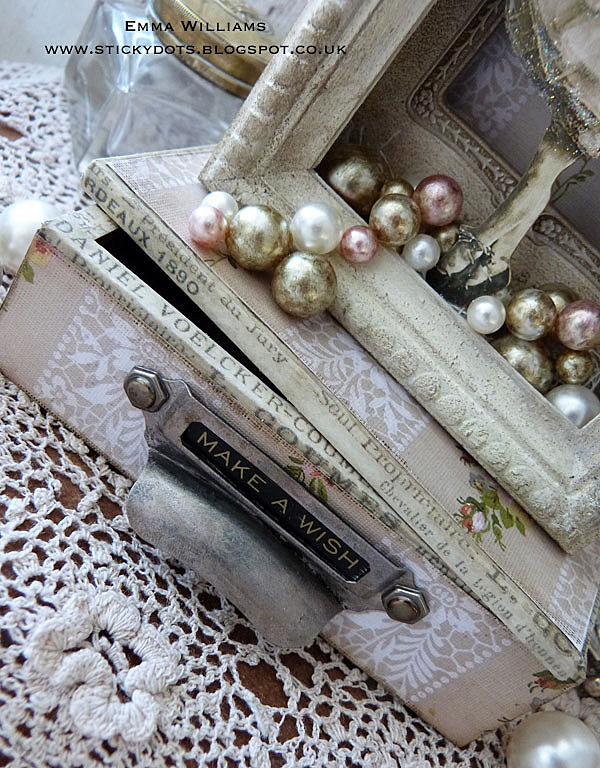
Attach the pull to the front of the smaller box. Take two Hex Fasteners and cut away the split pins on the back. Attach the fasteners to the holes of the mini hardware pull.
Place the “Make A Wish” metallic quote sticker onto a piece of black card, cut around the sticker and then place inside the hardware pull.
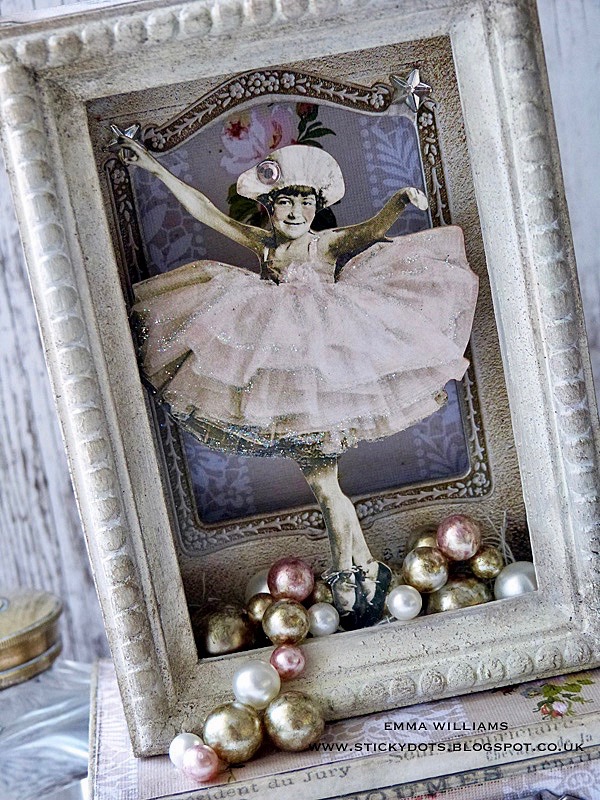
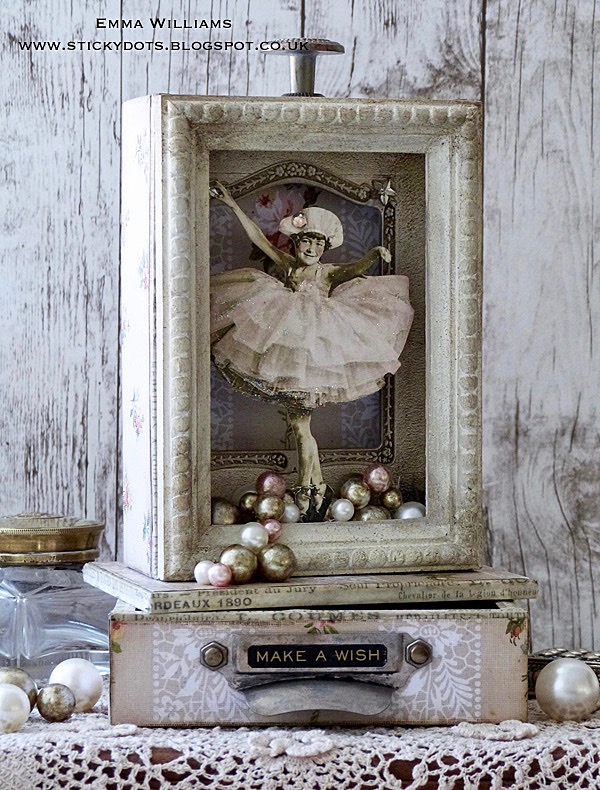
 Finally, all that’s left to do is place the framed section on top of the smaller box to create your diorama keepsake, ready to use and display in pride of place in your home.
Thank you so much for stopping by today ~ this has been such a lovely project to make and I’ve really enjoyed taking you through the creative process and I hope I’ve inspired you with this piece.
See you again soon everyone and enjoy the rest of the weekend…
Emma
SUPPLIES:
|


Thanks so much for stopping by and a big thanks to Emma for being our guest!

Blog Candy Alert!! Follow our blog via email and comment on this post for a chance to win special blog candy!


I adore this project. Every detail is beautifully executed, the worn wallpapers create such a wonderful base and evoke a lovely feminine appearance, I can only imagine the sort of special treasures that will be stored below this incredible “diorama”. Emma, this is so so special. I am thankful for the step by step and absolutely inspired! xx
Wow! What a beautiful vintage project. Love the gorgeous pattern papers.
Such an elegant and gorgeous project…would love to try similar stuff soon…thanks for sharing!!
What a gorgeous decor piece. Simply amazing!
I just love every thing about this: the idea with stating with a frame to create my own shadow box, the pearls on the bottom …
Oh what a wonderful project!
Emma, this is simply wonderful! You have filled my head with so many ideas that I can’t wait to try out! WOW this Diorama box is sweet!
Thank you for the amazing tutorial, tips and ideas, I am already formulating my strategy of what I want to do. TFS!
OH, this is so fun! I can totally see myself giving this a try! Thanks for all the inspiration
Thank you! This is a beautiful project…something to be displayed proudly!
Emma always does such amazing work. This is another beautiful piece!
Thank you yet again for a beautiful inspirational piece to add to our collections. I was sure you’d added real tulle to the paper doll but no, your inspired creativity again ?
This is so beautiful! I am very inspired by all of your fabulous ideas!!
I have never tried making a keepsake box, looks like a fun project.
Awesome wish diorama!
Such a cute project!
Stunning box Emma, thank you for the extensive work description.
OMG!!!!! This Make A Wish Diorama Keepsake Box is absolutely breathtaking!!!!! I love it!! So elegant and beautiful!!!
So many gorgeous details. This is delightful.
This is gorgeous! I’ve never tried anything like this before! So much creativity here!
Beautiful! Thank you for the detailed step by step. It makes me think I might be able to do this.
What a fun project to work on!
Amazing.
So much work but such an elegant
finished project.
thanks for sharing
txmlhl(at)yahoo(dot)com
What a beautiful art project. I admire your creativity.
Thanks so much for sharing…
Love this project! It’s so beautiful and useful. Need to make something similar now!
Wow, fantastic, I love the baubles ?
Beautiful keepsake box, love the subtle hints of pink in the roses and pearls!
She is so adorable and uplifting. Loved your project!!
Oh my gosh, how precious. Love all the dimension, vintage look combined with sparkle and pearls!
Wow, what a beautiful box!
Thanks for showing the step by step instructions for this beautiful project!
This project is so unique, so memorable. tfs
Heart this, heart this, so heart this!
Beautiful project! I love all the exquisite details, like the pearls and the papers! TFS
Thanks for the inspiration! I totally want to try making a vignette box myself. :)
Gorgeous feminine project!
This is such a neat idea! Wonderful job! :)
Beautiful. So creative. I love this project.
What a beautiful work of art!
What a beautiful creation!
Oh Emma, This is GORGEOUS!!!!
WOW! Love your keepsake box. It is beautiful.
The first adjective that came to mind as I read through this was “glamorous.”. It is, isn’t it?
Oh WOW, what a fabulous project!
So very beautiful. Love the pattern papers.
So gorgeous! What an incredible project. I love the colors and all the dimension!!! I love mixed media and this is so inspiring.
So fun!
OMG what an incredibly beautiful project – love all the details and embellishments one it:)
This is such a great idea! I love how you placed those bauble findings in the bottom of the diorama!
Great project!
What a beautiful box!! Love it, looks so much like the ballerina when you open a jewelry box, so awesome!! Thanks for sharing your awesome project