Magical Life Shadow Box
Hi readers! Happy Monday to you! I’m BEYOND excited to share this shore inspired art with you by our amazing Monday Challenge DT member Anna-Karin Evaldsson! Enjoy!!
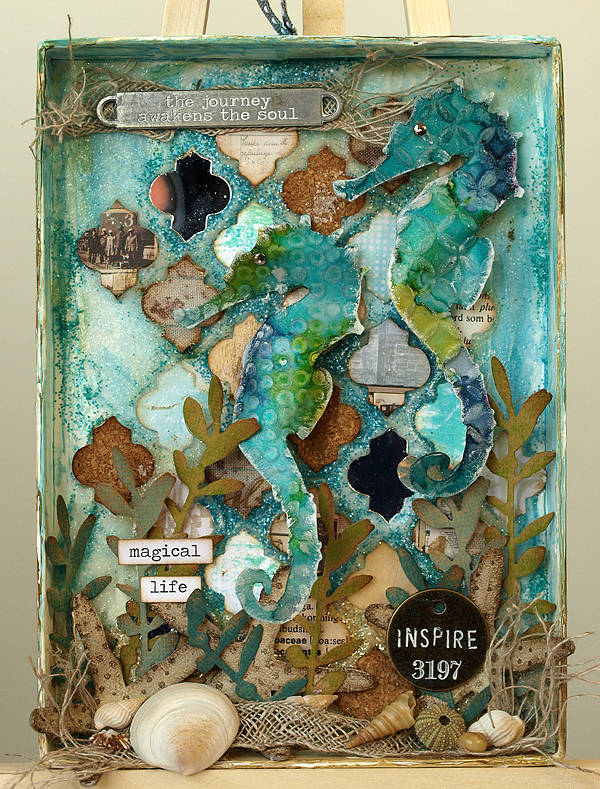
Hello everyone! I am so happy to be here on the Simon Says Stamp blog with you today, sharing a summery project made with Tim Holtz Sizzix dies and embossing folders. I love the new Sea & Sand die and was inspired to make an underwater shadow box, using some fun techniques.
The Frameworks dies are favourites of mine since they are so versatile and perfect both for backgrounds and details. I had an idea of embedding Trellis Frameworks pieces in Wendy Vecchi’s Translucent Embossing paste and sprinkling Distress Glitter on top. The paste doubles as grout, as if you are doing mosaic, creating a great textured effect. For another idea using White Embossing Paste as grout together with the Frameworks piesces, have a look at this tutorial of mine, I took some step photos.
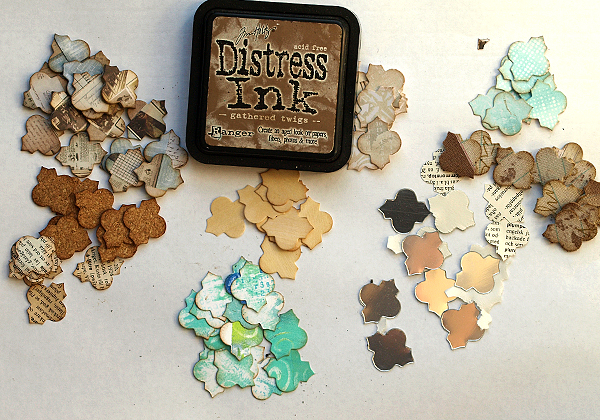
Start by die cutting Trellis pieces from various materials. I used: Mirrored Sheet, cork, tiny pieces of Tim Holtz patterned paper first glued to grungeboard, Eclectic Elements fabric glued to grungeboard, Birch Wood Veneer, Tim Holtz Motif paper painted with Distress Paints, dictionary paper and some scraps. Ink the edges with Gathered Twigs. You’ll have lots of leftovers for other projects, and the frames are great to use on other projects too.
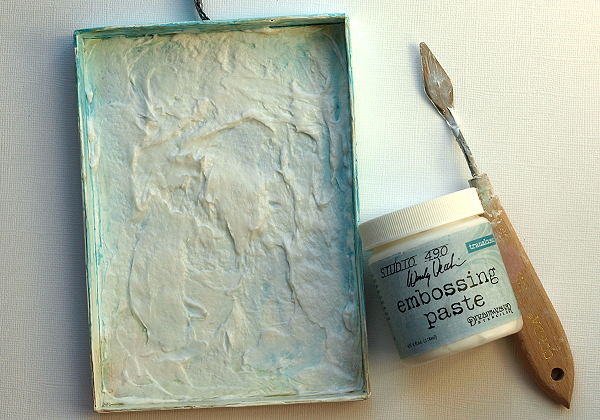
As my base, I used the packaging of Brenda Walton Sizzix Embossing Folders, which is a great and sturdy shadow box. Coat with gesso and paint with Distress Paint. When it is dry, smear a relatively thick layer of Translucent Embossing Paste into the shadow box.
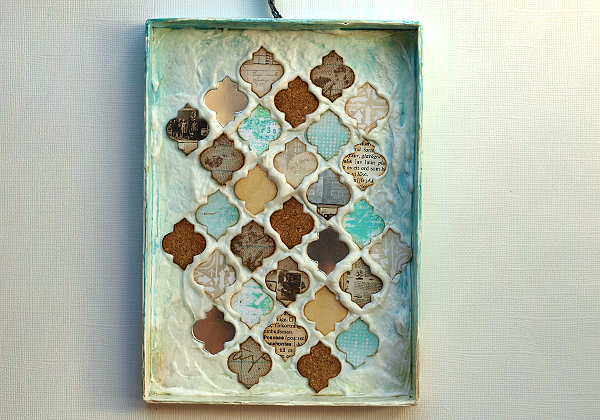
Press the Frameworks pieces into the paste, some paste will seep up in between the pieces, and that is exactly the effect we are looking for.

Sprinkle with Distress Glitter, starting with Antique Linen, for sand. Continue with Rock Candy, and remember that the more Rock Candy you use, the less blue glitter will stick to the paste. Finish with Broken China and Peacock Feathers.
Leave to dry, the paste dries completely clear.
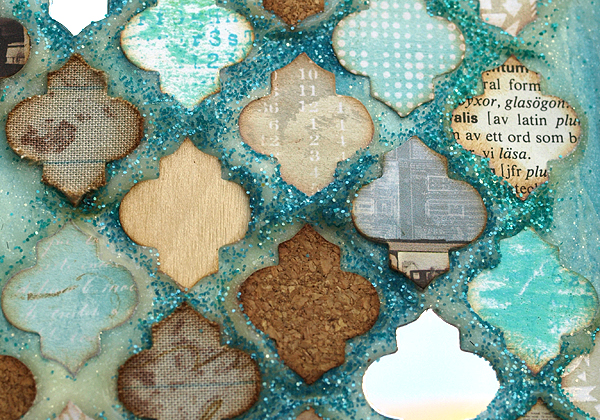
The effect is a little hard to photograph, but the clear paste combined with the Distress Glitters look really cool.
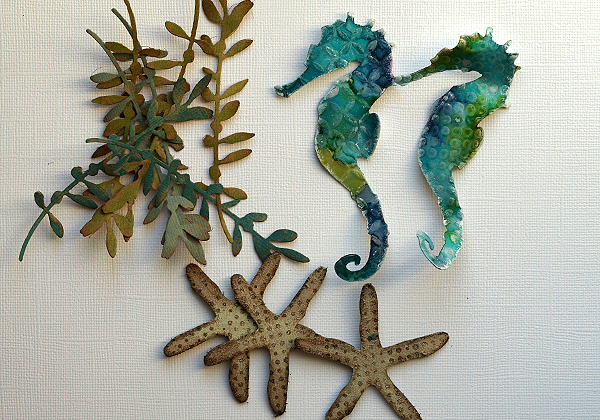
One of the leafy branches on the Spring Greenery die looks like seaweed and I die cut it from Kraft-Core cardstock, sanded and inked the edges. The seahorses consist of several layers. First, adhere a piece of Frosted Film to Clearly for Art Modeling Film and dry emboss in two different folders. Colour at the back with alcohol ink. Die cut two seahorses from Foil Tape and adhere the foil seahorse behind the embossed and inked one. This gives a great metallic shimmer. Heat the seahorses with your heat gun and shape them a bit. Be careful not to burn yourself. The Modeling Film keeps its shape perfectly. The starfish were die cut from grungeboard, painted with Antique Linen, sanded, inked with Gathered Twigs and stamped with the dot stamp from Psychedelic Grunge and Potting Soil ink.
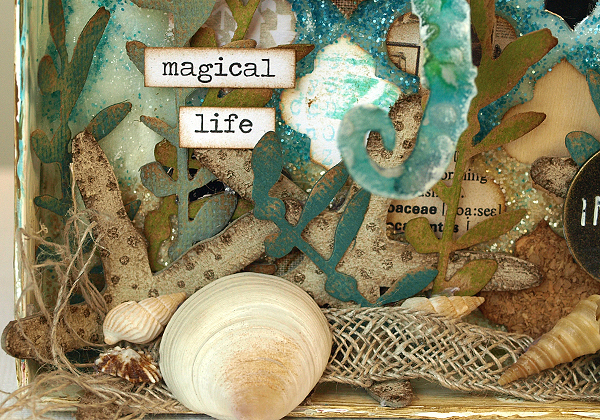
Pull apart a piece of Linen Ribbon and fray the edges. Glue the ribbon, seaweed, starfish and some shells to the bottom of the shadow box. Use Chit Chat stickers for a title.
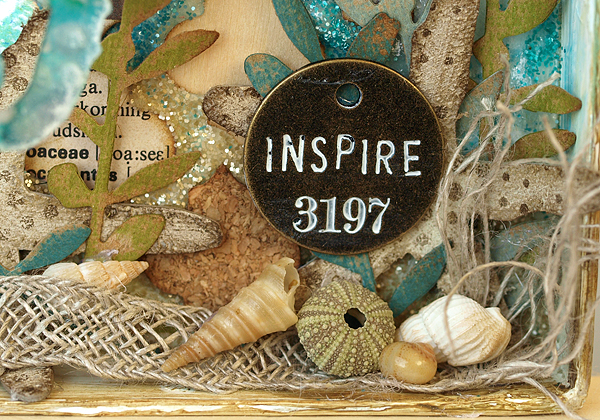
Rub Picket Fence paint into the text on a Philosophy tag, to make it stand out more.
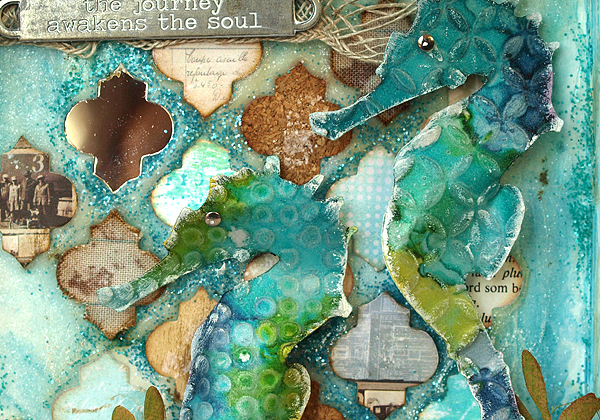
I wanted to seahorses to partly blend into the background, since they often do that in real life. To make them stand out a little, I painted Picket Fence Distress Paint around the edges.
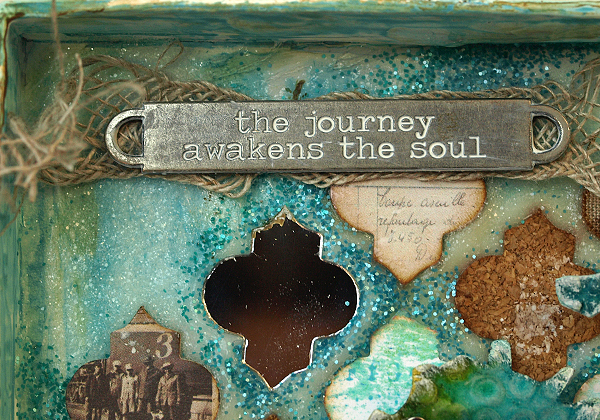
Glue a Word Band to another piece of Linen Ribbon. The mirror pieces look like real mirrors and add a fun element to the shadow box. Here you can also see the effect of the paste and glitter grout a little better.
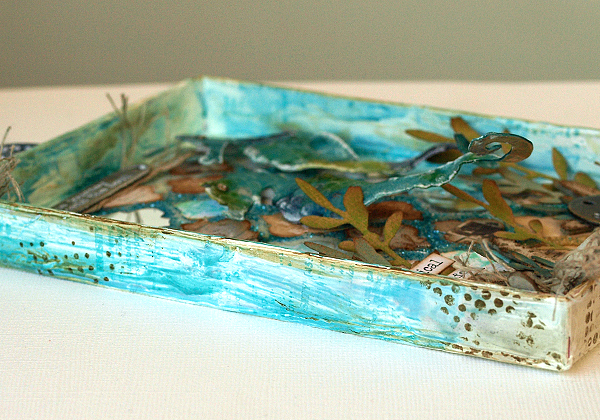
I also stamped the edges of the shadow box, using the same dot stamp as for the starfish and a curiosity definition stamp, with Potting Soil and Forget-Me-Not ink. You can use all of the techniques here on other types of projects too: cards, tags, scrapbooking layouts, art journaling and more.
Thank you so much for looking at my tutorial! I hope you enjoyed it!
Happy Summer Crafting!
Anna-Karin
SUPPLIES:
 |
 |
 |
 |
 |
 |
 |
 |
 |
 |
 |
 |
 |
 |
 |
 |
 |
 |
 |
 |
 |
 |
 |
 |
 |
 |
 |
 |
 |
 |
 |
 |
 |
 |
 |
 |
 |
 |
 |
 |
 |
 |
 |
Thanks for reading today and thanks to Anna-Karin for being our guest!
Blog Candy Alert!! Follow our blog via email and comment on this post for a chance to win a special blog candy!


wow. such a beautiful shadow box.
That is absolutely stunning! Honestly I can’t stop drooling over it!!! :P Outstanding and so very creative! A one-of-a-kind work of art! And mixed media to boot!!! xoxo
Wow, I love the shadow box. You did beautiful work.
Such a beautiful project!!!
Thank you for the inspiration!
Oh so awesome!!!
Wow! Amazing! Beautiful creation.
Absolutely beautiful piece. Thank you for sharing.
This piece of art was inspiring. I want to make a shadow box for my grandchildren, remembering their great grandmother.
The supplies links are not connecting…. help~