Let’s Party! STAMPtember® Paper Smooches EXCLUSIVE!
Hi readers! Happy Thursday to you! I’m pleased to have TWO amazing designers (Laura Bassen & Pamela Ho) on our blog today to celebrate another truly wonderful stamp company, Paper Smooches!
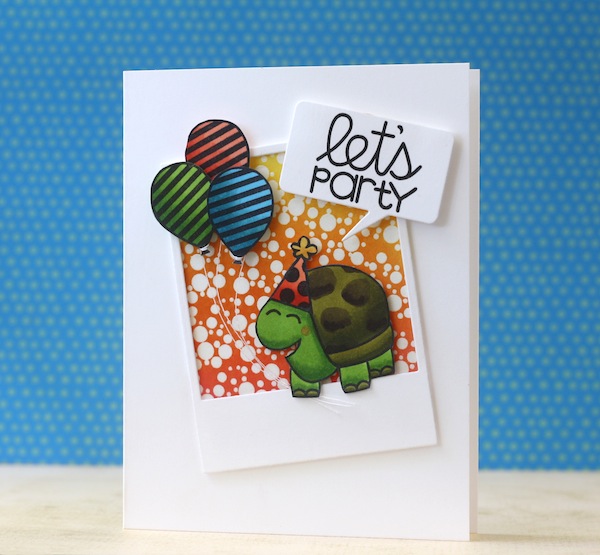
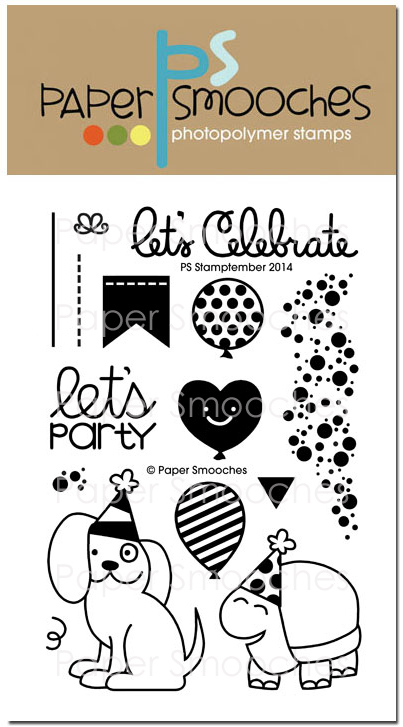
EXCLUSIVE ALERT! Love the partying turtle above? This little fun turtle is part of an exclusive stamp set that you can only find at Simon Says Stamp! Check it out!
Before we get into all the stamping fun & inspiration let’s take a moment to introduce the sweet and talented artist behind Paper Smooches! The lovely, Kim Hughes!
I begin by sketching images and concepts in pencil. I then draw every sentiment and image with a black pen on white paper a zillion times until I get them just the way I like it. Ok, maybe a zillion is an exaggeration, but sometimes it takes me more than 30 tries to get it exactly right. (practice makes perfect). My clear, Photopolymer stamp sets and steel metal dies are truly a labor of love and I am thrilled to share my designs with all of you. My images reflect my silly personality and I hope they will bring a smile to your face.
Think of “Paper Smooches” as using ink to kiss your paper with our photopolymer clear stamps!
Now… check out the video below of the always entertaining Laura Bassen and how she used this special exclusive stamp set, and be sure to check out the inspiration from Pamela Ho below as well!
Enjoy!
Watch the video:
Designed by Laura Bassen:
Supplies:
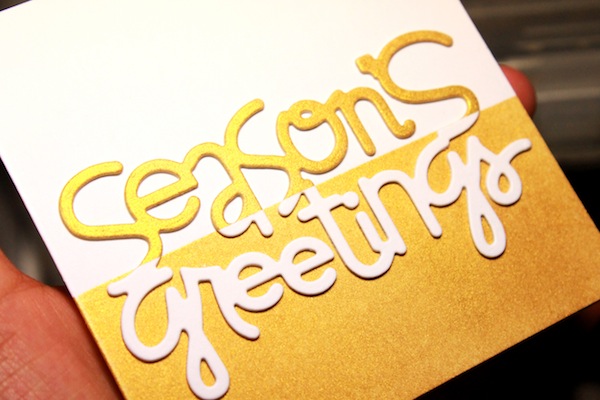
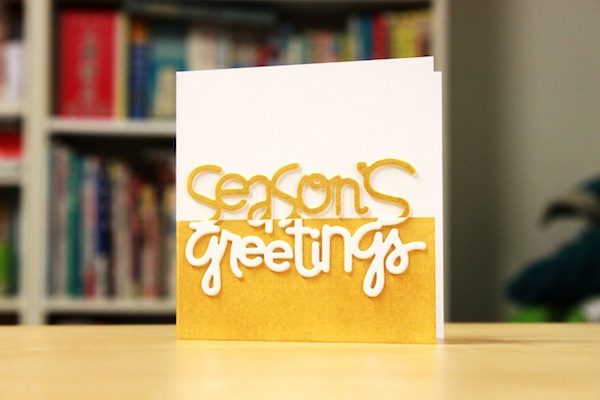
It’s definitely not too early to start making some Christmas cards. There are so many fun Christmas stamps and dies released by Paper Smooches in September so I started my mail-friendly Christmas cards. I used Paper Smooches’ Christmas words 2 die. I just love that huge “Seasons’ Greetings” die!
This was a very simple card to make in terms of the technique used, but surprisingly, it took me days of searching for inspiration! First, 2 cuts were made in white and adhered together with some white glue. Using a piece of washi, I masked off the bottom half of the sentiment and blended some gold ink onto the top.
On my card base, I masked off the top half and blended the gold ink onto the bottom half. I then adhered the sentiment die cut onto my card base, making sure to line up the masked line, so that the gold sentiment would have a white background and vice versa.
Supplies:
Thanks for reading today, and big thanks to Laura & Pamela for designing such fun inspiration!
Blog Candy Alert!! Follow our blog via email and comment on this post for a chance to win a special blog candy from our STAMPtember stash!
Congrats! Blog Candy Winner!
From: Tiddly Inks in the STAMPtember® Spotlight!: Fran Koop!
Please email Samantha ([email protected]) with your mailing address and the name of the blog you won from to claim your prize!








Absolutely love the way the sentiment was divided into two colors!
Super cards. Love the two toned sentiment and card base. Thanks for sharing.
That is one happy turtle! Love the gold/white combo on the 2nd card.
This card is adorable! Love it! Totally adorable!
This is absolutely adorable the smile on the turtle face is pure joy!! Love the simplicity of the second great idea for Christmas card set. It was nice learning about paper smooches thank you for that!!
Cute, cute, cute!!
totally darling stamp set!!!
Very cute card, Laura.
Cool and fun!
Thanks Laura, you are so much fun! Fantastic card…
I am not very interested in cartoon character cards, but this card is sweet and so cheerful with the balloons. I would buy and use the stamps. Your tutorial was professional and easy to follow.
I would never have thought about what i can do with that stamp set :) that is such a great inspiration. Thank you