Lawn Fawn Holiday Slimline & Tag Set by Tammy Stark
Hi friends! Happy Saturday! Please join me in welcoming special guest Tammy Stark sharing a special and festive card and tag set with some gorgeous Lawn Fawn goodies! Read on to learn more and enjoy!

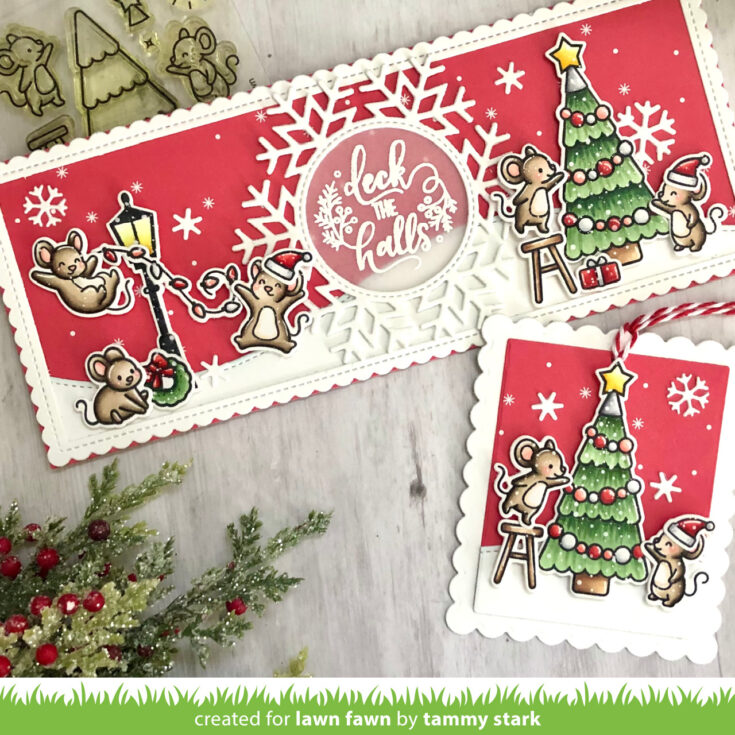
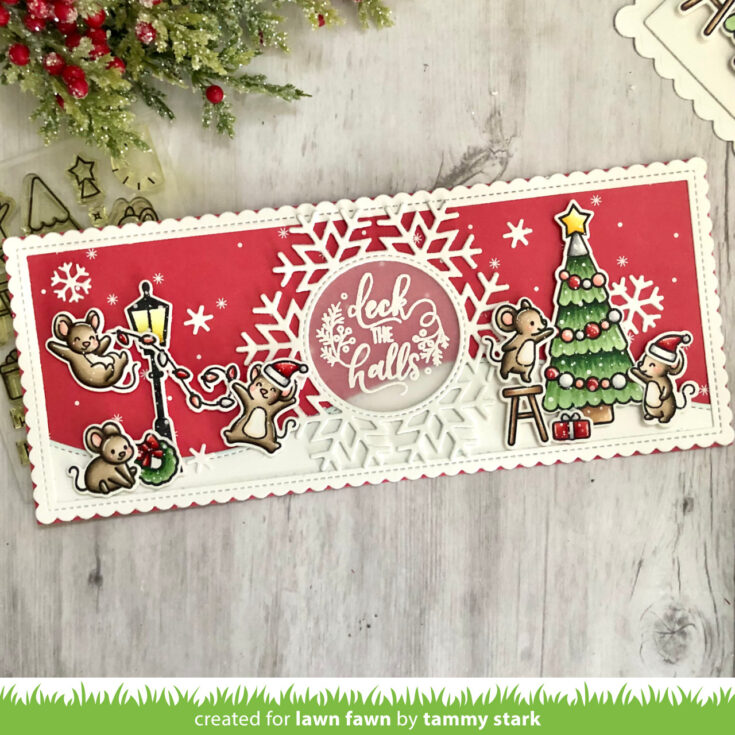
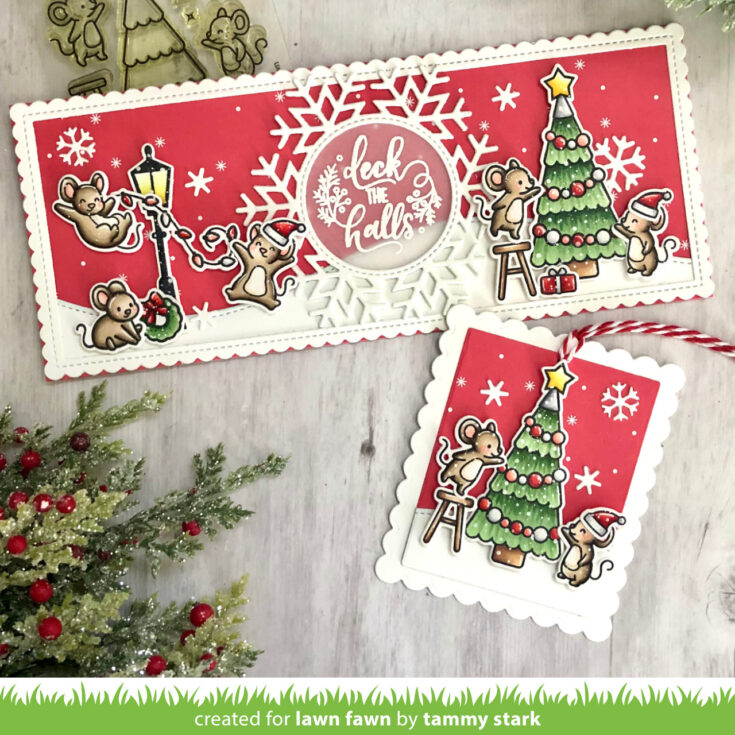
Hi friends! I’m so excited to be on the Simon Says Stamp blog with a project highlighting some brand new Lawn Fawn products! I created a sweet slimline card and coordinating tag featuring some adorable mice, decking the halls for the holidays!
To begin, I stamped, colored with Copic markers, and die cut images from the following sets to create the slimline card and tag:
- Merry Mice Clear Stamps and Dies (card and tag)
- You Autumn Know Stamps and Dies
- Christmas Dreams Stamps and Dies (Tree on card and tag)
- Here We Go A-Waddling Stamps and Dies (lamp post)
- Car Critters Christmas Add-On Stamps and Dies (wreath)
- Furry and Bright Stamps and Dies (string of lights)
- Cheery Christmas Stamps and Dies (Hat on card and tag)
- Magic Holiday Messages
Next, I die cut the red paper from the Let It Shine Snowflakes Paper using the Slimline With Sliders Die. I then cut a snowy border from white cardstock using the Slimline Stitched Hillside Borders, lightly inking the edges with Tumbled Glass Distress Oxide ink before adhering to the red background. Next, I framed the scene by cutting white cardstock using the Portrait Scalloped Slimline with Hearts. I then placed the largest die from the Slimline die and ran it through my die cut machine to create a frame.

I die cut the snowflake from white cardstock 3 times using the Magic Iris Snowflake Add-On and stacking them together for some dimension. Next, I white heat embossed the sentiment from Magic Holiday Messages onto Vellum, then hand cut it and adhered behind the snowflake before attaching it to the center of my card. I then arranged the colored images onto my card, attaching with foam tape for dimension. Lastly, I added some Mini Snowflakes to complete my card.
The scalloped tag was created by using the Window Scene Winter Dies. I cut scalloped base from white cardstock and the used the smaller rectangle die to cut the red patterned background from the Let It Shine Snowflakes Paper. I then die cut a snowy border using the Simple Stitched Hillside Border Dies from white cardstock and lightly inking the edges with Tumbled Glass Distress Oxide ink before adhering to the red background. I attached the colored images to the tag using foam tape for dimension and added a few Mini Snowflakes. Lastly, I punched a hole at the top of the tag and added some Peppermint Cord for the finishing touch!
Thanks so much for stopping by! I hope you were inspired to create some holiday projects with the new Lawn Fawn release at Simon Says Stamp! Hugs, Tammy

SUPPLIES:
|
Thanks so much for stopping by, and thanks to Tammy for being our guest!


Really cute card. Loving the slimline cards and can’t wait to start on my Christmas cards. Today Halloween! Thanks for sharing your inspiration, tips and techniques with us!
Hi, Tammy – You are one of the premiere go-to artists for cards with adorable critters. You’ve nailed it again today in this example – it’s simply irresistible! Great work!! Love LF and your work.
Lori S in PA
These are so fun!!
Always love your cards. These are so awesome – love the colours. The mice are having so much fun!
I’m soooo in LOVE with this card!!!!! Lawn Fawn mice are Adorable!!!
so lovely