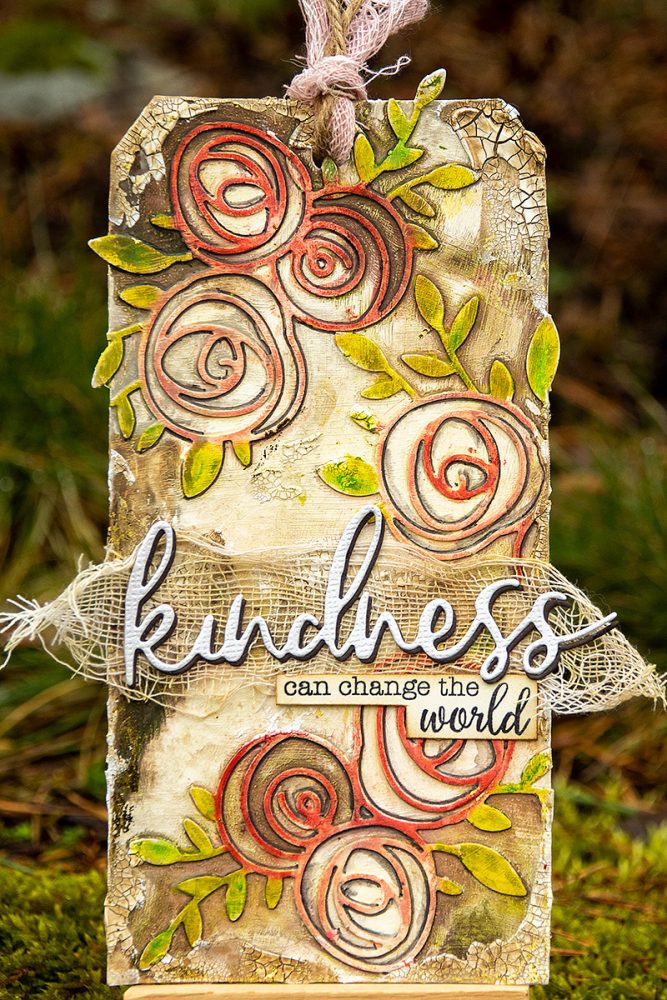
Kindness Tag
Hi friends! Happy Sunday! Please join me in welcoming back special guest Anna-Karin Evaldsson with this gorgeous Mixed Media tag project with the strong and true message that Kindness, really can change the world! Read on for more information and enjoy!
Hi everyone! March has arrived and spring is around the corner. I particularly enjoy the longer days and I am looking forward to all the shades of green that appear in spring. I am happy to be here today with a fun mixed media tutorial. I made a tag, but the techniques work just as well for cardmaking or art journaling. If you see the finished result of a mixed media project, it might look complicated, but if you just follow the steps, you will see that it is not difficult at all. It is also very forgiving in the sense that mistakes are either easy to hide or can become a part of the design.
I love to make die cuts a part of the background, by almost baking them into the background. If you touch the tag it doesn’t seem as if the die cuts have been glued onto the background, but more like they were there from the start. This works with almost any type of die and is very effective with detailed dies, such as the Rose Scribble Trio by Memory Box that I used here.
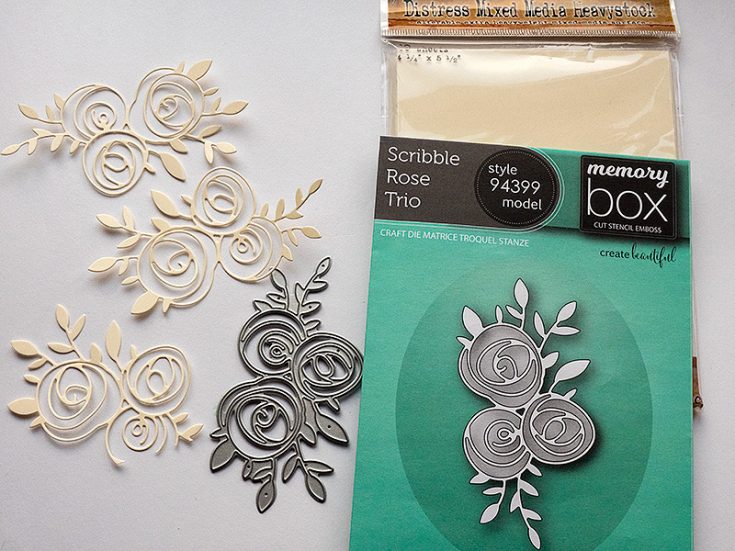
Start by die cutting the Rose Scribble Trio three times from Heavystock cardstock. My third die cut isn’t complete since I was only planning to use a part of it.
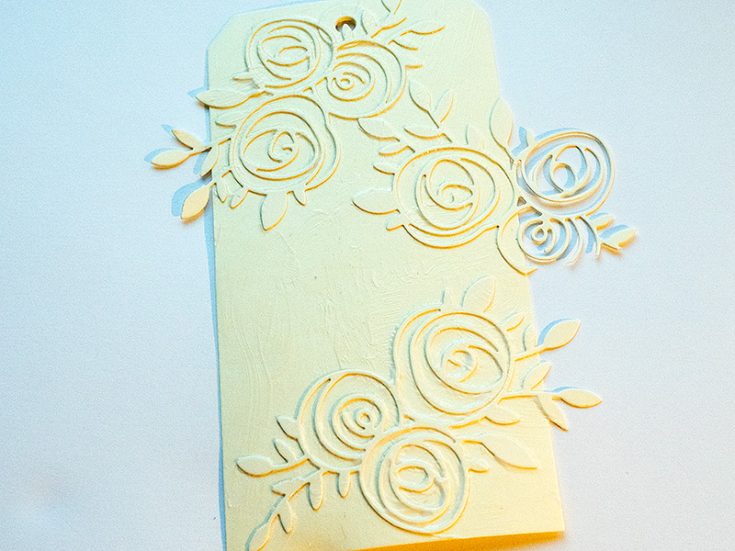
Glue the die cuts to the background with Distress Matte Medium and add another layer of medium on top. Let dry.
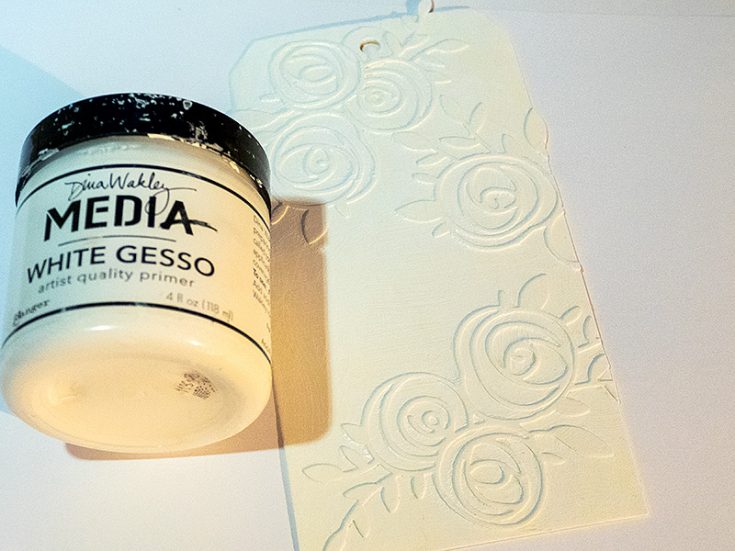
Coat everything with a layer of gesso.
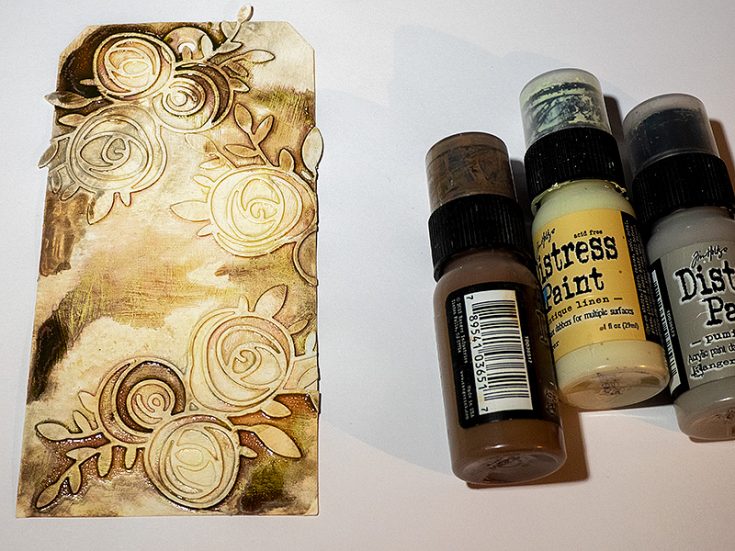
When the gesso is dry, paint the background with Distress Paint. I used Antique Linen, Pumice Stone and Walnut Stain. Water down the paint first and then mist more water on the tag, so that the colors blend and run. Let dry – it takes a little while because of all the water.
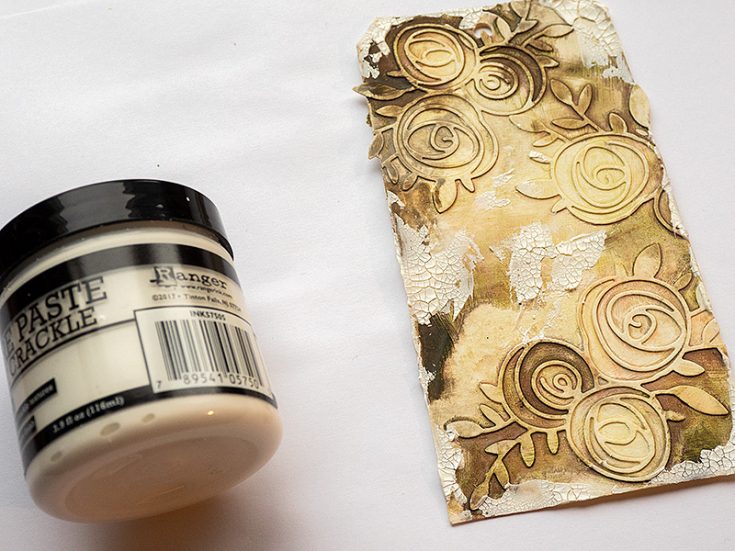
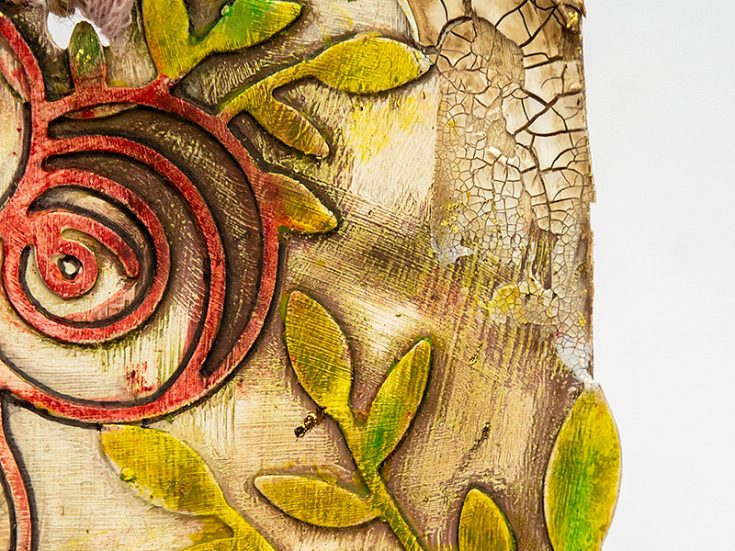
Apply a little Opaque Crackle Texture Paste to the corners and edges with a palette knife. Crackles form as the paste dries.
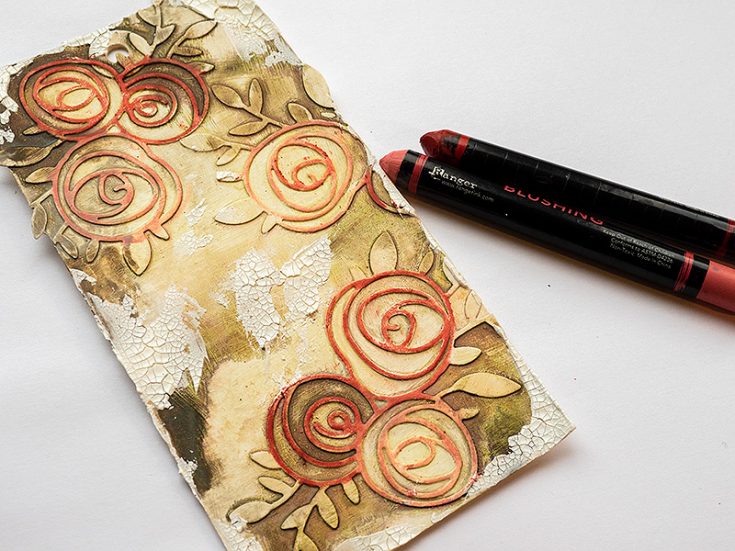
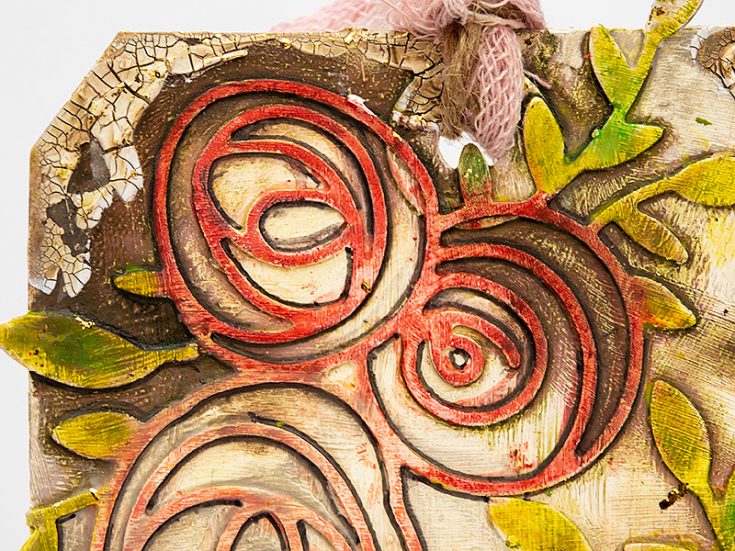
You can color the roses with different media. I used Dina Wakley’s Scribble Sticks. Rub the stick over the roses, using a shade of pink and a shade of red.
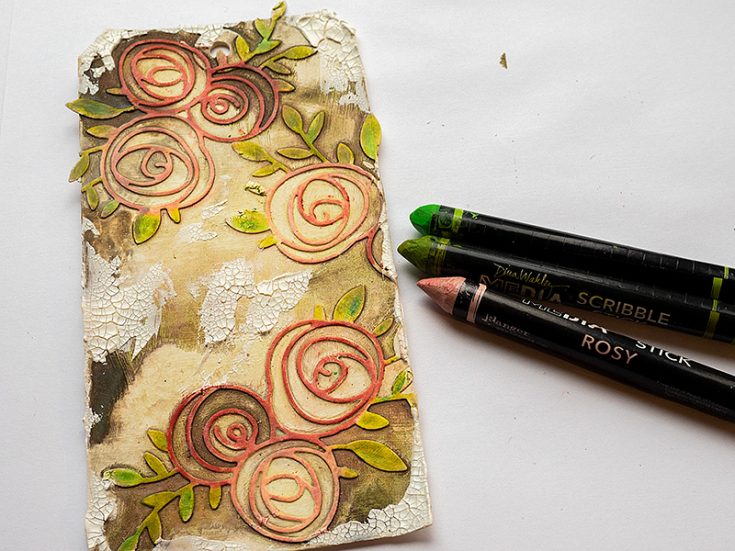
Continue with the leaves, using two shades of green.
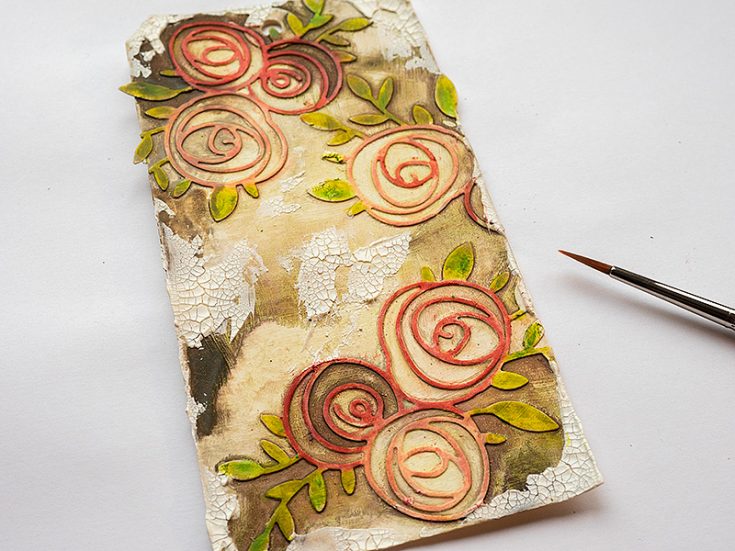
Blend the colors with a paint brush and water. You don’t see a big difference, but it makes the colors a little brighter.
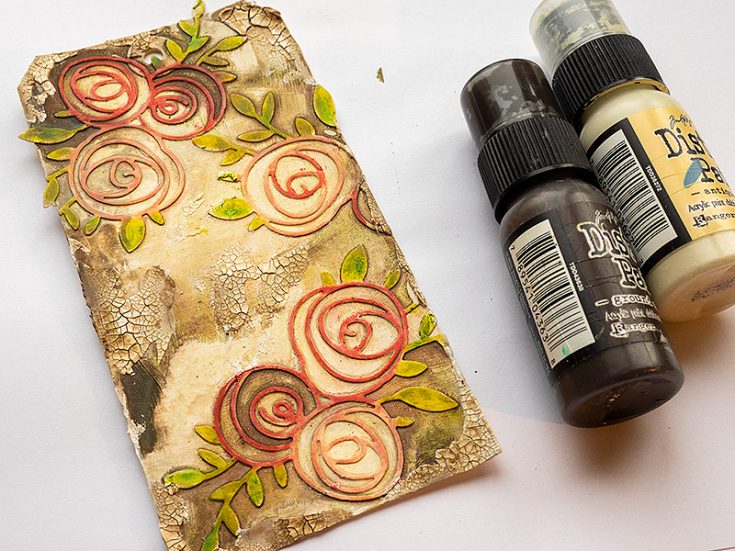
Paint the crackle areas with watered down Antique Linen and Ground Espresso. Let dry.
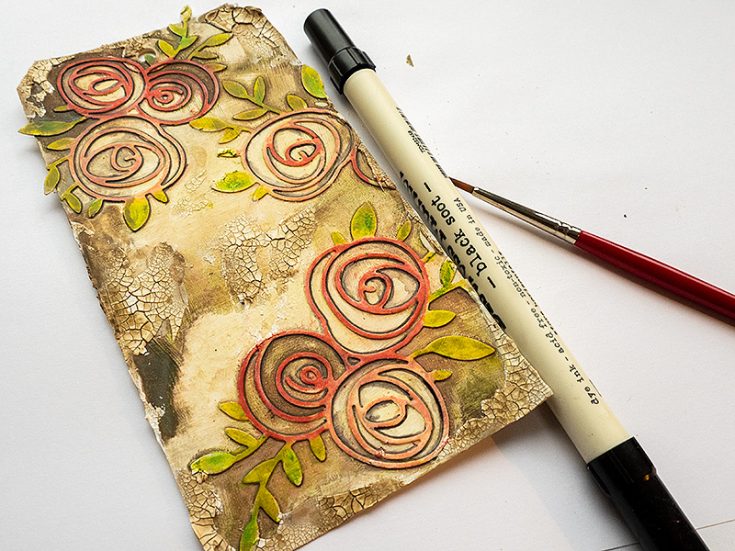
Add shading to the flowers with a Black Soot Marker and use a paint brush with just a little water to blend out the lines.
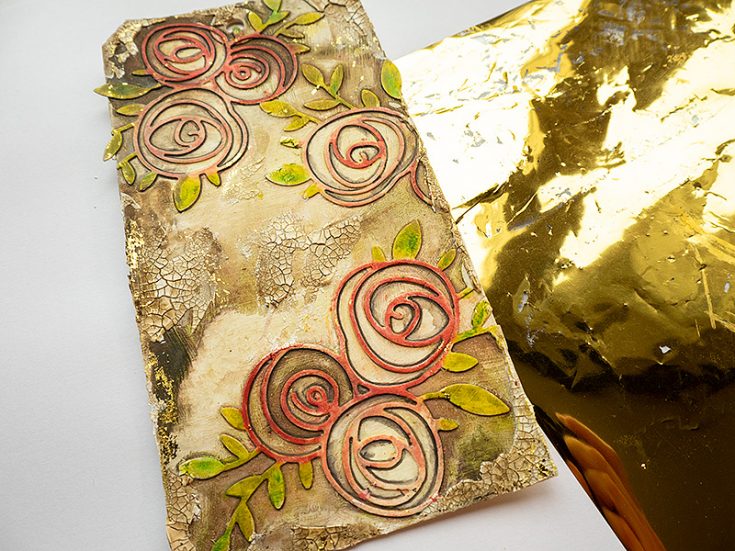
As a final touch I decided to add some gold foil. Apply a glue stick here and there and then rub the foil on top. It is best to work in one area at a time.
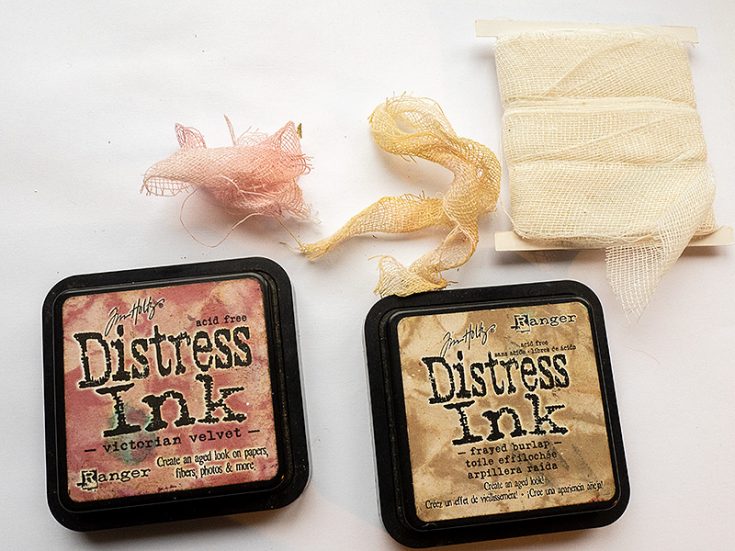
I dyed some mummy cloth with Distress Ink. Press the cloth onto the ink pad and then mist with water.
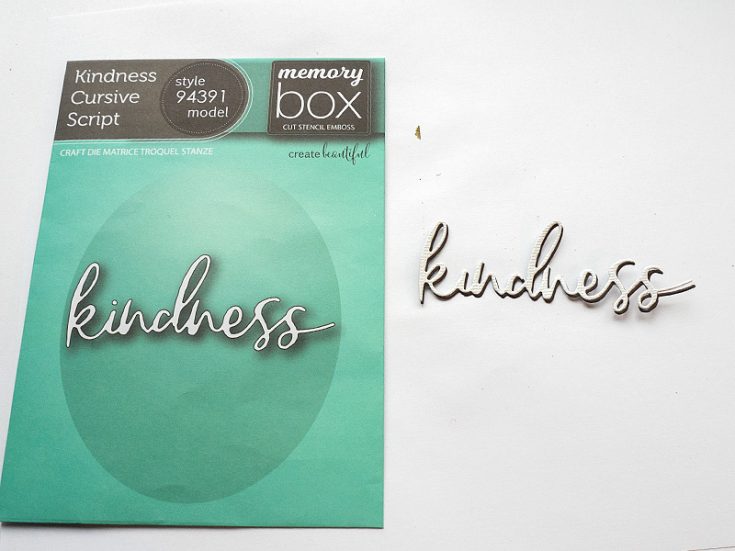
Die cut the Memory Box Kindness Cursive Script from Simon Says Stamp White Diamond Glimmery cardstock and from brown cardstock and layer on top of each other.
Here you can see the color and shading a little better.
The paint brush texture from the matte medium and the gesso shows through both the paint and the Scribble Sticks.
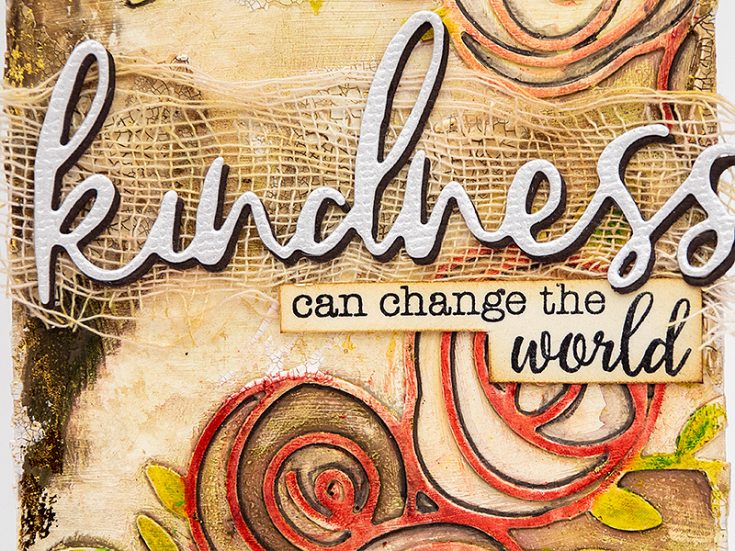
Layer a piece of mummy cloth under the title to make it stand out better. I also used just a part of a sentiment stamp from the SSS Uplifting Thoughts set.
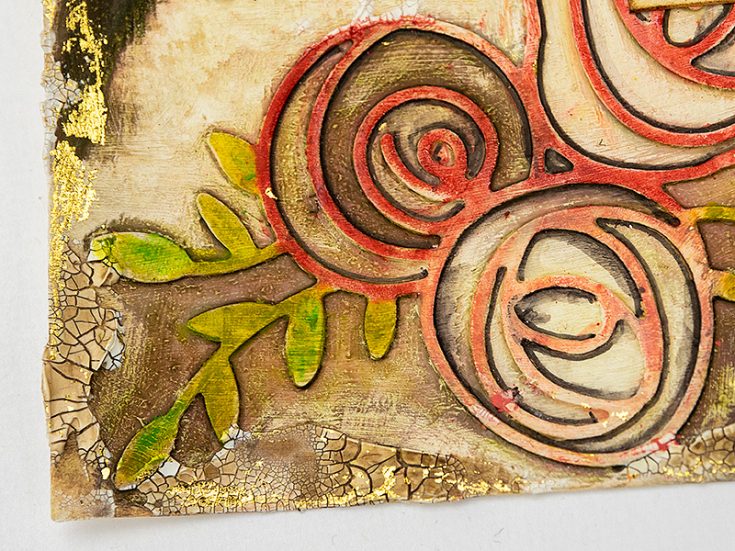
Here you can see the fold foil better, just a little makes a big difference and adds interest.
I hope this tutorial inspired you to use your dies in new ways and to play around with different media.
Thank you so much for looking! Happy crafting! -Anna-Karin
SUPPLIES:
|


Thanks so much for stopping by today, and thanks to Anna-Karin for being our guest!


Wow! Beuatiful!- love the texture of the mummy cloth! The Rose Scribble Trio die is gorgeous!
Such gorgeous colors and details!
EEEKKK! Gorgeous, love all the crackle and layers!
Wow, what a fabulous creation! I love those Scribble Roses!
Beautiful! I love that memory box die!
Really Beautiful tag!!!
Wow! All of the texture on this makes for one stunning tag.
Wow! Beautiful tag!!
Love your tag – thank you so much for sharing all the steps in your creation! I put that die right on my wish list!!!
How beautiful–love all the different textures.
Pretty die and a beautiful tag!
Oh wow, this is so pretty
Wow this is so cool, great tutorial, love everything about it!
This is a beautiful tag.
Awesome blog! Interesting tag
love the wonderful texture on this tag:)
Awesome Anna-Karin! It’s realy great to see how simple cardstock is turned around in something what looks like a part of the tag. Thank you so much for the clear step by step tutorial.
Have a wonderful week.
What a fabulous tag with all the wonderful layers and textures! Love the message too! Thanks for the tutorial.❤️
So gorgeous!!