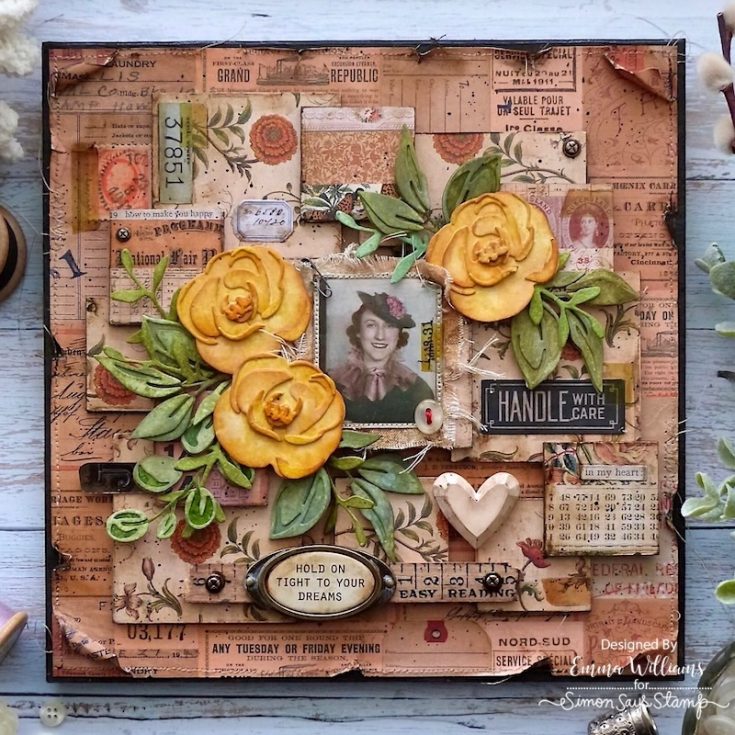
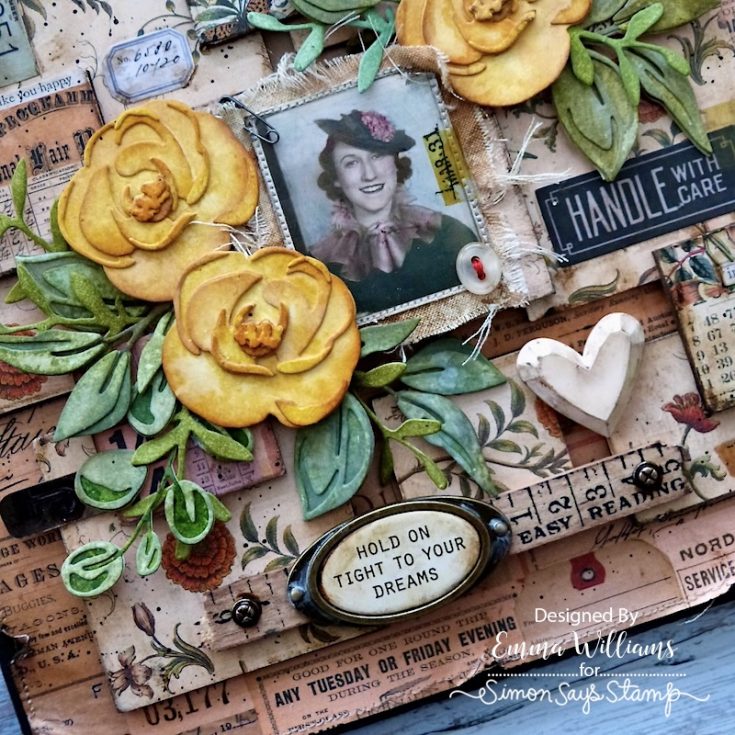
In My Heart Etcetera Panel by Emma Williams
Hi friend! Happy Sunday! I’m beyond delighted to welcome back special guest Emma Williams to our blog today to share this GORGEOUS mixed media creation! Read on and enjoy!
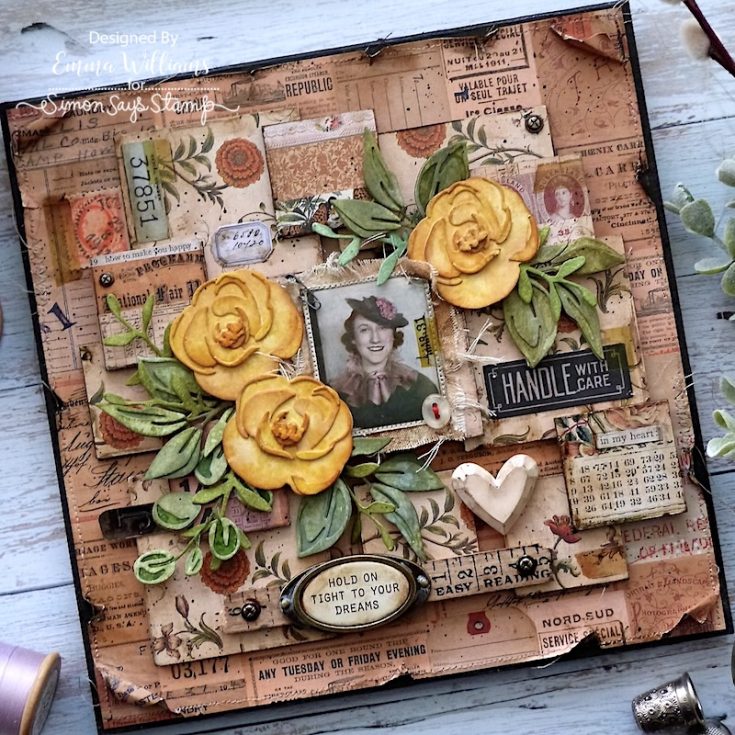
Hello everyone! I’m so happy to be back on the SSS blog today and I can’t wait to share all the details of my latest project. Here in the UK, we’re still in the grips of winter but I thought I would be nice to look ahead to Spring and bring some colour into our lives. So, with the release of the brand new Tim Holtz Palette Paper Collections, I thought this collection would be perfect to celebrate the forthcoming season. Combine this with Mother’s Day, which we celebrate here in the UK and Ireland in March, I decided to create a little sunshine, in celebration of all those precious Mom’s, who hold a special place in our hearts….
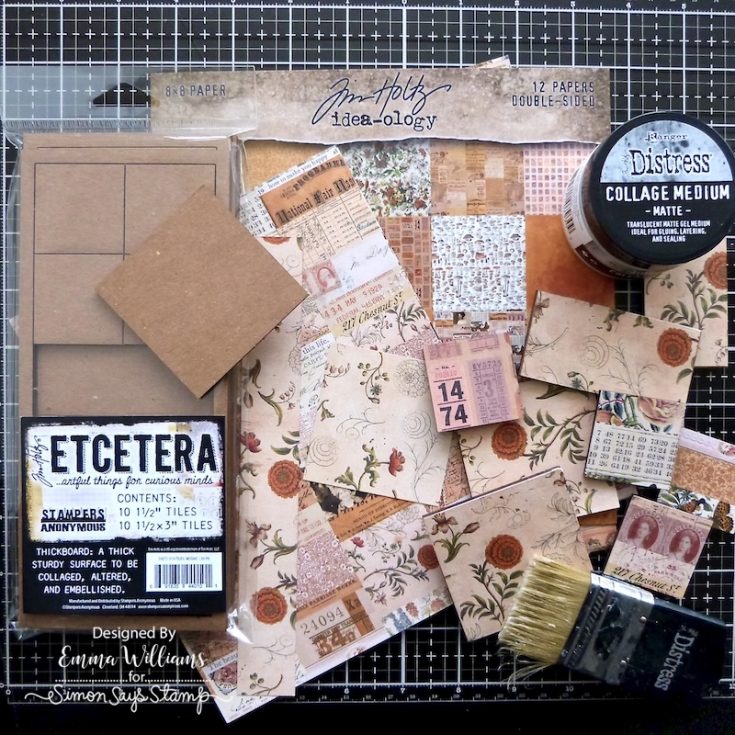
This make uses a combination of Tim Holtz products from Stampers Anonymous, Ranger Ink and Sizzix to create colour, layers and plenty of detail.
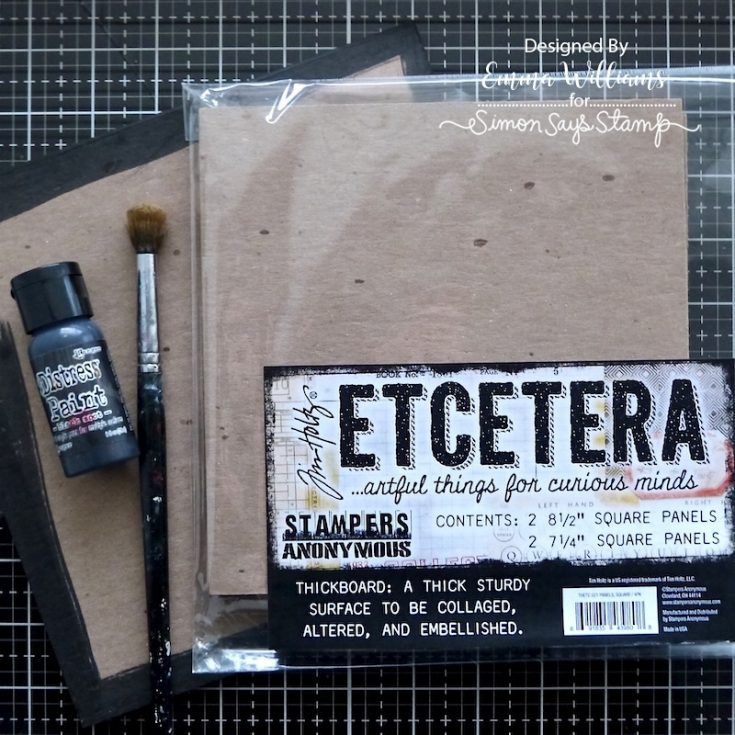
To begin with I used the larger sized Stampers Anonymous Square Etcetera Panel and painted around the edge of the panel with Black Soot Distress Paint. You can paint the entire panel, but this means you don’t use more paint than you need to as the surface won’t be seen…
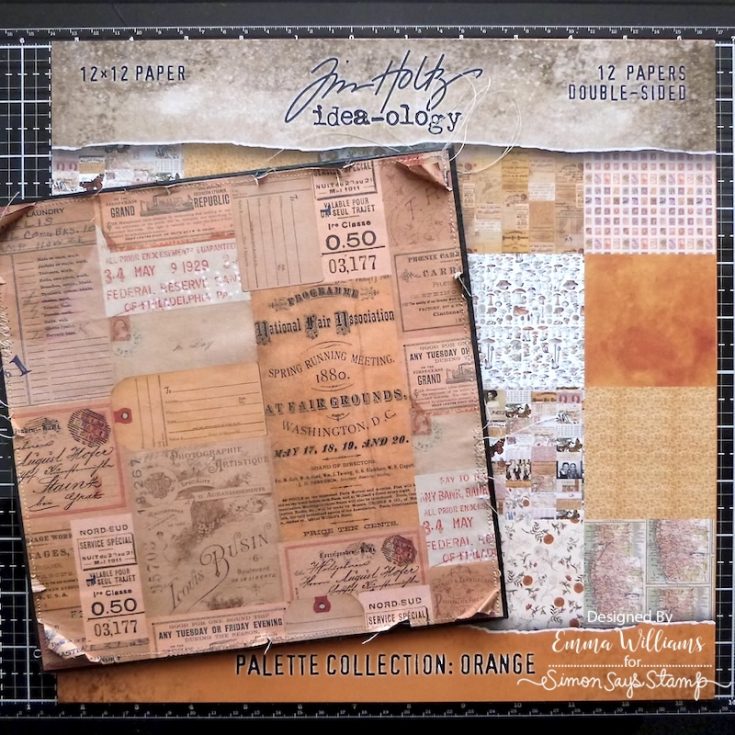
I cut a piece of paper from the 12 x 12 Orange Palette Paper Collection to measure slightly smaller in size than the panel itself, and added some rips and tears around the edges of the paper. I machine stitched a border around the outside of the square paper panel, and inked the edges with Walnut Stain Distress Ink.
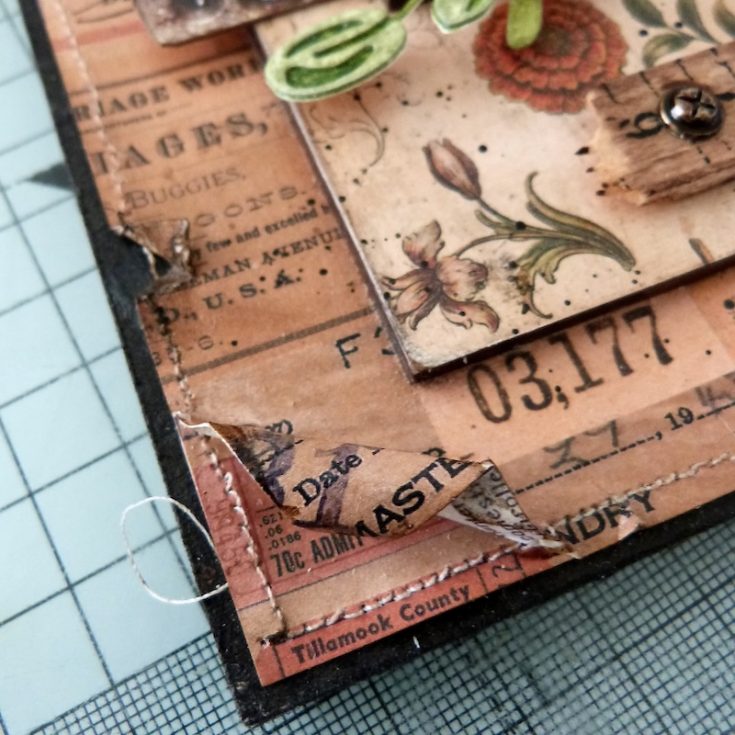
On each corner of the panel, I created a faux mount that sits underneath the large square of paper. Cut a small triangle of paper from the palette pack for each corner and adhere these corner pieces onto the painted Etcetera board. By doing this, it will create the illusion of a layer of paper underneath the large piece, but it saves you from using a whole sheet of your precious stash. Mount the background panel onto the etcetera board using Matte Collage Medium, and allow the corners to curl back and reveal those corners underneath. Apply a coat of medium over the top to seal the paper.
To build up dimension and layers, I chose to use a selection of Etcetera Mosaic Tiles and Large Etcetera Tiles for this make. In total, I used a combination of 13 tiles in various shapes.
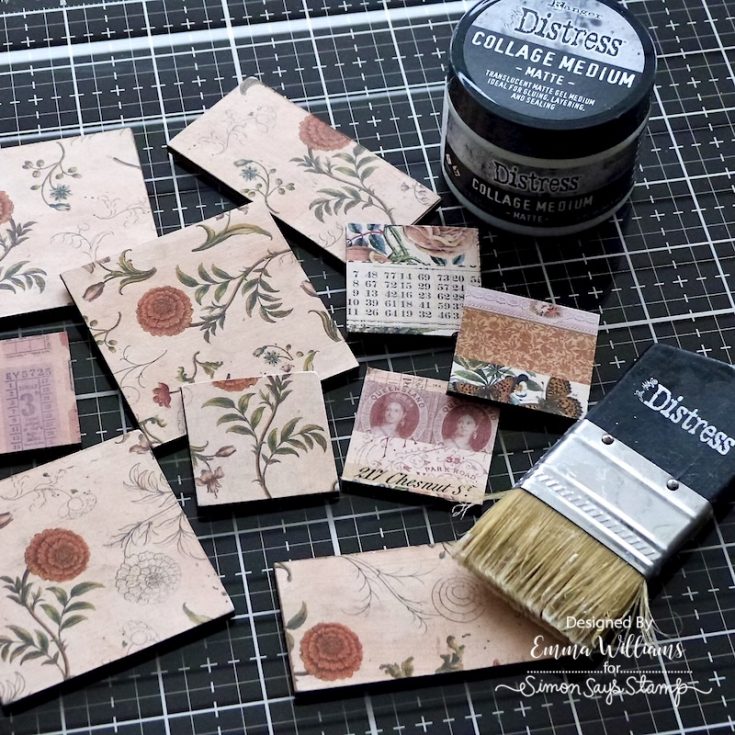
Cover each of the tiles using various papers from the 8 x 8 Orange Palette Paper Collection and adhere them into position with Matte Collage Medium. Sand the edges the tiles with a sanding block and using a Distress Collage Brush, apply a coat of the medium over the top of the tiles. Once the medium is dry, run the Gathered Twigs Distress Crayon around the sanded edge and blend out the crayon with your fingertip.
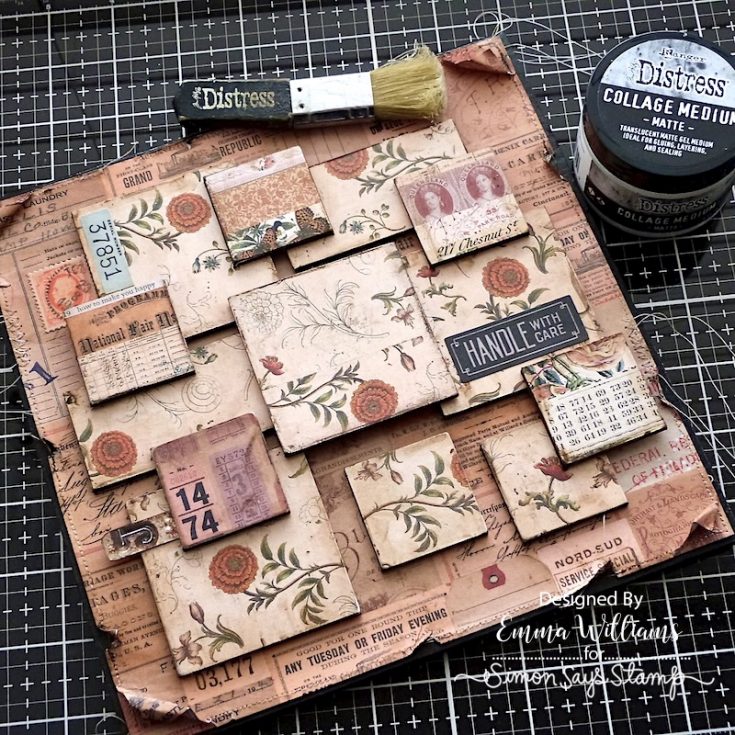
Adhere the tiles to the panel using Matte Collage Medium, layering and stacking some of the tiles over the top of one another to create the dimension.
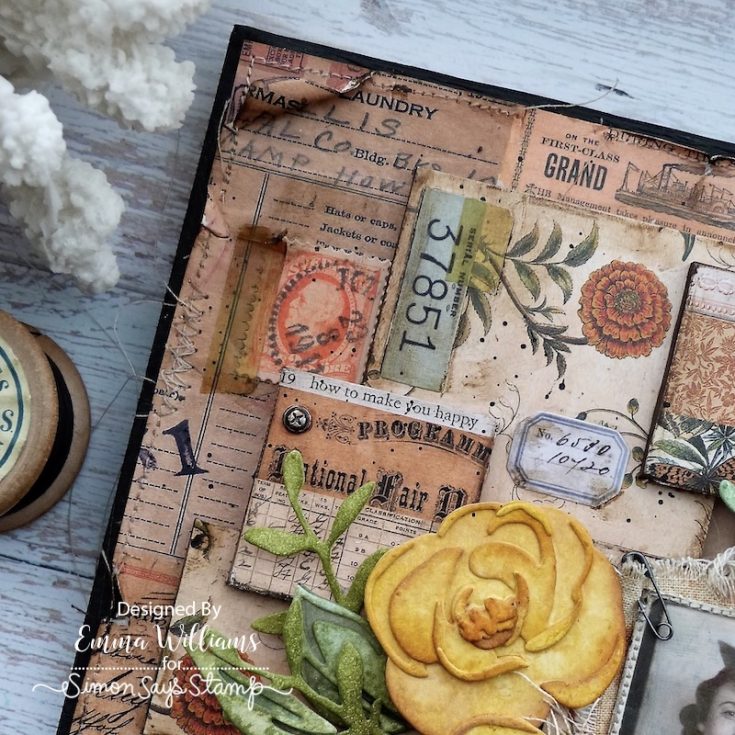
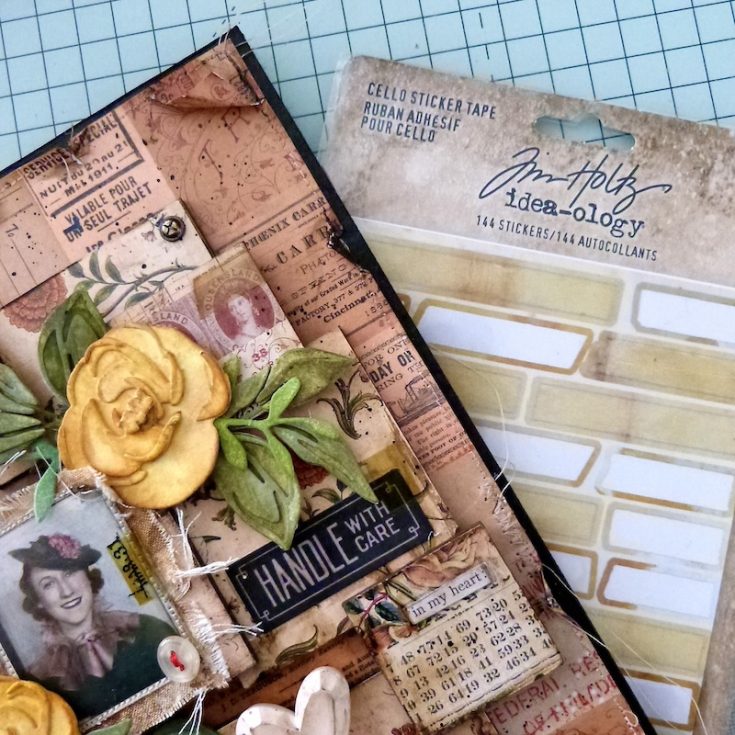
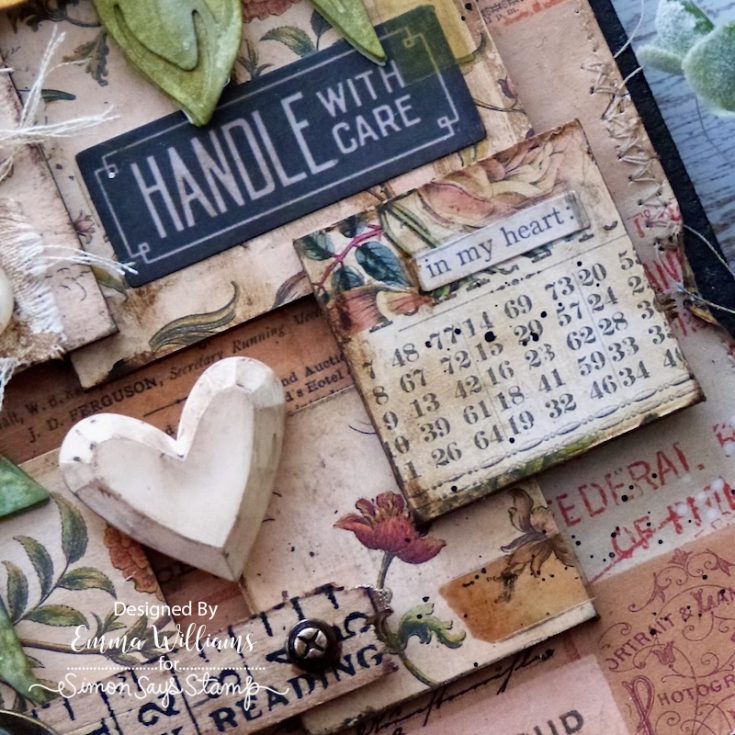
Set to one side to dry, and once all the tiles are secure and fixed into position, add some ephemera pieces to the tiles. I used a combination of pieces from the Memoirs and Numbers Strips, together with a Clippings Sticker, ‘in my heart” and a type chip, that I used as an initial and placed on the left hand side. You will see that I also added an orange coloured stamp from the Postmarked Sticker Book, which works so well with this paper collection, before placing Cello Sticker Tape over the top of some of the ephemera pieces.
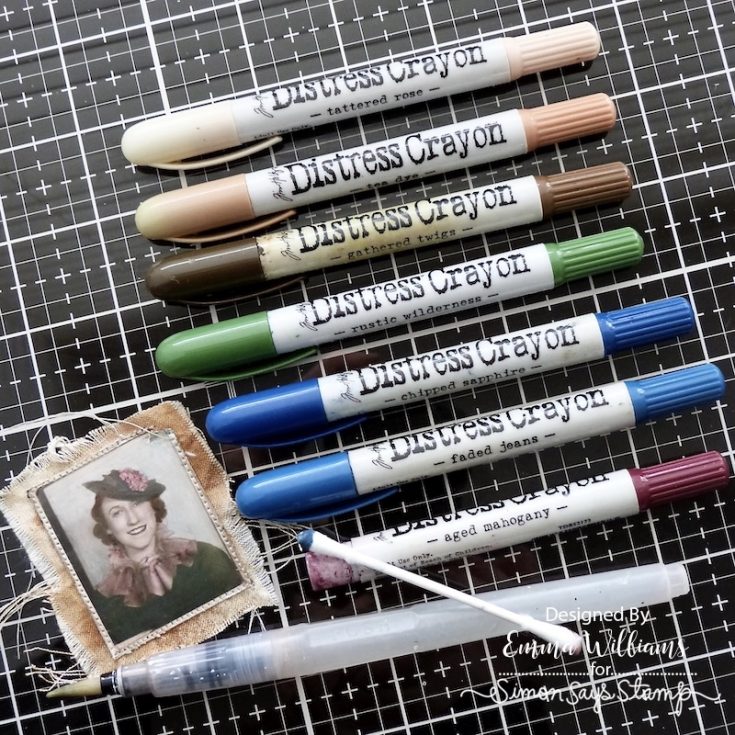
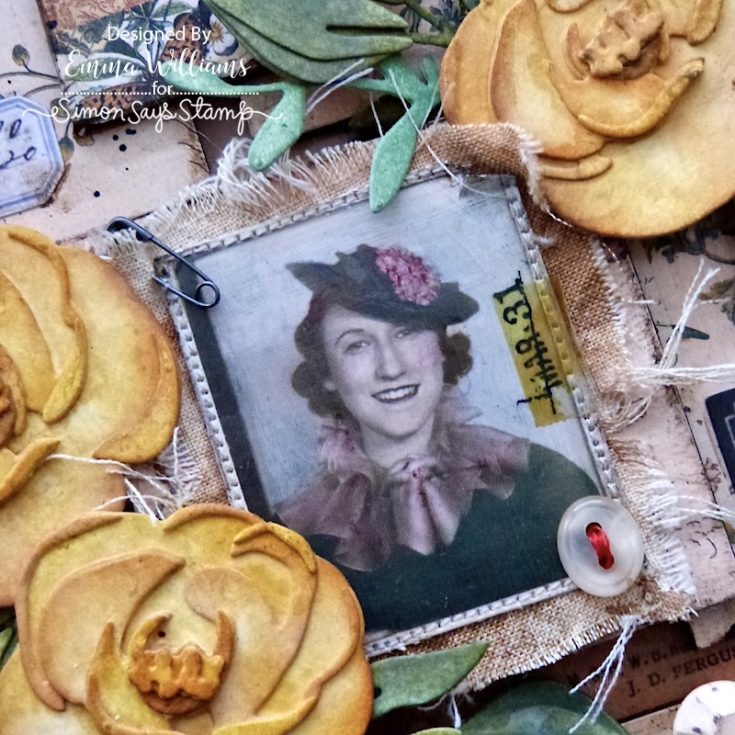
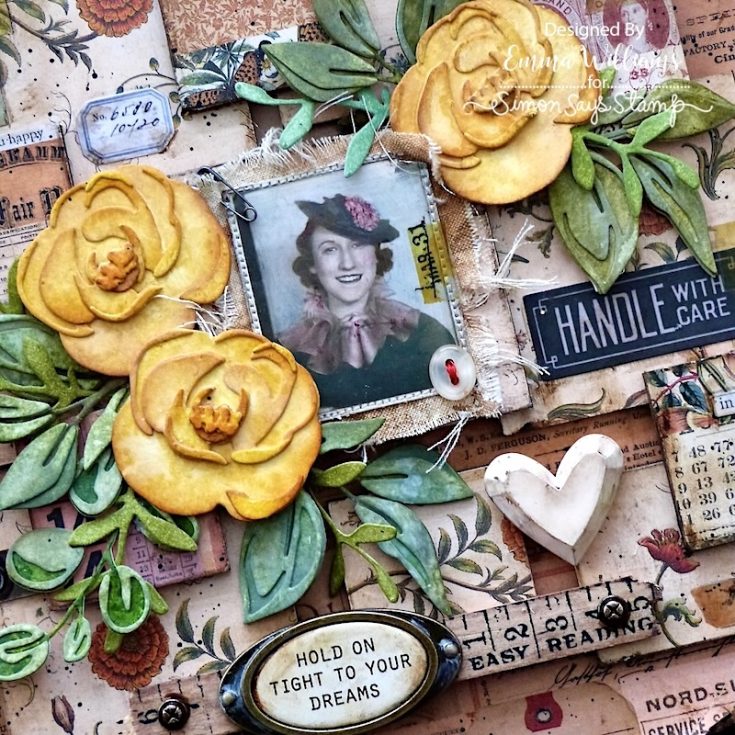
With my background complete, I chose a photo to use from Tim’s Vintage Photobooth pack. If you prefer, you can make it more personal by choosing a photo of someone special. I colour tinted the image using Distress Crayons and then machine stitched the photo onto a piece of cotton calico fabric from my stash. The edges are frayed to create some texture.
After I positioned the photo in the centre the panel, I added a Remnant Rub down the right hand side, a piece of cello sticker tape, a vintage button and finished by pinning a mini pin into the fabric.
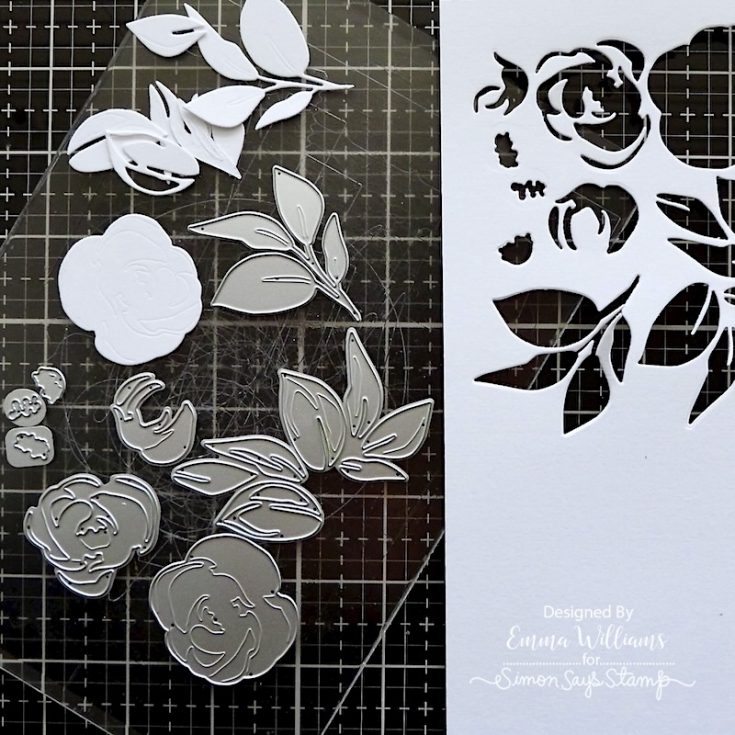
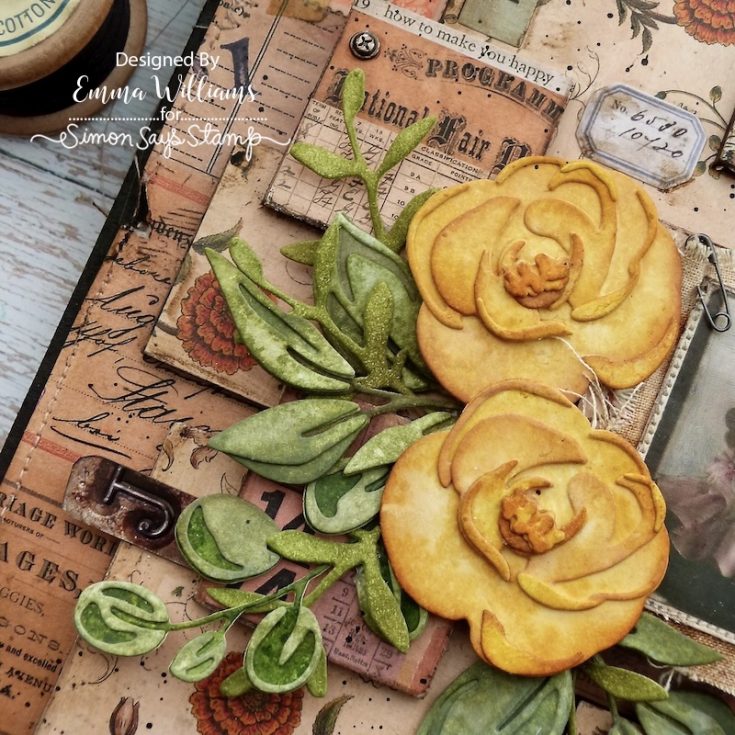
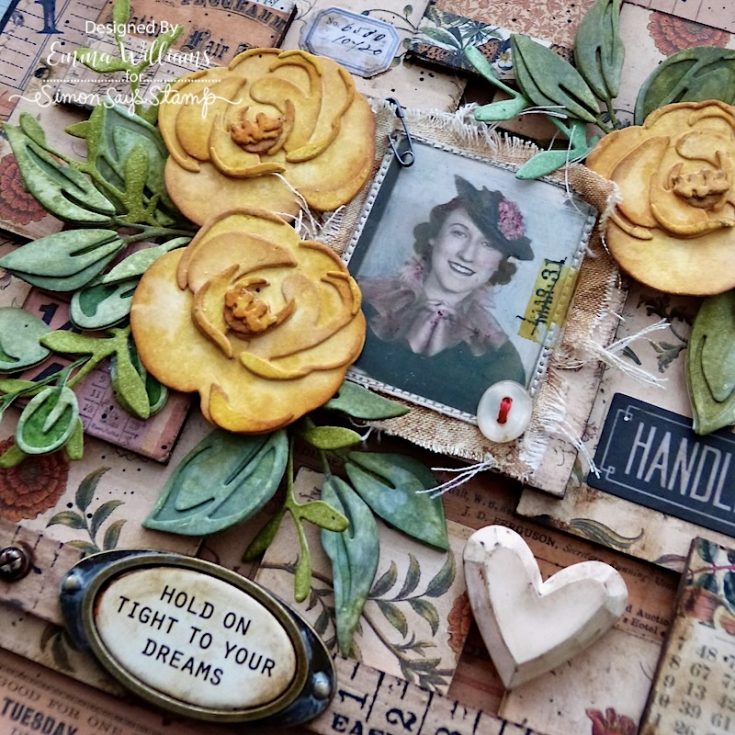
Now, it’s time to create the blooms that sit around the photo and for this I used the Bloom Colorize Die by Tim Holtz and Sizzix to die cut Distress Watercolor Card. I cut enough to create three complete flowers and five pieces of foliage.
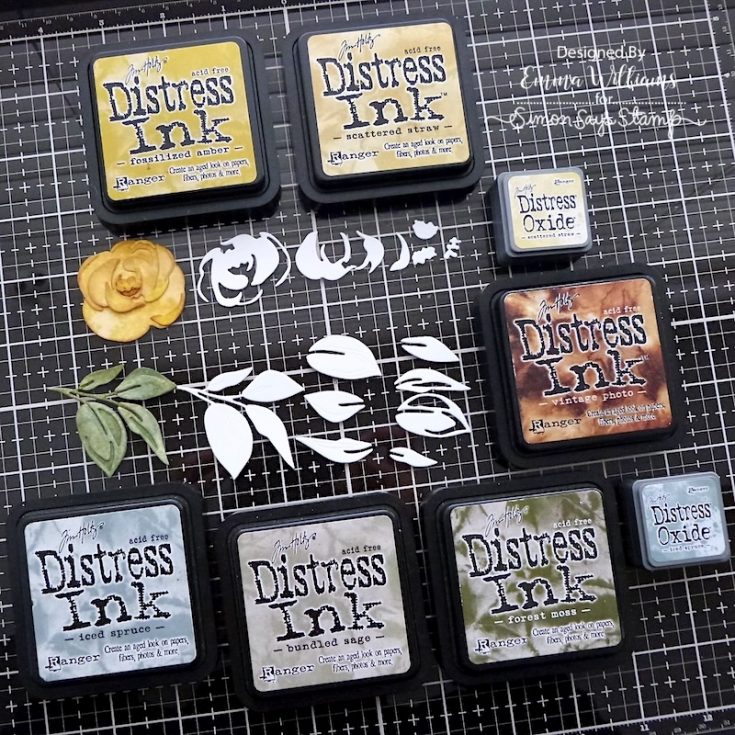
I applied the following colour to the die cuts using Distress Inks and Oxide Inks and a blending tool. Oxide Inks: Iced Spruce for leaves. Scattered Straw for flowers.
Distress Inks: Iced Spruce, Bundled Sage and Forest Moss for the foliage and Fossilised Amber, Scattered Straw, Wild Honey for the flowers.
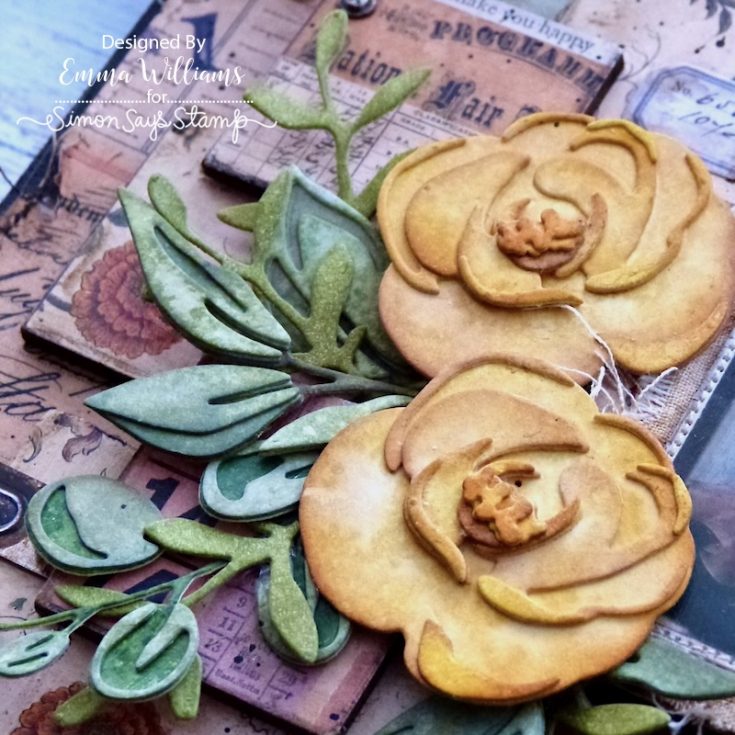
Mist water over the top of the inked die cut pieces and heat dry before assembling each layer to create the beautiful florals and foliage.
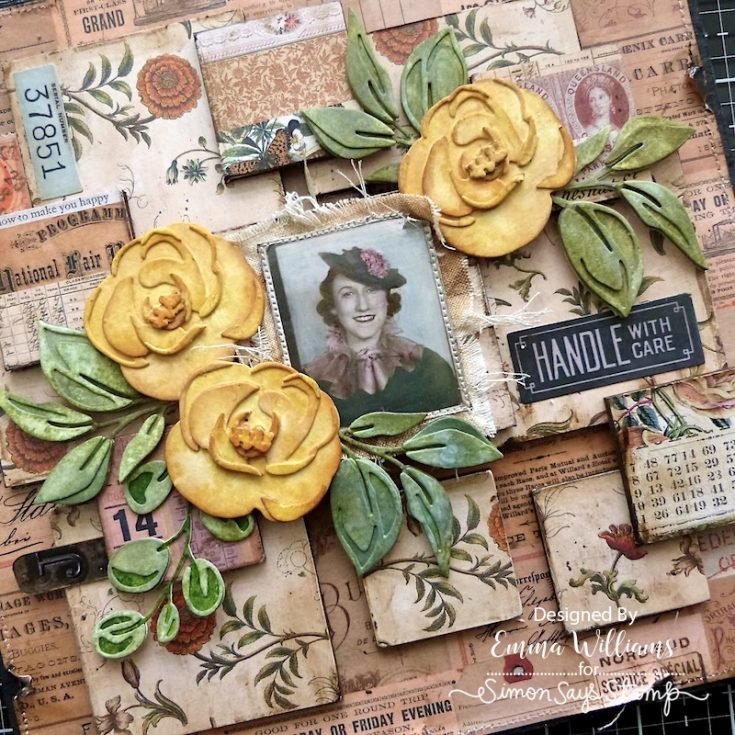
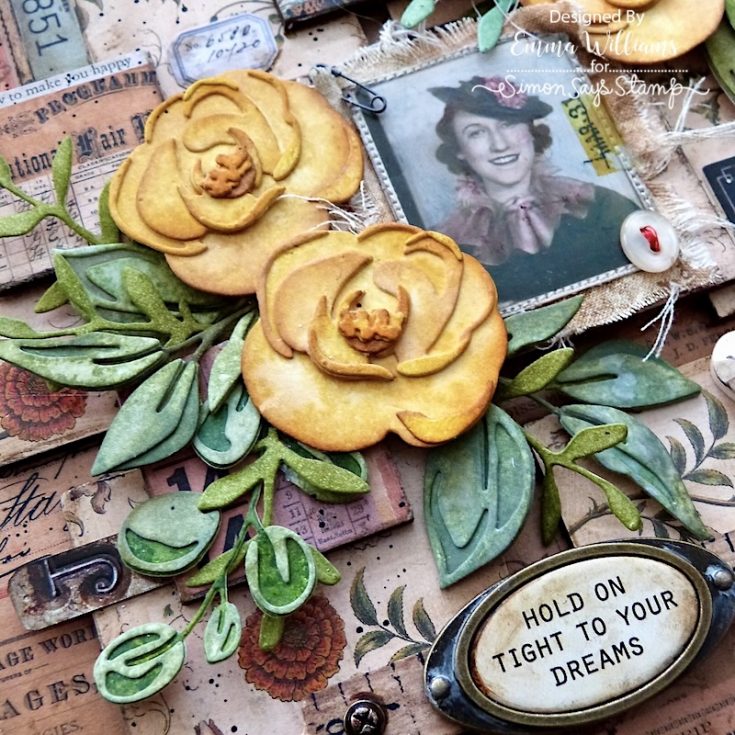
Arrange the flowers to cascade around the photo, adding some on each side and adhering them using a combination of foam pads and hot glue.
I also added some die cut foliage that I had in my stash. You can use any foliage you have for this ~ it’s just there to add more layers.
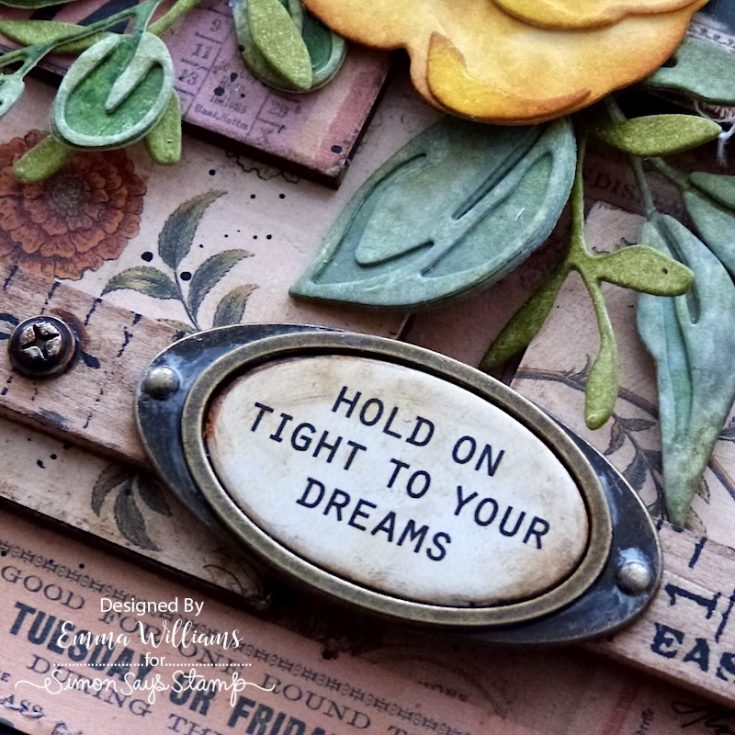
We’re nearly there and all that’s left is to add some final details, starting with the Quote Label Chip. I loved this quote, “Hold On Tight To Your Dreams” and after inking the edges to create more of a vintage feel to the chip, I placed it into a Tim Holtz idea-ology Label Frame.
The framed Quote Chip is then attached with Matte Collage Medium, placing it directly onto the centre of the Ruler Piece, that I’ve inked and stained with Walnut Stain Distress Ink. I snapped both ends of the ruler to create a jagged finish and then attached the piece to my panel, placing it below the photo and balancing it across the Etcetera Tiles. Attach a Screw Head on either side of the ruler piece with Matte Collage Medium. To create the rusty tone to the metal, I applied layers of Vintage Photo, Black Soot and Antiqued Bronze Distress Paints. Dry the paint in between each layer and build up the intensity of colour gradually.
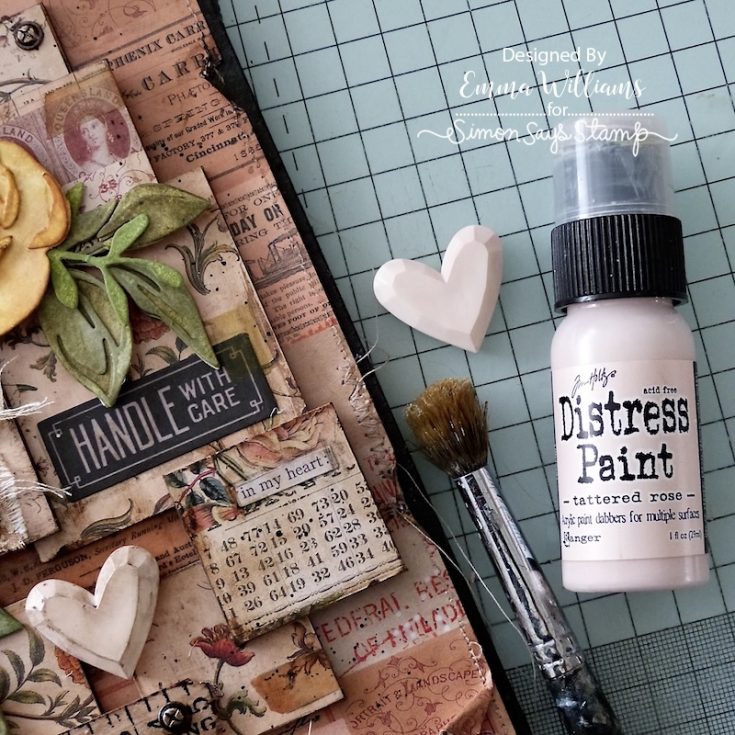
Finally, I used a Salvaged Heart to complete this make. I chose one of the smaller hearts from the pack and painted this with Tattered Rose Distress Paint. Once the paint was dry, I used Walnut Stain Distress Crayon over the top, blending the colour to accentuate the faceting on the hearts. Buff away any excess crayon from the surface of the heart.
I attached the heart to bottom right of the photograph.
To complete the panel, I added some more Screw Heads as accents on some of the tiles.
So that’s my project complete, and I hope you’ve enjoyed this tutorial. As always, I’ve enjoyed sharing the tips and techniques to inspire you and I’d love to see what you make! See you all again very soon and Happy Crafting everyone… Emma x
SUPPLIES:
|


A big thanks to YOU, our reader for stopping by, and Emma for being our guest!
Going on NOW! Great deals for YOU!


Wow!!!! This is really Beautiful!!!!
so gorgeous
This is stunning. – Emma is so talented
Welcome back to the blog! These vibrant colors really help chase away the winter chill in England. I’m also preparing a little gift for my mom, and this post is a timely source of inspiration. Besides hours of cutting and pasting, I chose to unwind with Drift Boss to relieve stress. This game is simple but incredibly addictive, perfect for a break between crafting projects. I hope you have many more wonderful projects like this!