
How to Make a Beautiful Vellum Gatefold Card: Yippee for Yana
Hi friend! Please join me in welcoming back the oh-so-talented and amazing Yana Smakula! (Please note: our dear friend Yana is Ukrainian. To show support to our brothers and sisters in Ukraine, please see Yana’s post HERE.)
Hello, crafters, this is Yana Smakula for Simon Says Stamp! Welcome back for another Yippee For Yana video. In this video, I’m sharing a vellum gatefold card featuring the beautiful Blooms of Encouragement stamp set from Simon Says Stamp.
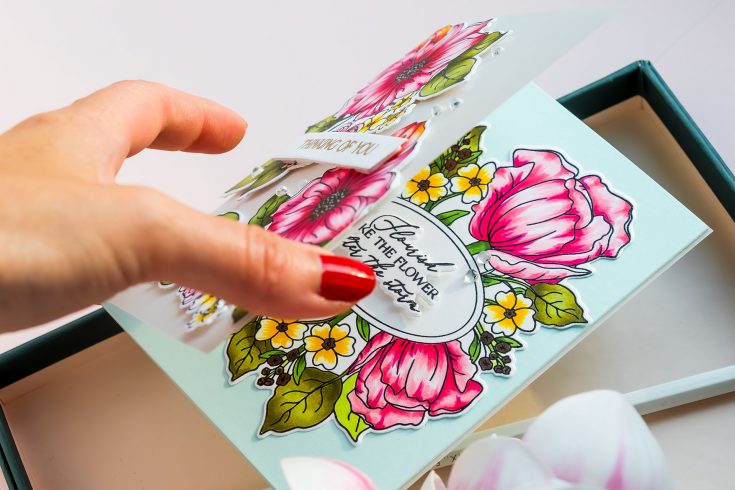
I have been on a roll lately, loving all sorts of fun fold card designs. I don’t know why I resisted these for such a long time, but now that I’ve started making them, I am absolutely addicted and cannot stop. For today’s card, I wanted to create a semi-see-through card design. Not completely see-through, like an acetate card, but something softer and more muted. So I reached for vellum.
When was the last time you used vellum to create a card base? I bet it has been a while! I hadn’t used vellum in a long time either, and it was so refreshing to bring it back for this project.
The Blooms of Encouragement stamp set is a larger 6×8 set with beautiful floral clusters that are just begging to be colored. These images have nice big blooms with plenty of room for coloring, and I used the coordinating dies to cut them out. For this type of card design, coordinating dies are essential. You can absolutely recreate this idea with other stamped images, die cuts, or stenciled images from your stash, but having coordinating dies will make your life so much easier.
I started by stamping two of the smaller corner floral clusters and one larger oval floral frame image onto Neenah white 80 lb cardstock using VersaFine Clair Nocturne ink. I heat embossed the images with clear embossing powder because I wanted a crisp black outline and a surface that would work well for Copic coloring.
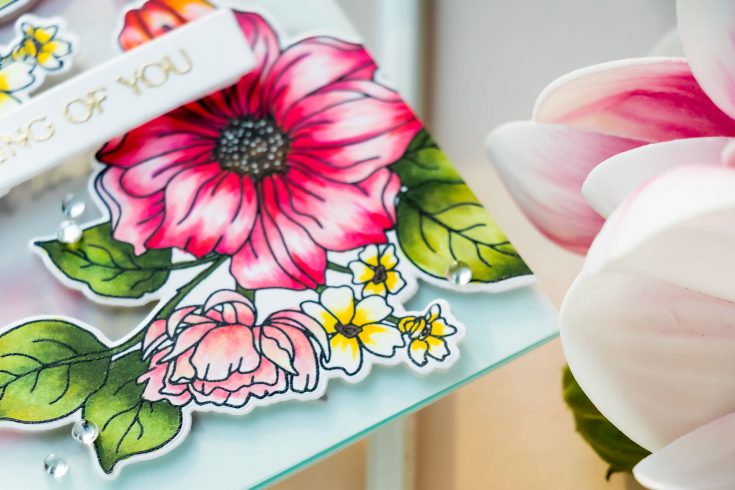
For the leaves, I used one of my go-to greens, YG03, and then deepened the color with YG99, YG95, and YG93. These darker yellow-green markers have a bit of gray in them, so bringing in the YG03 helped make the leaves look a little fresher and more cheerful.
For the smaller yellow flowers, I used Y19 and Y00, flicking the darker yellow from the base of the petals and blending it out with the lighter shade. I used E79 for the flower centers, and later added white dots with a Gelly Roll pen to create extra texture and detail.
For the large pink flower, I used RV14, RV13, RV11, and RV09. I started by adding the darker pinks to the base and tips of the petals, then blended everything with the lighter pinks while leaving some areas white for highlights. I also brought in a little R27 in some areas to shift the pink slightly toward red and add more depth.
For one of the half-open flowers, I introduced Y00 over the pink coloring to create a warm peachy-orange shade. I love mixing pinks and yellows to create orange tones, especially when I want a soft, custom color without reaching for a separate orange marker. For another small bud, I used Y19 over most of the image to make it warmer and more orange.
Once all the coloring was done, I cut the images out with the coordinating dies. I also die cut additional blank shapes from white cardstock. These extra layers are helpful because they cover the adhesive on the inside of the vellum flap and make the card look clean and finished from both sides.
Here’s a little die-cutting tip: if the back of your die cut has a sharp edge, you can flatten it slightly by running it through your die-cutting machine with the embossing sandwich. I used my Platinum 6 machine with an embossing mat and adapter plate, and it flattened the die cuts just enough to soften that edge.
To build the card, I created two A2 card bases, both measuring 4 1/4 x 5 1/2 inches. One was made from vellum, and the other from Simon Says Stamp Seafoam cardstock. I trimmed just a tiny bit from the Seafoam cardstock card base — I like to call this giving it a little haircut. This helps the cardstock layer fit neatly inside the vellum card base without sticking out.
Vellum can be tricky to adhere because adhesive often shows through. For this design, I covered the entire back of the Seafoam card base with a double-sided adhesive sheet. Then I removed the liner and adhered it directly inside the vellum card base. This gives you a clean, mess-free way to attach vellum without visible adhesive. A bone folder is helpful here to burnish everything in place.
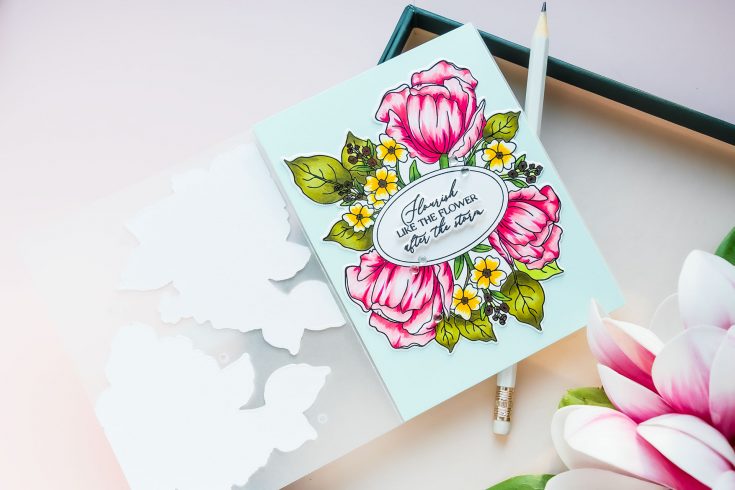
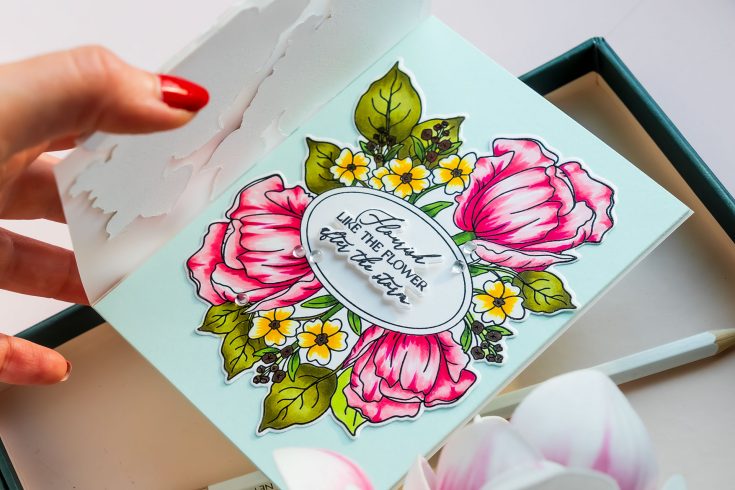
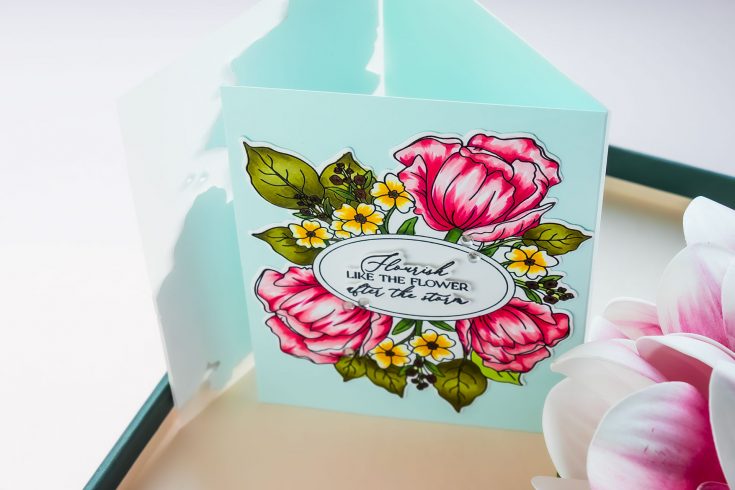
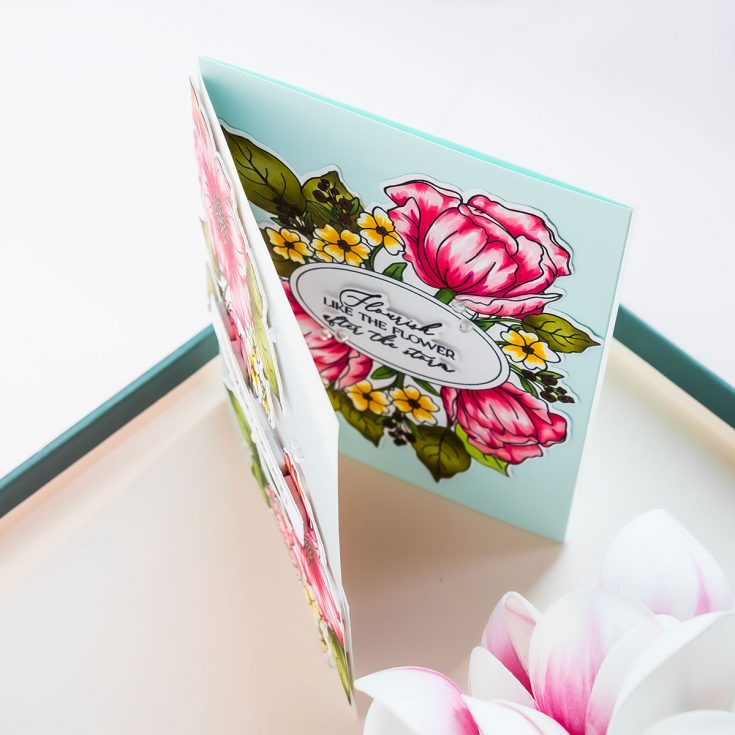
The larger floral oval frame was adhered to the inside cardstock flap, so it would be visible through the vellum layer. This is exactly why I wanted to use vellum: it softens and mutes the floral image underneath, giving the card a beautiful layered look without making the design feel too busy.
I added a sentiment that reads, “Flourish like the flower after the storm,” and I did something a little controversial — I used foam adhesive on the second flap. It does add a little bulk, but I love dimension, and foam adhesive helps separate the layers and bring the design to life.
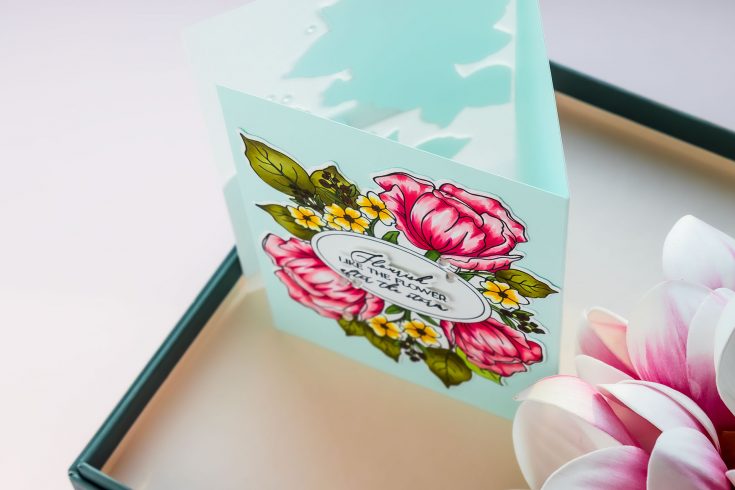
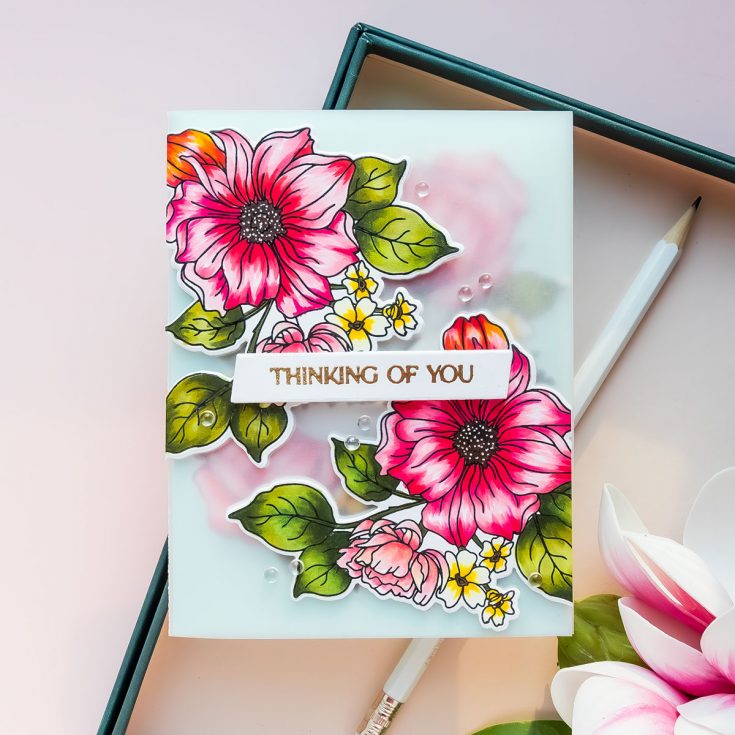
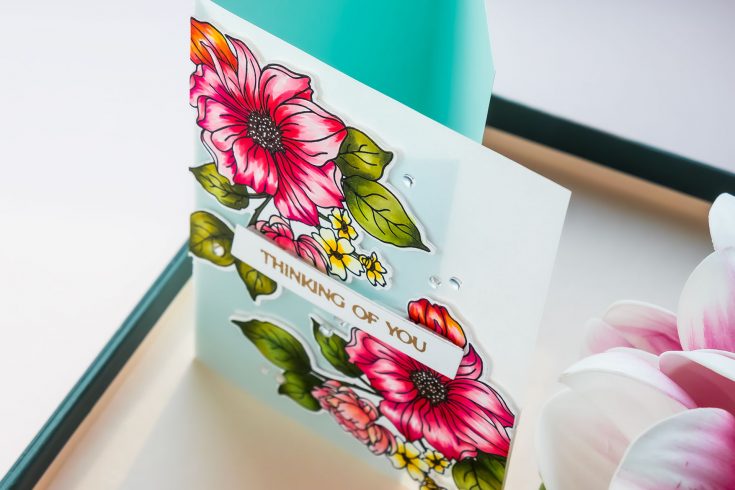
For the front vellum flap, I used the smaller floral clusters. I planned the placement first, then used a pencil and T-square ruler to mark where the die cuts needed to be trimmed. You can use scissors after adhering them, but I preferred using a paper trimmer for a nice clean cut and to avoid accidentally cutting through the card fold.
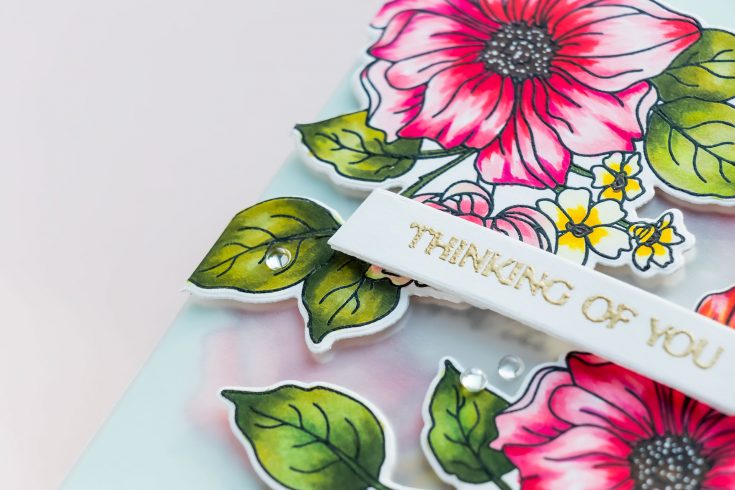
I foam-mounted the colored floral clusters onto the front vellum flap using thin foam adhesive squares. To hide the adhesive on the inside, I adhered the matching blank white die cuts behind them. When working directly on vellum, I recommend using dry adhesive, double-sided tape, tape runner, or foam squares. I would stay away from liquid glue because it can warp the vellum.
For the front sentiment, I used “Thinking of You” and cut it with a slanted rectangle die. This die is not the coordinating die for the sentiment, but I wanted a larger shape to house the greeting and cover a little more of the design underneath. It’s a simple way to change the look of a sentiment and make it work better for your card layout.
To finish the card, I added a few clear Splash Drops from Simon Says Stamp for a touch of shine and interest.
I love how this card turned out. The vellum creates such a soft, elegant reveal, and the floral clusters make the gatefold design feel extra special. You can recreate this idea with many different supplies from your stash — stamped and colored images, die cuts, stenciled elements, or even foiled designs.
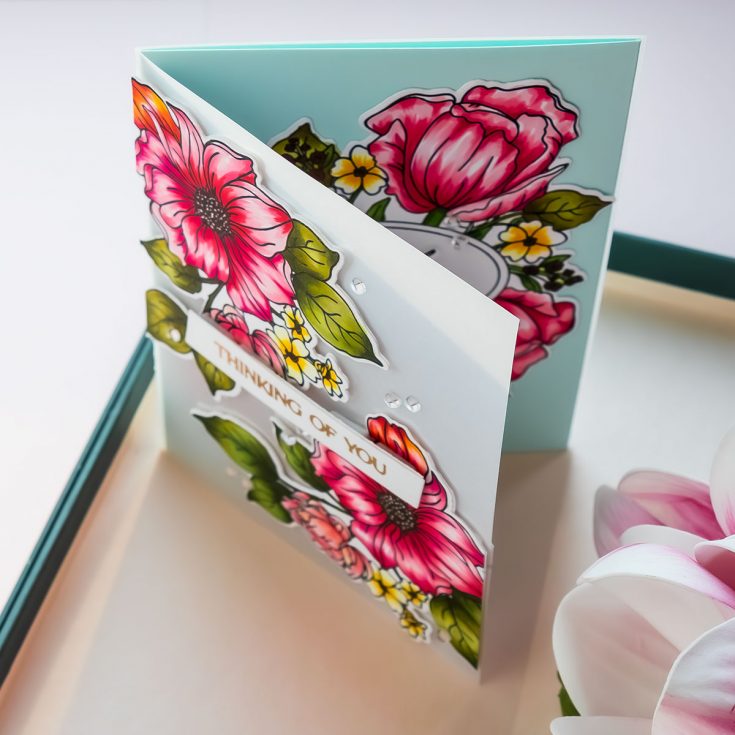
And by the way, there is one leaf on my finished card that I forgot to color. Did you spot it? Let me know in the comments!
Thanks so much for joining me today. I hope this inspires you to pull out some vellum and try a semi-see-through gatefold card of your own. Have fun creating, and I’ll see you again next time.
WATCH THE VIDEO:

SUPPLIES:
|


- Copic markers:
- Greens: YG03, YG99, YG95, YG93
- Yellows: Y19, Y00
- Browns: E79
- Pinks/Reds: RV14, RV13, RV11, RV09, R27
Ways to support Ukraine:
If you are looking for ways to support Ukraine, we encourage you to visit this page on Yana’s blog:

A big thank you to YOU, our reader — and to Yana for being our guest!







There are no comments.
Leave the first?