Hero Arts Flower Power!!!
Hi friends! Happy Wednesday! Please join me in welcoming back special guest Channin Pelletier to our blog showcasing some new and beautiful Hero Arts products! Read on and enjoy!

Hello everyone! It’s Channin here and I’m so thrilled to be joining you here at Simon Says Stamp!! Today I’m sharing a pair of cards I created with several new products from Hero Arts’ Spring Catalog Release!!
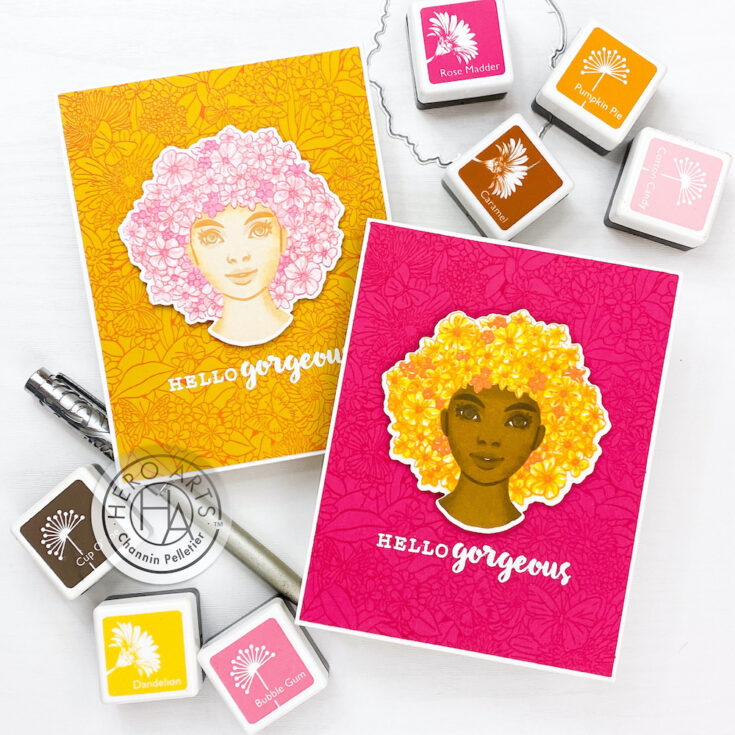
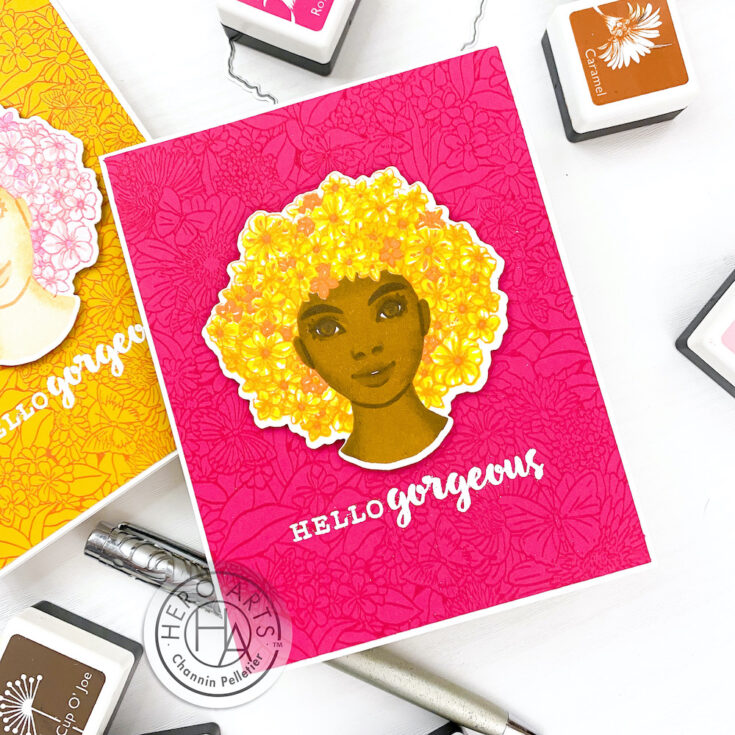
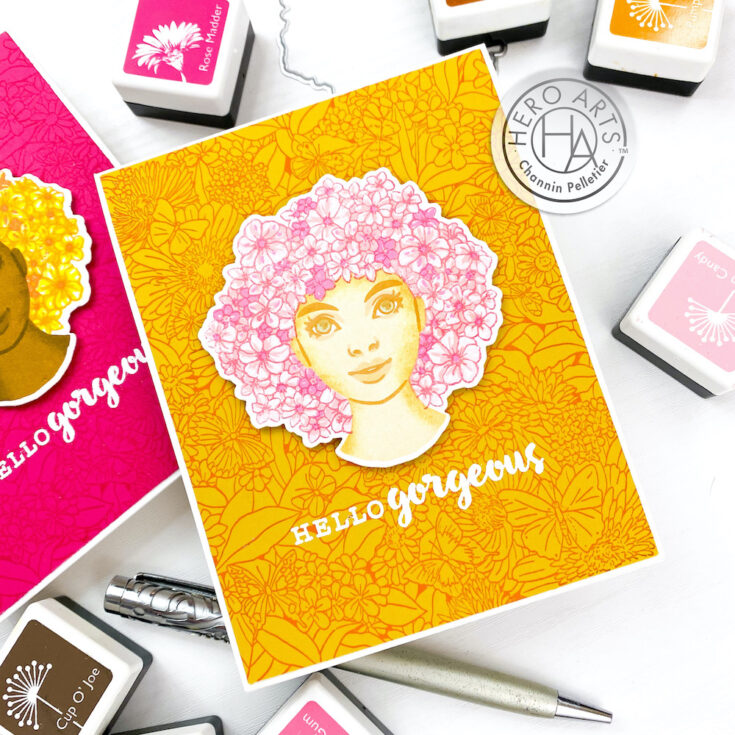
The minute I saw the GORGEOUS new Color Layering Flower Power Stamp Set I could not wait to ink up all the layers and try out a bunch of different color combos!! Today I’m focusing on a yellow, orange, and pink palette and I just love how these beautiful girls turned out! I hope you like them too!
To create these cards I first stamped the girls using the Color Layering Flower Power Stamp Set. I started with their faces, there are four layers to create the face if you include the stamp which adds color to the eyes. I started with the largest layer and stamped it first in either Caramel or Soft Vanilla ink, depending on which girl I was making. I then added some shading to the sides of the same stamp using a small blending brush and a darker shade of ink (Cup’O Joe or Soft Apricot). Next, I stamped the detail layer for the eyes in Cup’O Joe or Soft Apricot. Then I moved onto the layer for the lips and stamped that in Caramel or Soft Vanilla, but this time I stamped it like 3-4 times to make it a bit deeper tone. Lastly, I finished with the layer that colors the eyes and stamped that in Caramel and then Cup’O Joe or in just Soft Pool.

Next, I stamped the floral hair, the hair also has four layers. I started with the most solid layer (lower left corner of stamp set) and inked it up in either Dandelion or Soft Pink. I then stamped the next layer (upper left corner of stamp set) in either Citrine or Cotton Candy. Next, I stamped the third layer (lower right corner of stamp set) in either Creamsicle or Bubble Gum. Then lastly I finished with the detail layer (upper right corner) and stamped it in either Soft Apricot or Rose Madder.
Once I had finished stamping the girls I then die cut them out with the matching die. I then created the backgrounds by stamping the front of an Azalea and a Mustard panel (4” x 5 1/4”) with the Butterfly Garden Background Bold Prints Stamp in either Rose Matter or Creamsicle ink. I then thoroughly dried the panels and then stamped and white heat embossed them with my sentiments. Lastly, I adhered the panels onto an A2 top-folding white card base with liquid glue and then adhered the girls with foam adhesive.
I hope you enjoyed my cards!! Thank you so much for stopping by! ~Channin

SUPPLIES:
|
Thanks so much for stopping by, and thanks to Channin for being our guest!


These are Gorgeous!!!! Awesome stamps!!!
so fabulous!!
These are so pretty
Good post!