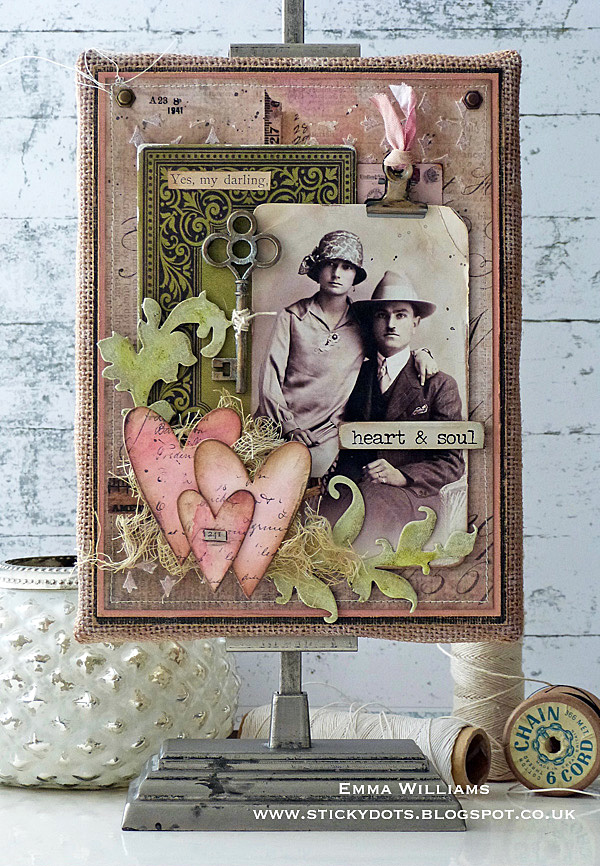
Heart & Soul Burlap Panel
Hi friends! Happy Sunday! Please welcome special guest blogger Emma Williams! See MORE of her gorgeous work on her blog called Stickydots.Blogspot.com and also weekly on our Monday Challenge! Read on to get all the details on how Emma made this stunning project and enjoy!
Happy Sunday everyone, it’s Emma here and I’m thrilled to be back on the Simon Says Stamp blog sharing my latest project with you all.
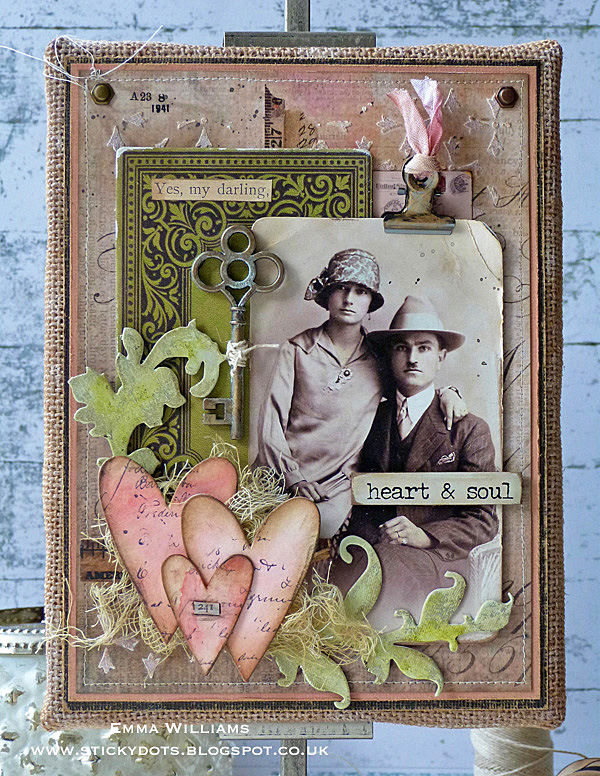
With love in the air and Valentine’s Day just around the corner, I thought it would be the perfect time of year to create this vintage style panel, using products by Tim Holtz and Sizzix, telling the love story of this beautiful couple in this photo I’m using from the Tim Holtz Found Relatives set. Of course, if you want to personalize your project, then you can use a photo of your choice on this layout and create a home decor piece that is going to unique to you…
So, let’s get started and here’s how I created this project packed full of dimension and technique….
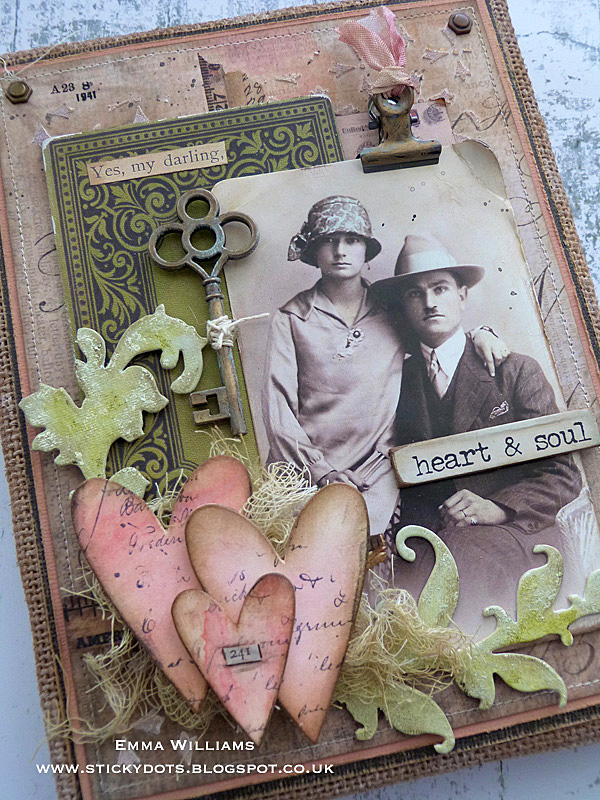
1. To begin, I cut a panel of paper from the Wallflower Paper Stash measuring 13.5 x 18cm and machine stitched a border around the outside of the paper.
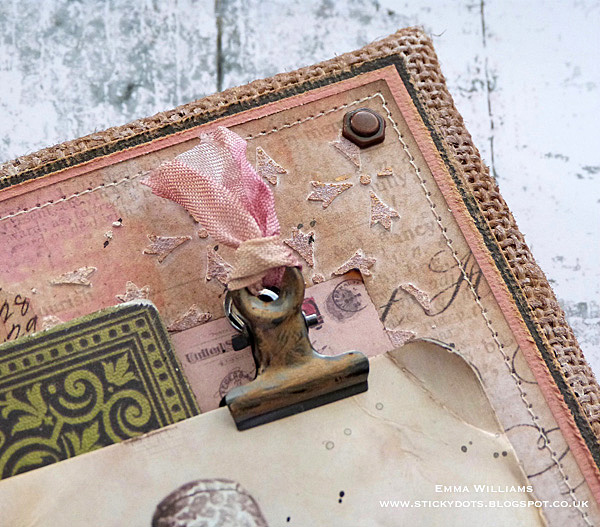
2. To create some texture, I applied Grit Paste through the Crossed Layering Stencil, adding the paste to each of the corners.
3. Once the paste is dry, I used a Blending Tool to add Frayed Burlap Distress Ink over the raised surface of the embossed areas.
4. Matt the decorative panel onto a piece of pink, and then a black card from the Classic Kraft Stash, leaving a border around the edge of each layer.
5. Place two Hex Fasteners in the two top corners and add a small Remnant Rub to the top left-hand corner.
6. Attach the panels to the front of a 6 x 8” Burlap Panel, using Tim Holtz Distress Matte Collage Medium to secure it in place.
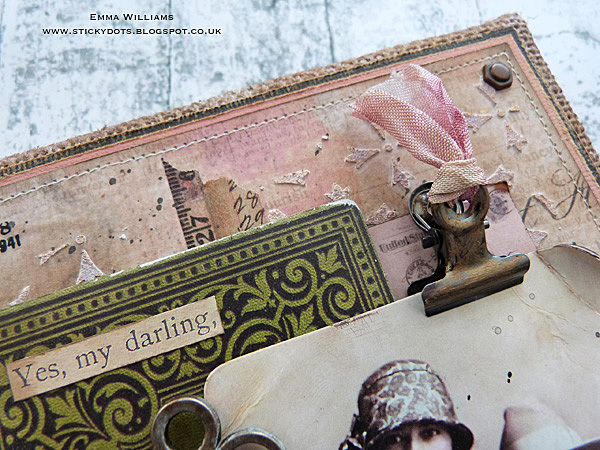
7. To create the layers of this piece, I began by using the green book cover from the Christmas Baseboard set. I sanded the edges of the board to create a more worn appearance and once again, used the Collage Medium to attach the board to my burlap panel, placing it on the left-hand side, together with some torn Design Tape and Snippets Ephemera.
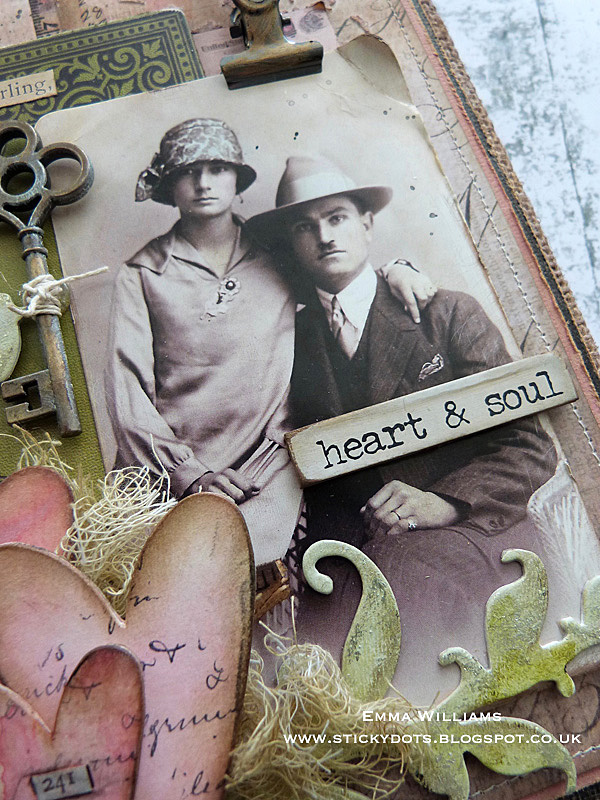
8. Using one of the photos from the Found Relatives set, sand the edges of the photo and then bend the card to add a few creases. I very lightly color tinted the image of the couple using Distress Marker Pens, applying the color directly to the photo, allowing the color to dry slightly before wiping away any excess with a soft tissue or a cotton bud. This technique creates a very soft color tint to the black and white image.
9. Apply a small amount of Vintage Collage Medium around the edges of the photo and then protecting the main image, flick Black Soot Distress Paint across the surface. Allow the paint to dry before inking the edges with Walnut Stain Distress Ink.
10. Attach the photo to the right-hand side of the panel, placing it so that it’s slightly offset to the baseboard.
11. I then tool a hinge clip, painted with Antiqued Bronze Distress Paint and added a small strip of pink ribbon before clipping this to the top of the photo.
12. I used the Scrolls Bigz die to die cut a piece of chipboard. Prime the two scrolls with gesso and heat dry before applying Bundled Sage Distress Paint over the surface. Allow drying time before inking the edges with Walnut Stain Distress Ink.
13. To create some shimmer and shine to the die cut pieces, I used gold Vintage Foil Transfer Sheets. Randomly apply the Collage Glue Stick to the edges of each die cut and allow the glue to go slightly tacky. Take the gold sheet and with the shiny side uppermost, press the sheet over the top of the tacky glue, gently rub with your finger or back of a nail and then pull back to reveal the foil.
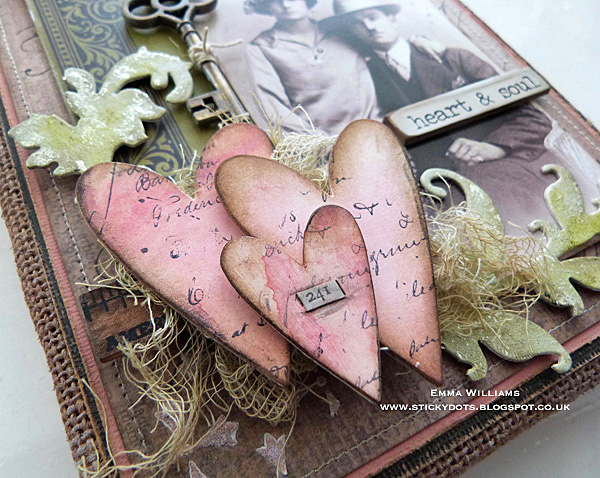
14. To create the hearts, begin by taking a piece of Mixed Meheavy cardstock card and to color the card, apply Worn Lipstick and Picked Raspberry Distress Oxide Inks to a craft sheet. Spritz the ink with a light misting of water and then pick up the color by applying your card to the inks. You can keep dipping in and out of the inks to create more depth and then once you’re happy, heat dry the card.
15. Using the Heartfelt die, cut three hearts, (two of the same size and one slightly smaller) from the inked card panel, and again from a piece of chipboard. Adhere the inked hearts over the top of the plain chipboard hearts, which creates a more substantial die cut.
16. Ink up the Ledger stamp and stamp the script over each of the hearts. Seal the hearts with a coat of Matte Collage Medium, allow to dry and then run the Ground Espresso Distress Crayon around the edges, blending out the color with your fingertip. Apply a Clippings Sticker to the smallest heart.
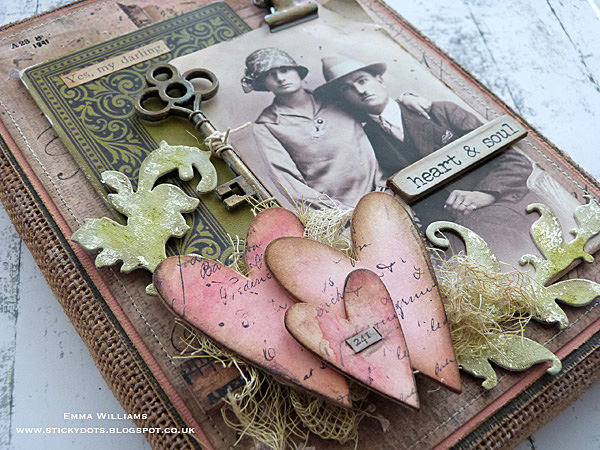
17. Attach the scrolls onto the burlap panel, placing them in the bottom left-hand corner of the baseboard and photo and using foam pads to secure them in place.
18. Taking the three die cut hearts, attach them to the bottom left of the burlap panel, placing them over a bed of cheesecloth, stained with Antique Linen Distress Spray Stain and a small broken section of a Ruler Finding.
19. Using a Key Adornment, alter the appearance of the metal by applying Antique Linen Distress Paint over the surface. Once dry, I then applied some Mushroom Alcohol Ink over random areas of the painted key. Wrap some twine around the middle of the key and attach to your arrangement on the panel.
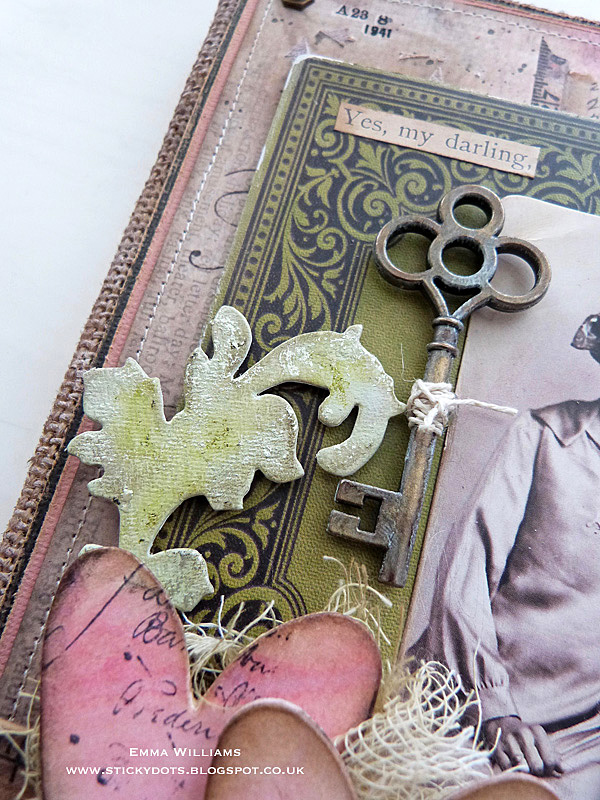
20. Finally, I attached the “Yes, my darling” clippings sticker to the baseboard and using the “heart & soul” Quote Chip, I applied a small amount of Vintage Collage Medium over the surface, allowed it to dry and then attached the chip directly onto the photo of the couple to complete my project, which as you can see from the image below, is full of dimension and layer.
Thank you so much for stopping by today, it’s been fun to take you through the creative process of this piece and I hope you love this project as much as I’ve loved creating it!
See you again soon and have a great week,
Emma
SUPPLIES:
|


Thanks for reading today, and thanks to Emma for being our guest!

Blog Candy Alert!! Follow our blog via email and comment on this post for a chance to win special blog candy!


Wow, what a gorgeous project.
Amazing creation!
Love the vintage
look.
Carla from Utah
I’m always in awe of mixed media projects like this – so much creativity and beauty together!
Wow, your attention to every little detail is awe inspiring. Great job!
Wow a lot of small details. Vintage style is not my thing but I love watching other people’s crrations. So lovely!!
This is simply gorgeous xxxxx
Gorgeous project!
Beautiful project, Thanks for sharing.
Wow! This makes me want all the supplies… but I don’t think they’d guarantee I could make something like this! ;)
Bautiful Piece of art. This one Looks great on the wall.
This is gorgeous!
So very beautiful!!