Halloween BOO Banner by Richele Christensen
Hi friends! Happy Tuesday! Please join me in welcoming back special guest Richele Christensen to the blog today! You may have seen last month that the Tim Holtz Palette Fabric had a holiday release of both Halloween and Christmas come out a bit early to give you ample time to make holiday makes! Richele created this adorable template so you can recreate this adorable banner for yourself! Be sure to read on to learn more and enjoy!
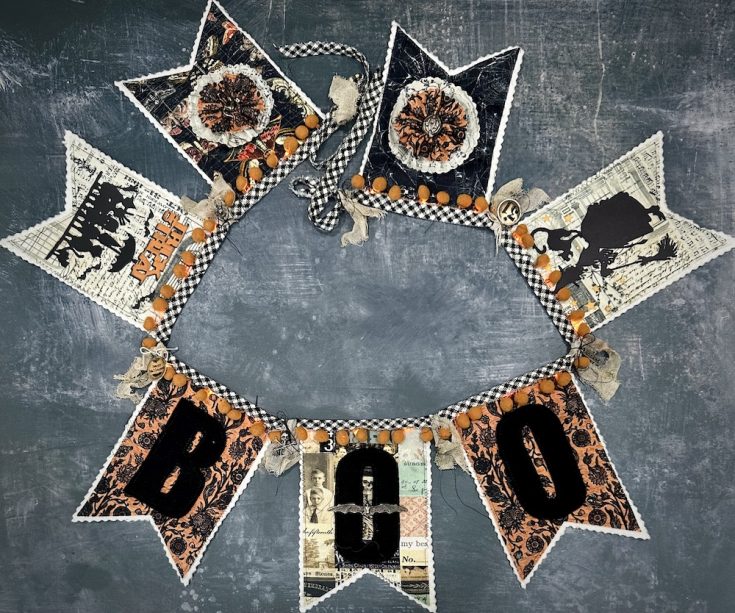
Hello friends! Halloween is my favorite holiday to craft for whether its fabric or paper crafting I’m all in. This Halloween Boo Banner is the best of both worlds. I’ve used the Tim Holtz Palette Halloween fabrics with a mix of Sizzix die cuts and Idea-ology. The fabric adds a nice texture to the banner don’t you think?
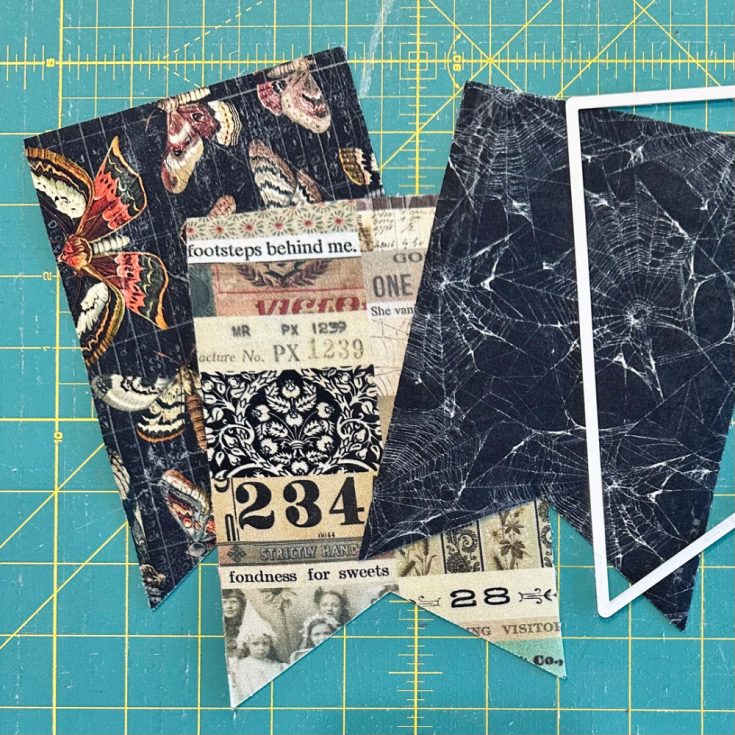
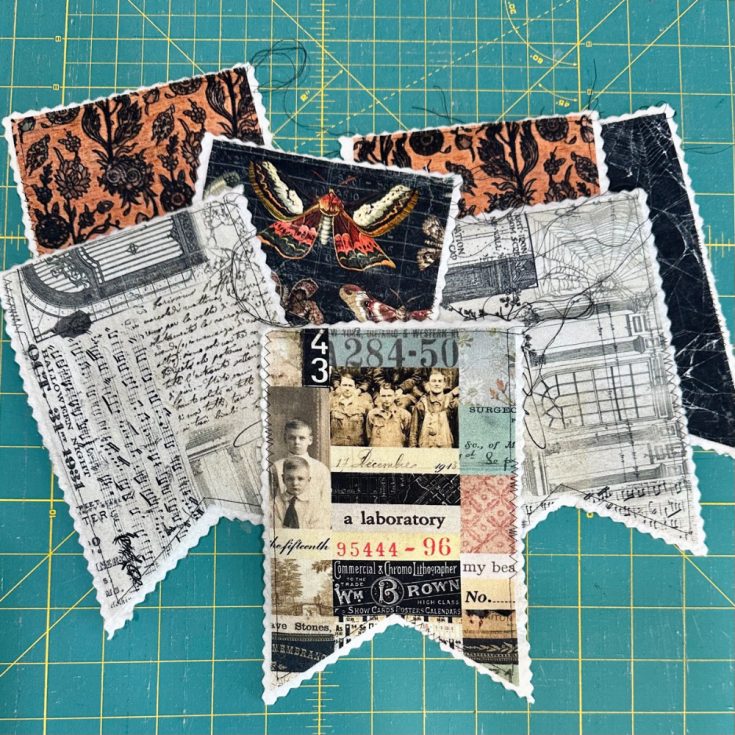
Using the template provided cut your Halloween Palette Fabrics out. You will need 7 pieces all together.
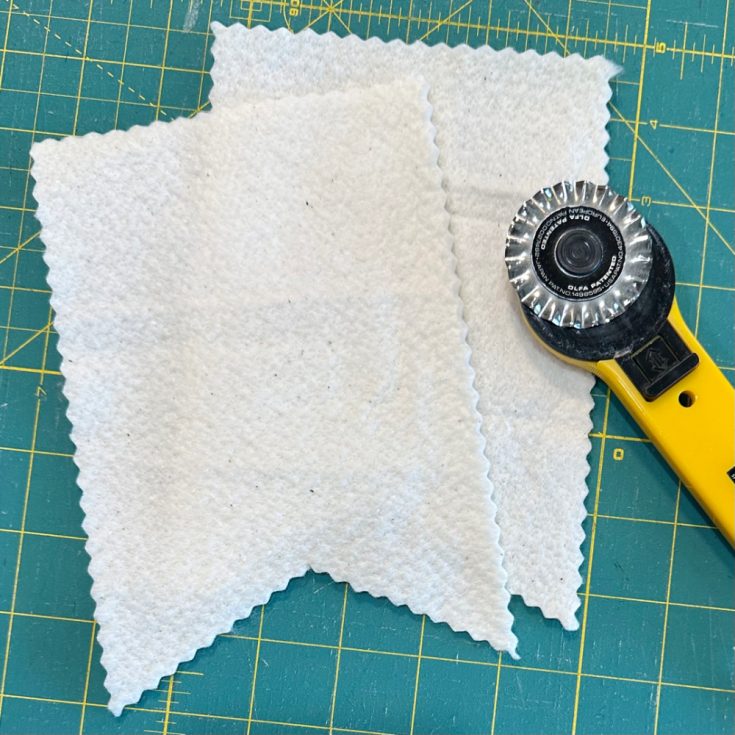
Cut out batting a little larger the the flag shape so it will show around the edges. I’ve used a batting called Warm and Natural but anything will work even felt.
Layer the fabric and batting then sew close the edges with a straight stitch and/or zigzag stitch leaving a tail of thread at the top if desired. This will attach the fabric and banner pieces.
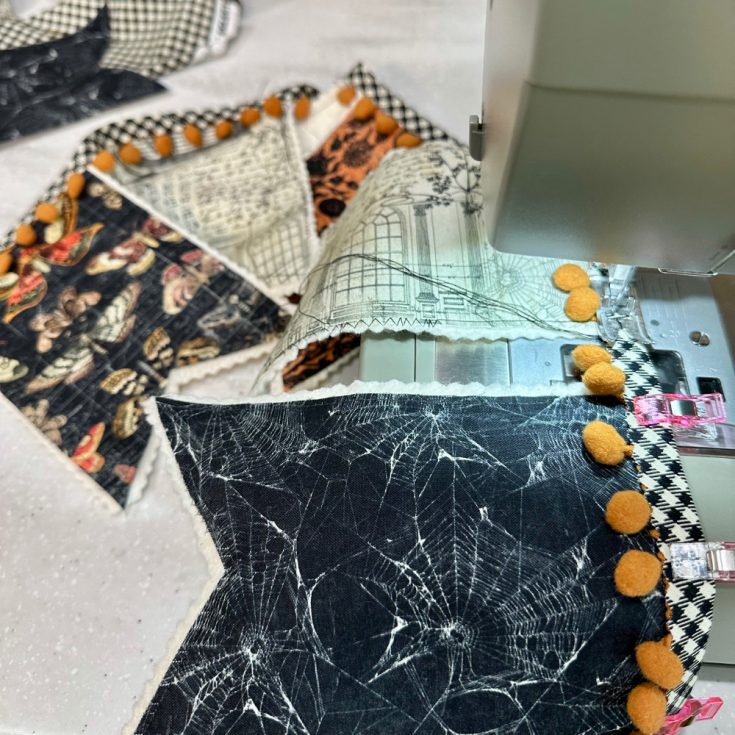
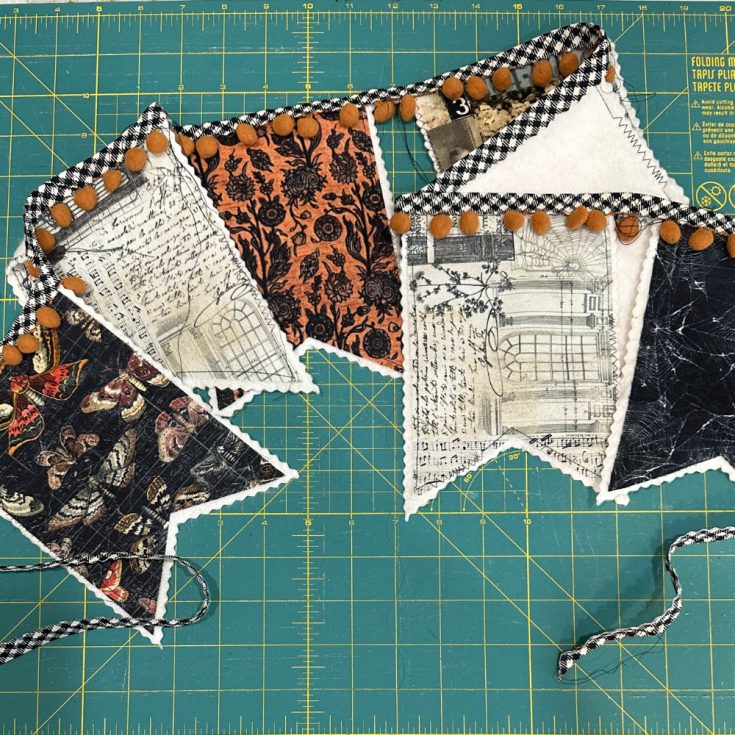
Cut 2 strips of the Black Gingham fabric 2” x 44. Sew the strips together and press in half lengthwise. Pin/clip the banner pieces inside the gingham strip, working from the middle out leaving about 1” between the banner pieces. I also used a little Pom Pom trim in a rusty orange color. Tuck the pom pom trim in the Gingham strip as you sew.
Sew down the middle of the strip to create the banner leaving a tail at each end for hanging your banner. I did not add the pom pom trim to the ends.
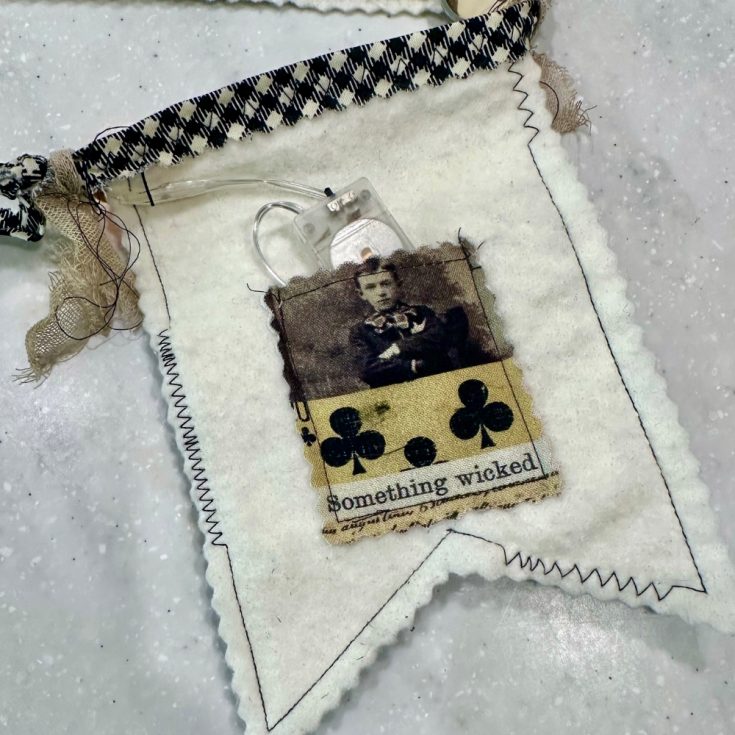
Create a small pocket for the battery pack to go. Cut a piece of fabric with pinking shears and sew to the back of one on the end panels. Approximately 2 1/2” x 2 3/4”
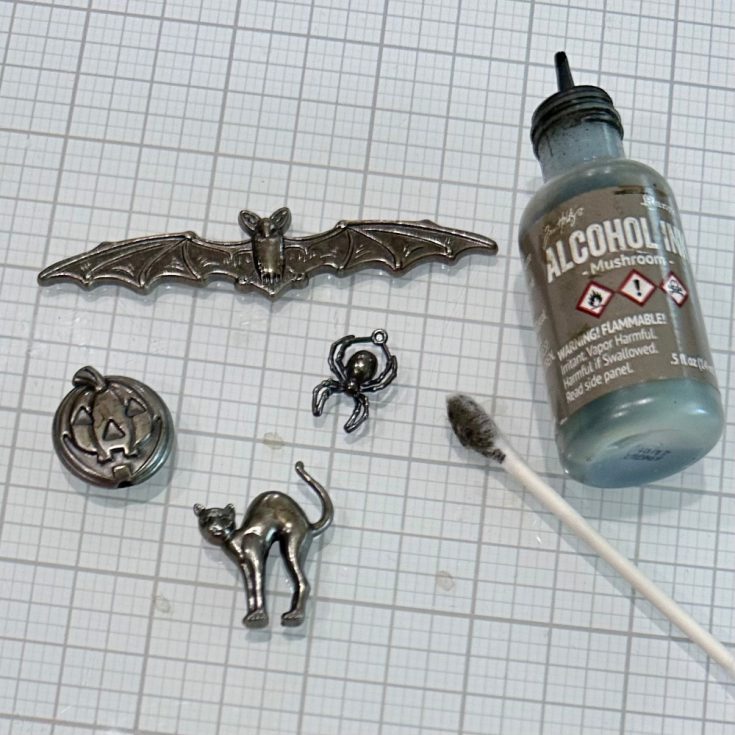
Use a cotton swab to add Mushroom Alcohol Ink to all the metal embellishments.
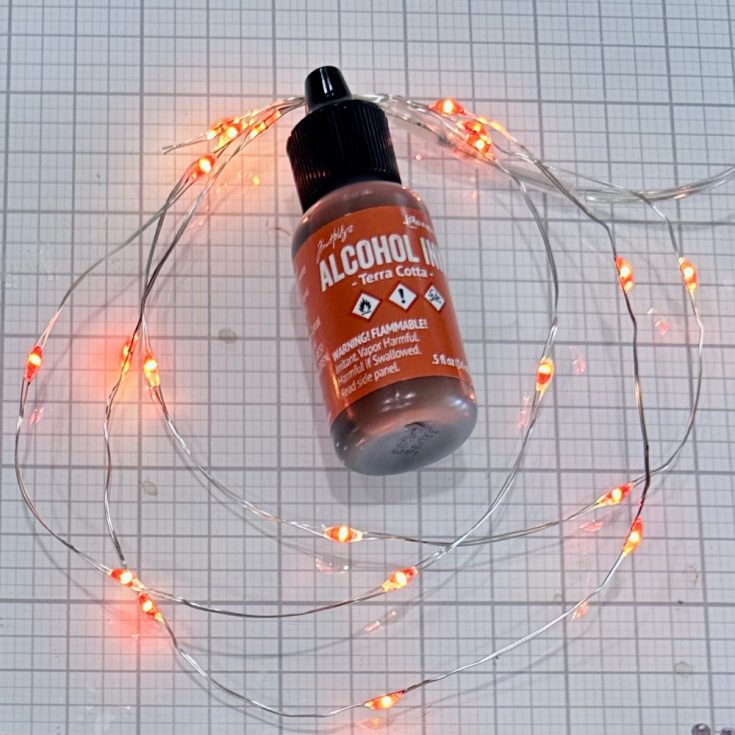
Alcohol ink the Tiny Lights to create an orange glow using Rust Alcohol Ink on a cotton swab.
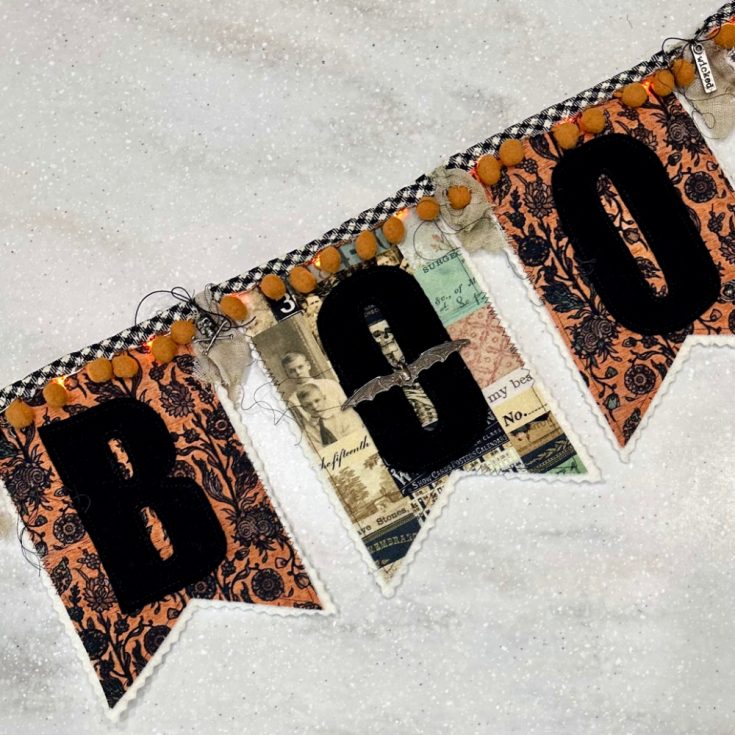
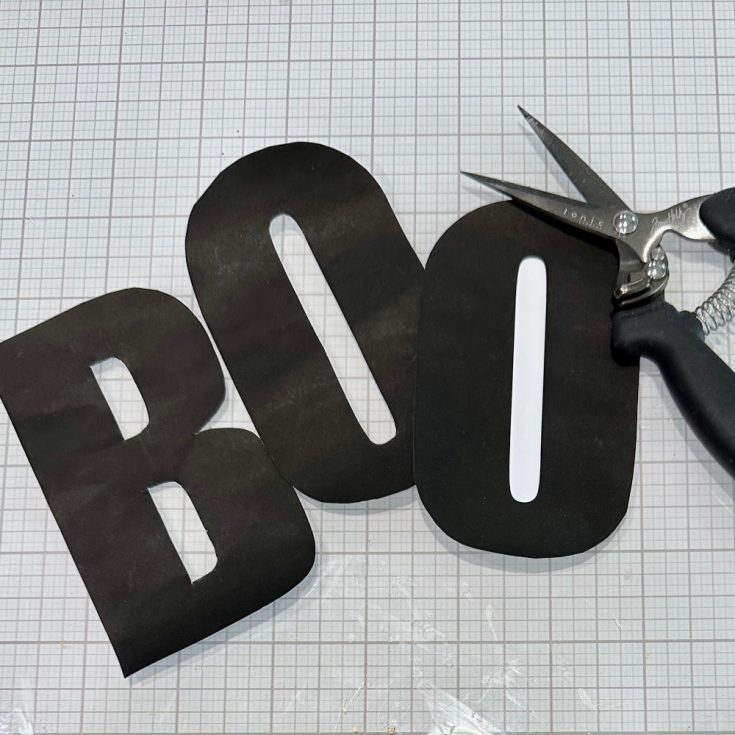
Cut the BOO letter out form the template, pin templates to felt and cut them out. You can also use cardstock if desired.
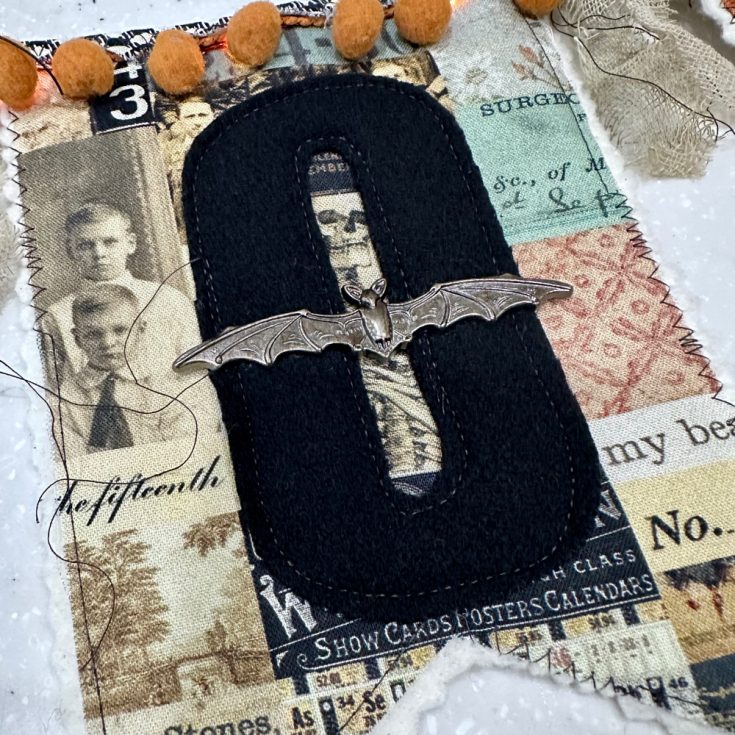
Adhere the BOO letters to the banner using Collage Medium or sew them close to the edge like I did.
Embellish the BOO letters as desired like a bat charm, spiders etc.

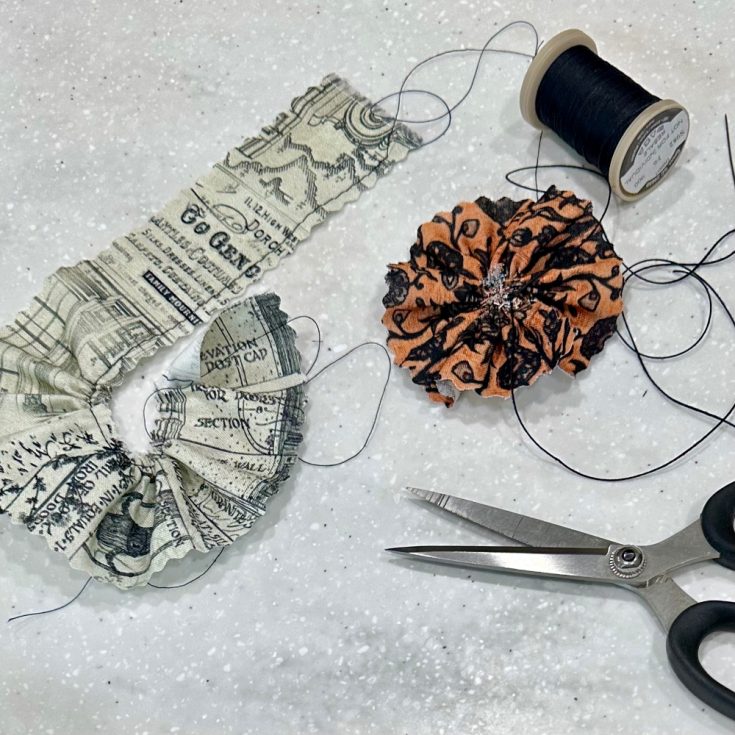


Make Rosettes from the Palette fabrics. Cut strips of fabric from the Orange Tapestry fabric 2-1 1/4” x 12” and 2-1 5/8” x 16” strip from the Remnants fabric. Sew a running stitch by hand or a gather stitch on the machine. Pull the end to create the rosette and tie off to secure.
Adhere the finish Rosettes to the ends of the banner pieces.
Add the Cat and Pumpkin from the Halloween Figure Stands using Collage Medium.
Die cut the Trick or Treaters and Witchcraft dies from 3 layers of black cardstock and adhere together.
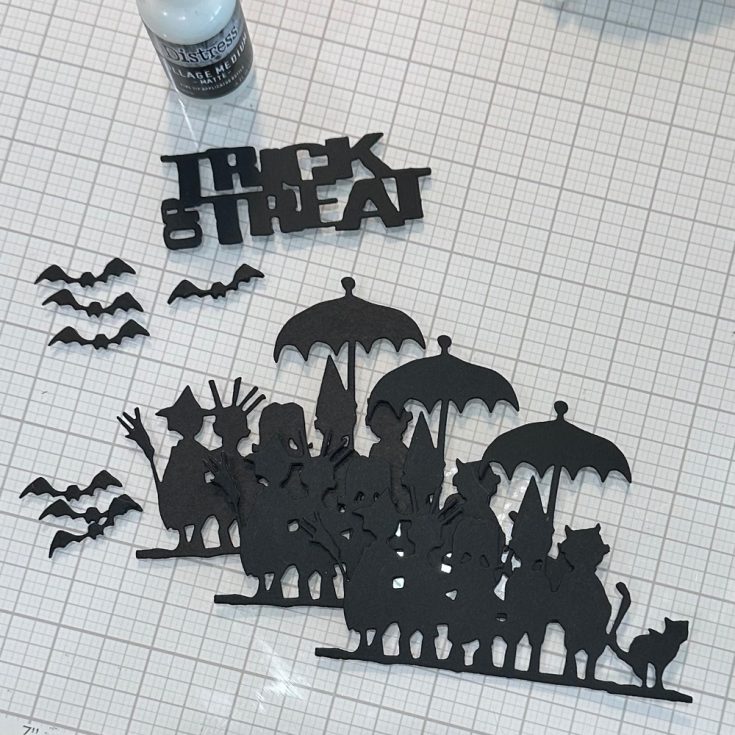
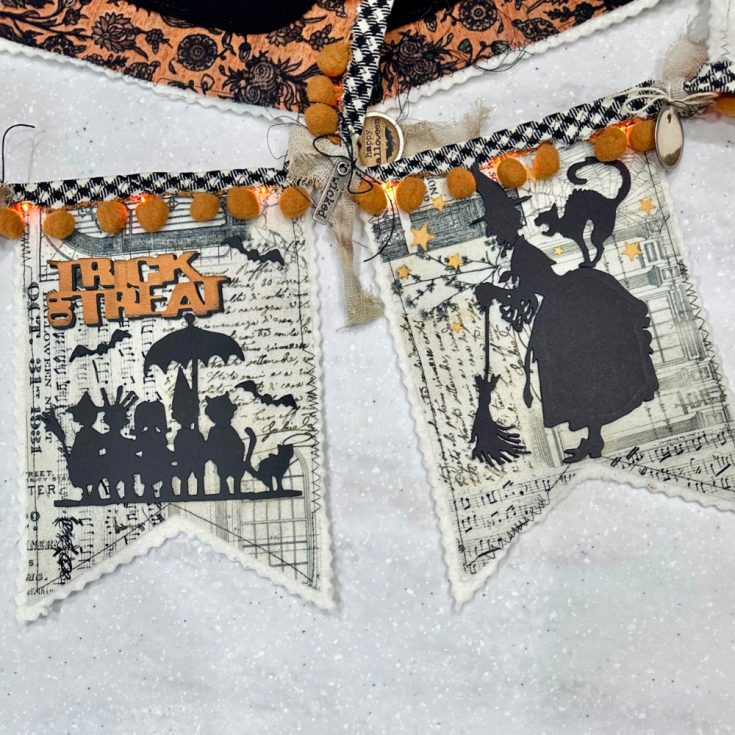
Adhere the Trick or Treat kids and message to one of the Remnant banners with Collage Medium. Adhere the Witch and Cat from the Witchcraft dies to the other banner piece with Collage Medium. Die cut the stars from a gold and adhere to the Witch panel. I also went back and cut the Trick or Treat from an orange cardstock for a little pop of color.
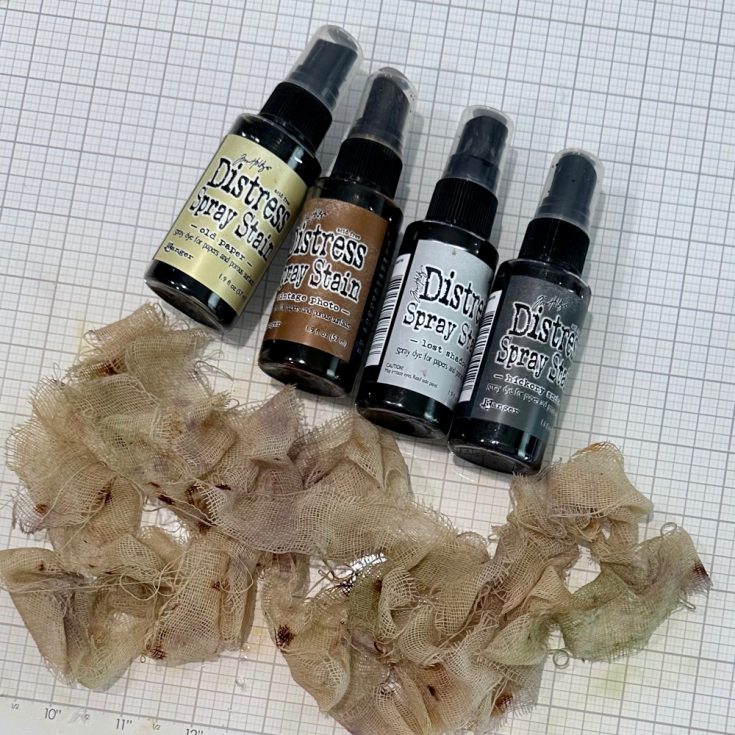
Color Mummy Cloth with Distress Spray Stain in a few brown and gray tones. Color in sections so the colors will be variegated. You can also drip the color on to create some dark spots. Dry with a heat tool. Cut 7” pieces of Mummy Cloth and then tie between the banner pieces.
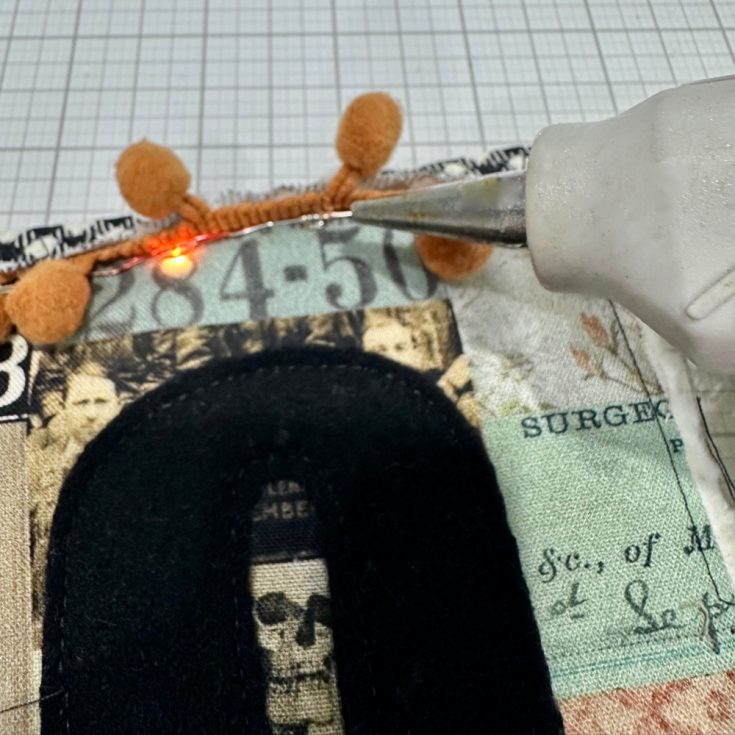
Add the Tiny Light by folding back the top edge of the Gingham Check and tucking the wire under and adhering with hot glue. Tuck the Battery pack into the pocket. Embellish as desired.
Thanks so much for coming by and happy sewing! -Richele

SUPPLIES:
Missed the link to the printable template to create this adorable banner? Click or tap HERE!
|


Thanks so much for stopping by today, and thanks to Richele for being our guest!


Thanks so much for having me on the blog today! I hope everyone enjoys the Boo Banner!
Richelle, where would we get the templates? There are no links in the instructions. Thank you so much, the banner is fabulous and I just bought a whole bunch of fabric to make one.
such a fun banner
Love the banner!! Hope to give it a try. Thanks!!
Love the banner!! Where would I find the download able templates for the banner and BOO letters? Thanks.
I couldn’t find the templates either, but I would love to have them since I have a LOT of Tim Holtz fabrics that I’ve collected over the years that I need to start using.
This is Amazing!!! Sooo cool!!!
Oh wow this is gorgeous
Halloween BOO Banner by Richele Christensen is creative and gets a lot of attention.