How To: Go Press and Foil Machine
Hello everyone! I am thrilled to have you here with me today for a how-to video on the Couture Creations Go Press and Foil machine! Have you seen this fun, foil transfer tool? We now have them in stock here at Simon Says Stamp, and you can find all of Couture Creations’ products HERE.
The Go Press and Foil machine works by using heat and pressure (via any standard die cutting machine) to transfer heat-activated foil on cardstock. You can also transfer foil onto other materials as well, like chipboard and textiles!
A cool feature about the Go Press and Foil machine that makes it stand apart from other foiling machines is that you can create easy letterpress results! The machine also works with embossing folders, which expands your foiling techniques even further!
Let me show you some samples of the different things you make with this machine.
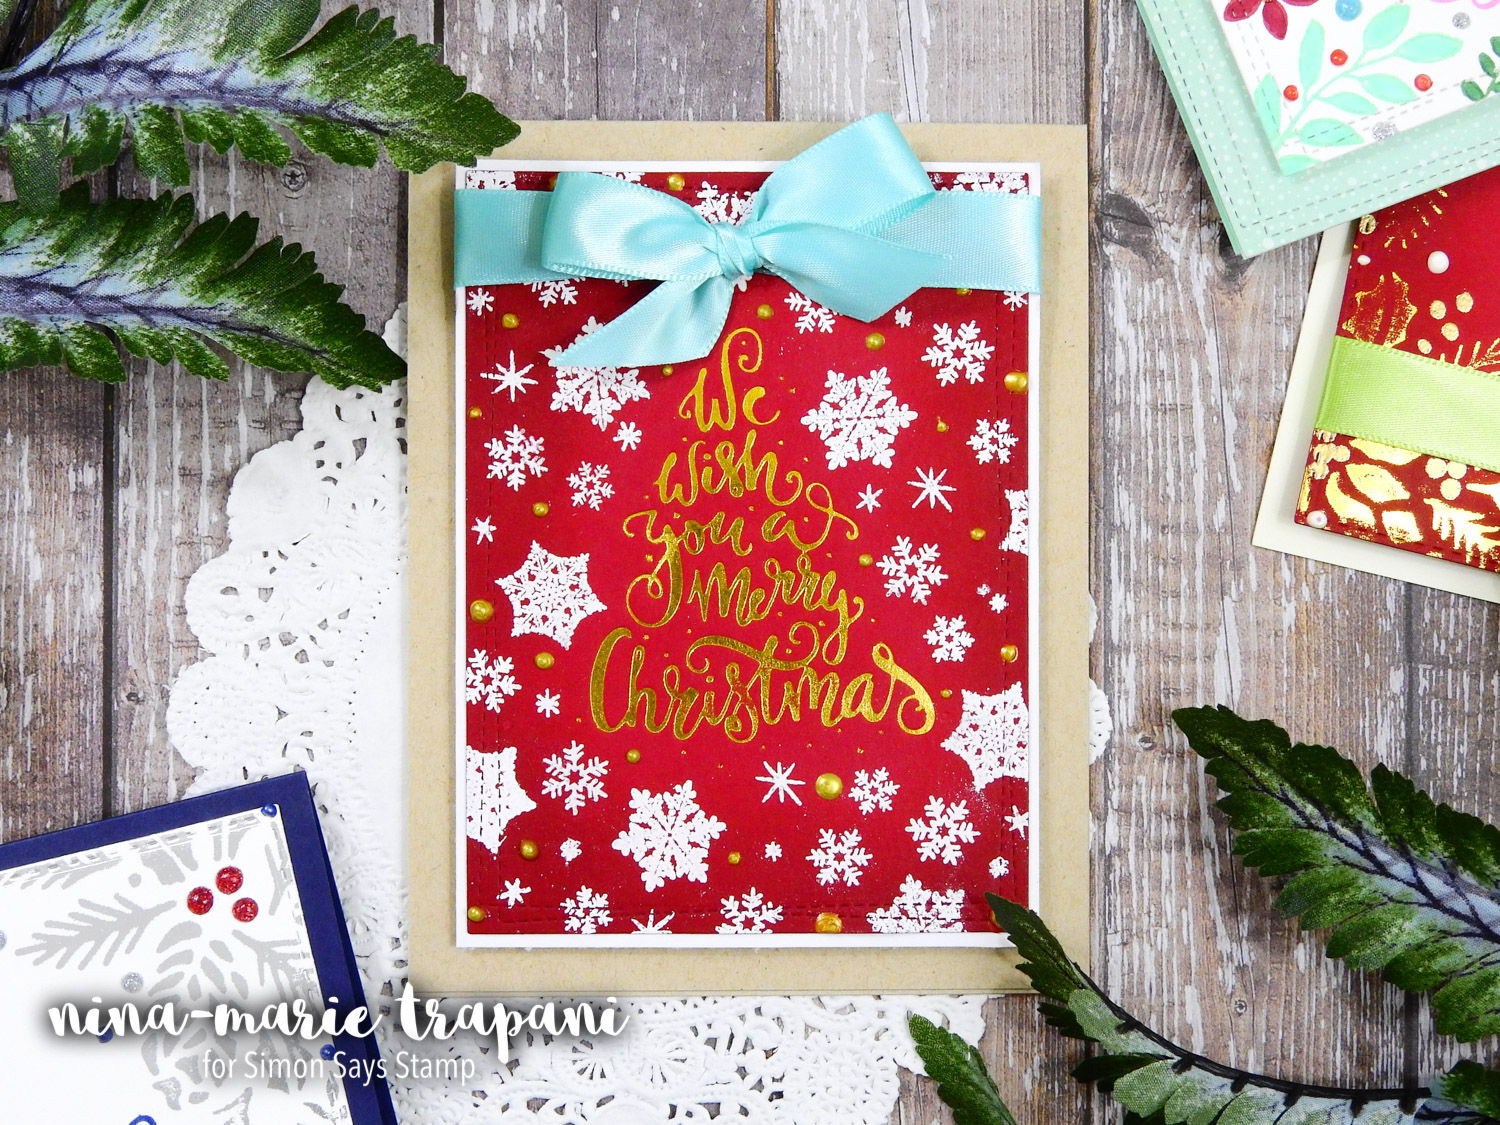
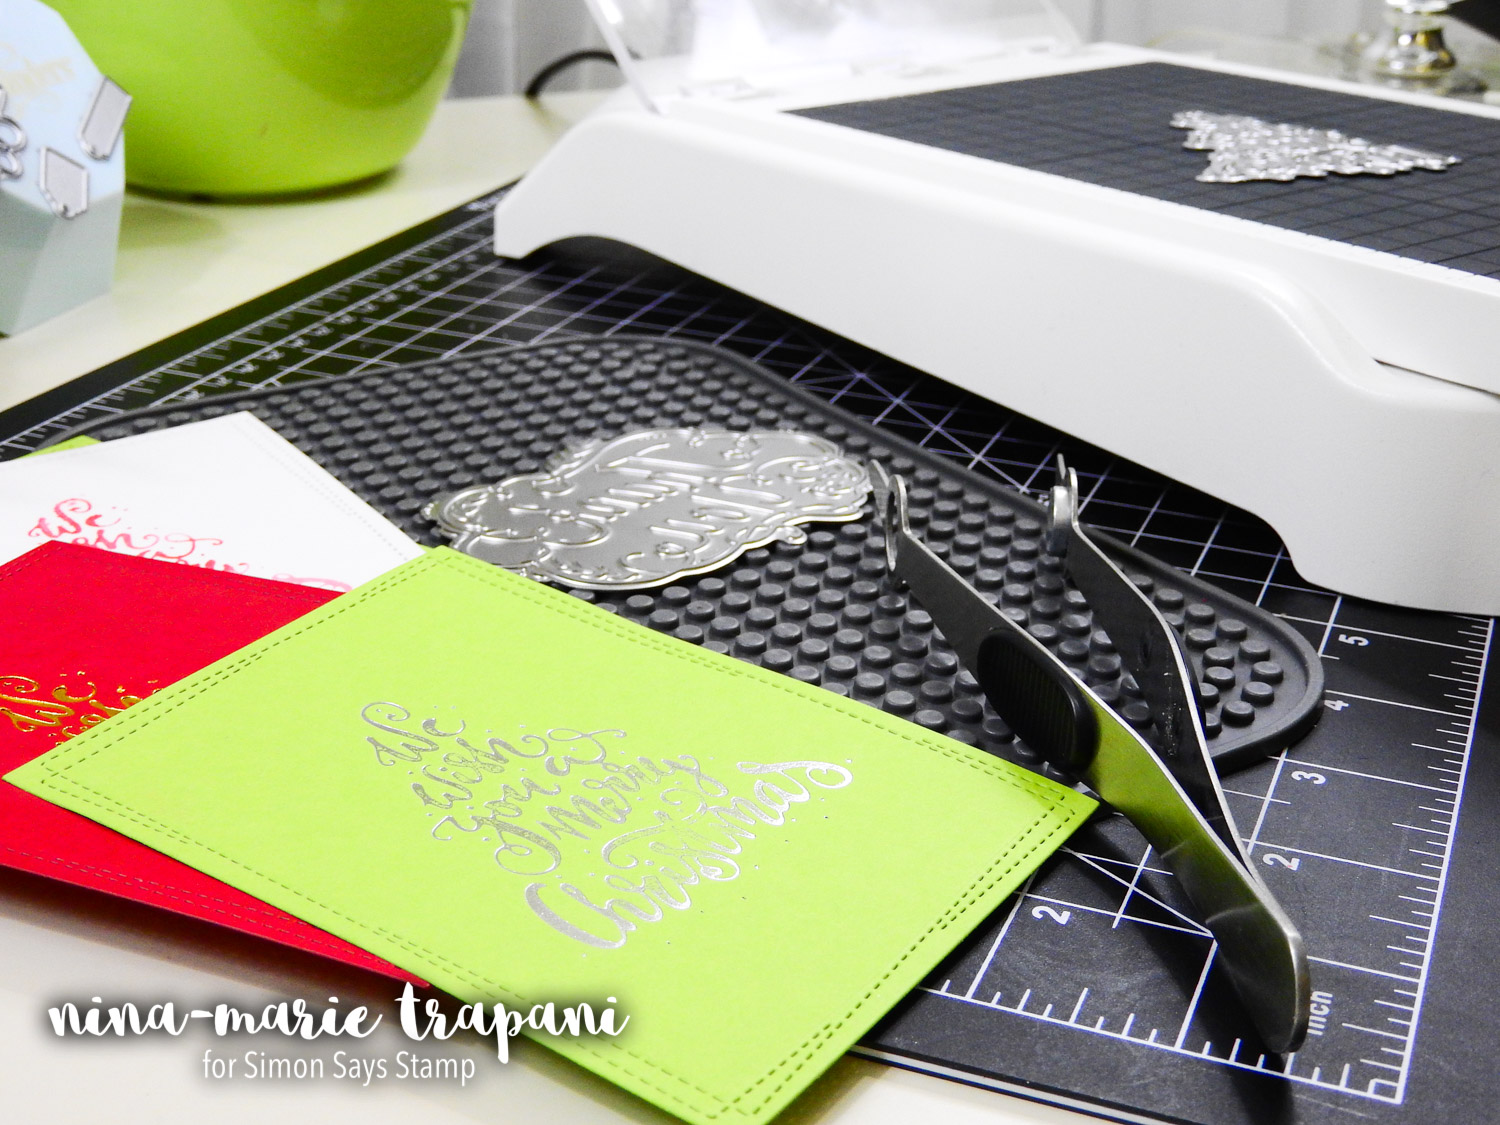
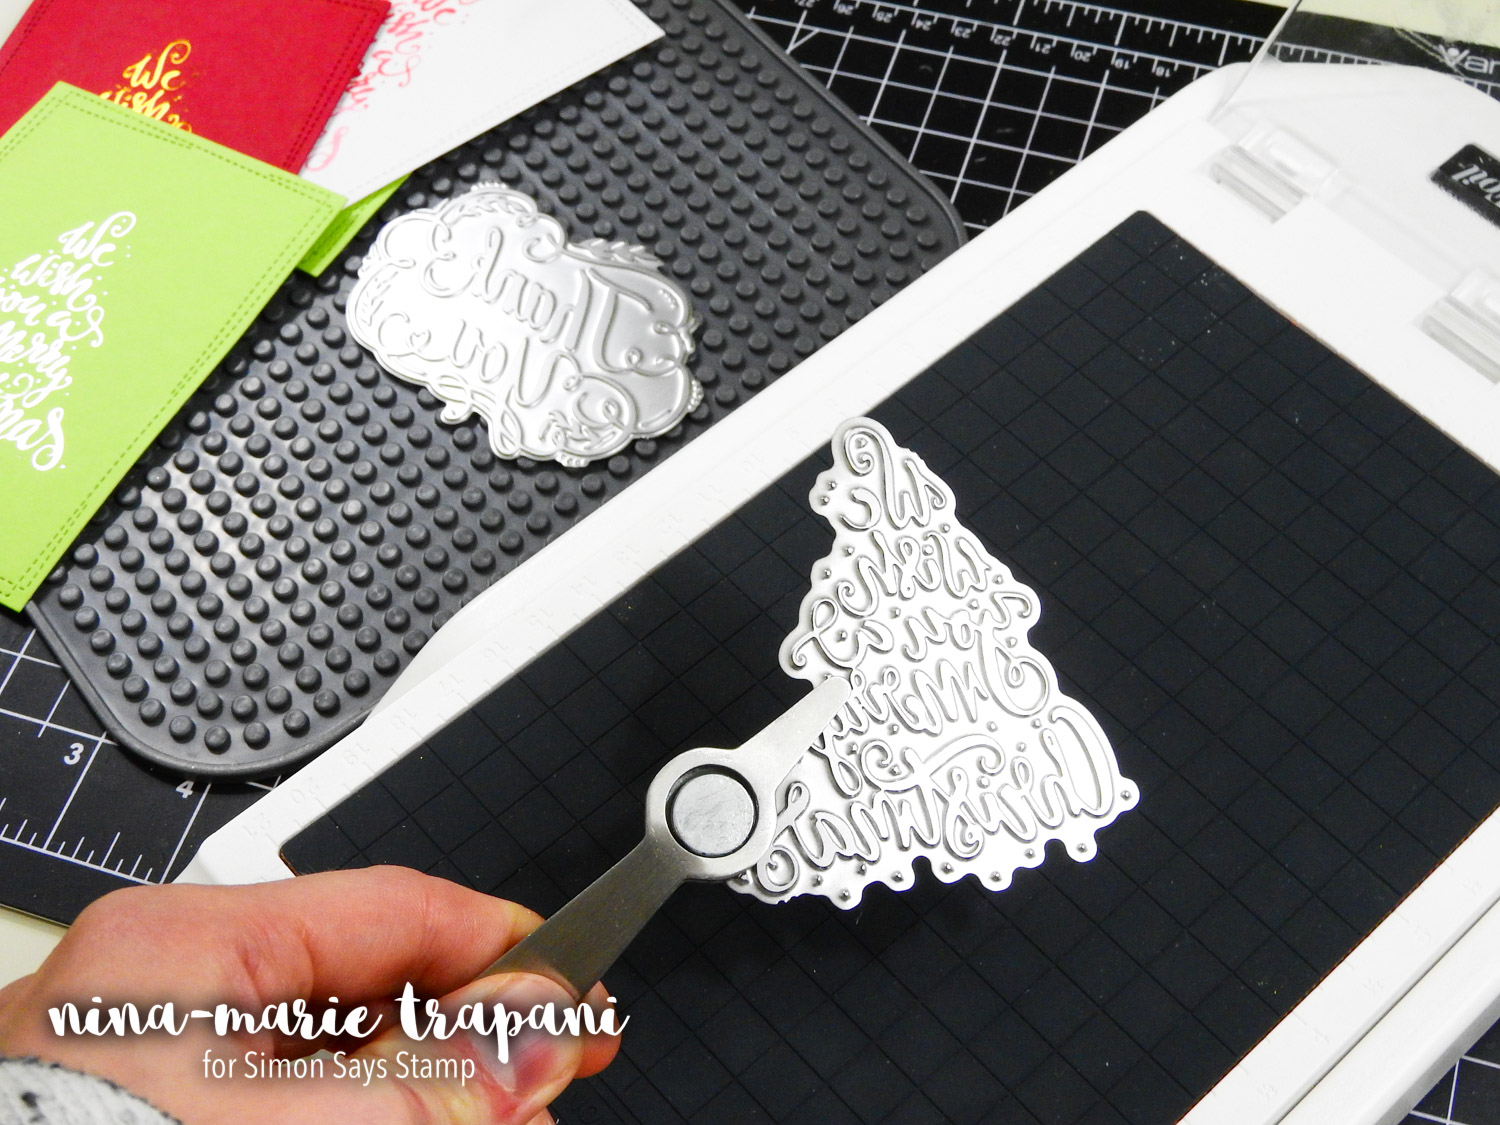
This first card showcases a Hot Foil stamp from Couture Creations; we have quite a few of these “stamps” that can be found HERE. These “stamps” are not a typical rubber or clear stamp that we are used to; they actually remind you more of a die without any cutting edges. Made from steel, these Hot Foil stamps heat up when placed inside your Go Press and Foil machine and help transfer your foil onto paper. I used the foil stamp with some of the Couture Creations gold foil; if you watch the video, I will walk you through the steps in using the foil and stamp together.
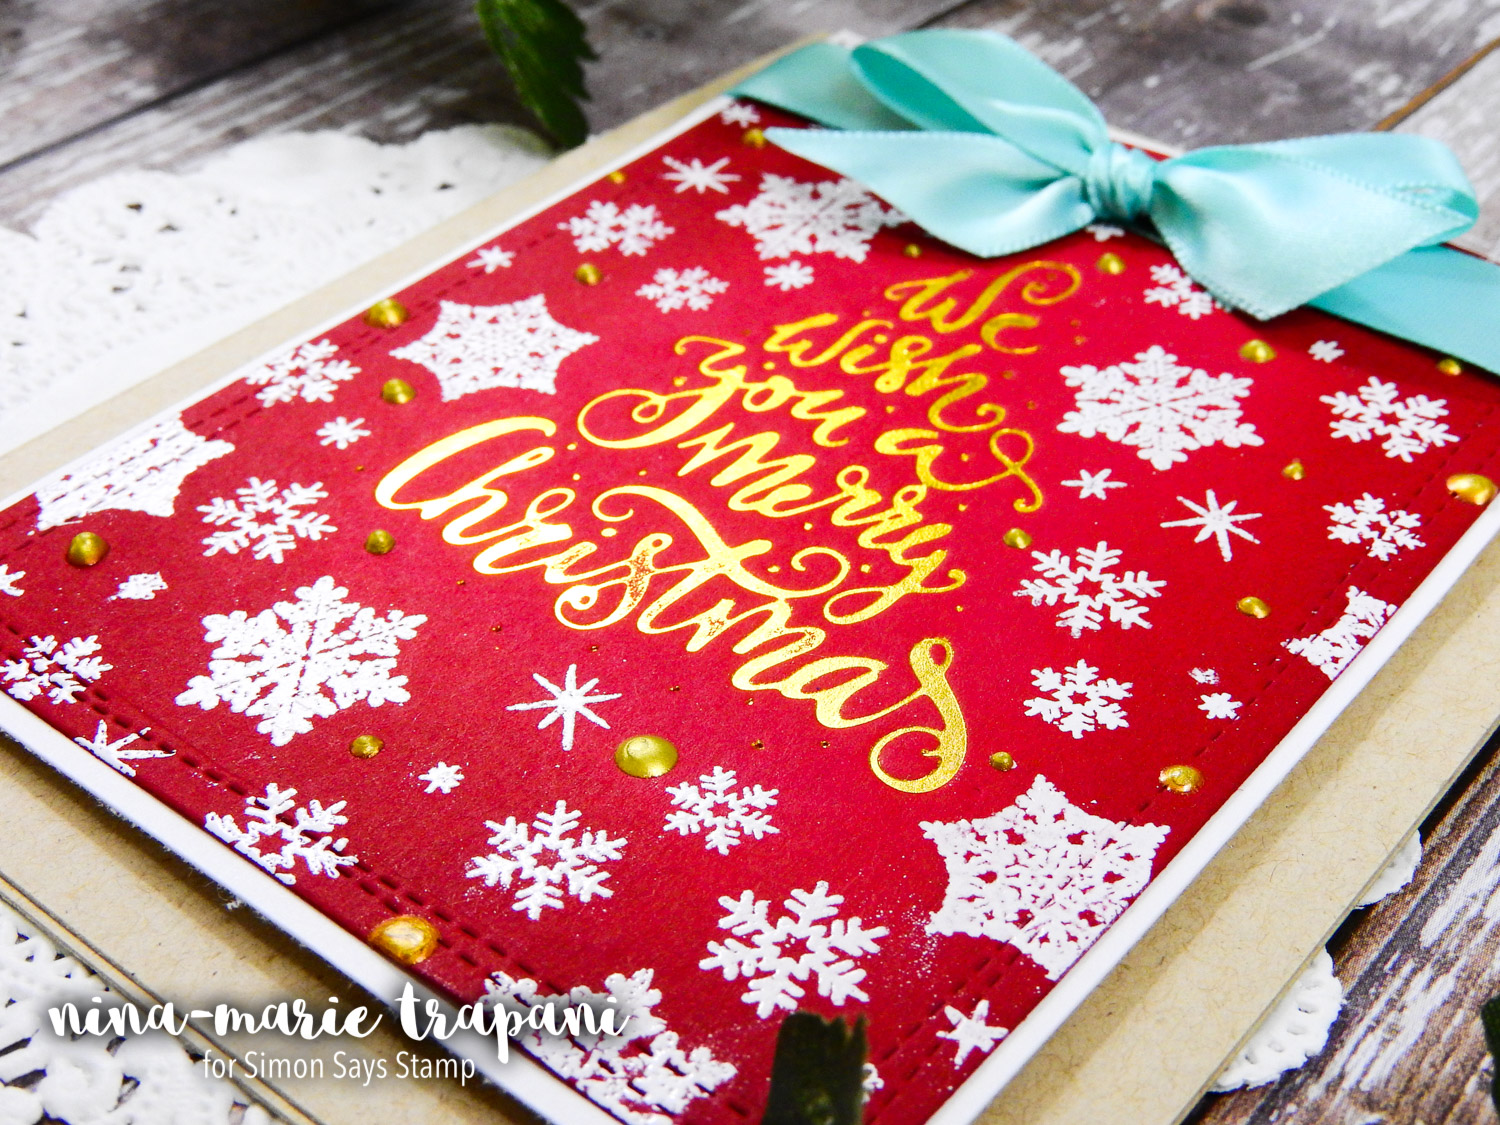
After you place your stamp, foil and paper into the machine, you take the entire platform of the machine (with everything still inside) and run it all through your die cutting machine. The Go Press and Foil machine applied the heat needed to transfer your foil, but it did not add the pressure; this is where the die cutting machine comes into play. The pressure and heat combination transfers the foil while the impression of the stamp “embosses” the paper with a letterpress effect. It is truly beautiful!
I decorated the card with snowflakes from the To Be Jolly stamp set (from Couture Creations), the Swell Christmas and the On a String stamp sets (from Simon Says Stamp). There are gold metallic Nuvo Drops around the heat embossed snowflakes and the panel is matted with white and kraft cardstocks.
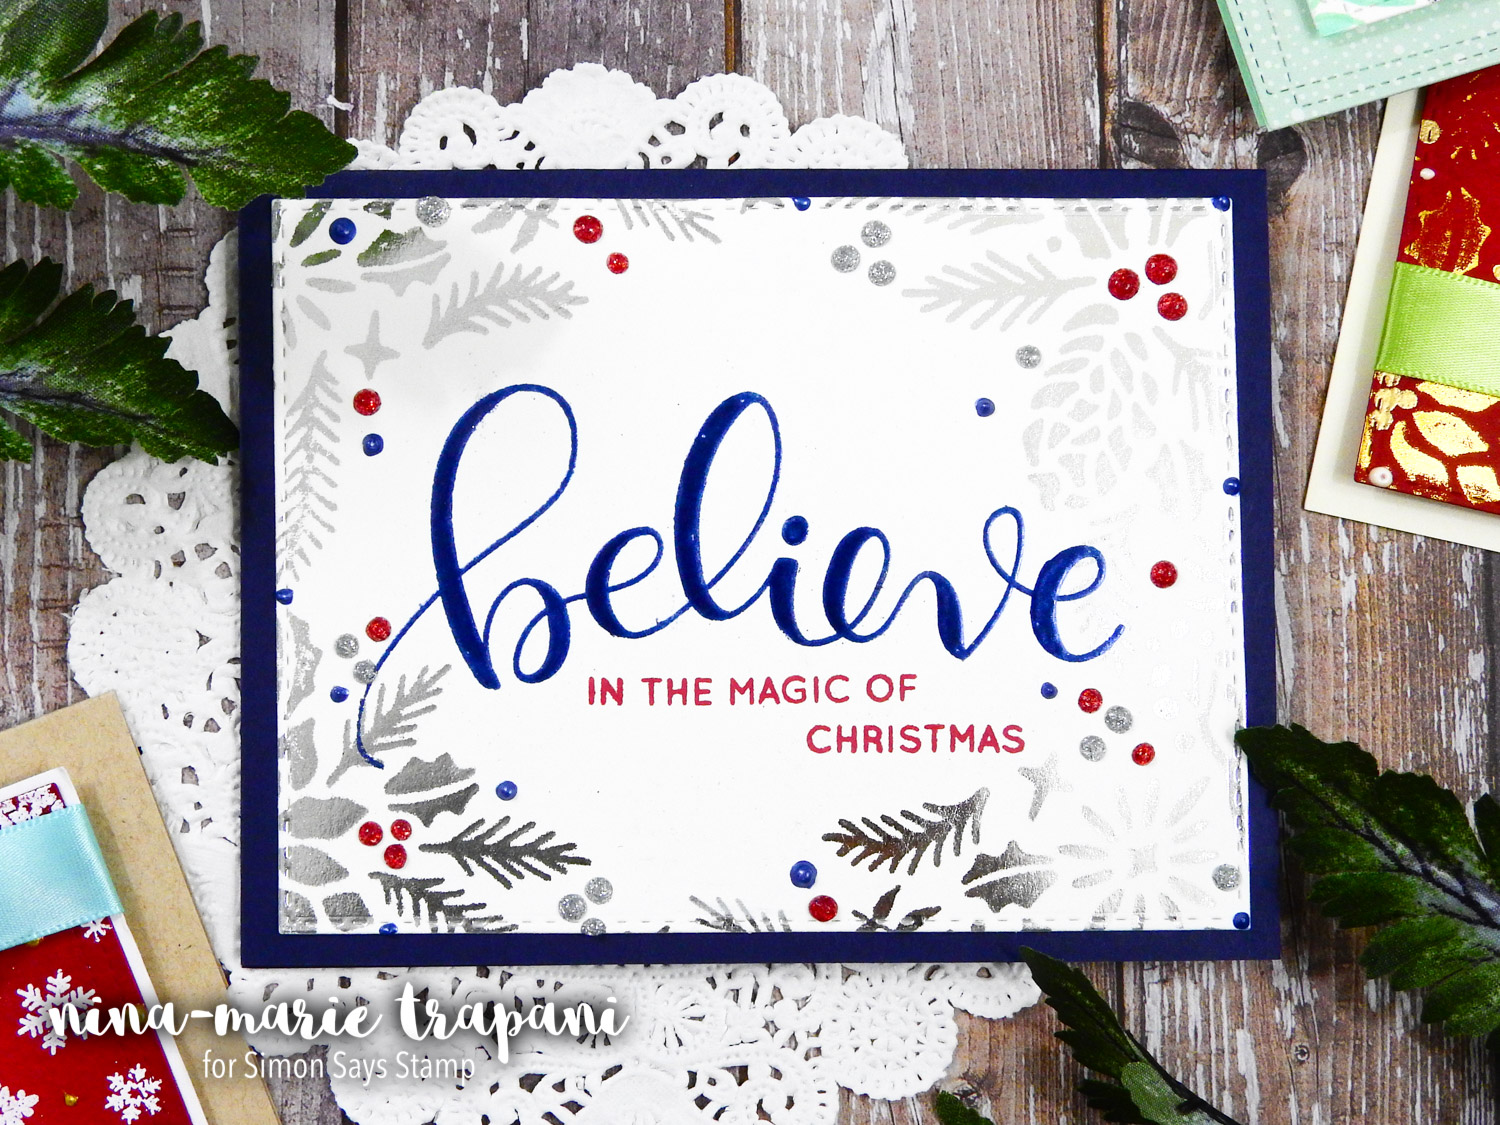
With an embossing folder, you can create similar results as the Hot Foil stamps. This embossing folder is a stamp and folder set from Couture Creations called To Be Jolly and I paired it with some of their silver foil. This technique requires a different sandwich than the Hot Foil stamps, which I demonstrate in the video below.
On this card I had a bit of foil transfer in places it was not supposed to (in the open areas of the folder); this I believe was the result of a bit too much pressure. However, you can fix little mistakes that may happen with this foil by taking a Tombow Sand Eraser and rubbing the excess foil off the paper. The eraser does not harm the foiled pattern; instead it removes only the foil that was not transferred as a result of an embossing folder impression.
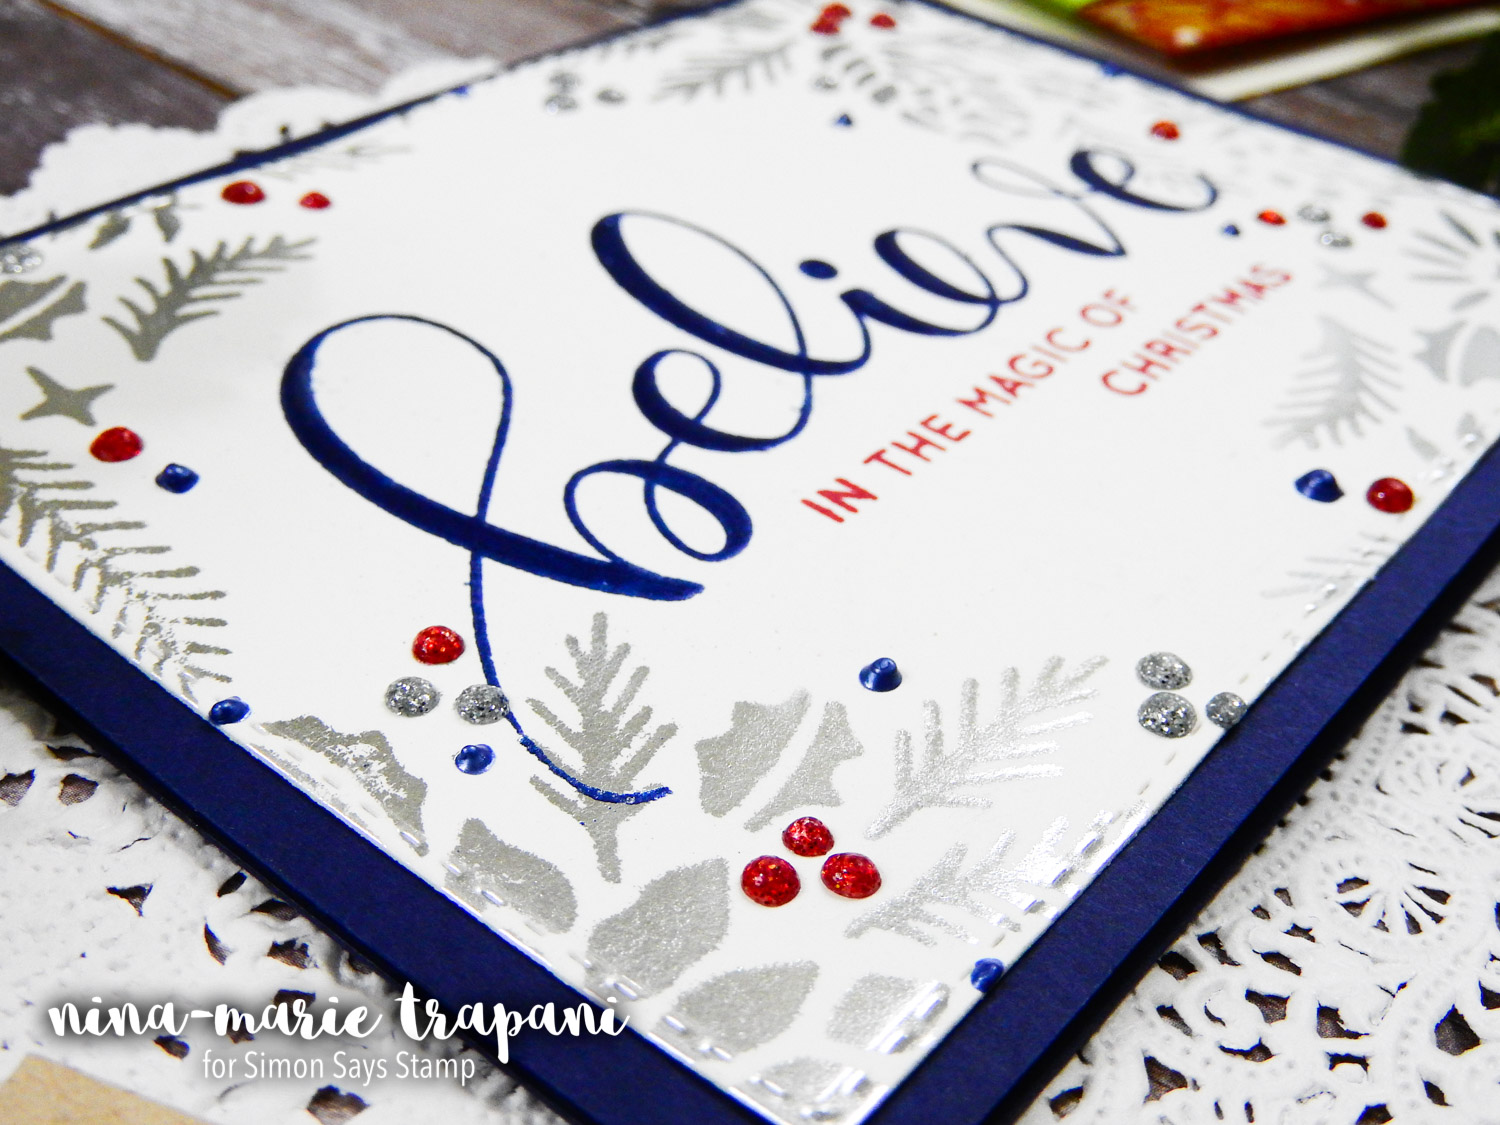
I kept this card simple and elegant. The fonts are from the Believe sentiment stamp set from Simon; “believe” is heat embossed in Steel Navy powder and the rest of the greeting is stamped with red ink. For extra color, there are Ruby Slipper, Navy and Silver Nuvo Drops dotted around the foiled, holiday foliage.
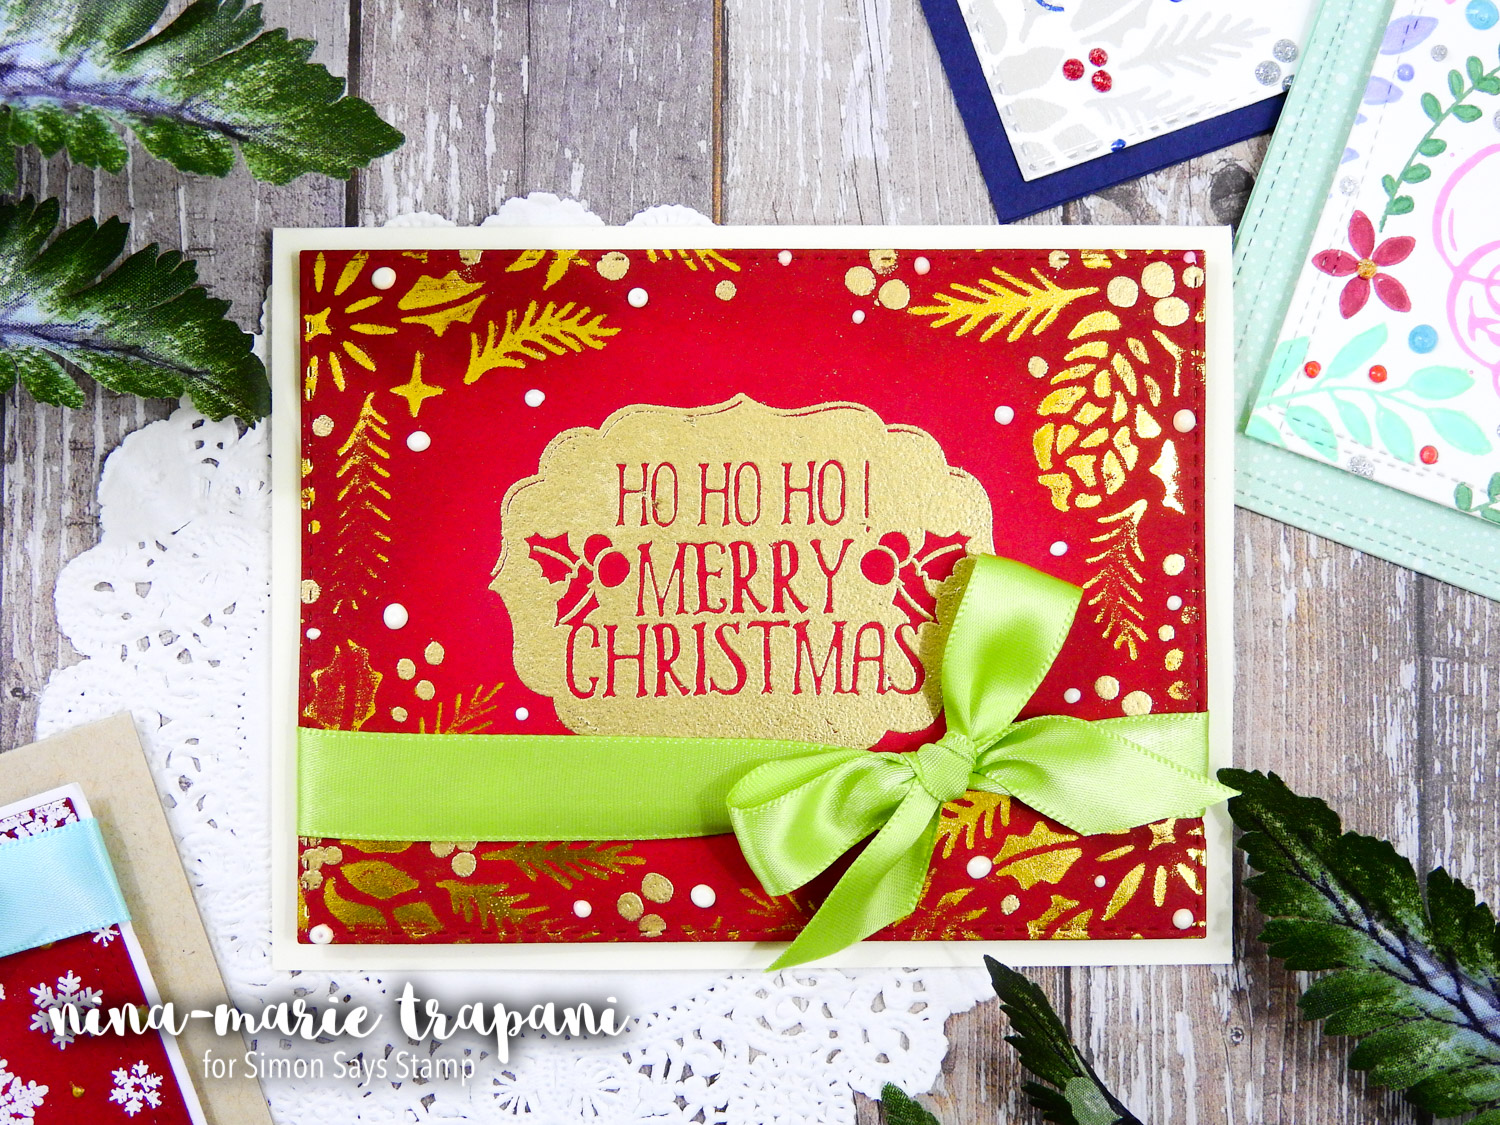
This red and gold beauty is created in the same manner as the previous embossing folder technique. You may notice however that the foil transfer was not “perfect”. I wanted to share this card with you because I think it demonstrates how you can still make use of your “imperfect” foiling (because who wants to throw away a foiled design???).
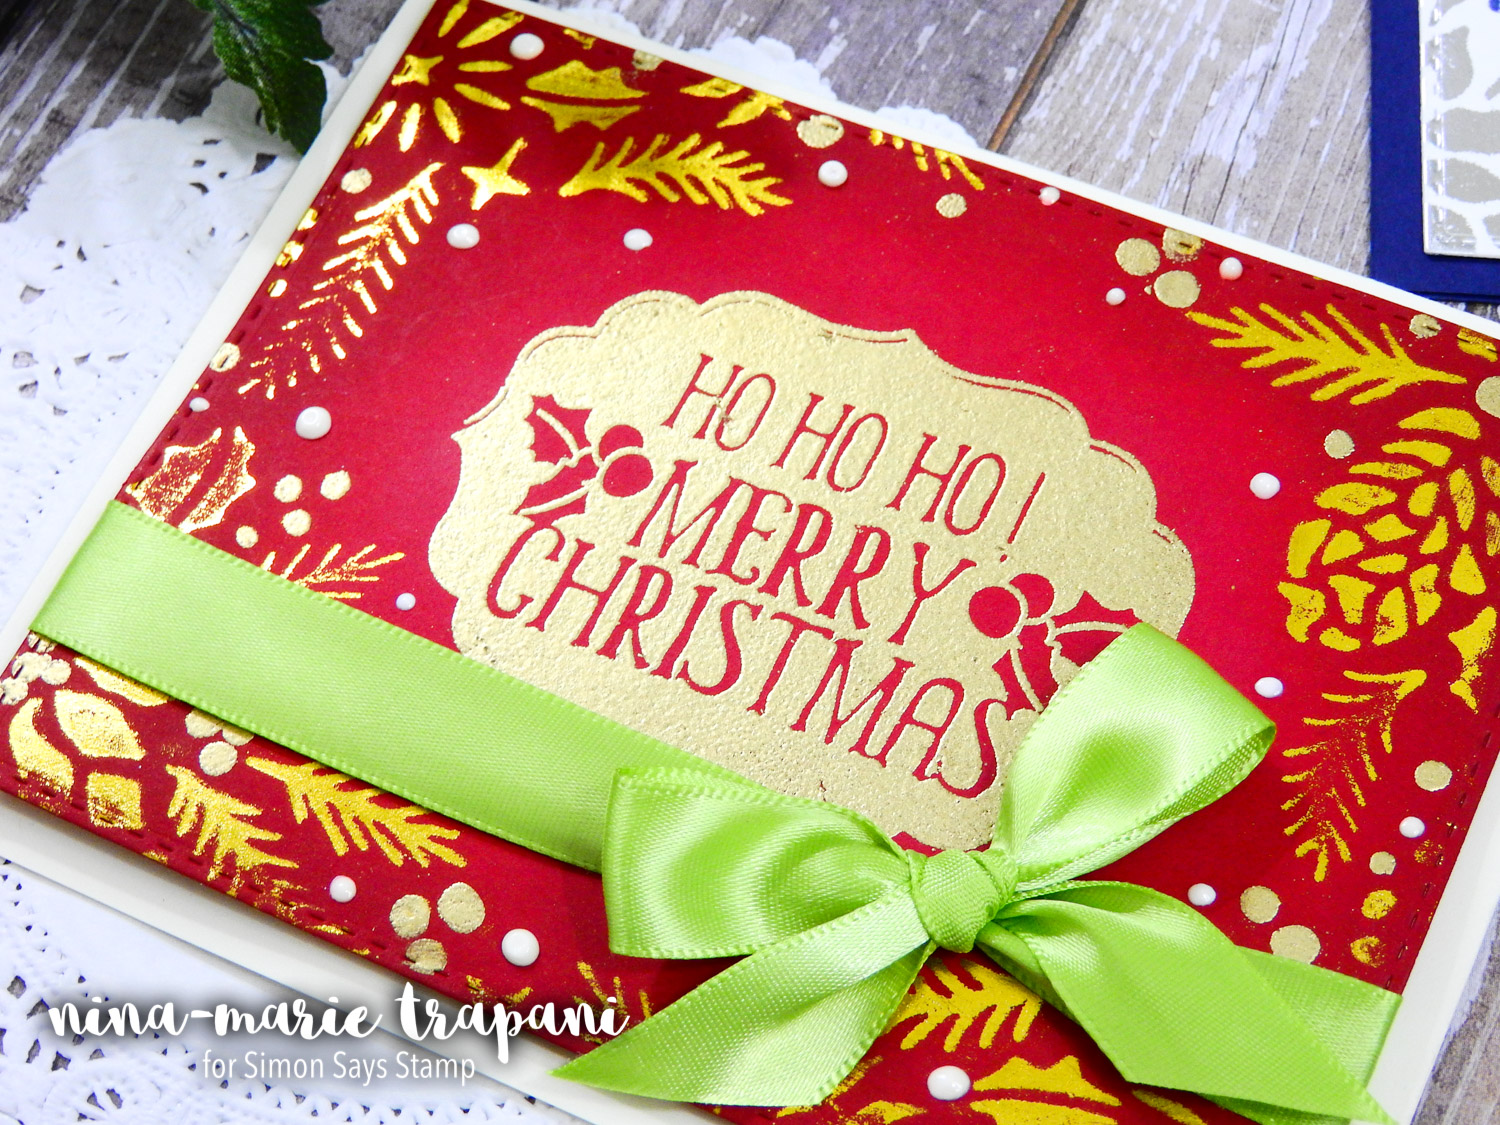
This was a result of not enough pressure in my die cutting machine; yet the “distressed” look actually goes nicely with the stamped greeting I placed in the center. It now looks like the “distressing” was intentional! I placed gold heat embossed and white Enamel Accent dots around the foiled pattern to bring things together. The bright green ribbon also helps finish the design off.
I hope that this encourages you to not give up on your “less than stellar” projects that you may end up with once in a while. Usually there is a way to salvage things!
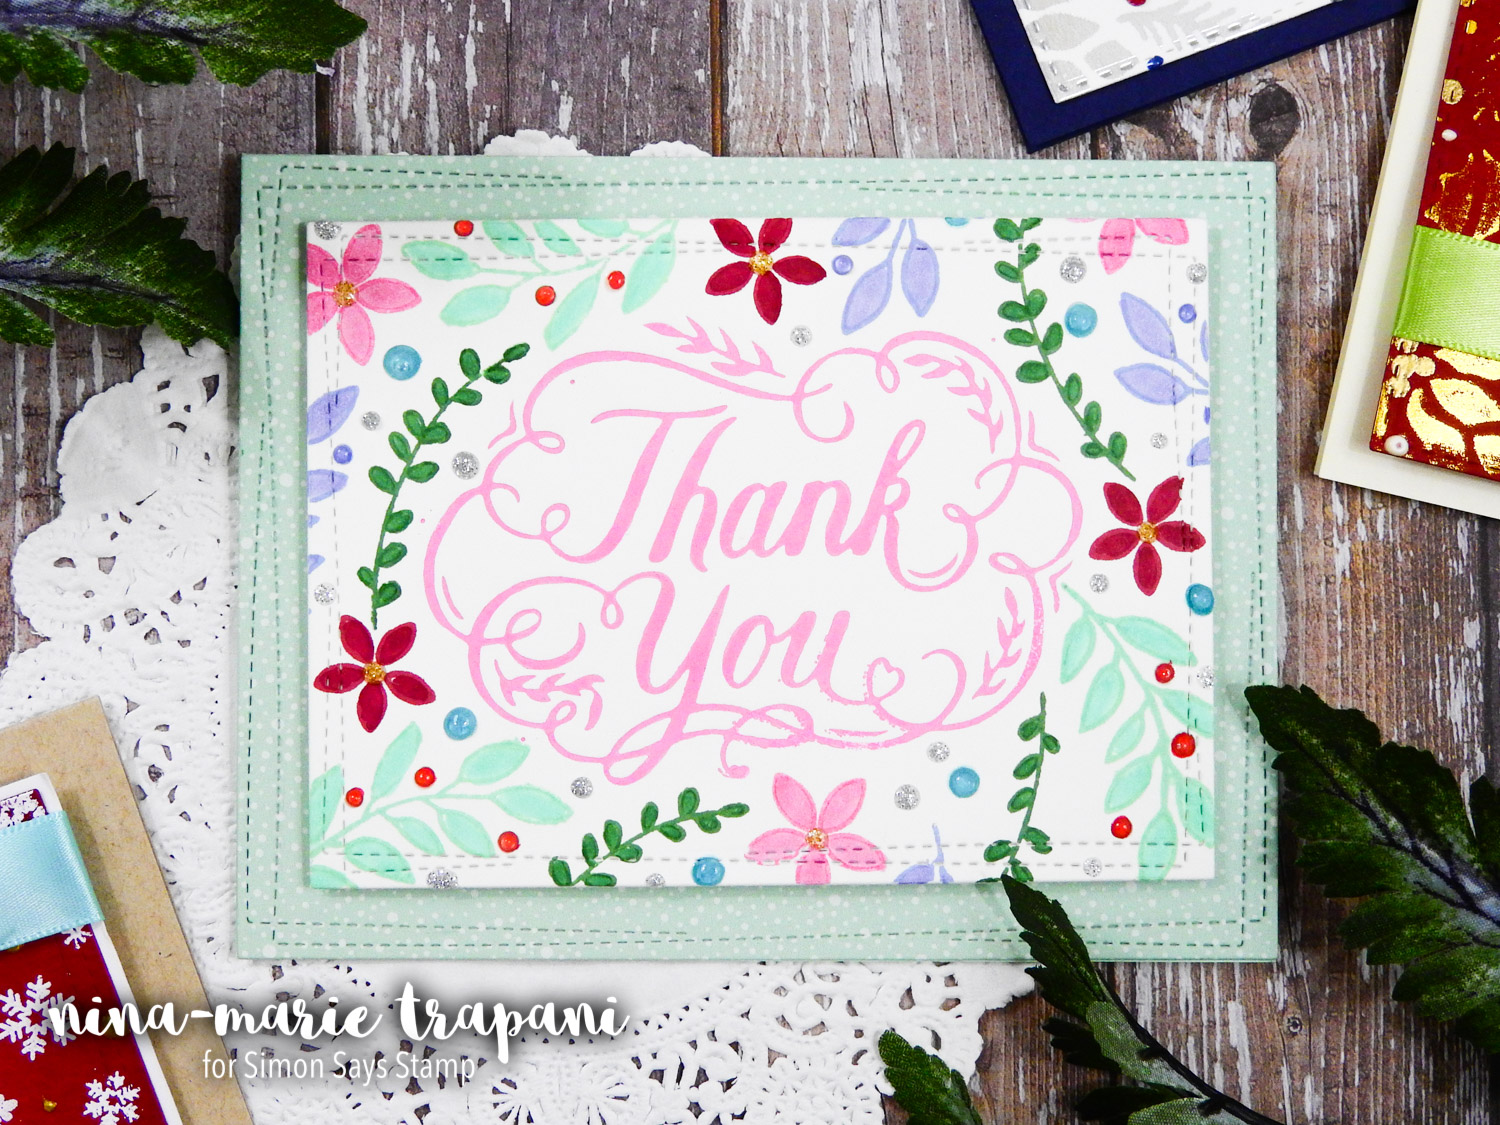
You can also do letterpress with the Go Press and Foil machine! This is such an easy technique when you use the Hot Foil stamps. This gorgeous thank you sentiment is another Couture Creations Hot Foil stamp and I inked it up with some Distress Oxide ink. The best ink transfer results are achieved with a pigment ink; because Oxides behave similar to pigment inks, you can use these as well. I explain the reason why pigment inks work best in the video (plus another idea for letterpress!). For letterpress with (or without) ink, you do not need to heat the machine up prior to running it through your die cutting machine.
I decorated this card with some floral stamp images, Nuvo drops and some patterned paper.
Thank you so much for stopping by and visiting with me today. Be sure to watch the video below! I hope that after reading this post and seeing the Go Press and Foil machine in action, you will try out this fun foiling tool for yourself!
WATCH THE VIDEO
SUPPLIES
|


Blog Candy Alert!! Follow our blog via email and comment on this post for a chance to win grab bags and blog candy! Remember to tag your awesome projects with #simonsaysstamp on social media so we can see what you are creating!


Thank you for such a great tutorial. These look amazing! Cheers.
Beautiful cards and an amazing new product. The video really helped me get a feel of the product.
thanks for sharing this new machine beautiful foiling results!! – looks like its going to be a new addition to my craft room lol!
These are beautiful cards, I love the effect foiling gives!
What stunning cards!
Like the new product.
Création vidéo and cards! Thank you for the inspiration.
Wow, what a fabulous results with this machine!
Wow such beautiful cards. Thanks for such a great tutorial.
Wonderful look of the foil.
Melissa
“Sunshine HoneyBee”
Beautiful cards. Thanks for sharing the video on foiling…
Wonderful cards! Looks like a great machine and yet another fun way to make some great cards. Wish I could afford it right now.
Great product and beautiful cards. Could you give us more on what products we might have in stock now that can be used with this machine? Thanks.
WOW! I didn’t know about this machine. Thank you for sharing it and the great tutorial.
Very cool! I’ve never seen this machine before. Thank you for sharing!
Beautiful cards! Thanks for introducing me to this new product. I love the end results!
Love the red “We wish you a Merry Christmas” card. Beautiful!
Oh I love that you are doing the Christmas thing. The believe card is my favorite. The blue is perfect
Beautiful cards and great video. Thank you for sharing.
Gorgeous – so very luxe looking. I adore the blue “Believe” card as well.
Great video. I love the Believe card.
Sometimes I feel like I must be living under a rock.. a foil machine? Never heard of one.I’m going with I’m older than dirt so I’m not in the “know”. Anyway, I’d like a chance to play with that. Going to check with my crafty friends and see who has one. For special Christmas cards, it’s just too beautiful! Thanks for the lesson.
Oh how cool! Gorgeous cards! Now I know what to get if I win the lottery–haha!
Wow gorgeous! Love the effect!
Stunning and beautiful!
WOW what a cool new machine!!! Love your cards too:)
BEAUTIFUL!! Looks like a FUN New Machine with LOTS of Possibilities!! THANKS for sharing and have a FABULOUS WEEKEND!! =)
What an amazing sparkling array of cards! Thanks for the tutorial too :)
Thanks for sharing the foil embossing machine. Awesome cards! Would love to have this in my craft room.
These are all amazing! I love the bright colors. Thanks too for sharing the boo-boo card. We all have something like that!!
Beautiful cards!
Beautiful cards and great tutorial. I don’t have a foiling machine yet, just don’t have the space for it. But this one does look good.
Beautiful cards! Thanks for demonstrating the new machine!
WOW … amazing!
Awesome machine!!! Really Beautiful cards!!!
Thanks for the video.
Love the look of the foil.
thanks for sharing
Beautiful cards and very informative video.
How fun! Now I want one of these. Thanks for the tutorial and review!
thanks for the video, makes more sense now than just reading the blog :-D
Great tutorial, interesting tool.
Ah, new toys for the craft room!!! This looks like fun and your cards are lovely! Thanks so much for the demo!
Have this machine and am thrilled that you are offering so many of the hotfoil plates. I’m starting my wishlist now! Doesn’t it make such great cards–your examples are so well done. tfs
Oooh that machine looks like fun! Great cards :)
WOW, NINA!!! I LOVE this new machine! ;) PERFECT for Christmas….! :D THANK YOU for showing us! ;)
Beautiful cards and I really love the foiling techniques you’ve shared in the video.
Foiling adds so much fun to a card.
Beautiful cards, interesting machine! Thanks for this first look at it!
The foiling effect is absolutely stunning, and I thoroughly enjoyed the video, but I doubt I will be adding that to my crafty supplies. There has to be a limit somewhere, and I’m still working on oxide inks!
Great machine! Stunning cards.
Such beautiful cards!!!