
Give it a Try! Stitched Memories Board
Hi friend! Happy Saturday! I’m delighted to welcome back special guest Richele Christensen with this really detailed and fun Stitched Memories Board idea! Would you try this with some of your memorabilia? Read on to learn more from Richele and enjoy!
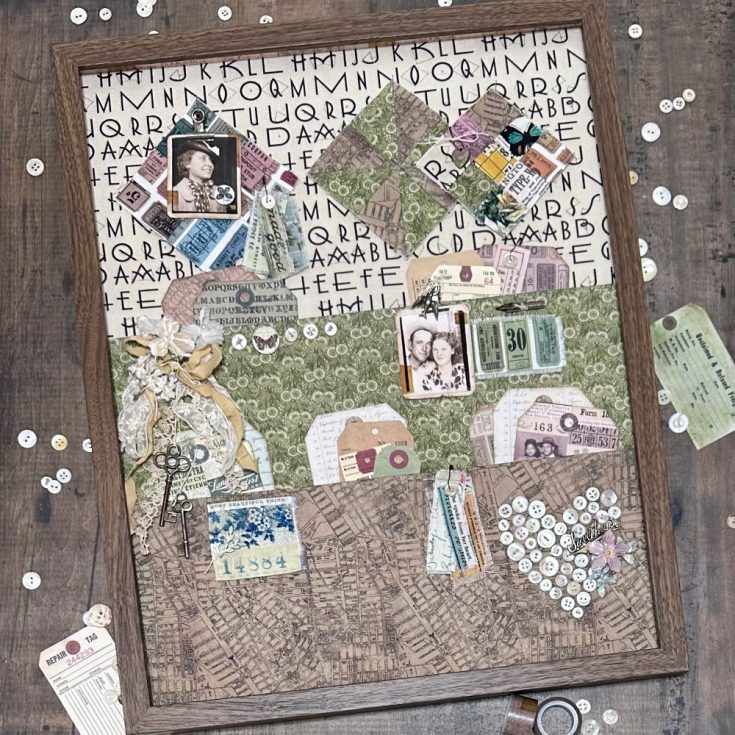
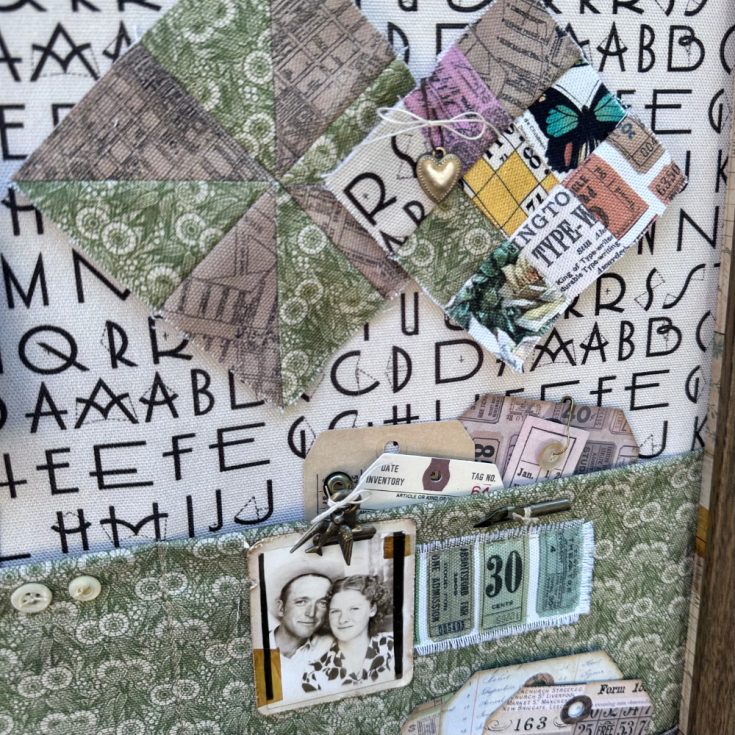
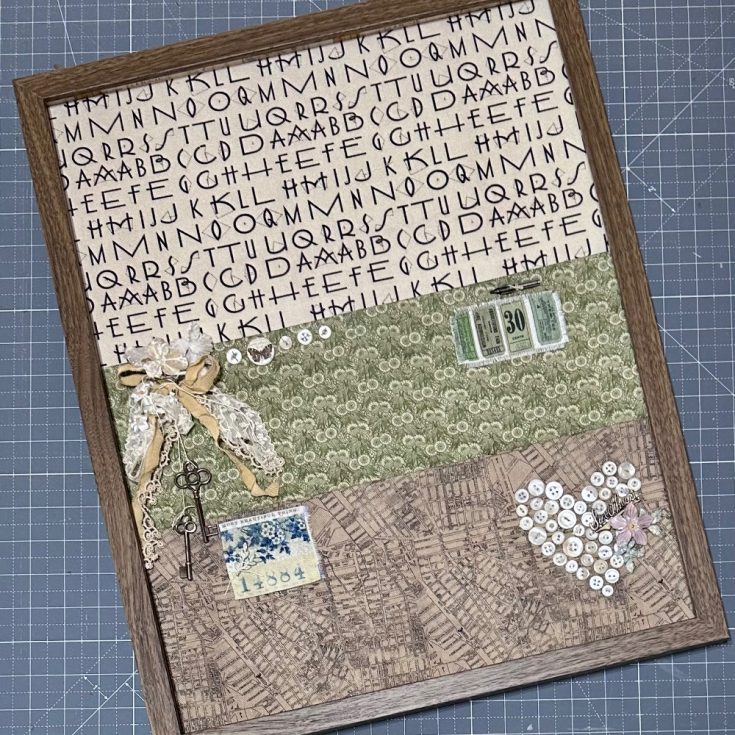
Hello friends! I’m so excited to share my Stitched Memories Board project today. The Board has pockets for your cherished tags and things and you can pin your favorites treasures at the top (I pined up some test blocks I’m working on). Palette Canvas Cloth is perfect for its designs, durability and structure. I’ve used Tim Holtz Palette Canvas Cloth in Charcoal – Typography, Green – Tiny Print, Neutral – Map and some Multi – Collage and Tickets. This 16” x 20” Rodalm frame from Ikea is perfect but you can use any frame for this. Let’s get started!
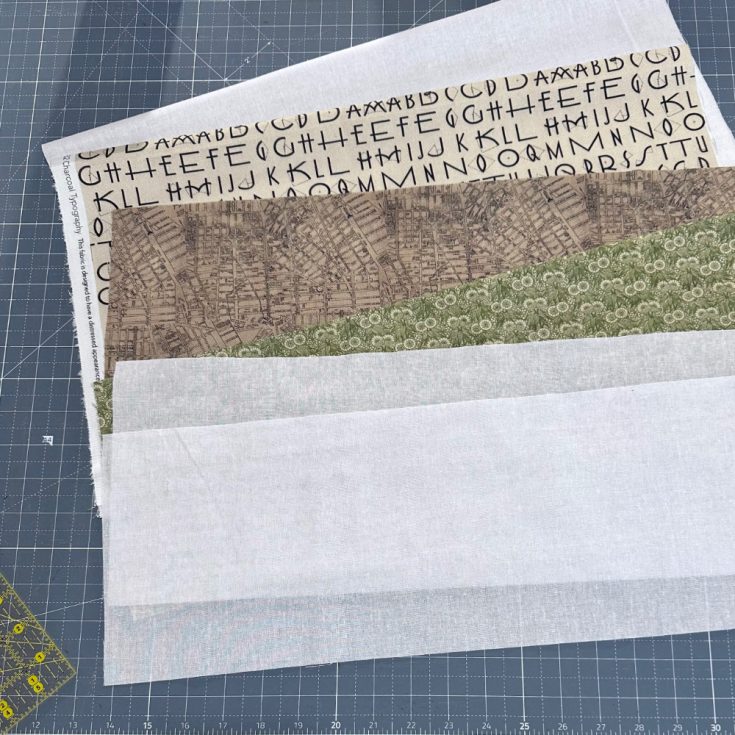
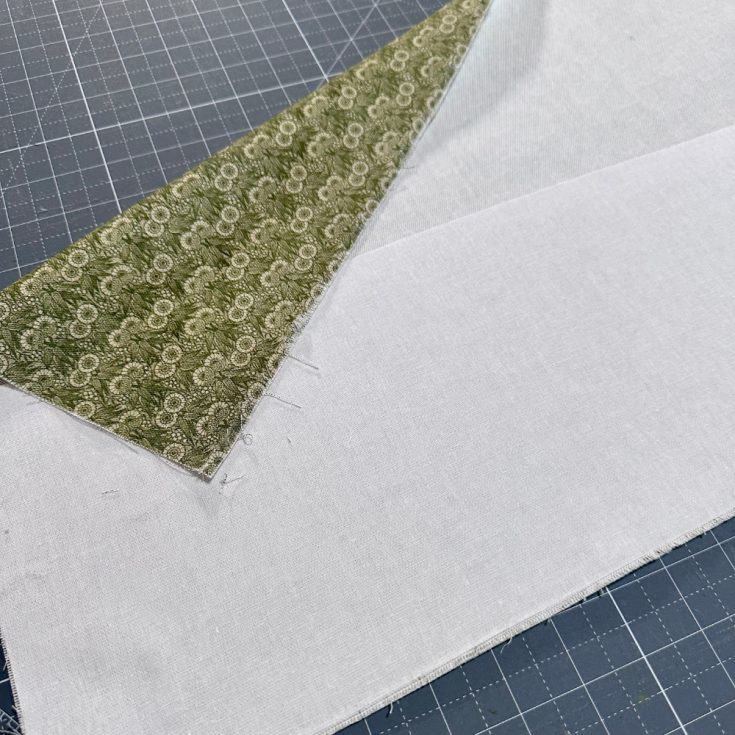
Gather your supplies Palette Canvas Cloth, Frame, Idea-ology Trinkets, Distress Paint, Distress Ink, Alcohol Ink, some vintage lace, vintage mother of pearl buttons and maybe a few photos.
Cut your fabrics as follows: Typography – 20” x 24”, Green Tiny Print – 19” x 14”, Neutral Maps – 19” x 14” and fusible interfacing 1 – 20“ x 24” and 2 – 19” x 7”
Press the interfacing to the back of the fabrics with an iron. You will note that the interfacing is cut for half of the pockets so line up the interfacing with the bottom 3 edges and press well. Fold the pockets in half and press again with the iron.
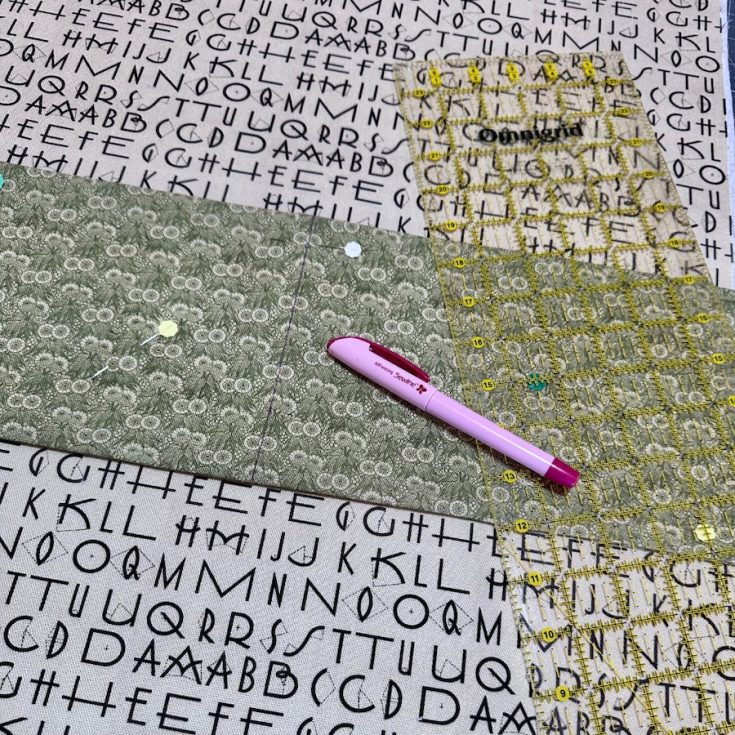
Mark the pocket as follows: Measure 6” up for the bottom edges of the main panel and draw a line. Pin the Green pocket lining up to the line to the bottom edge of the pocket. Draw a line down the center from side to side to create 2 sections for the pockets.
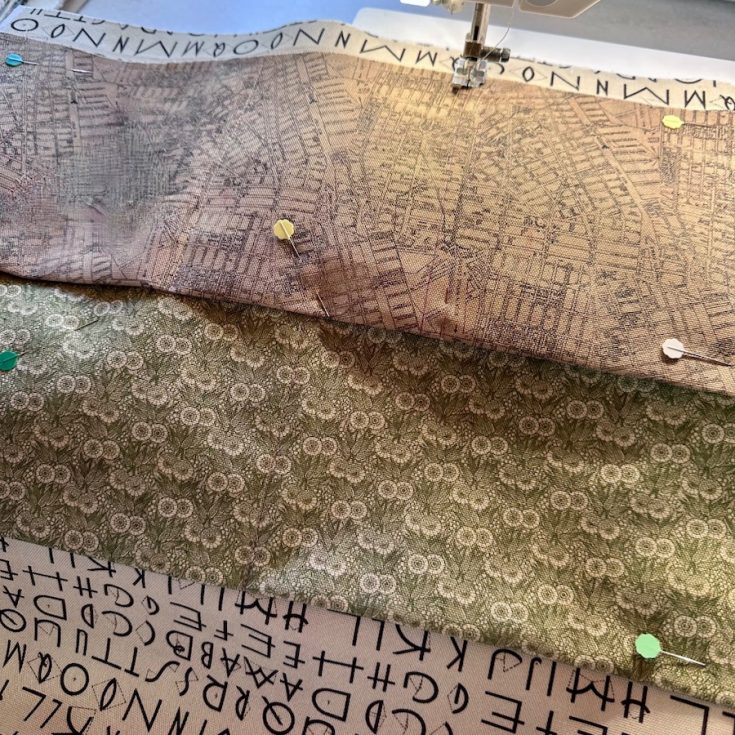
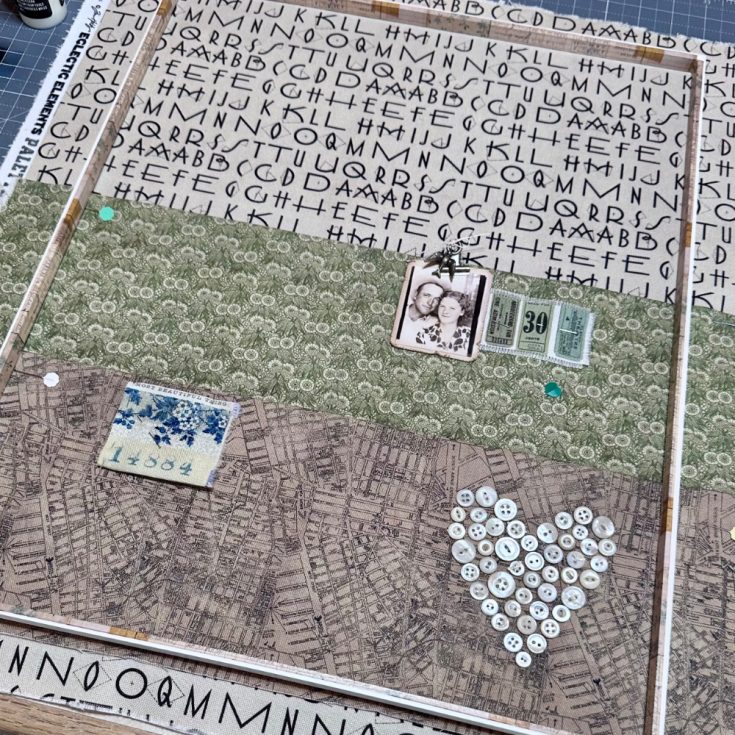
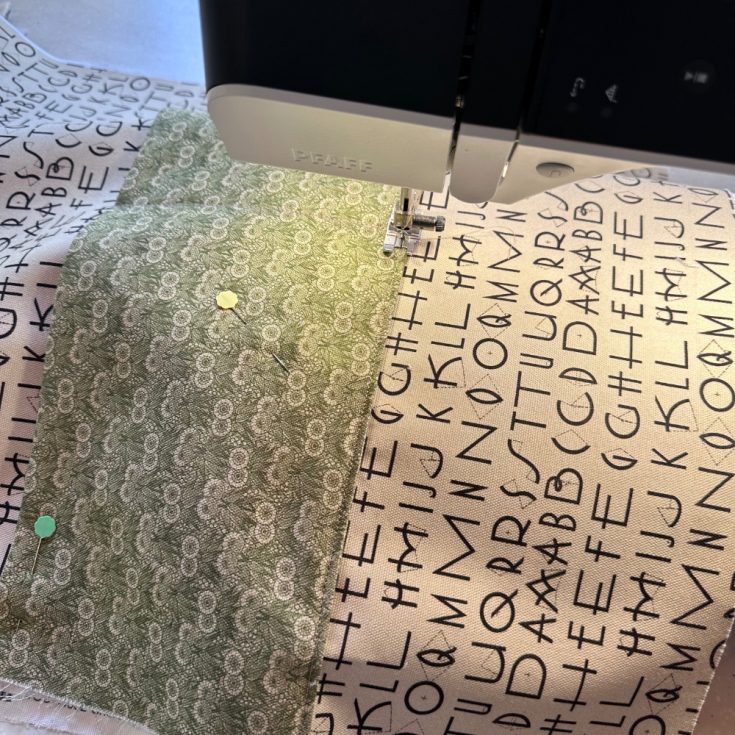
Sew the green pocket to the main panel 1/4” up from the bottom edge of the pocket and sew down the center to create the 2 sections.
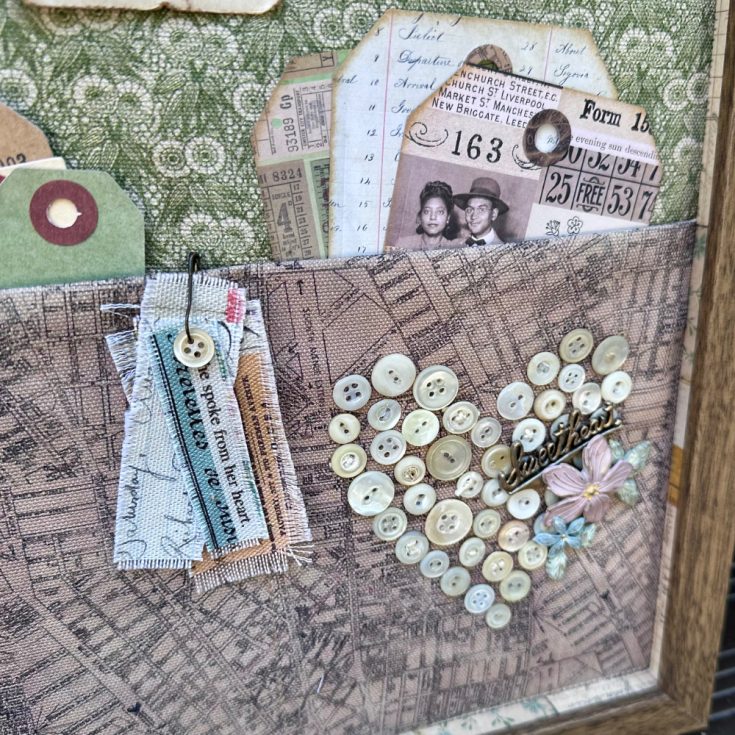
Now do the same for the Brown pocket at the bottom. Measure 5” down from the top of the Green pocket and pin the Brown pocket lining up the top of the brown pocket 5” down from the top of the green pocket. Now divide the pocket in to 3rds from side to side. Sew the bottom of the pocket to the main panel and stitch on the 2 divider lines you created for the sections.
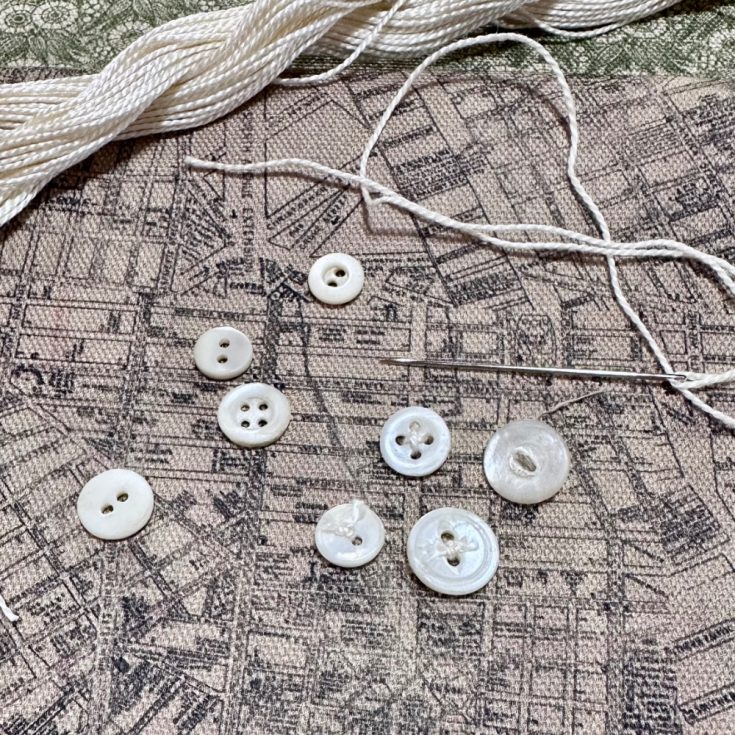
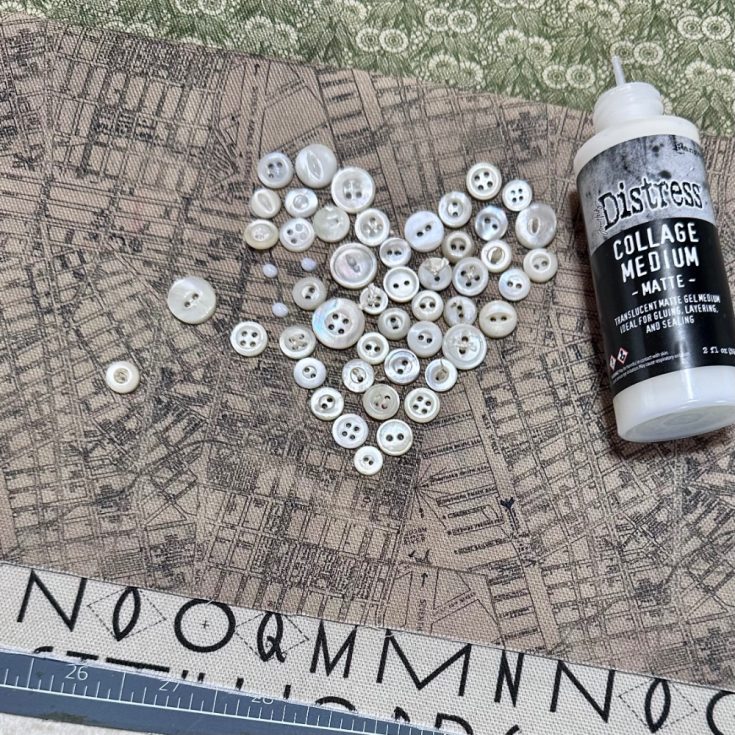
Lay the inner frame piece or the frame over the main panel with the pockets to define the space and give you an idea where to place things . Position the buttons for the heart. You could also do your initial, a star etc.
Add some hand stitching to a few of the buttons using embroidery floss or pearl cotton.
Arrange and adhere the buttons to the pocket with Collage Medium. Set aside to dry.
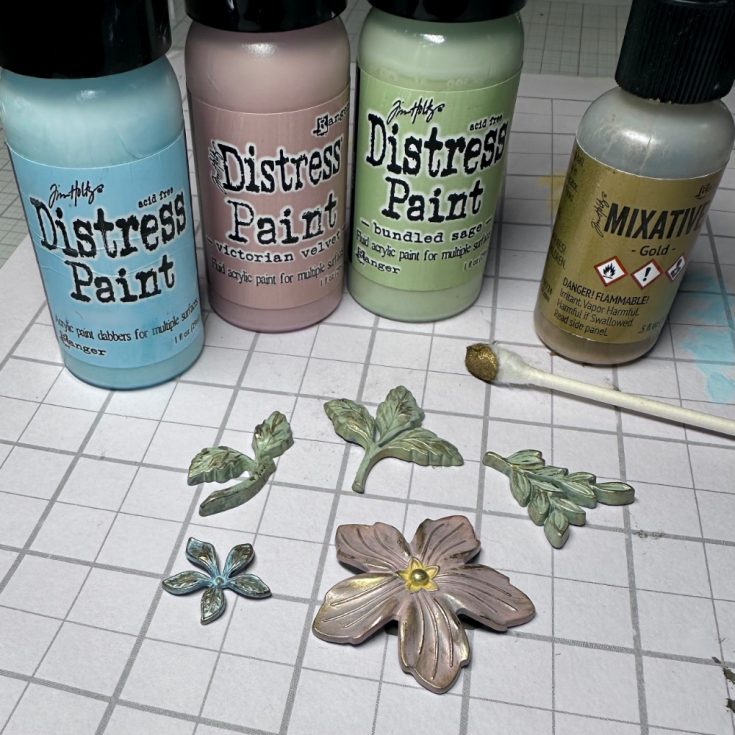
Paint the Foliage and Floral Adornment with Distress Paint in Victorian Velvet, Bundled Sage and Speckled Egg, paint 2 coats to cover the metal well. Let dry or dry them with a heat tool then add a little Gold Metallic Alcohol Ink to a cotton swab then lightly rub over the surface to hit a few of the high points. Don’t overdue the gold as you want the colors to show. Less is more in this instance.
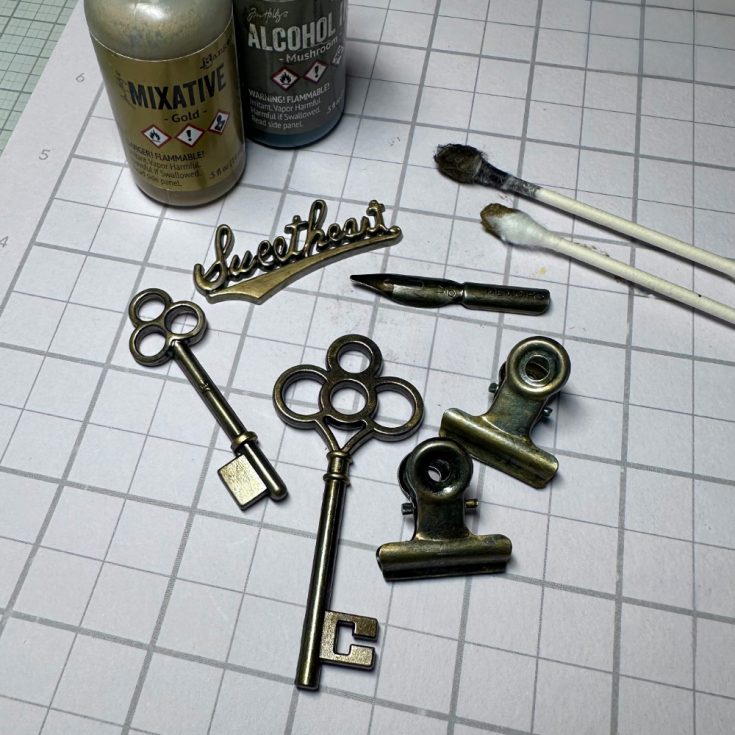
Use a cotton Swab and Alcohol Ink in Metallic Gold and Mushroom to age the Keys, Memo Clips, Pin Nib and Sweetheart Adornment.
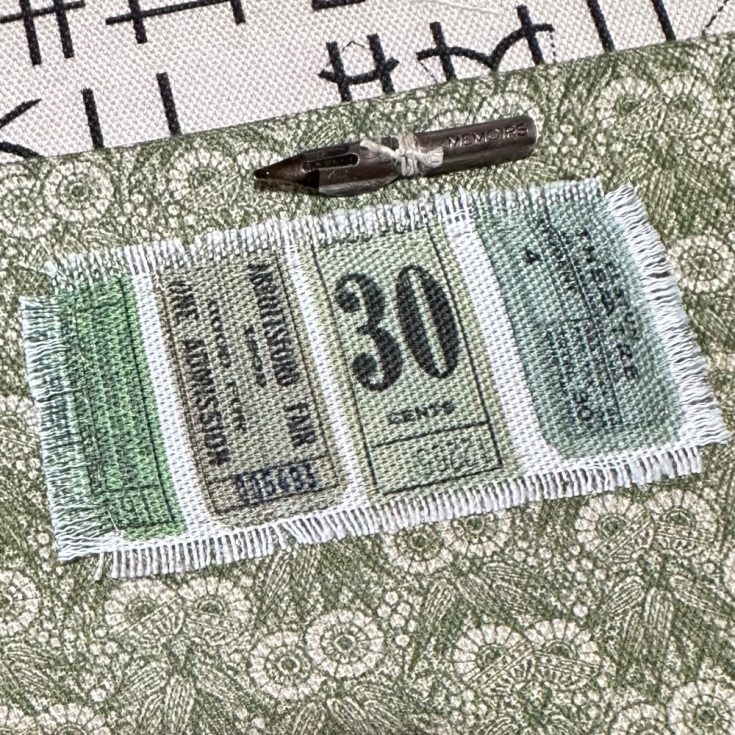
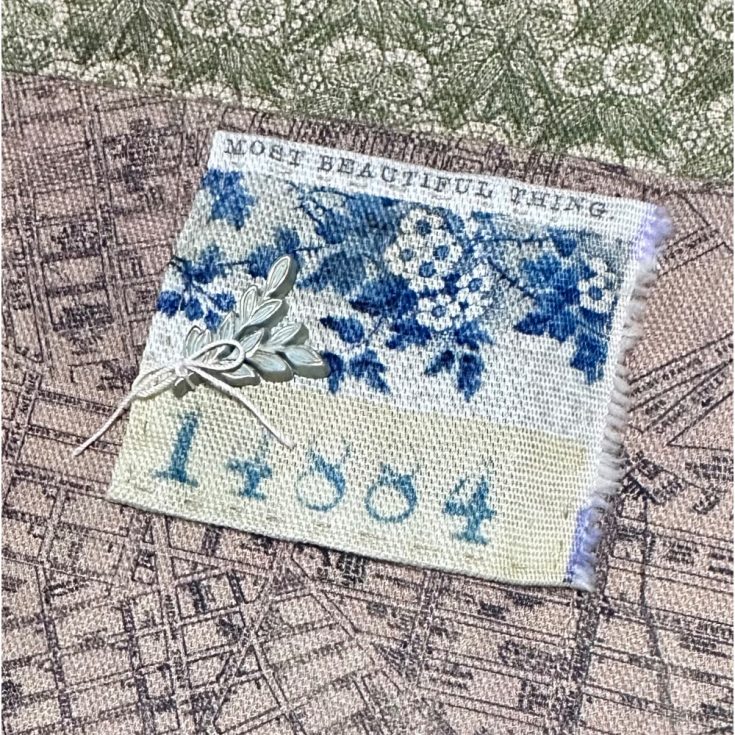
Cut some pieces from the Multi Tickets and Collage Canvas Cloth and arrange as desired. Pin the elements in place and hand stitch around them to secure. You can fold the edges under or fray the edges both will look great.
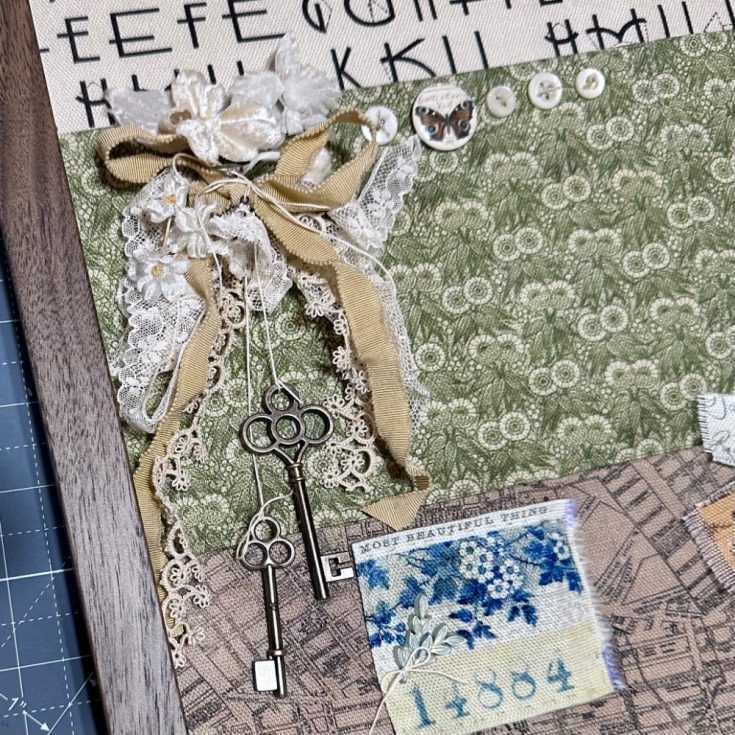
Add a cluster of vintage lace and ribbons and pin to board. You can also add a few keys on some fine string to dangle from the center of the lace. Add a few vintage buttons and a Flare Button with Collage Medium to the top edge of the green pocket.
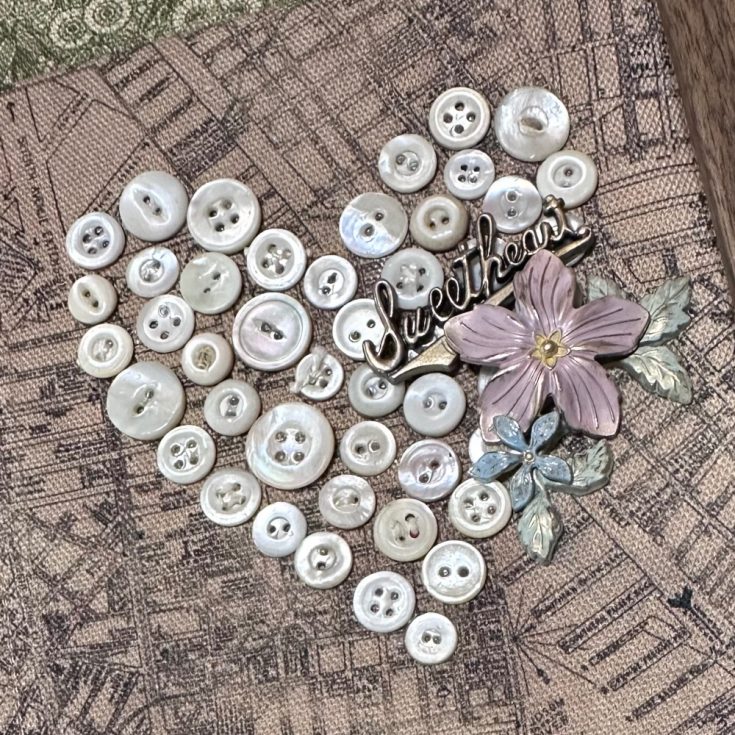
Adhere the florals, leaves and the Sweetheart metal pieces to the button heart. Let dry.
Apply Design Tape to the inner frame piece. Adhere the end with a small amount of Collage Medium.
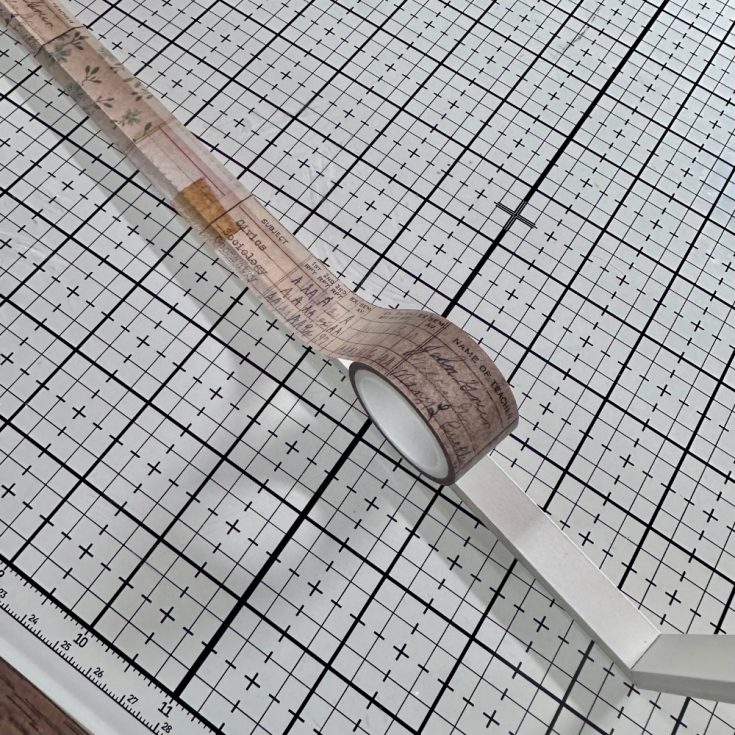
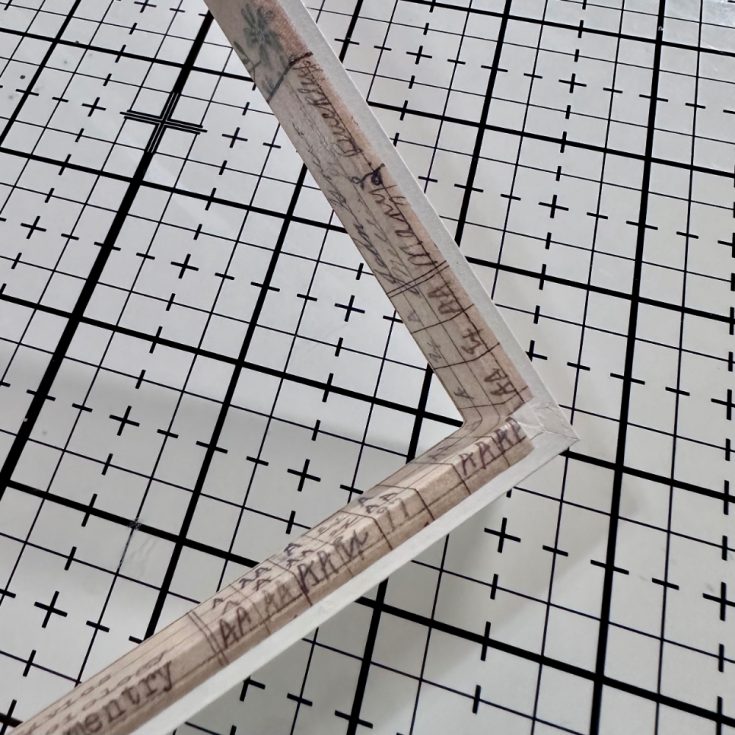
Snip at the corners and fold over the edges on both sides of the frame piece. If your frame doesn’t have this inner frame you can skip this step.
Wrap the sewn pocket fabric around a piece of foam core board cut a little smaller than the frame. Use Design Tape to help hold the fabric in place. Start with the sides.
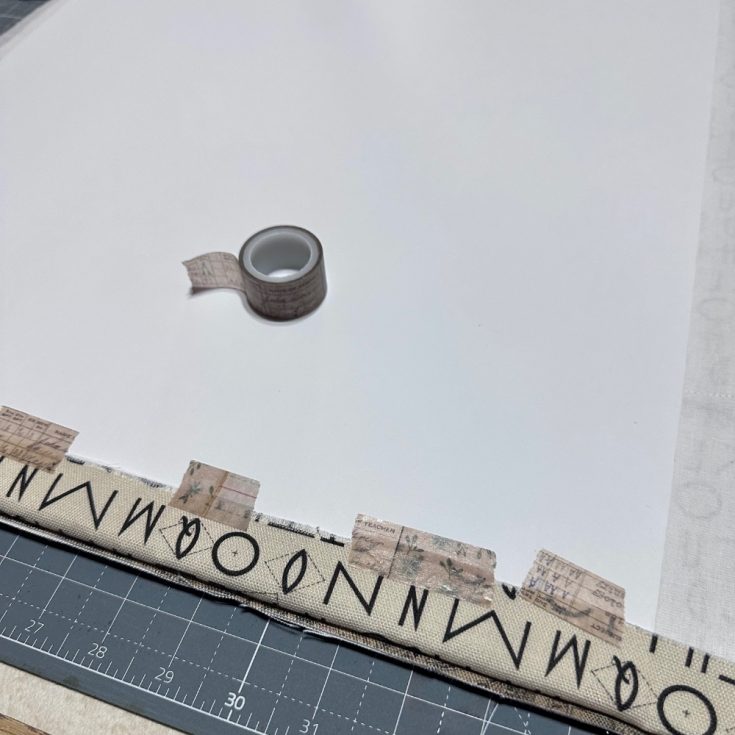
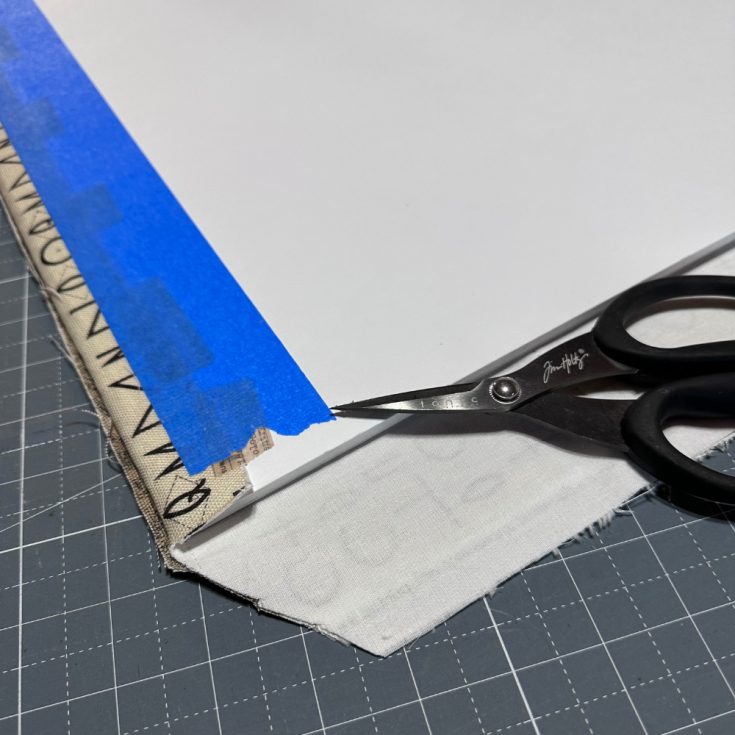
Trim the corners and continue folding over the edges for the top and bottom. Use masking tape or painter tape to secure all the edges.
Insert the foam core into the frame and secure.
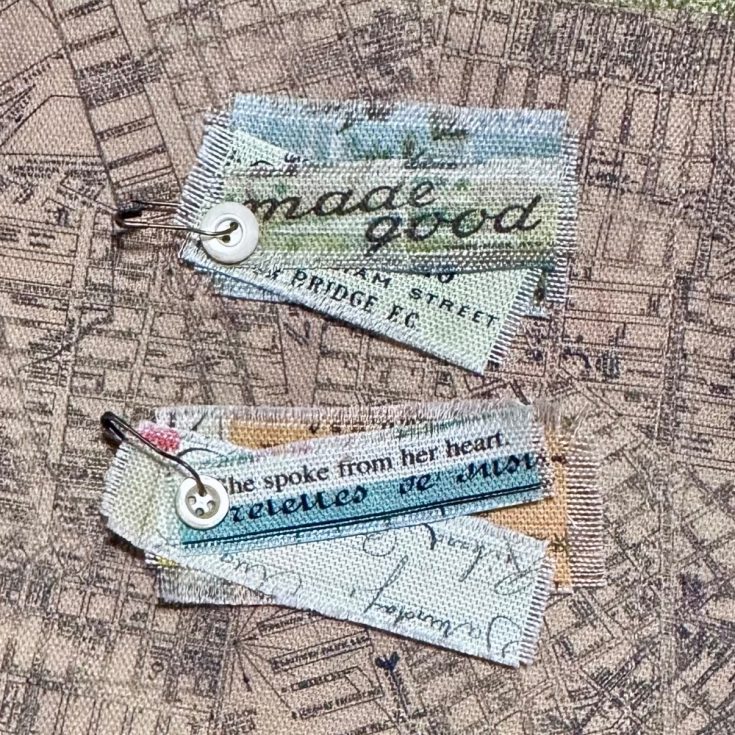
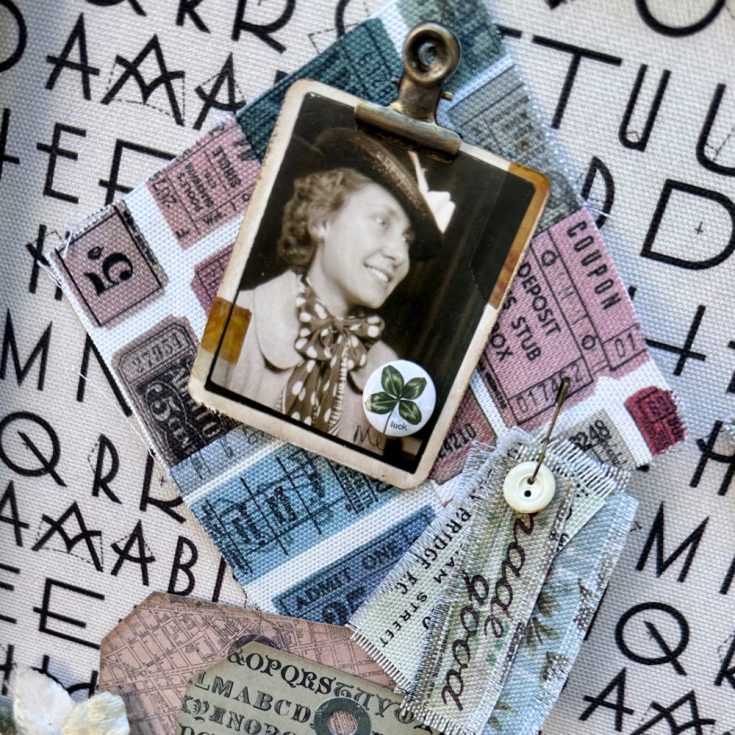
I created these cute little pins for the board using the Multi Collage Fabric. Cut out some of your favorite section of the fabric. I used a few backgrounds and a saying, fray the edges and then pin them together with a little button on a Loop Pin. Now pin them to the board. These would also be cute in a journal or card.
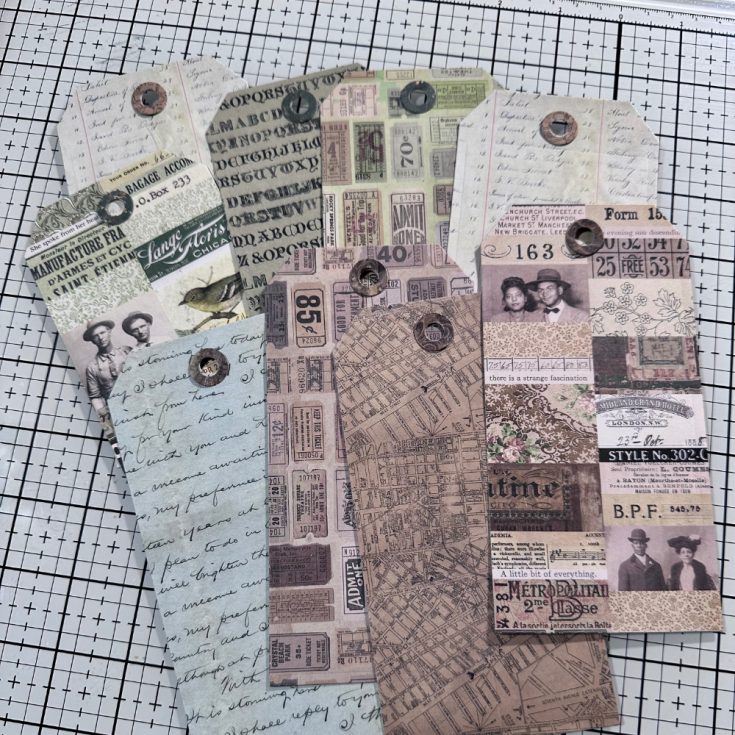
Cut some #8 tags from the Palette papers and add to the pockets.
Now for the best part. Decorate with tags, photos, and more. I added a few little quilt blocks for fun at the top. I can’t wait to see what you make! Thanks so much for stopping by and as always happy sewing! -Richele
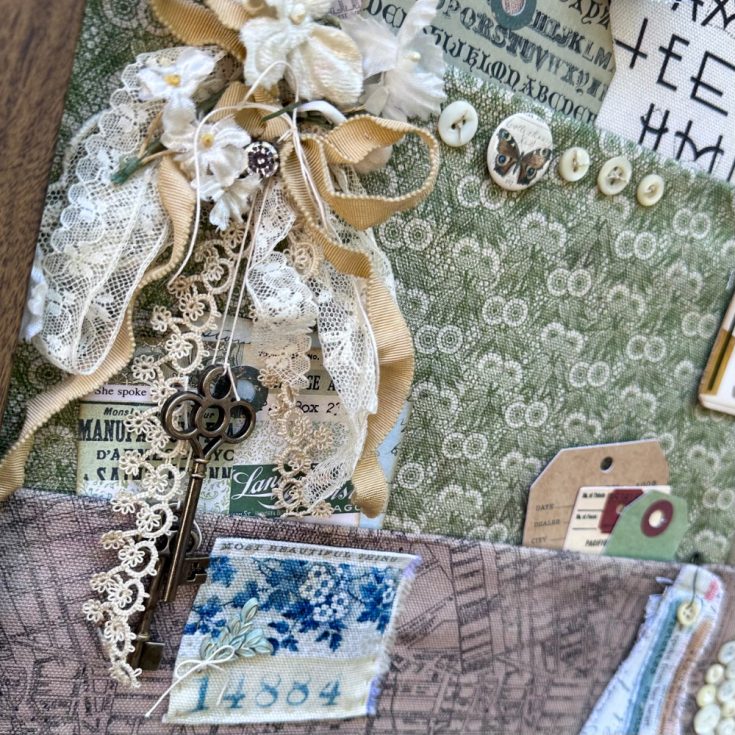
SUPPLIES:
|


A big thank you to YOU, our reader — and to Richele for being our guest!







There are no comments.
Leave the first?