Gel Press: Simple Techniques with Shari Carroll
Hi everyone! Welcome back to the blog! I’m showing you some papers that I made while playing with my Gel Press and some paints. I must admit, mono printing may seem intimidating, so I’ve broken it down to a couple simple techniques.
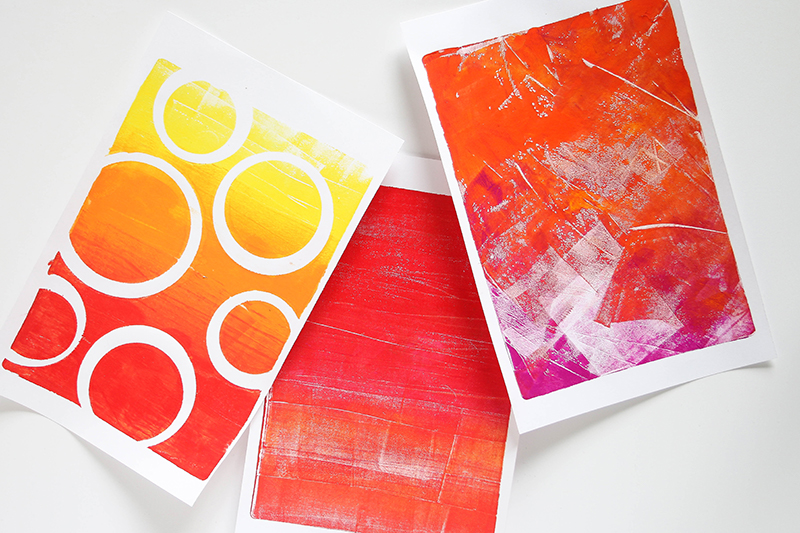
The first thing when starting out is to stay in color families with your paint. I think this is the best way to achieve success. I have tried creating print on a variety of papers. They all work but I prefer high quality printer paper as it allows me to press in and around my stencils. These first prints use yellows, oranges, reds and even a hint of pink. I’ve used my brayer to blend paints, and create interesting marks.
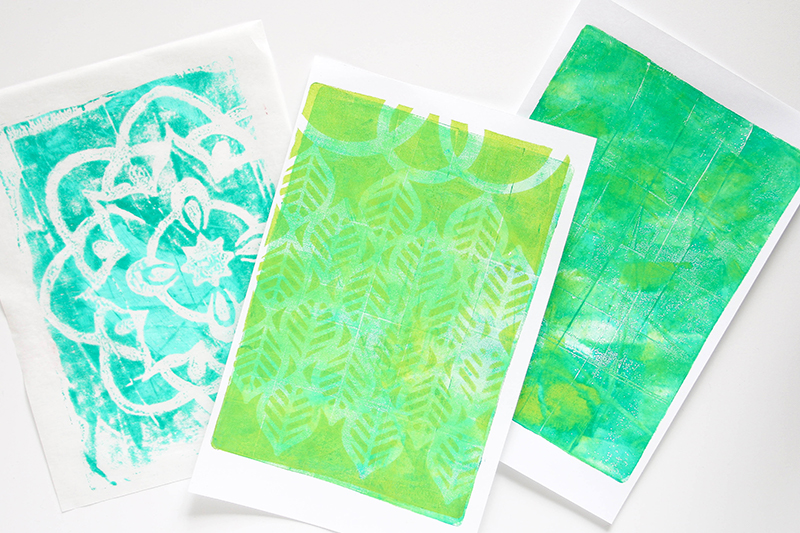
My next set uses blues, green and turquoise. You can create just a multi colored background with brayer marks, or go further and use an Impressable and stencils for layering.
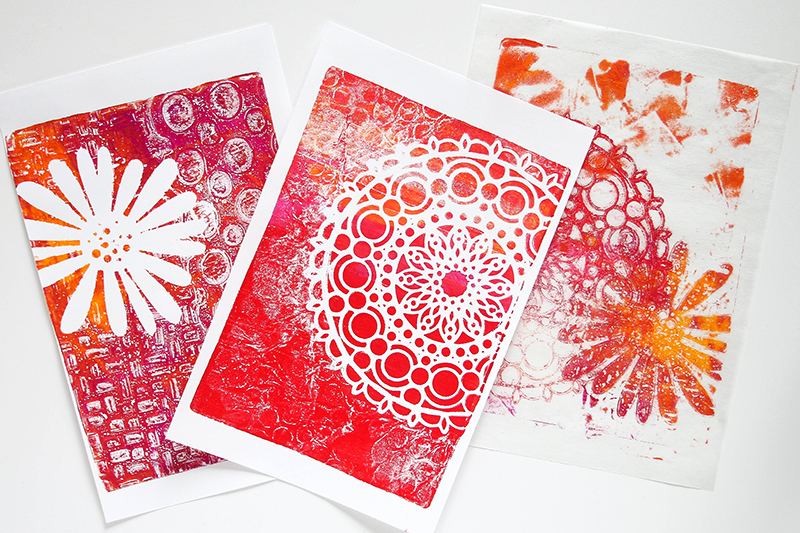
Also, use the paint on the press to get multiple “pulls”. You can also get positive and negative prints from using stencils.
As a quick note; be sure to use your Gel Press on a glass, craft mat or other slick surface. The Gel is made of infused mineral oil and can stain wood or absorbent surfaces. I’ve filmed my playtime which will show you how easy it is to do printing with your Gel Press. You can watch it below or on our YouTube channel HERE.

Blog Candy Alert!! Follow our blog via email and comment on this post for a chance to win a special blog candy!
I hope I’ve given you some inspiration to try something new for your projects. Enjoy!


Very cool and looks like so much fun!
Gorgeous color!
These background designs are amazing … love ’em !
Oh, I just love how bright and pretty these are!!! How fun!!
<3 J
jwoolbright at gmail dot com
HerPeacefulGarden.blogspot.com
This makes me want to get a gel plate and play!!!! I actually think my local scrapbook store carries one so I might ask the next time I go in. It looks really cool and easy to use. I have a lot of stencils and this would be another use for them. Thanks for sharing.
love all the fun background ideas! thanks for the inspiration!
What a great way to make beautiful backgrounds! Love all the different colour combinations you’ve used.
fantastic product loves this vibrant colors.
Wow Shari! These are all amazing. Thanks for the great post.
OMG!!!! I’m in love for this gorgeous backgrounds!!! Fantastic vibrant colors!!!
I had never heard of this Gel Press paint. Very interesting. Thanks for sharing!
This is such a great way to make backgrounds! I bought a small gel press (3 X 5) and now I really wish I had gotten the bigger one! I wasn’t sure what to do with it but the bigger size would be better!! It’s on my wish list! Thanks so much Shari – I LOVE your work and can’t wait to see what you make with these prints!!!
If you start it is addicted…I have limited the times that I allow myself to make backgrounds, so they all get used! But after two years of playing I found so much more to do with the plates, that I make special projects with lots of layers of ink and lots of stencils and many other naterials. They take more time and good thinking so that is why I can use my plates more now…
Absolutely fan-flipping-tastic!!
Great video….love the techniques you showed and plan to try some of them out soon. Thanks again
awesome!!
Wonderful …. must get my gel plate out again!
Shari, thank you for such a great tutorial please have more!!.
Can you please tell me what kind of high quality printer paper you use.
Thank you
Love the technique and the video.You gave a lot of great ways to use the gel press.
I did get a little confused by the kinds of papers you used though. I get the printer paper as the main one, but then I heard you refer to several other types and I’m not sure we’re using the terms in the same way. I heard parchment paper, tissue paper, and freezer paper. Is that right? The tissue paper didn’t look anywhere near as thin as what I call tissue paper.
Also, what kinds of ink are these?
Thanks.
Definitely need to add these products to my craft collection