Easy Ink Smooshing Backgrounds You’ll Love: EZ with CZ!

Hi friends! Happy Tuesday! Please join me in welcoming special monthly Guest *CZ herself*, Cathy Zielske in the latest of our EZ with CZ blog series! Be sure to watch the video to learn all the details on this FUN card and enjoy!!
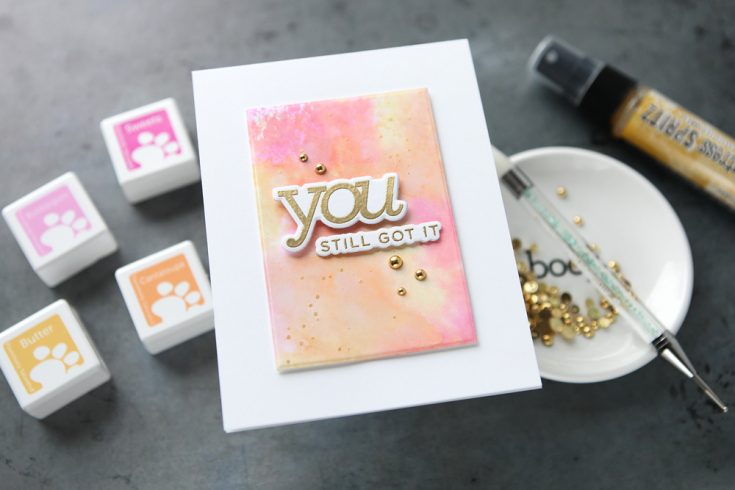
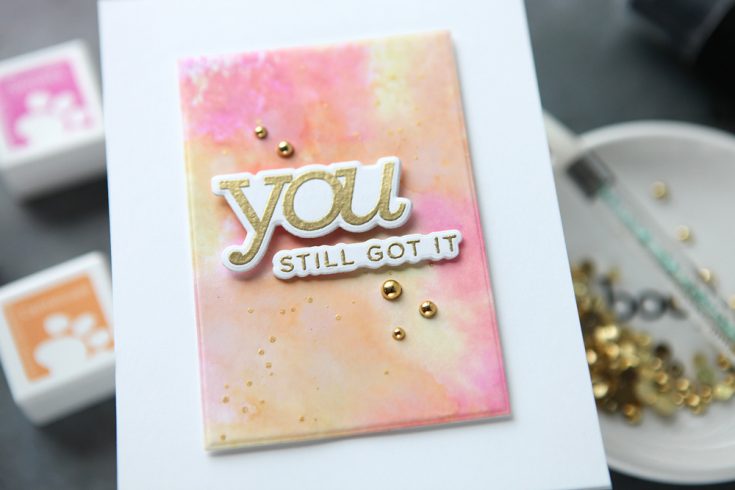
Cathy Z. Here and today I’m sharing the easiest way to create a dreamy, artistic background and all you need are a few ink cubes (pads will work, as well!), a spritz of water and a heavier white cardstock. I’m talking about ink smooshing and if you haven’t tried it, it’s a really fun way to create a cool background and the results are different every time.
You’ll need a slick, non-porous surface to smoosh your ink cubes onto for this technique. I use a glass mat similar to this one for my work surface, but you can even use a sheet of acetate from any stamp package. The other key is to use ink colors that sit next to one another on the color wheel. These are called analogous colors. They will blend into one another without turning into a weird, muddy color.
Here is my tutorial to show you the process:
WATCH THE VIDEO:

You can add any greeting to a base design like the one I’m sharing today. I used the CZ Not So Cringey stamps and dies to finish out my card project.
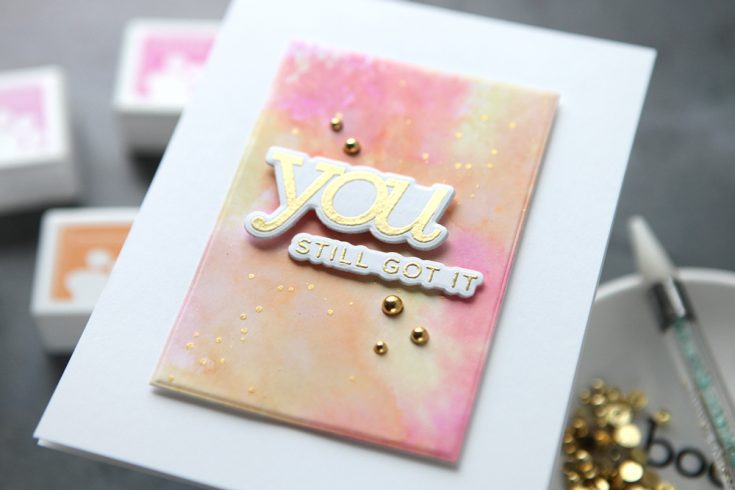
Give ink smooshing a try today and see how fun it is to create dreamy, artsy panels! Thanks for stopping by and I’ll see you back here next month.
SUPPLIES:
|


Thanks so much for stopping by today, and thanks to CZ for being our guest!
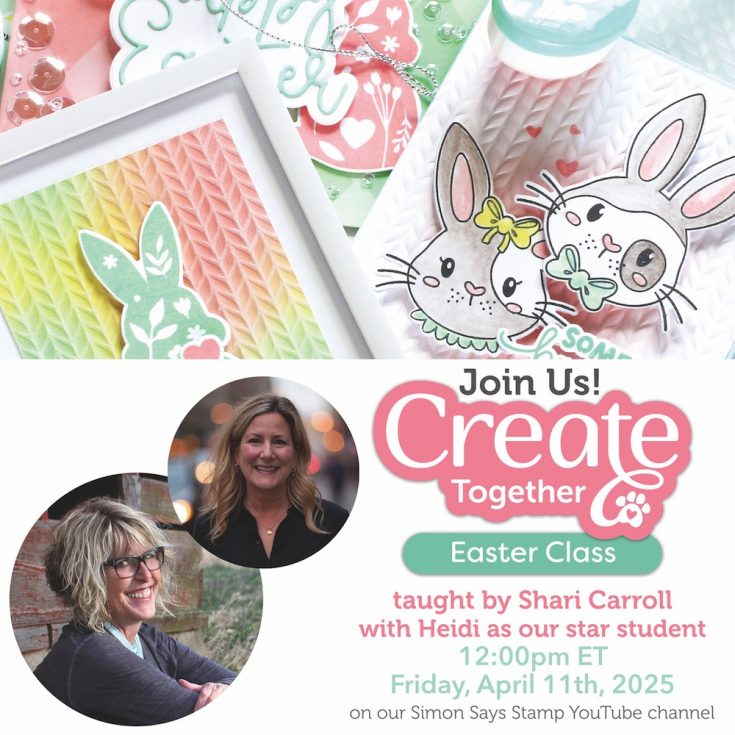
Mark your calendar!
Join us live FRIDAY April 11th at 12 PM ET! Click or tap the bell by ‘Notify Me’ to be notified when we begin on Friday, April 11th at 12 PM ET!


This is gorgeous – love the gold splatters