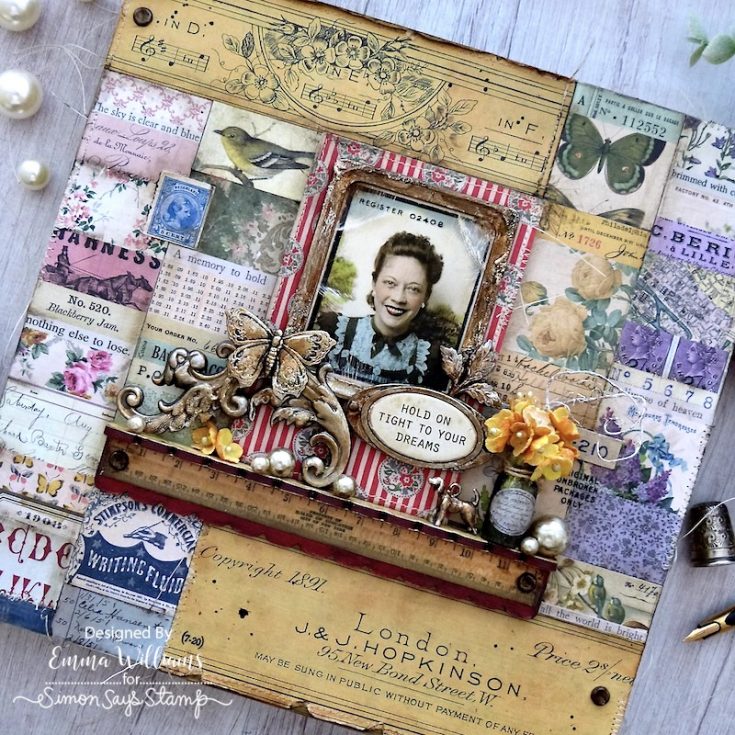
Dreams Vignette Panel by Emma Williams!
Hi friends! Happy Sunday! (and if you’re in the USA, Happy Father’s Day to all the Dads out there!) Please join me in welcoming back special guest Emma Williams to our blog! Read on and enjoy this gorgeous tutorial!
Hello everyone! I’m thrilled to be back on the SSS blog today and can’t wait to share all the details of this latest project that I’ve made especially for you using products from Tim Holtz and Ranger Ink.
The project features a collaged background and how to use Ranger Ink/Tim Holtz Foundry Wax to add colour to metal. So let’s get started and here’s how I created my vintage style vignette panel….
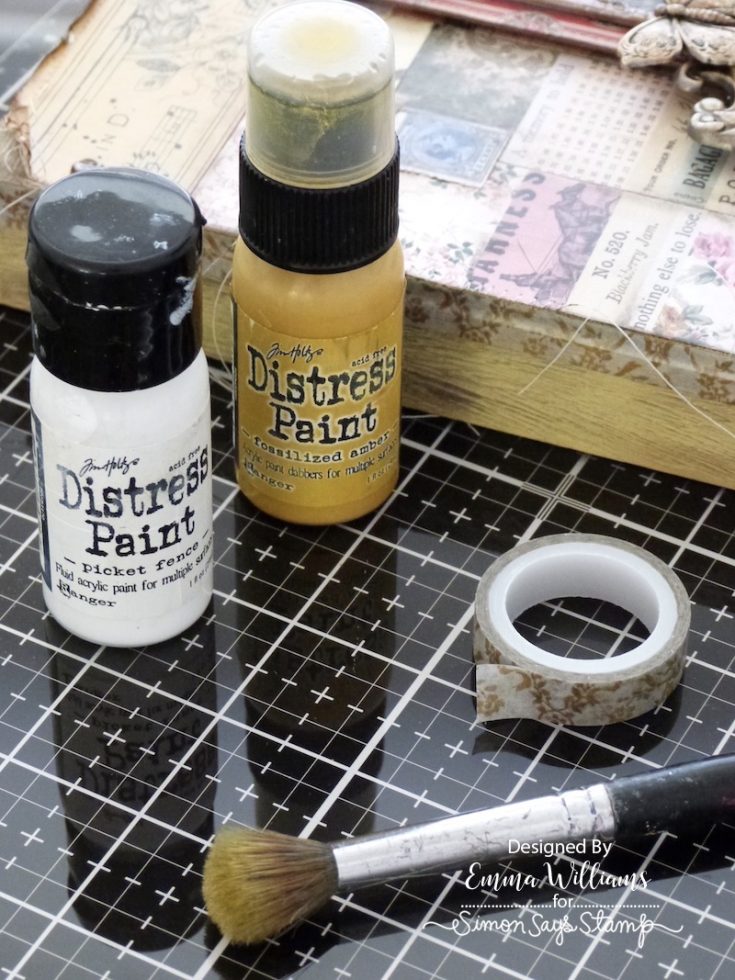
For this make I used the solid side uppermost of the square Vignette Panel and to create the perfect colour to match the paper I’ll be using on the front of the panel, I mixed Fossilized Amber and Picket Fence Distress Paint together. Apply a light was of the paint mix to each of the four sides. After drying the paint thoroughly, I adhered the yellow floral tape from the Remnants Design Tape set and placed this trim around the top edge on each side of the panel.
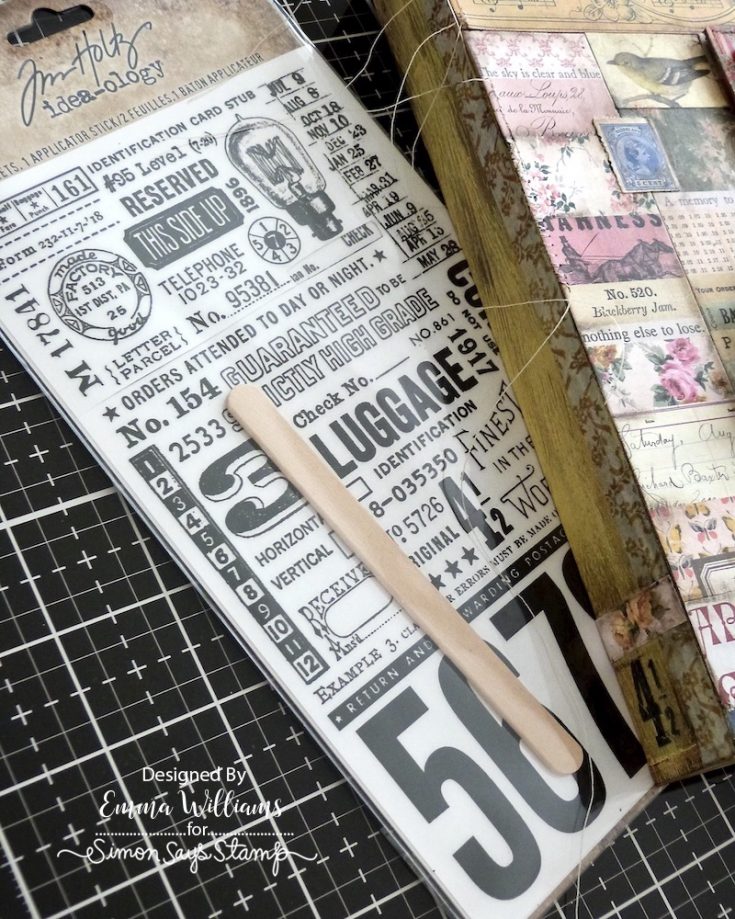
To complete the sides of the panel, I applied Remnant Rubs, adding them to the two vertical sides of the box.
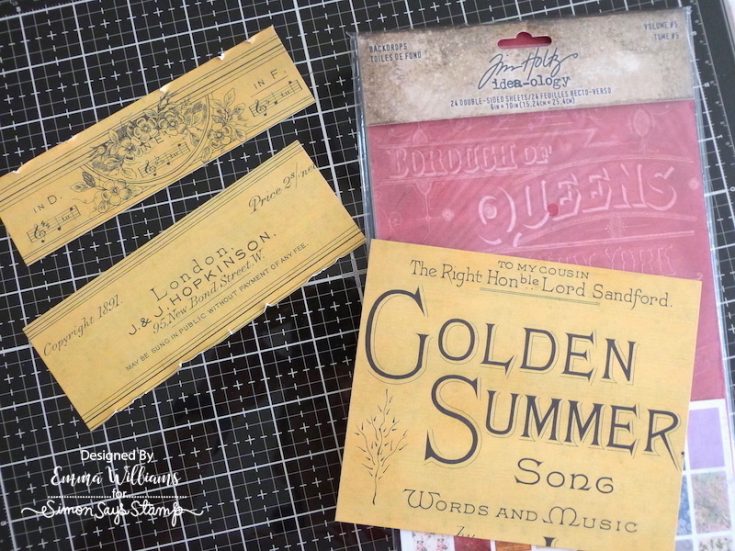
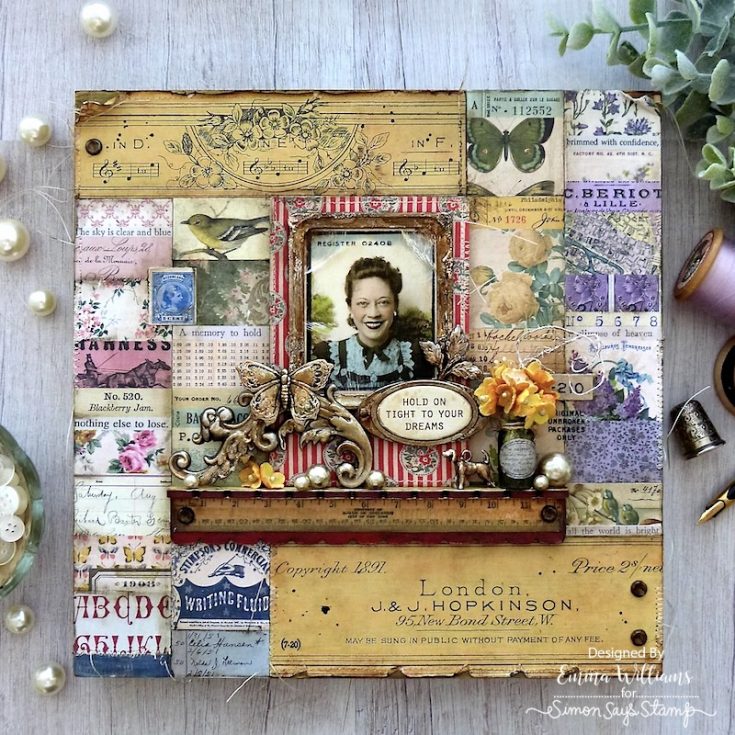
On the front of my panel, I used a selection of Collage Strips. together with paper from the Backdrops Vol.5 pack and began by cutting two panels of the yellow paper in the pack, taking the top and bottom section from the sheet.
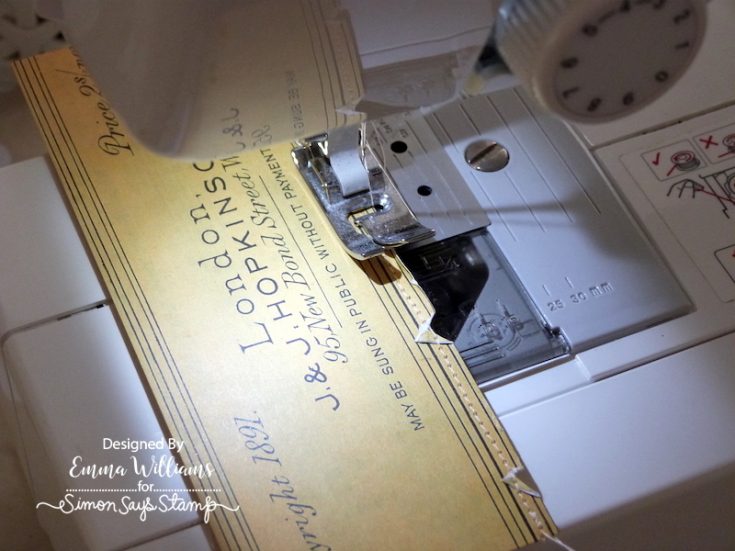
I added some rips and tears along the edges of the paper before I machine stitched around the outside edge.
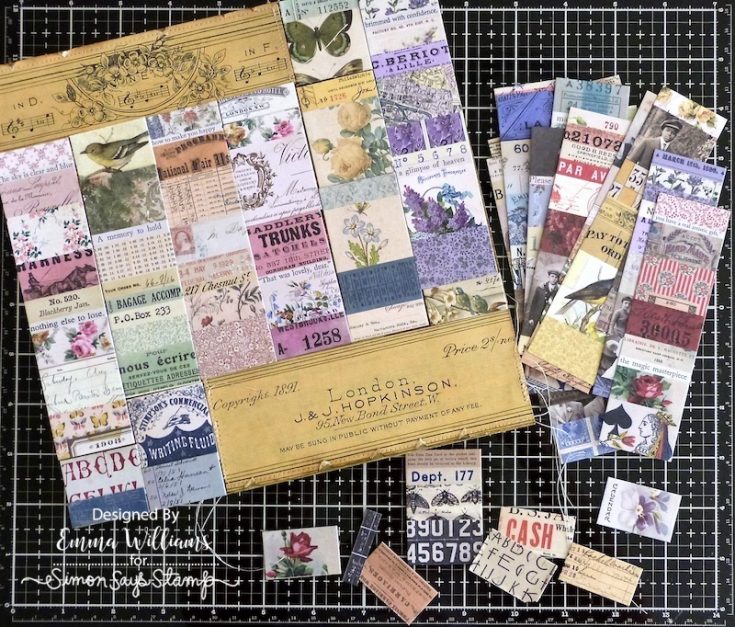
To cover the remaining area of the panel, I used a selection of Collage Strips. These strips create a beautiful tiled effect to the background and at this stage before sticking anything down, arrange the tiles to ensure that they fit. You can snip into the tiles to create smaller pieces that can be added and slotted into any gaps that need filling.
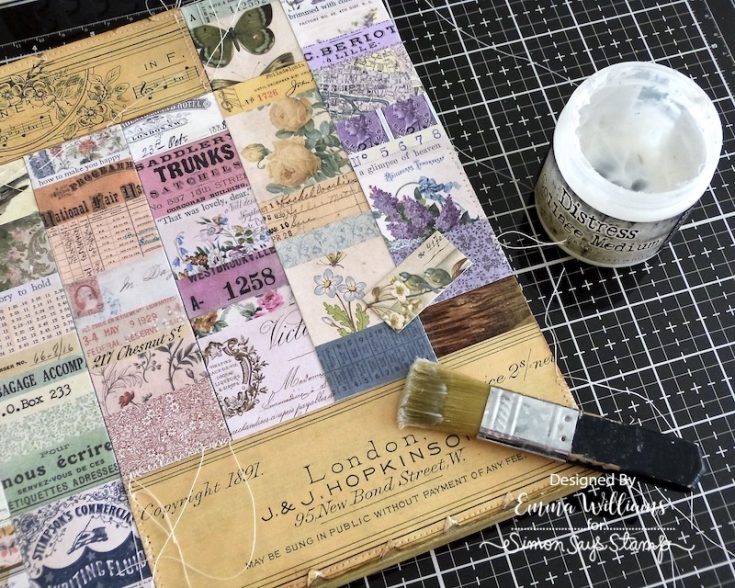
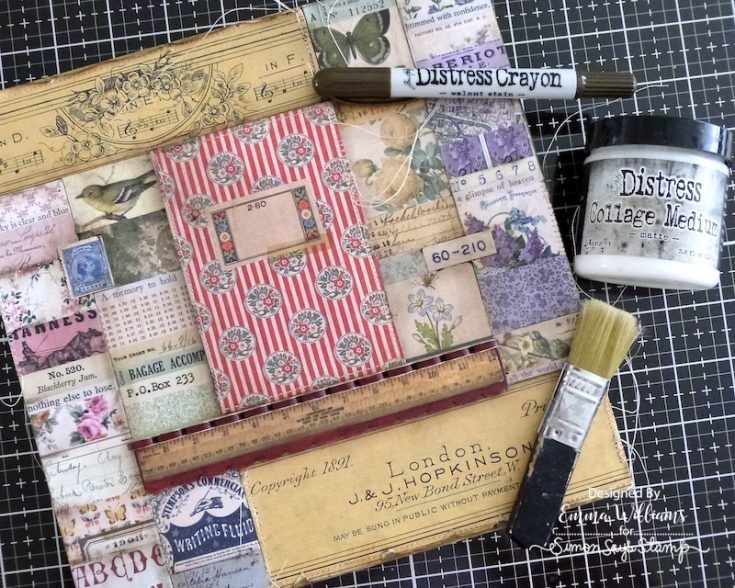
With the tiles and stitched paper arranged on my panel, I adhered them into position using Matte Collage Medium and a Collage Brush, curling back the corners of the paper and tiles. Once the tiles are in place, I applied a coat of the medium over the surface of the covered panel.
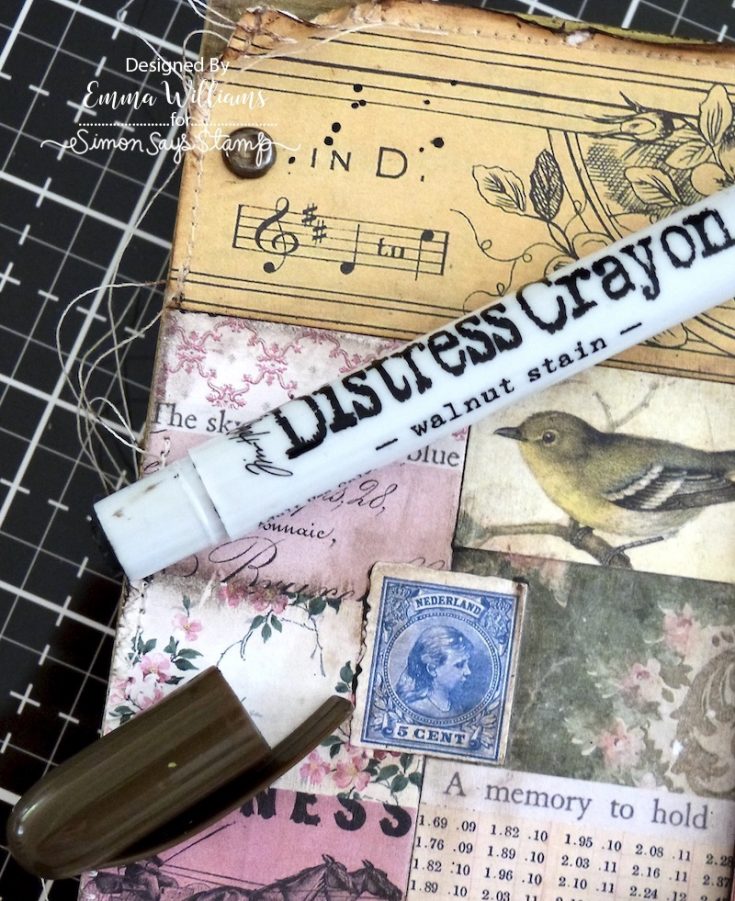
At this stage you can also add additional ephemera pieces ~ I added a numbers snippet and a postage stamp taken from the Palette Ephemera pack. Then, once the medium is thoroughly dry, I ran the Walnut Stain Distress Crayon along the edges of the panel and down the joins of the collage tiles and paper. I then used my fingertip to work the colour into the joins and blend out any harsh lines of the crayon.
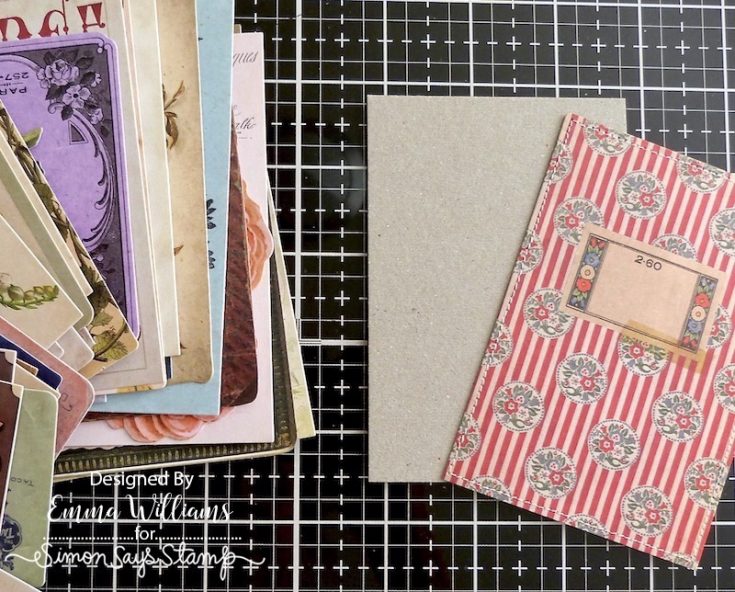
Now, we come to the fun part of building up the layers and embellishments and bringing this piece to life to tell the story. I began by adding the central layer to the panel and used a striped book cover piece of ephemera from the Palette Ephemera Pack. After I machine stitched a border around the edge of the ephemera piece, I inked the edges with Walnut Stain Distress Ink and then mounted the completed piece onto a panel of chipboard to make it more substantial. I placed foam pads onto the back of the piece and attached it to the centre of my panel.
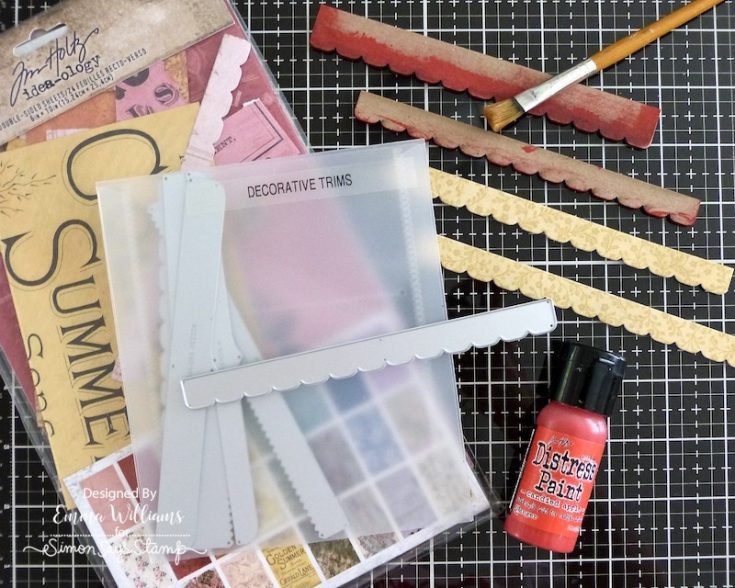
The next stage is to create the shelf that sits underneath this central panel and for this, I used two different widths of Scallop Edge Etcetera Trims. I painted the trims with Candied Apple Distress Paint and allowed them to dry. To cover the narrower trim, I used the Decorative Edge Trims Die Set to cut further pieces of the yellow paper that I previously used and then adhered this to the top and bottom of the trim.
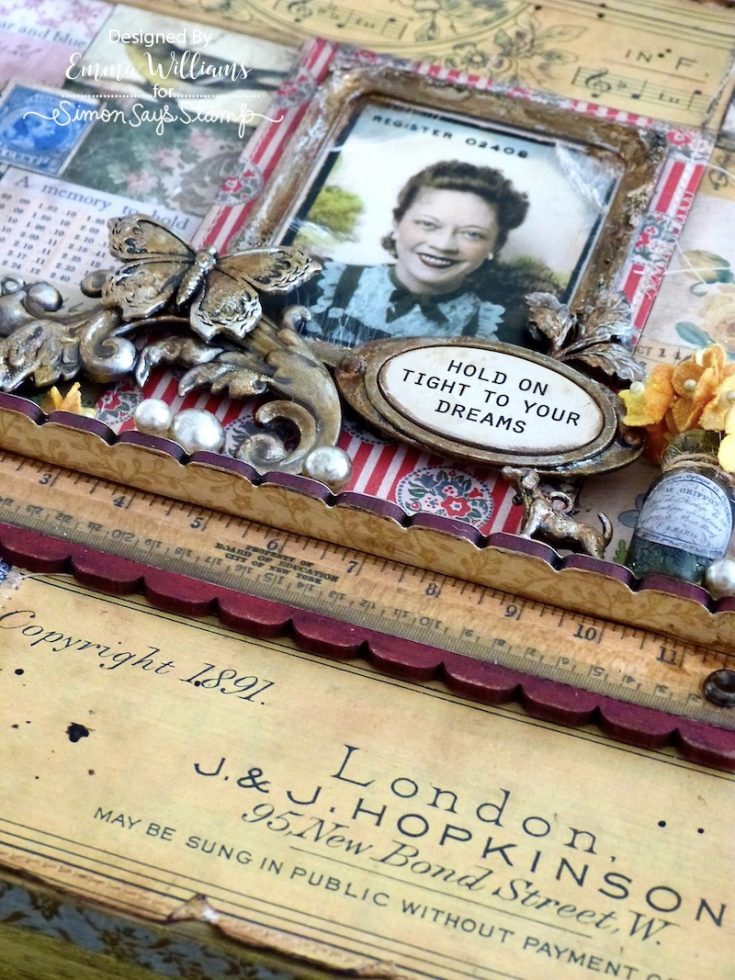
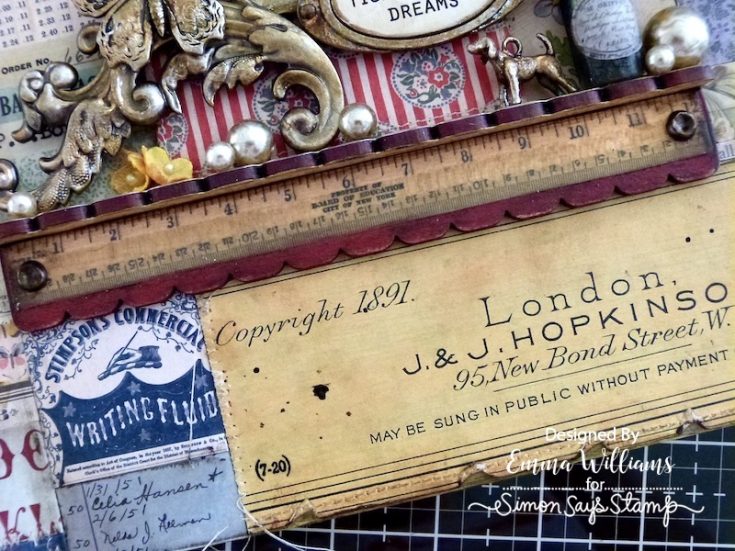
I covered the deeper scallop trim with a ruler ephemera piece from the Memoirs Ephemera set and adhered this directly onto the trim, placing it to show some of the red scalloped border.
Run the Walnut Stain Distress Crayon along the edges of each trim, blending the colour with a fingertip. Attach the trims to form a “L’ shape, adhering the narrower trim at the top to form the shelf and the wider trim beneath it.
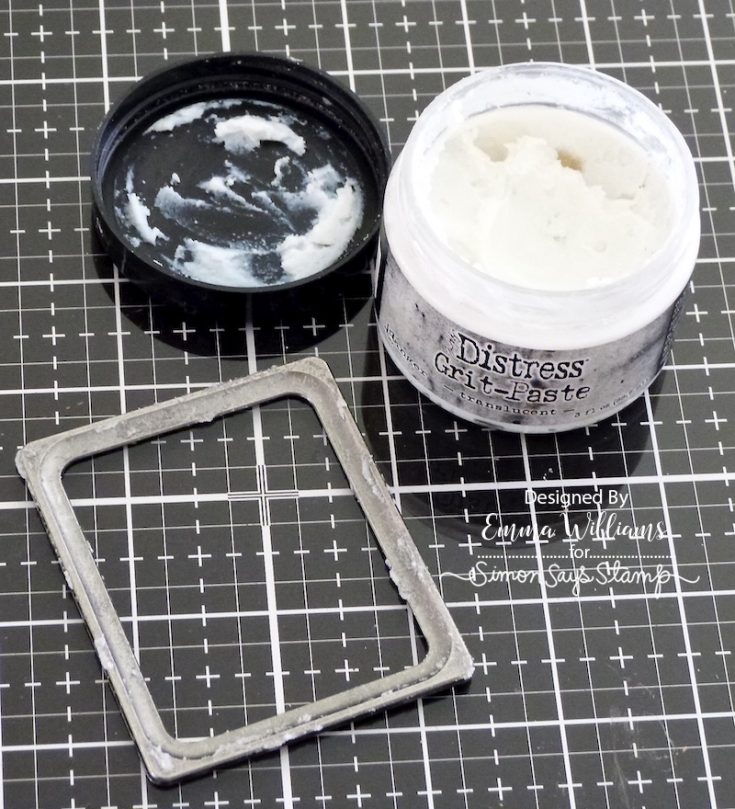
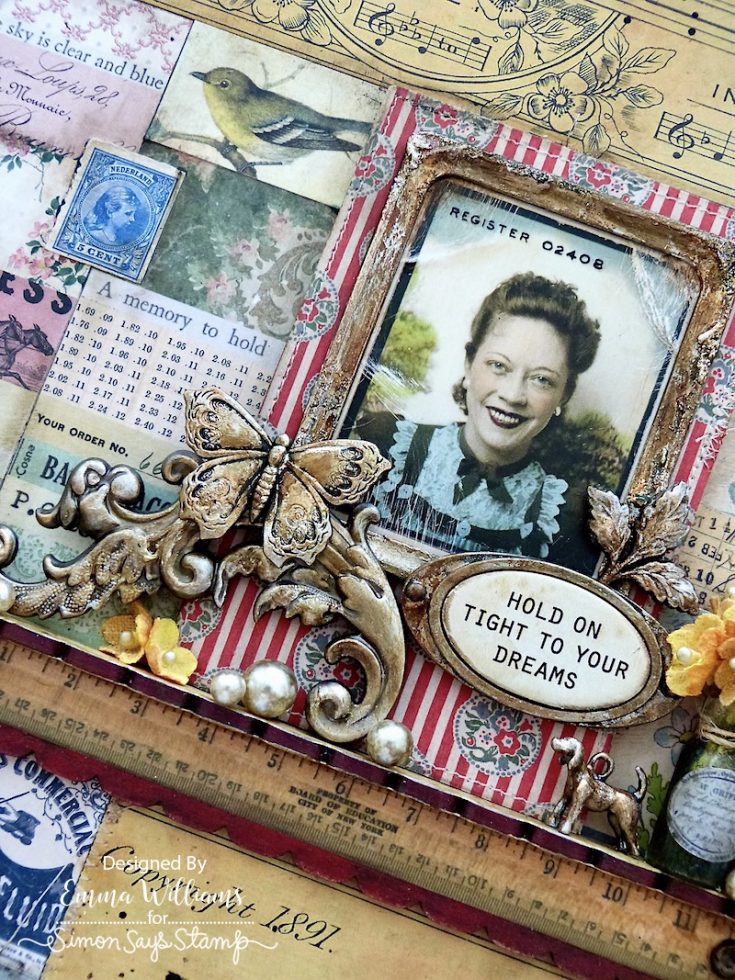
Moving onto the photo, and I used an idea-ology Photomatic Photo, which I distressed by folding the edges of the photo to add some creases to the surface. The photo is perfectly sized to use in conjunction with the idea-ology Photo Frames, which I have used on this project and to add texture to this piece, I smeared small amounts of Translucent Grit Paste over the surface and then allowed for the paste to set and become hard.
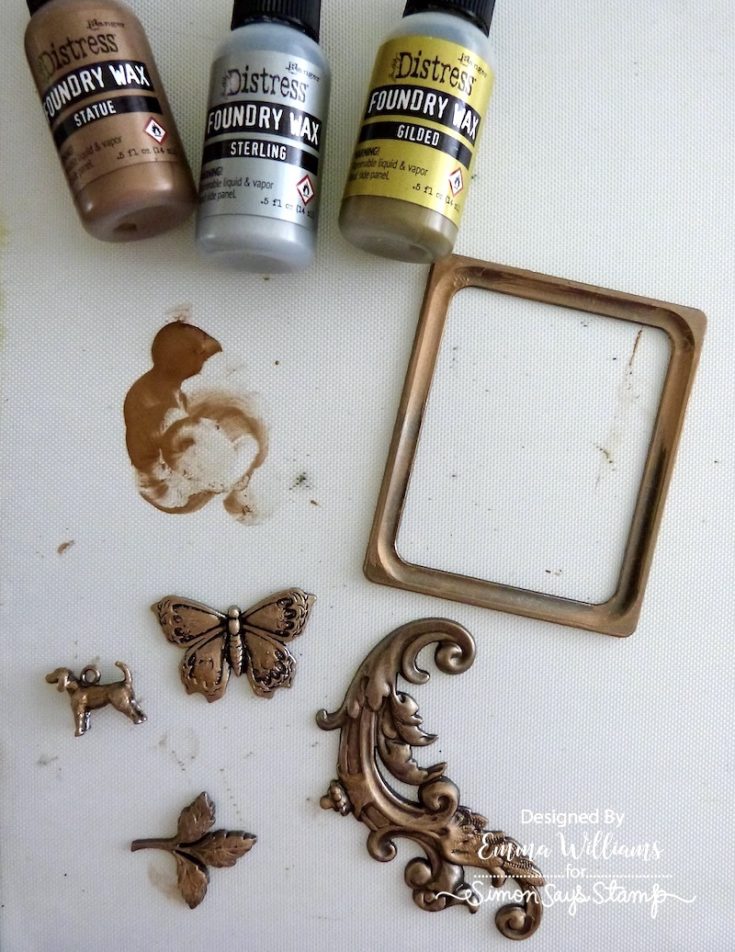
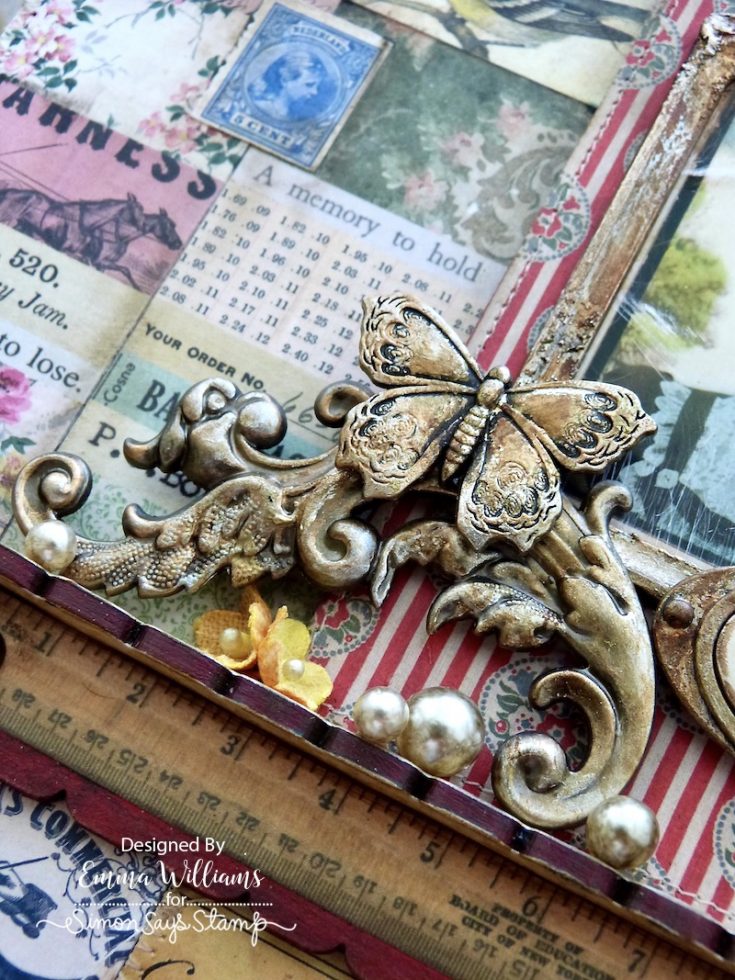
Together with the metal frame, I chose the following metal embellishments to use on my make; Flourish Adornments, one piece from the Foliage Adornments, a Label Frame, of the the dog from the Treasures Adornments, and a butterfly adornment and to add the colour to the metal I used a combination of Foundry, Sterling and Gilded Foundry Wax. Starting with Foundry, I applied each of the waxes separately ~ I start with a full coverage and then set the wax with a heat tool, before applying lesser amounts of the wax, not full coverage, and again heat setting between layers. This application will ensure each colour layer will still show on the finished piece.

When heating any metal, I would always recommend that you use a pair of Helping Hands or the Ranger Handle It tool as a precaution ~ the metal will get hot and it’s better to be safe than sorry!
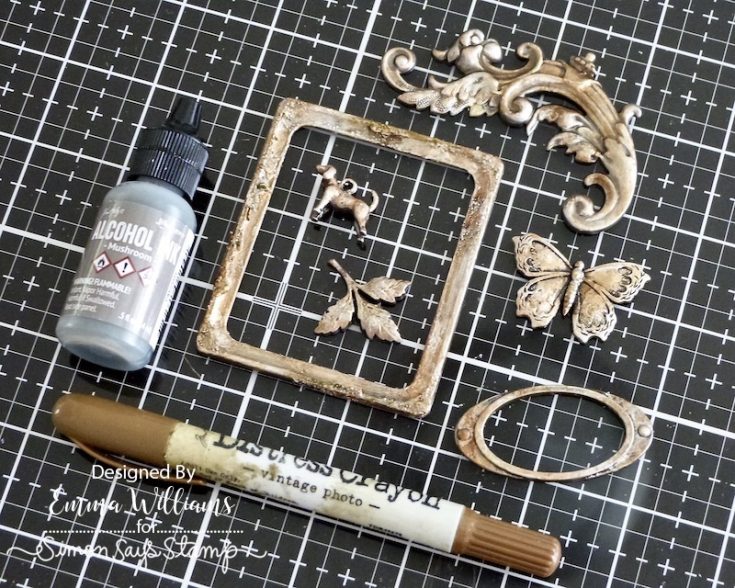
To accentuate the fine detail on the metal, I dribbled Mushroom Alcohol Ink directly onto the surface, dabbing away any excess ink before rubbing Vintage Photo Distress Crayon, over the top, again removing any excess crayon with a soft cloth and ensuring the metal still has a shiny, metallic finish.
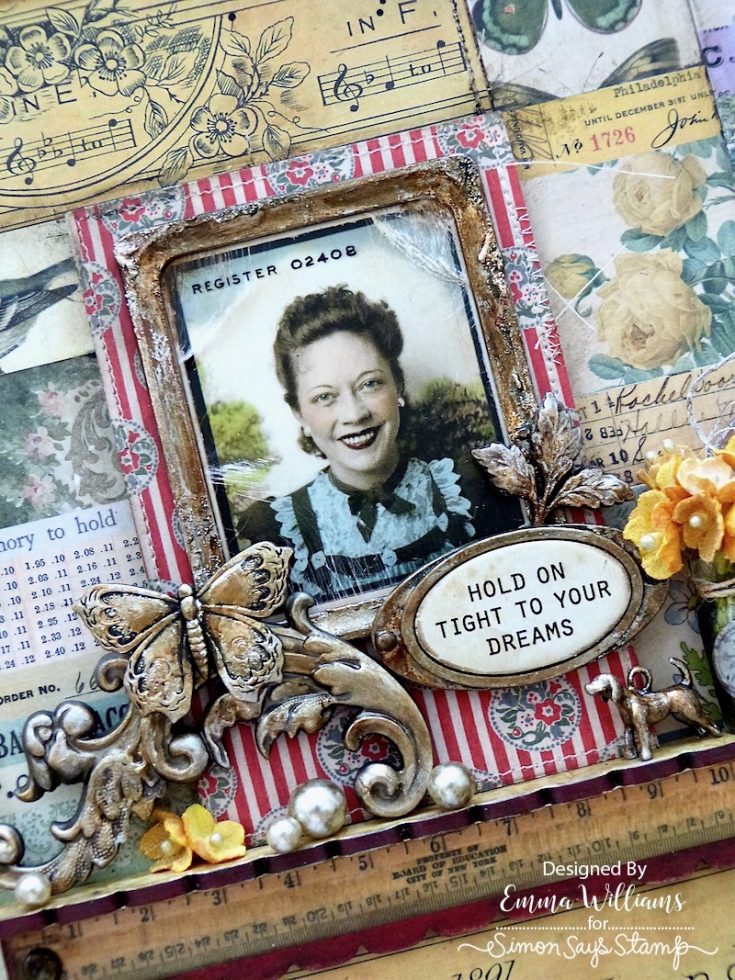
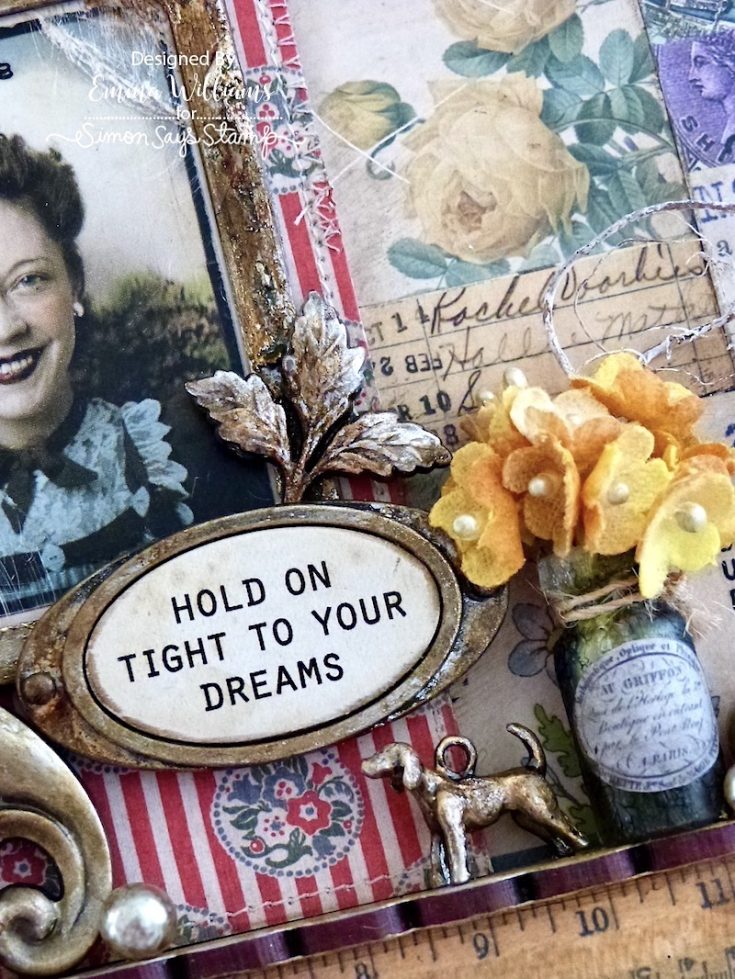
Place the photo behind the photo frame and attach this directly onto the raised central panel, before adding the a Quote Chip Label behind the altered label frame. Take all the remaining metal pieces and arrange them onto the panel and the shelf, adhering them all into place using Matte Collage Medium and adding any support that they need with foam pads.
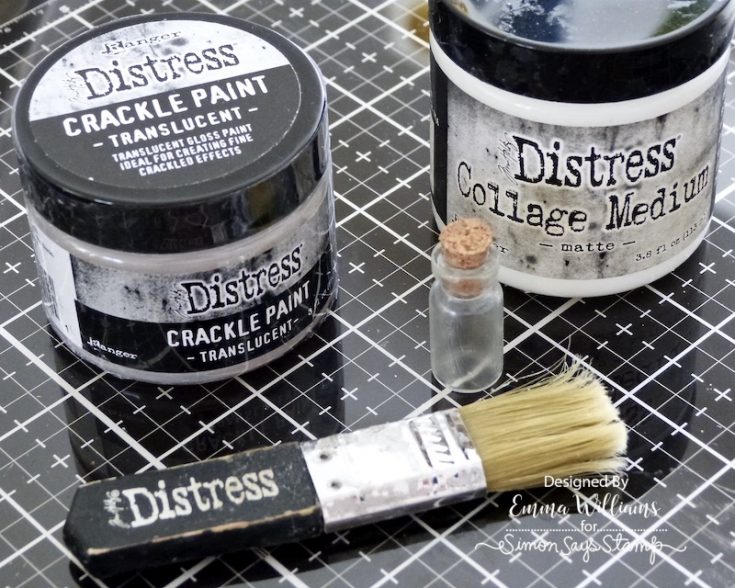
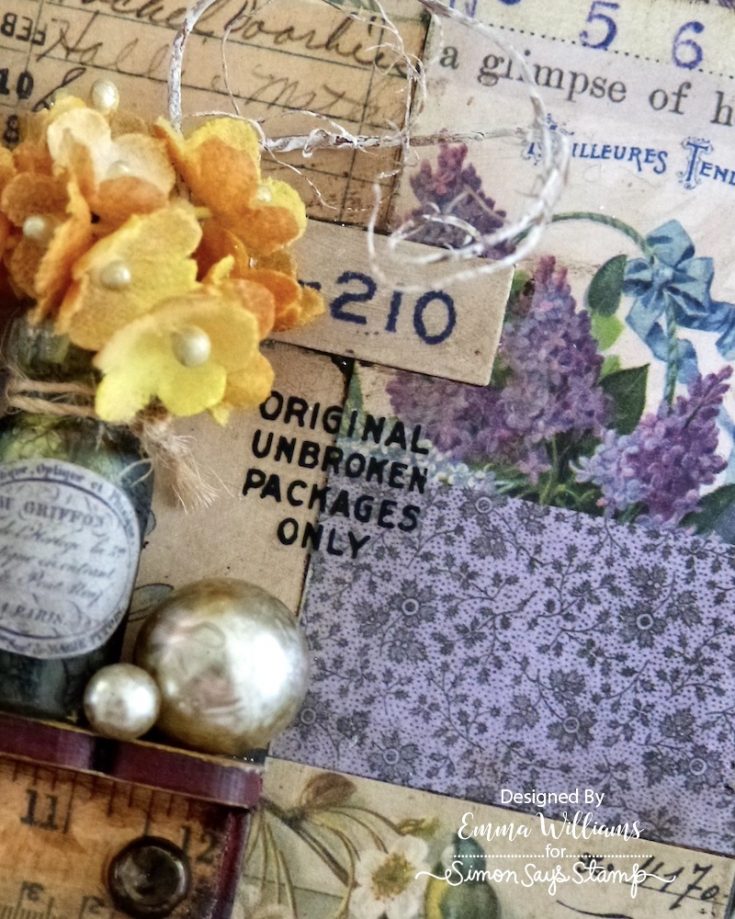
For the vase of flowers I used a Corked Vial, which I coloured with Alcohol Ink. To prep the vial for the ink, I applied Collage Medium to the surface, allowed this to dry thoroughly and then applied a coat of Crackle Paint over the top.
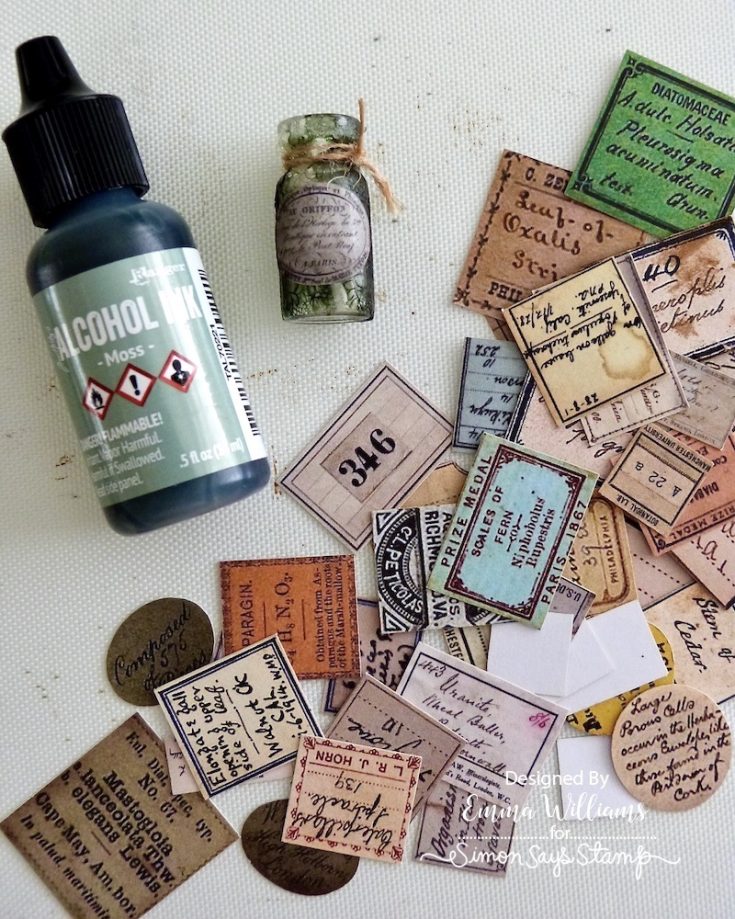
Once the crackle paint is dry and the crackles have appeared, I dribbled Moss Alcohol Ink over the surface. Be careful not to oversaturate the surface as it will lift the crackle paint.
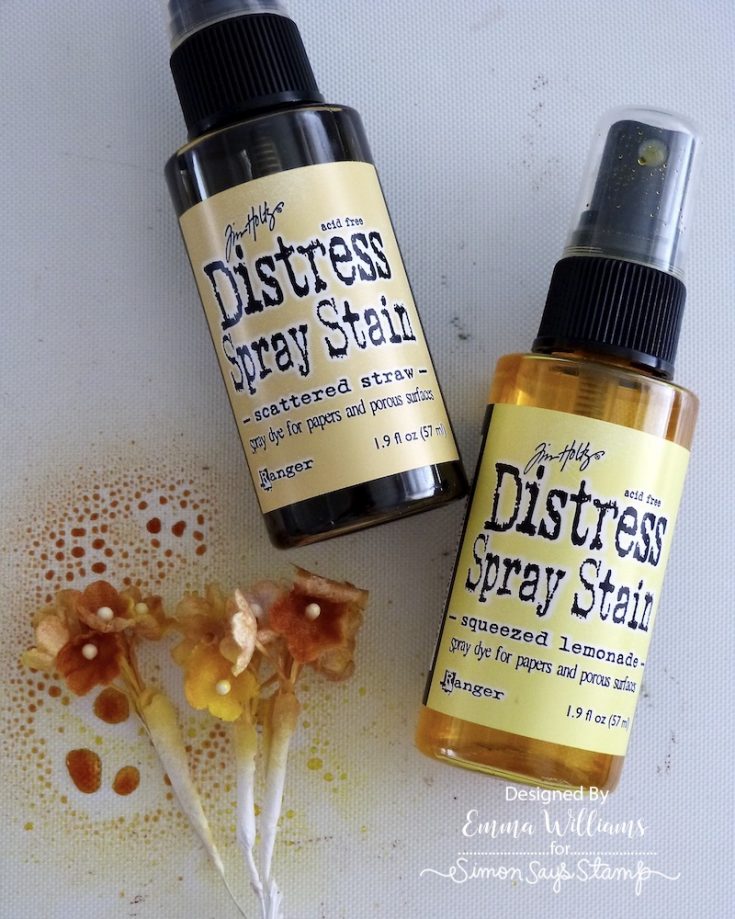
Inside the bottle, I placed a two bunches of idea-ology bouquet findings. To colour the flowers, place them onto your glass mat, or inside a splatter box and spritz with a combination of Scattered Straw and Squeezed Lemonade Distress Spray Stains.
Wrap the stained flowers in kitchen towel to remove the excess ink before drying them thoroughly and arranging them in the vase, securing them in place with either hot glue or matte collage medium. I also added some twigs from my stash, placing them amongst the flowers and then adhered two of the tiny florals on the left hand side of my shelf.
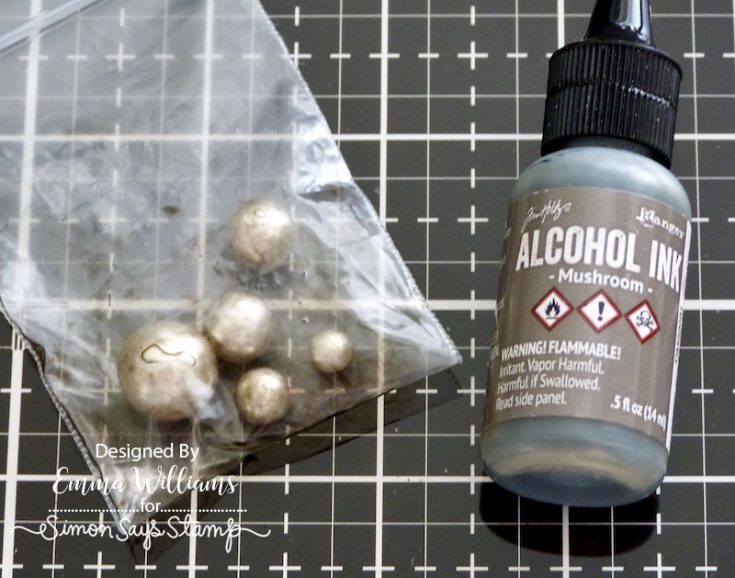
I completed the shelf with some baubles. I placed a selection of different sized baubles into a zip lock bag and then dripped some Mushroom alcohol ink into the bag. Seal the bag and then shake to cover the surface of each of the baubles. Tip them out onto a kitchen towel and once dry, attach them to the shelf with the collage medium.
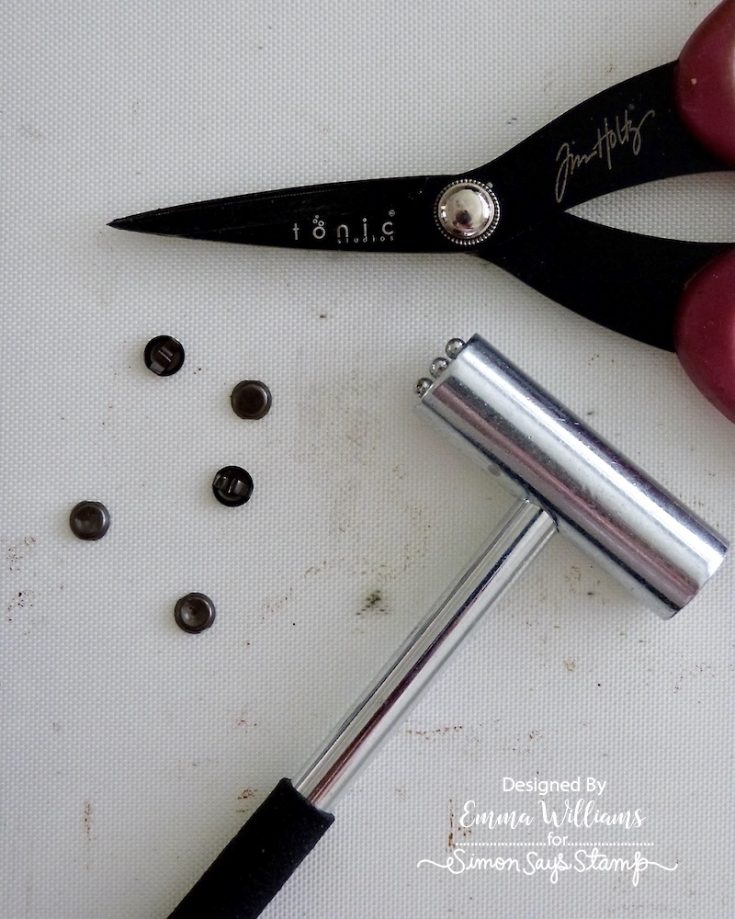
We’re nearly there and all that’s left are those small finishing details. Using a pair of Tim Holtz Shears, I carefully cut away the legs from the back of the Large Fasteners before using Tim’s Texture Hammer, to add tiny indents and texture to the surface of the metal.

I attached each of the fasteners to the panel with tiny dots of Matte Collage Medium and placed one in the top left, and two in the bottom right hand corners.
I also added two fasteners on either side of the ruler trim that is attached underneath the shelf.
Finally, and when it comes to making I always think it’s the little details that count, I added a small remnant rub, placing it just by the side of the vase.
I really hope you’ve enjoyed this tutorial and might have been inspired by some of the techniques I’ve used to create the finished piece. Whether you love making home decor pieces, cards or just want to try Mixed Media for the first time, these ideas can be used in so many different ways and I’ll be excited to see what you make.
Thanks so much for stopping by today and see you again soon…Emma x
SUPPLIES:
|


Really Beautiful work of art!!
This is gorgeous and I always appreciate Emma’s photos
Nice Article here.
just stunning