Doodling with Debby: Saltwater Taffy Ink Blended Background
Hi friends! Happy Sunday! Welcome to the March 2022 edition of Doodling with Debby! She is showcasing the new Saltwater Taffy Distress Ink color in only the gorgeous way Debby Hughes can! Read on to learn more, and enjoy!

Hello, it’s Debby here with my Doodling With Debby series. One of the quickest ways to ‘colour’ a floral set is to create a lovely ink blended background and then white heat emboss on top. You get all the beautiful linework of the flowers while the colour scheme hints at warm summer days. All you need to finish it off is a statement sentiment piece and you are done! And just so you know, all products used in my card today are listed and linked below for your convenience.
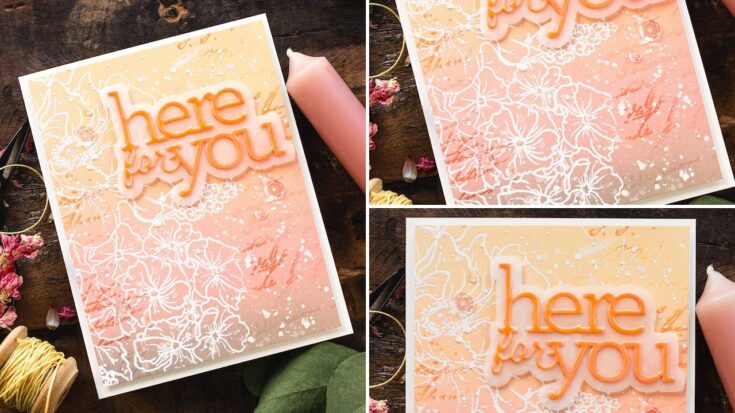
When the new Saltwater Taffy Distress colour was released, I played around with this ink combination and the piece sat on my desk and kept catching my eye. I love the warm ice cream tones which melt into a grounding of darker colour. I used Simon Says Stamp’s 130lb white card along with Scattered Straw, Dried Marigold, Saltwater Taffy and Frayed Burlap Distress Oxides. Follow along for a step by step how to of creating this card, or pop to the bottom of this post to catch the video.
step by step how to
- On a piece of 130lb Simon Says Stamp white card, use Simon Says Stamp blender brushes to blend a smooth gradient of Distress Oxides in Scattered Straw, Dried Marigold, Saltwater Taffy and Frayed Burlap.
- Make sure the card is fully dry. A good way to test this, is to sprinkle embossing powder on top. If it sticks, the card needs to be dried more. Repeat until the powder no longer sticks to the card and then it is ready for heat embossing. As an extra precaution, treat the card with anti-static powder.
- Stamp the Beautiful Bouquet set in Versamark ink, sprinkle on white embossing powder and heat set.
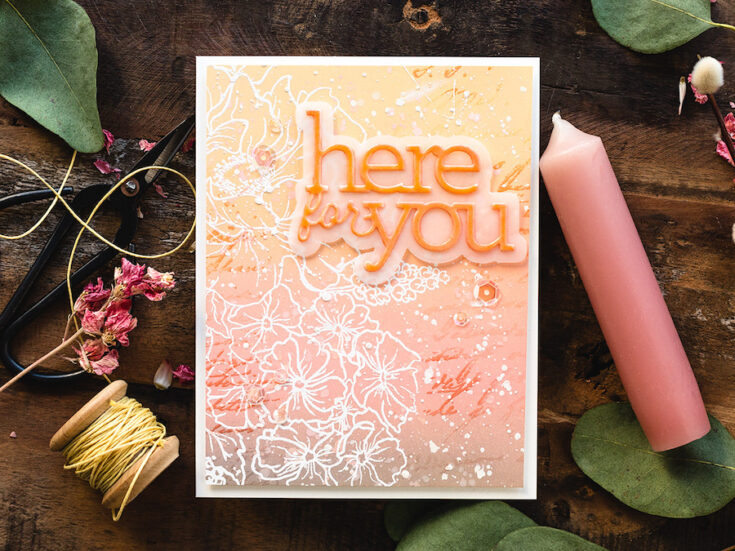
- Ink the Old Letter stamp set in Versamark ink and curl the stamp over the edges of the card to give hints of tone on tone text.
- Squish Saltwater Taffy and Dried Marigold Distress Oxides onto a craft mat and pick up the colour with a wet brush. Splatter liberally over the white embossed flowers. Take white gouache and again splatter liberally.
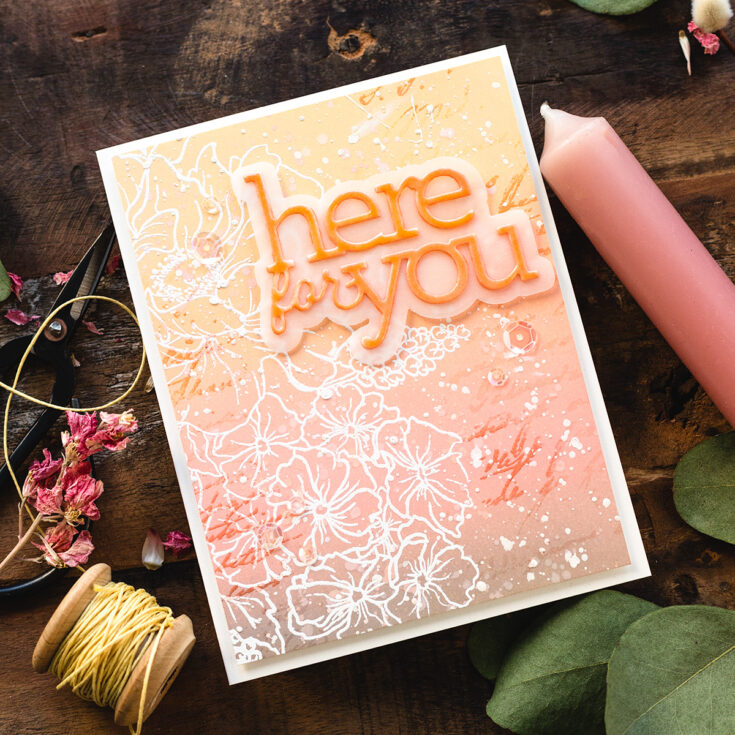
- To emphasise the text, sprinkle Saltwater Taffy glaze over the top in places and heat set.
- Splatter more white gouache.
- When dry, trim the panel to be just smaller than an A2 card base.
- Cut and score and A2 card from Simon Says Stamp’s Ivory card. Add foam adhesive to the back of the panel and add to the card base.
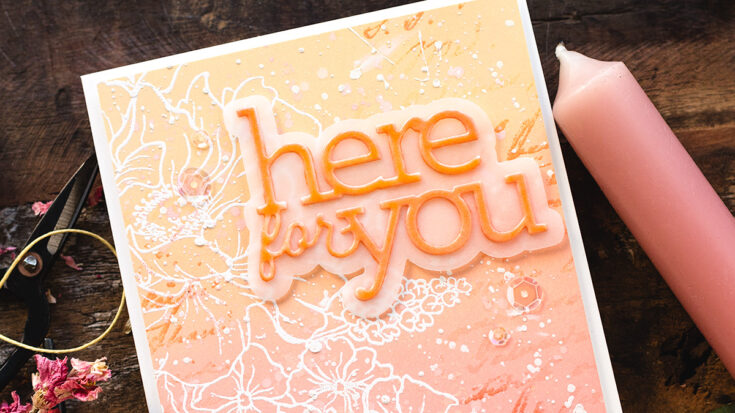
- For the sentiment, die cut the Here For You die from 130lb white card, Press into Versamark ink, sprinkle with Saltwater Taffy glaze and heat set. Press again into the Versamark ink, sprinkle with the glaze and heat set.
- Die cut the background die from the Here For You set from Vellum. Glue the letters to the vellum, then add tiny pieces of foam tape to the back of the vellum behind the lettering. Add the sentiment to the card.
- Embellish with Powder Puff sequins from Little Things From Lucy’s cards kept in place with Gina K Connect Glue.
Well, that’s me for this month. I hope you enjoyed this tutorial; you’ll find the video below. Thanks for joining me, and I hope to see you next time for Doodling With Debby.
WATCH THE VIDEO:
SUPPLIES:
|
Thanks so much for stopping by, and thanks to Debby for being our guest!


Beyond beautiful card and terrific tutorial. Makes me WANT all those new products!
A very lovely card Debby.
Wow!!! Debby, this card is Gorgeous!!! Love the color blend!!!!
What a breathtaking card. I loved these colors used together for the background. So classy. Thanks for sharing your wonderful tips and techniques.
Thanks for this video.
I loved your color palette so I borrowed it for my own card substituting Rusty Hinge for the Frayed Burlap.
https://www.reddit.com/r/cardmaking/comments/tistq1/bday_card_for_my_sisterinlaw/?utm_source=share&utm_medium=web2x&context=3
Your work is so inspiring. This card is just so lovely. I also love your videos , aI always learn a lot. Thanks!
Oh wow, this is just so pretty
Oooooh, I love this so much; those beautiful springy colors really make me happy!