Direct to Paper Abstract Birthday Cards: Yippee for Yana
Hi friends! Please join me in welcoming the oh-so-talented and amazing Yana Smakula! (Please note; our dear friend Yana is Ukrainian, to show support to our brothers and sisters in Ukraine, please see Yana’s post HERE.)
Hello, crafters, this is Yana Smakula for Simon Says Stamp! Welcome back for another Yippee For Yana video!
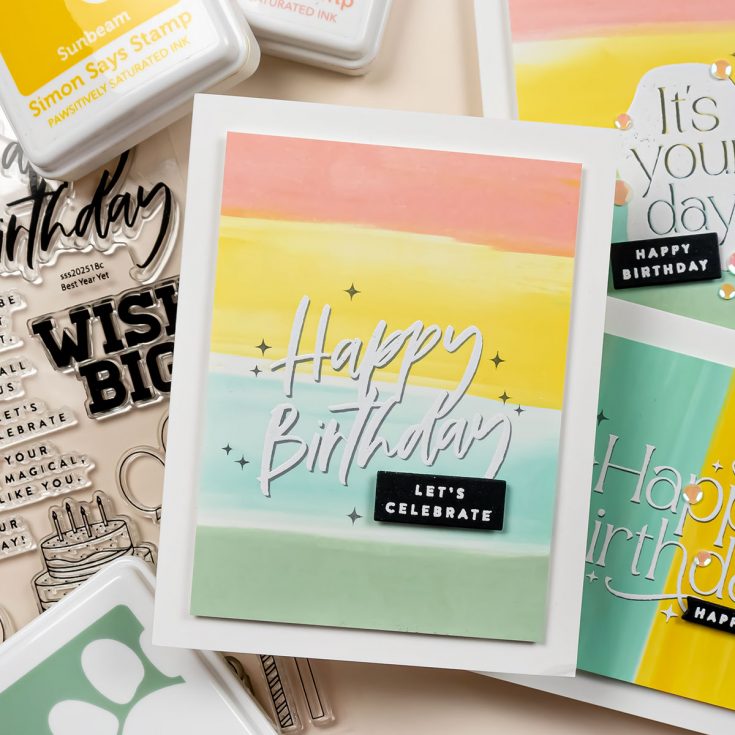
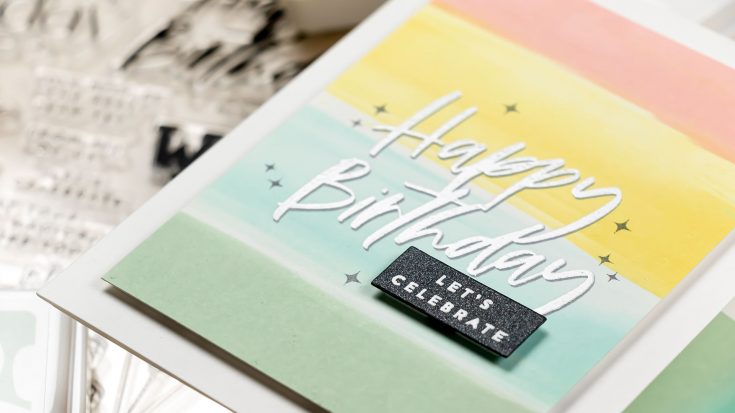
In this video, I’m making colorful abstract background Birthday cards with Simon’s Pawsitively Saturated Inks and Best Year Yet stamp set.
I picked several ink colors to make my backgrounds: Guava, Citrine, Tidepool, and Aspen and Cheeky, Sunbeam, Seafoam, and Aspen. You can do this technique with any color combination you like, I picked bright and cheerful colors as I was making birthday cards.
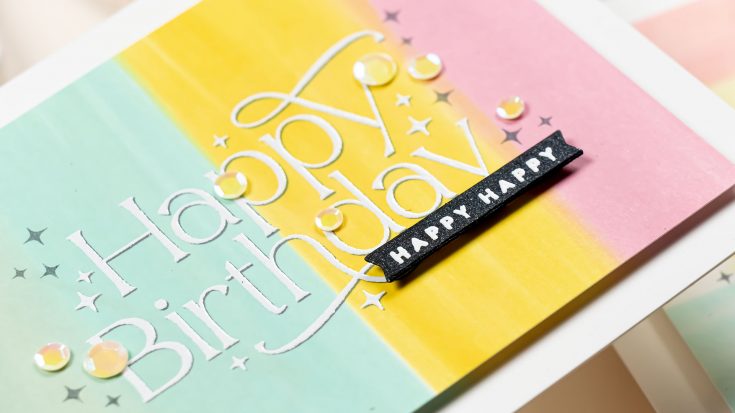
I used Simon Says Stamp 130lb cardstock for these. It is my go-to paper for anything stamping-related or Copic marker related. This paper is super smooth and that makes it perfect for this technique, but that doesn’t mean you can’t try this on another type of paper, you just want to make sure you aren’t using something with texture. The smoother, the better.
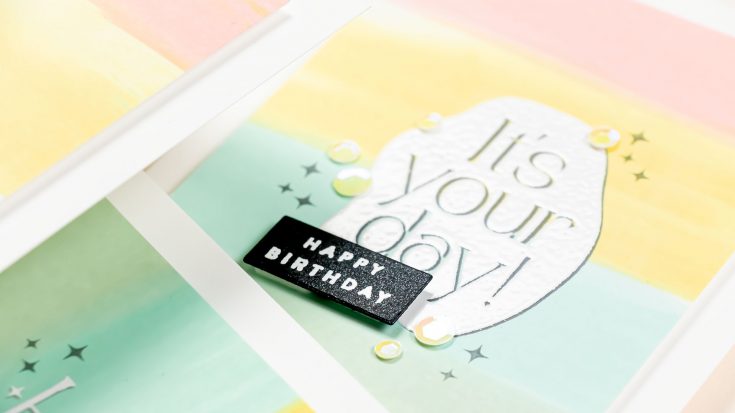
The idea is to use direct to paper application method and simply gently glide your ink across the paper to transfer the ink. Start with a very light hand, don’t press too hard, the harder you press – the more ink will come out, I prefer to go in very light and increase the pressure by just a little bit as I go. Applying ink in this way gives you uneven ink coverage, you get sections that are darker, sections that are lighter, and some might even be without ink at all and that makes it all very unique.
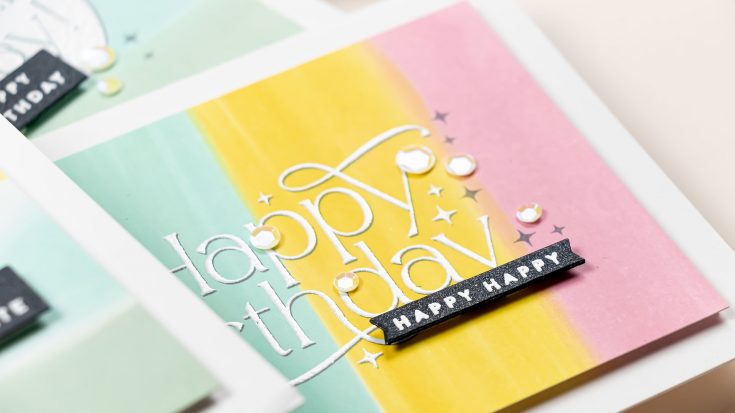
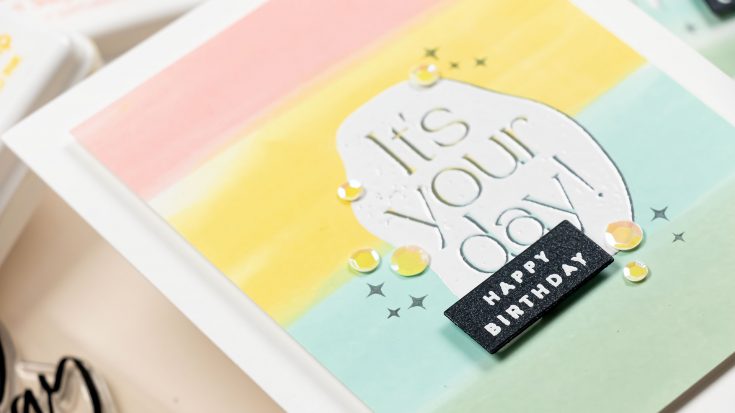
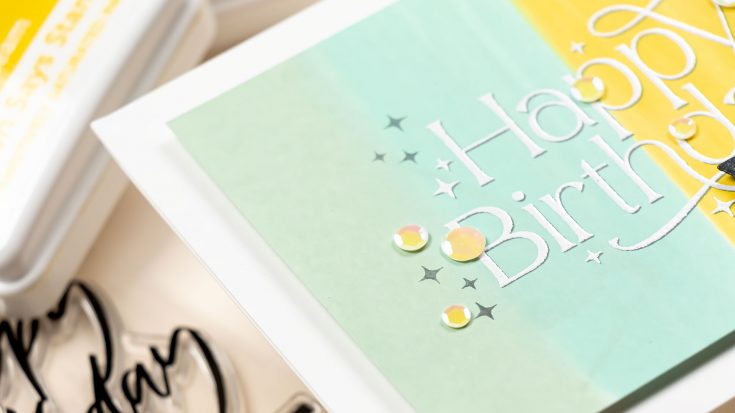
With the backgrounds created I moved on to the stamping. I wanted to create a shadow for the sentiment in gray ink and have the sentiment itself be heat embossed in white. I first stamped the sentiments in gray, using the Simon Says Stamp Charcoal ink and, having waited for the ink to dry, I heat embossed the same sentiment on top offsetting it slightly in white detail ink.
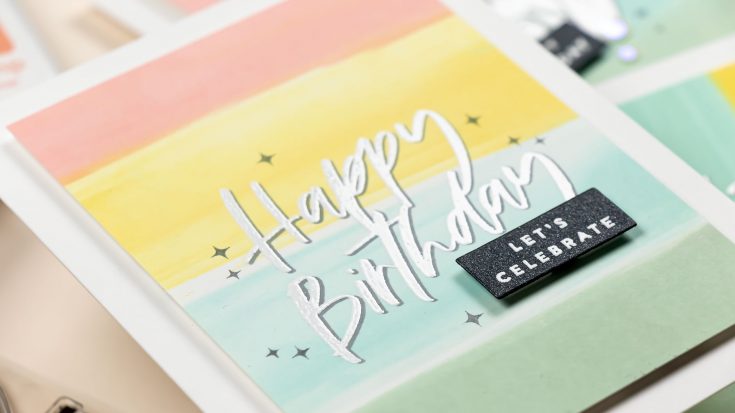
I trimmed each paned to 3 1/2 x 4 3/4″ and I used a layer of white fun to foam mount the panels onto A2 card bases. I also foam-mounted additional sentiment rectangles and next, I used the same gray ink to stamp some additional stars onto the background. I also added sequins to some of the cards to add just a little bit of sparkle! Have fun stamping!
WATCH THE VIDEO:
SUPPLIES:
|
Thanks so much for stopping by, and thanks again to Yana for being our guest!
Ways to support Ukraine:
If you are looking for ways to support Ukraine, we encourage you to visit this page on Yana’s blog:


I love your easy yet amazing backgrounds!!! Really Beautiful cards!!
Uncomplicated and REALLY COOL cards, Yana! Thanks!! Love it when you send us a video.
Lori S in PA
Really lovely cards