Create A Cozy Christmas Vignette Scene!
Hi friends! Happy Sunday! I’m so delighted to welcome back special guest Emma Williams to our blog today! Her mixed media projects always blow my mind with creativity and this one is of no exception! Let’s dive in, and enjoy!
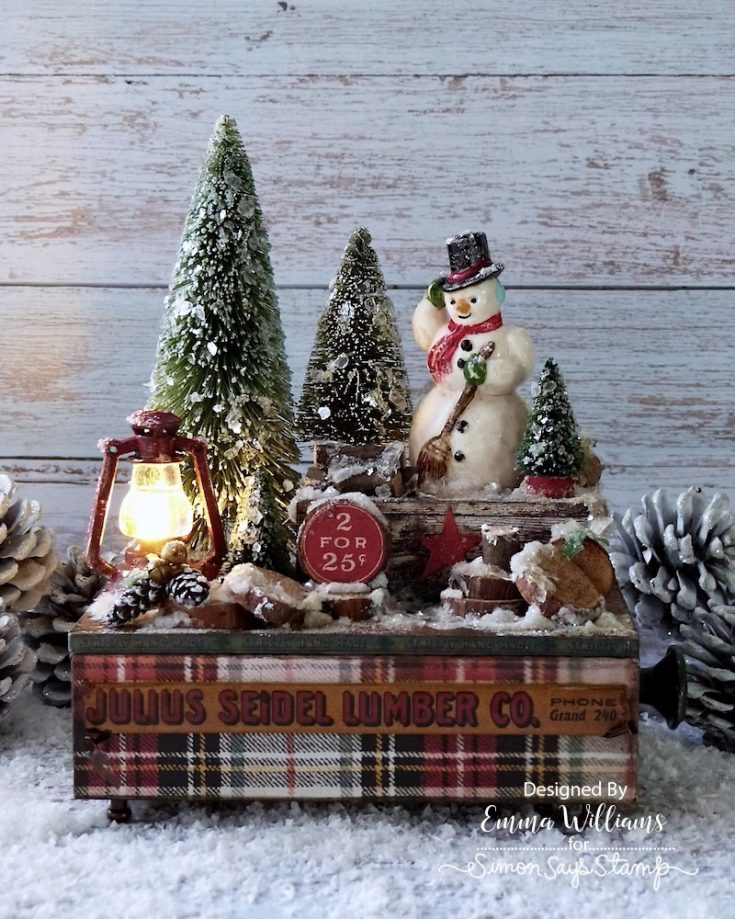
Hello everyone! I’m so happy to be back on the SSS blog today and can’t wait to share all the details of my Christmas project for 2023, which comes complete with tiny lights and all made using idea-ology products from Tim Holtz and mediums from Ranger Ink.
So, let’s begin…
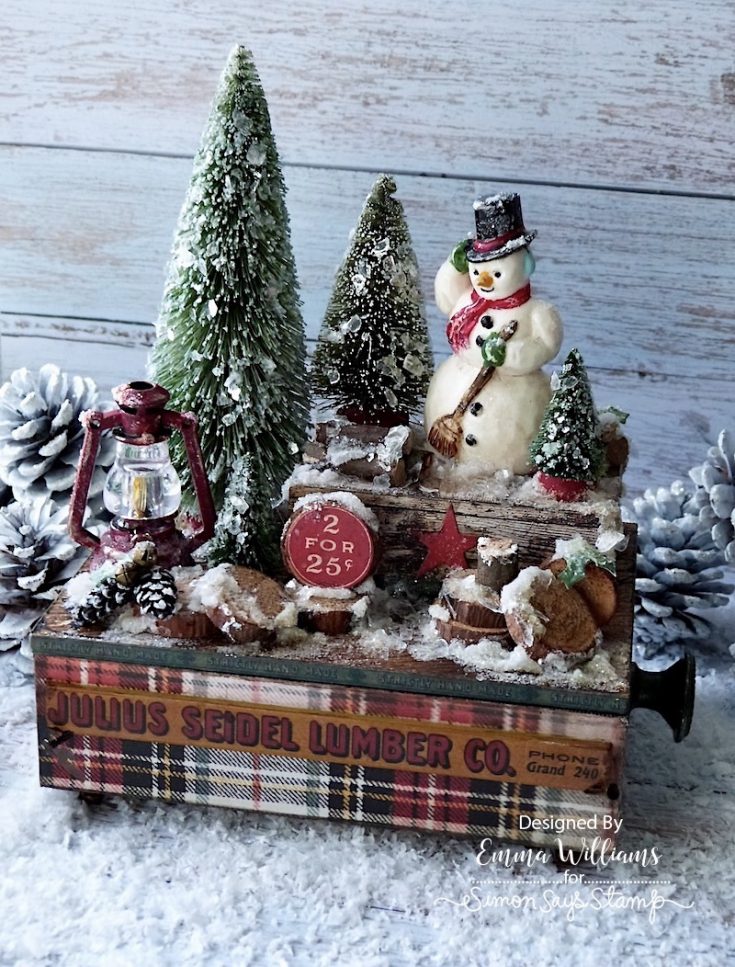
For this make I used the largest and the smallest size box in the set of 4 Tim Holtz Vignette Boxes, together with the largest sized Vignette Display Panel which will form a lid for the box.
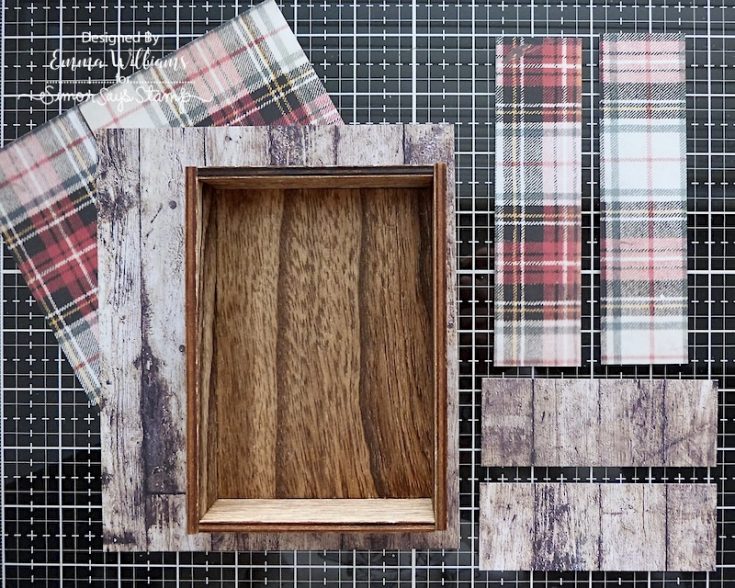
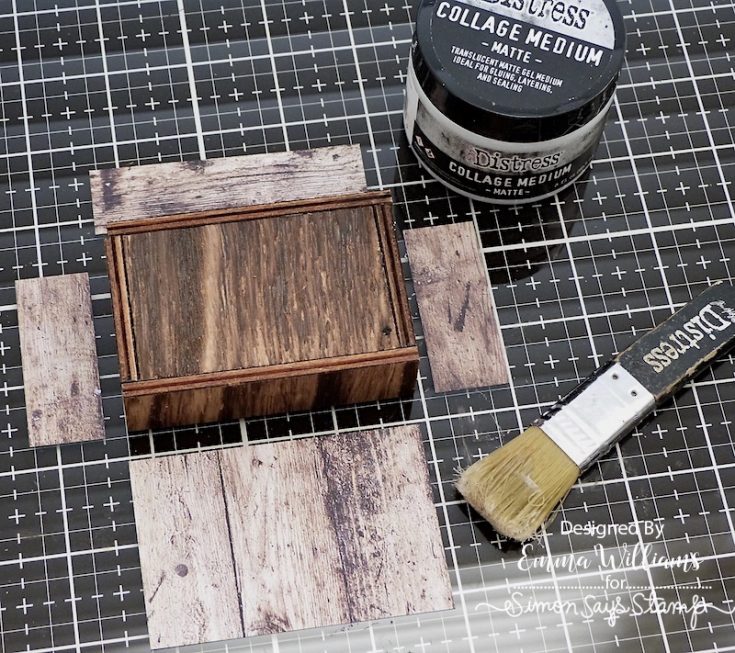
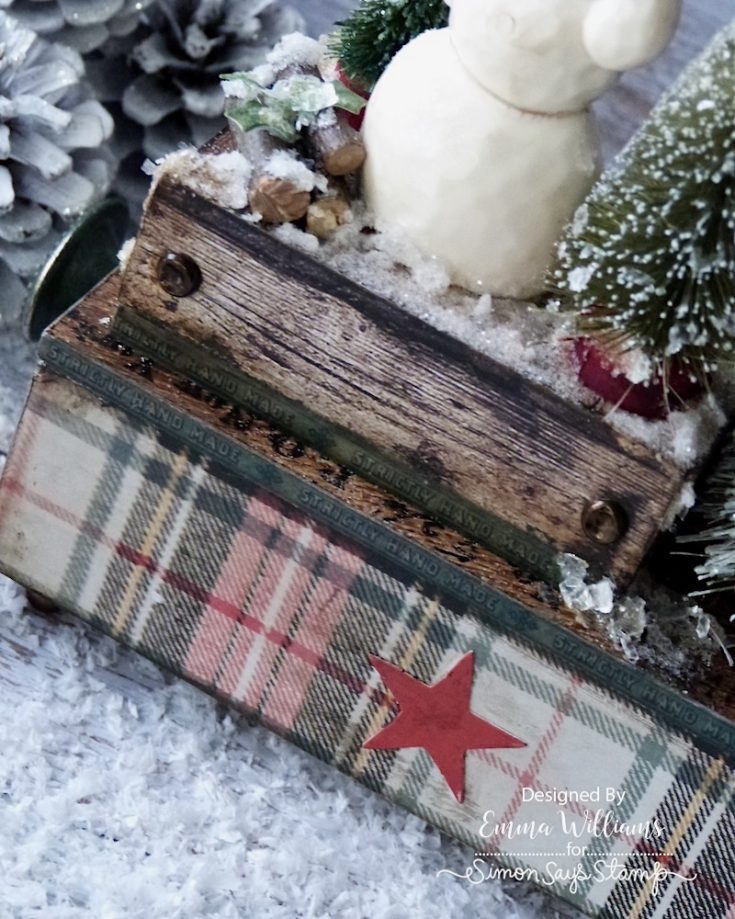
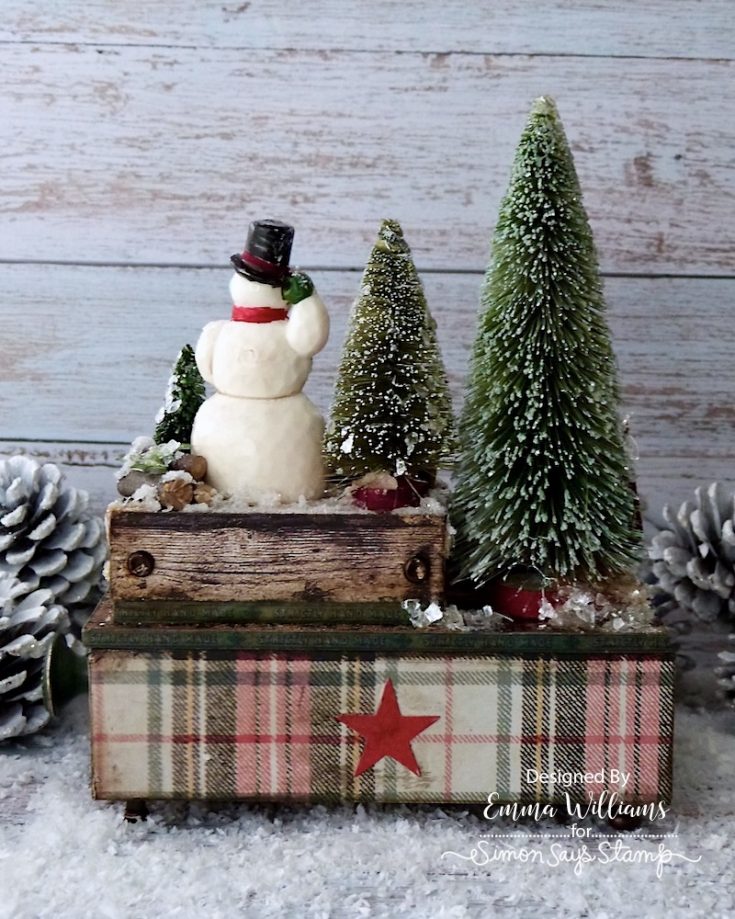
To begin with I covered the large box using papers from the Christmas Backdrops set ~ plaid on the front and back and the wood plank effect paper on the two sides. I cut each panel to size and then adhered them to the box with Matte Collage Medium.
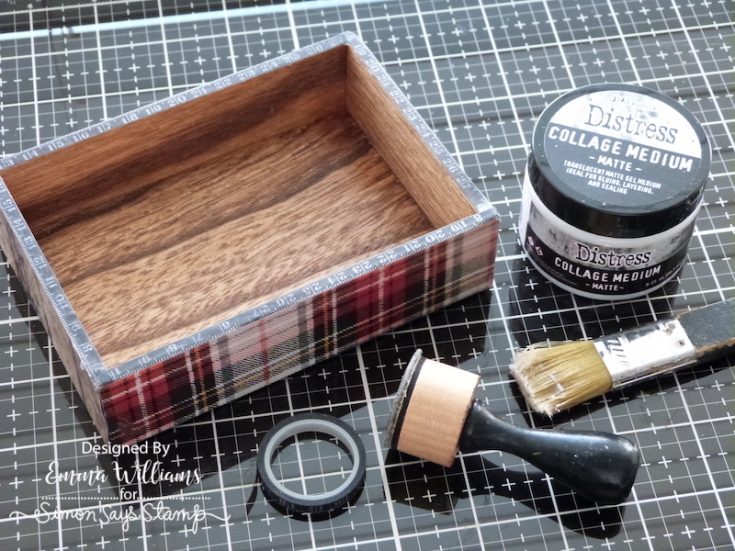
Once dry, I used a piece of sandpaper to smooth the edges of the paper and then applied a coat of the medium before running Walnut Stain Distress Crayon around all the joins, blending any harsh lines of colour using my finger. On the inside trim of the box, I applied Design Tape.
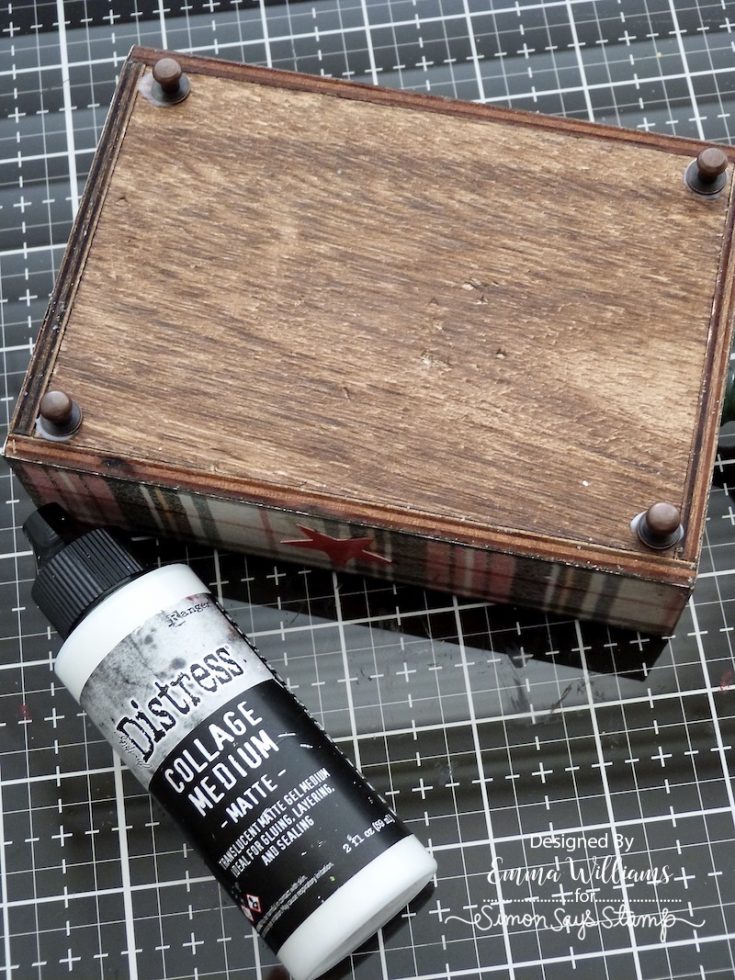
Moving onto the small vignette box, I flipped the box over and covered this box with more of the wood planks effect paper. I adhered four panels cut to size to the sides and cut a final panel of the paper to fit the top of the box.
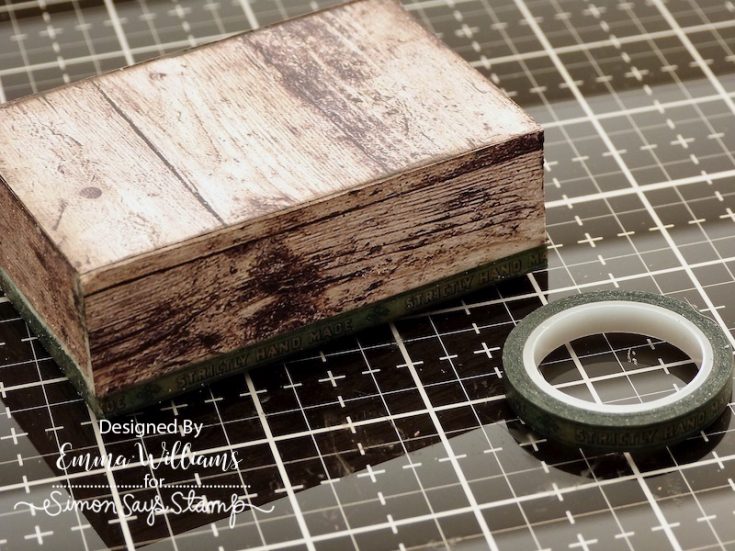
Apply a coat of medium to seal the papers before running Walnut Stain Distress Crayon around the edges before then adding Design Tape around the bottom on each of the four sides.
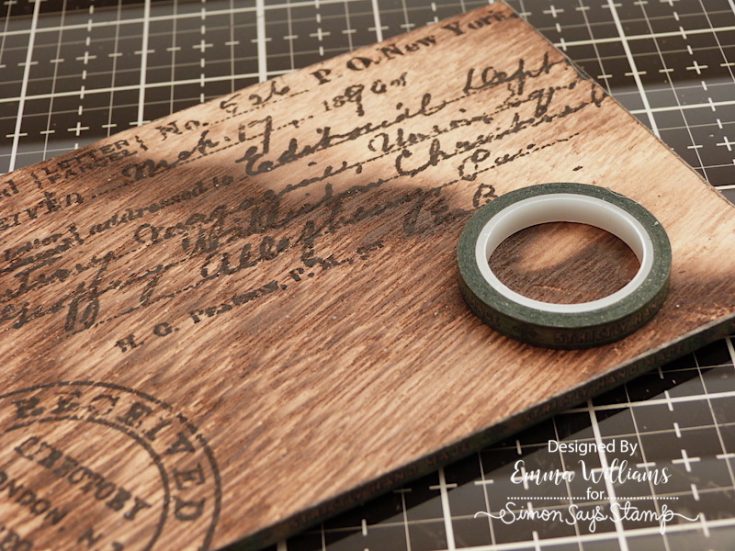
I wanted to keep a rustic feel to this piece, so for the lid, I kept the wood uncovered but applied Design Tape around the four edges of the Vignette Display Panel. Seal the taped edges and the top and bottom of the panel with Matte Collage Medium.
Position the small covered box onto the lid, placing it on the right hand side, leaving room in front of it so that you can add more embellishments and set to one side for the adhesive to dry.

To complete the smaller box, I used 2 Large Fasteners. Snip away the legs from the back of each fastener and then hammer the top of the metal to create the dents.
Attach the fasteners to the box with Matte Collage Medium.

Adhere a red star from the Christmas Layers Ephemera Pack onto the front of the small box, and you will notice from the previous photo, that I also added a second star to the back of the large box.

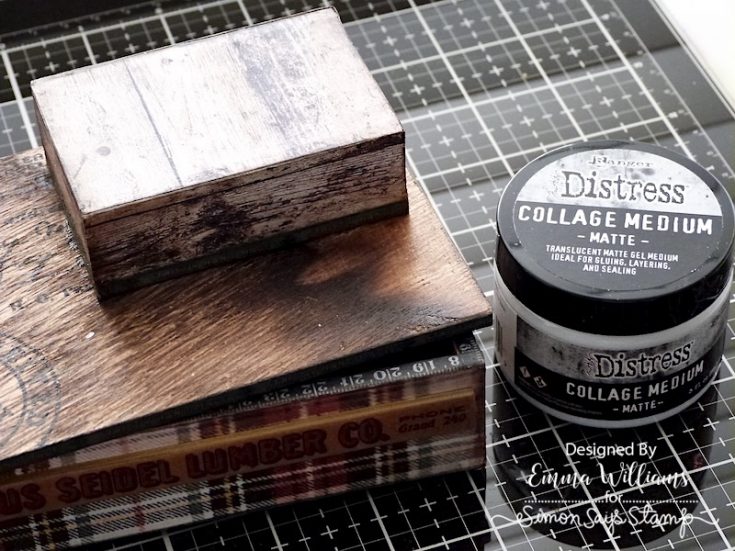
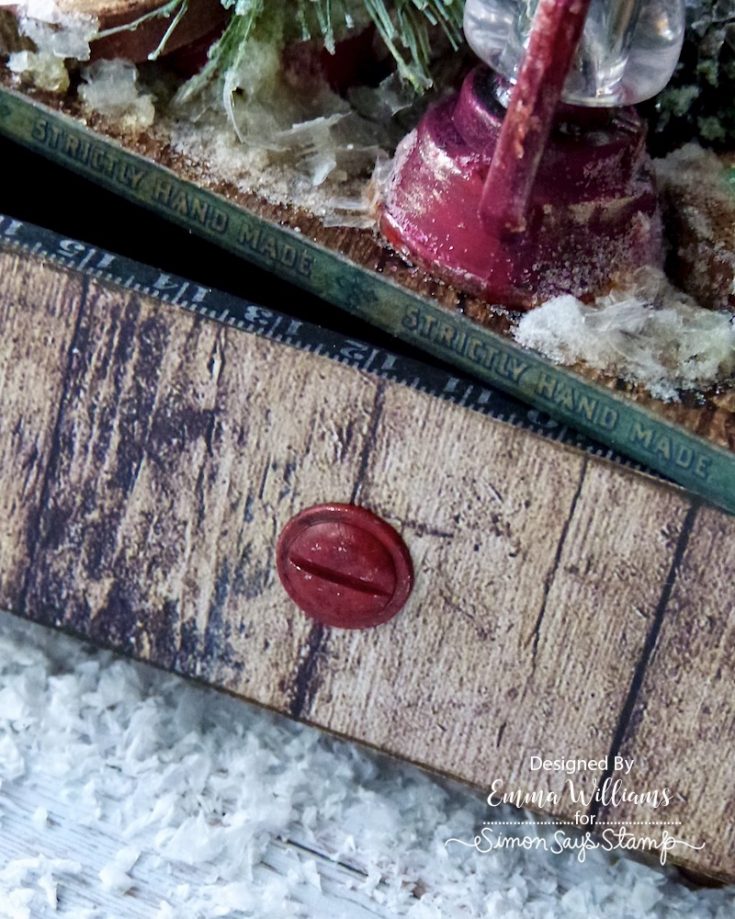
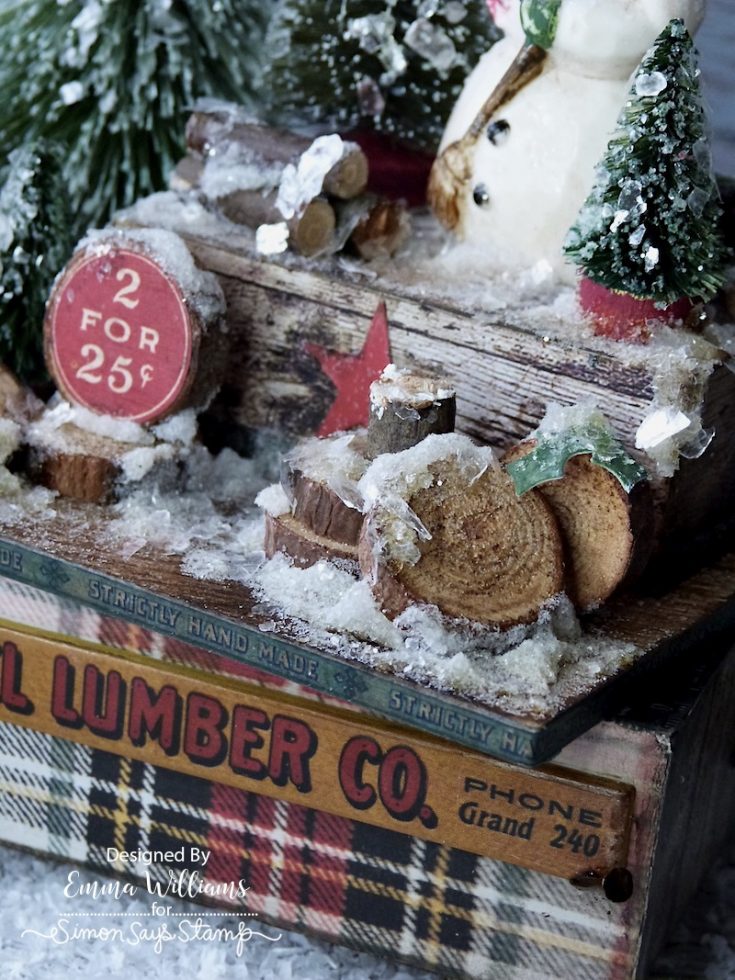
Taking the Julius Seidel Lumber Co. strip from the Christmas Baseboards and Transparencies pack, I used a craft knife to carefully cut away a small portion of the strip so that it will fit across the front of the box. I attached the strip to the box with the medium, and then hammered two tack nails into position, placing them on either side, just underneath the strip. Paint each of the tack nails with a combination of Black Soot and Crackling Campfire Distress Paints to create a rusty effect to the metal.
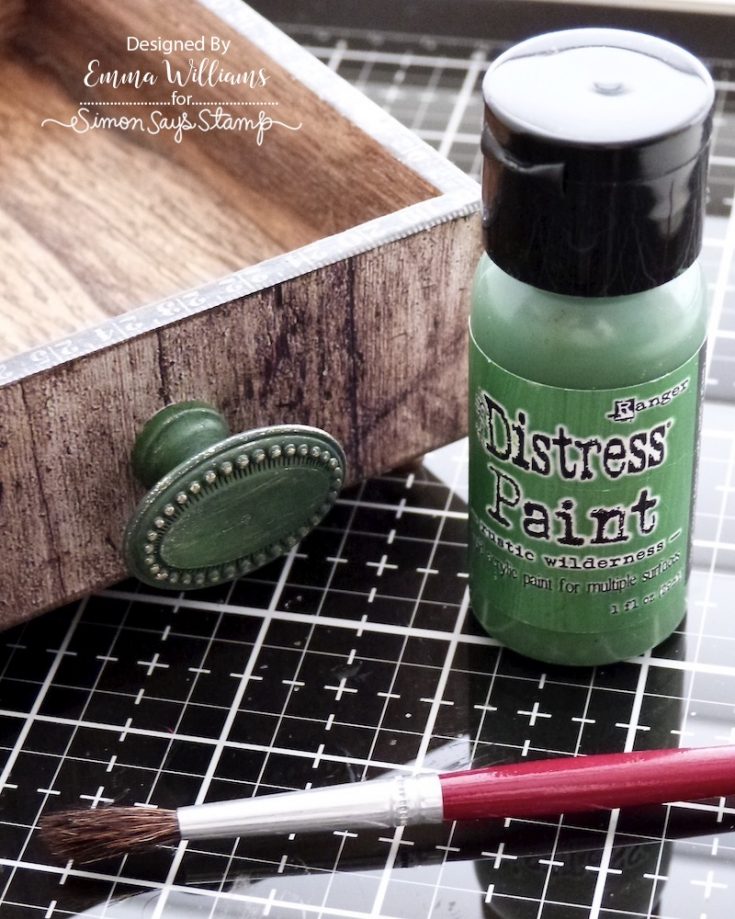
On the right hand side of the box, I placed a knob. This is from the Mini Hardware handle and Knobs pack and I used the oval design, which I painted with a coat of Rustic Wilderness Distress paint. I allowed the paint to become slightly tacky to the touch and then removed any excess paint to reveal the metal underneath. Heat dry the painted surface, and then apply a thin coat of Gilded Foundry Wax to accentuate the beading and design on the knob. Attach the knob using Glossy Accents and allow for the medium to dry thoroughly to secure it into position.
On the left hand side, I placed a Machinery Head which I painted with Fired Brick Distress Paint and adhered into position with Matte Collage Medium.
To complete the box, I added little feet and for this I used Hitch Fasteners which I adhered to the four corners on the bottom.
CREATING THE EMBELLISHMENTS
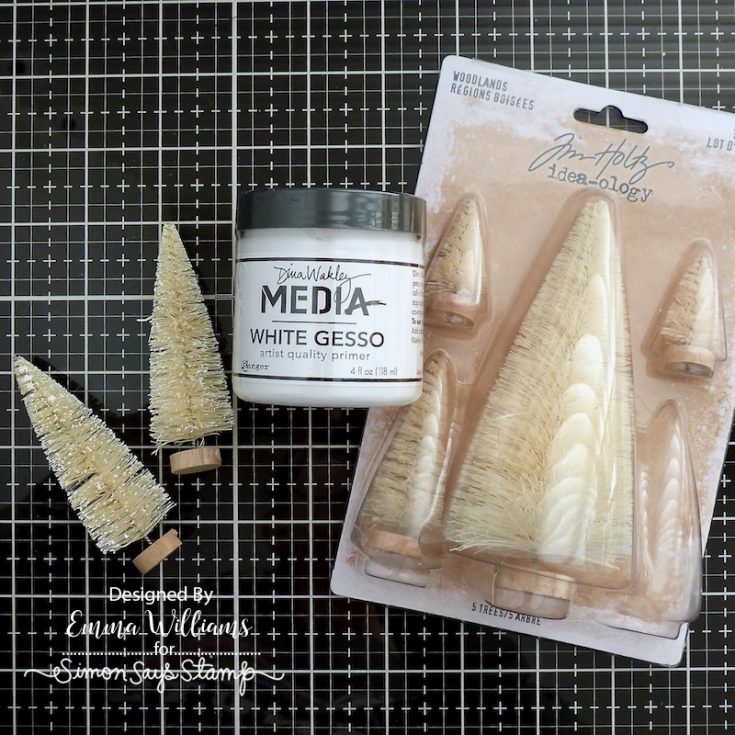
Now we move onto the scene and begin with the trees. I used three different sized woodland trees ~ 1 large, 1 medium and two of the smallest size and used a resist technique on the tips by applying a light coverage of gesso to the tips of each tree.
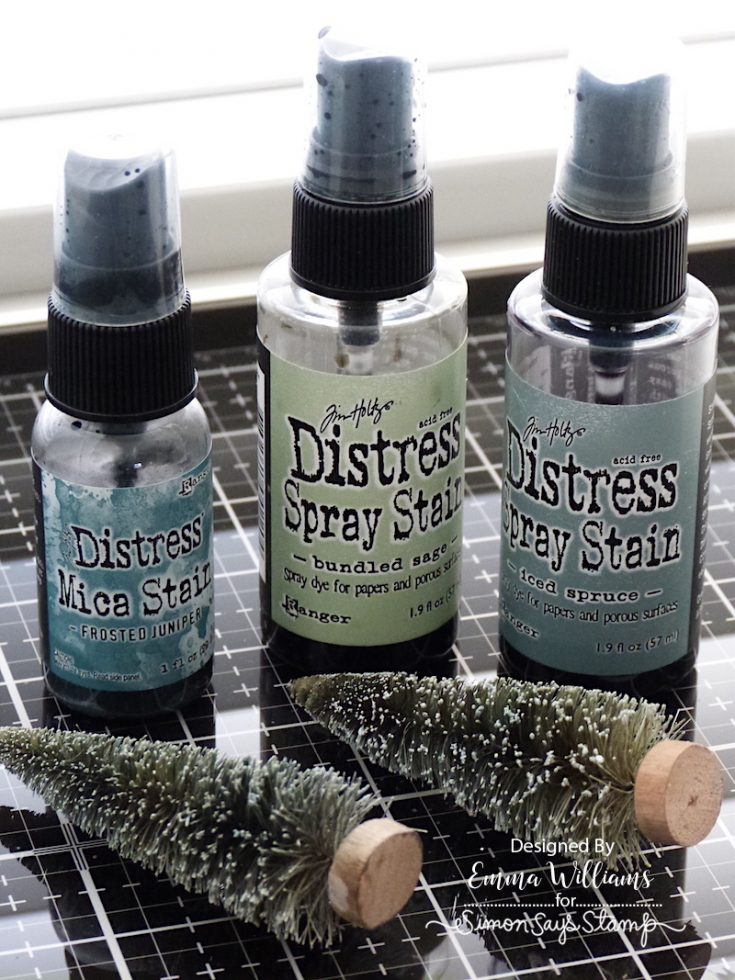
I allowed for the gesso to dry before placing the trees in a splat box, and spritzing each tree using Bundled Sage and Iced Spruce Distress Spray Stains and Frosted Juniper Mica Stain. You will notice that the gesso resists the inks and therefore leaves the tips white, creating a snowy effect. Wrap the trees in kitchen towel to remove any excess ink and either you can leave them to dry naturally, or gently heat dry.
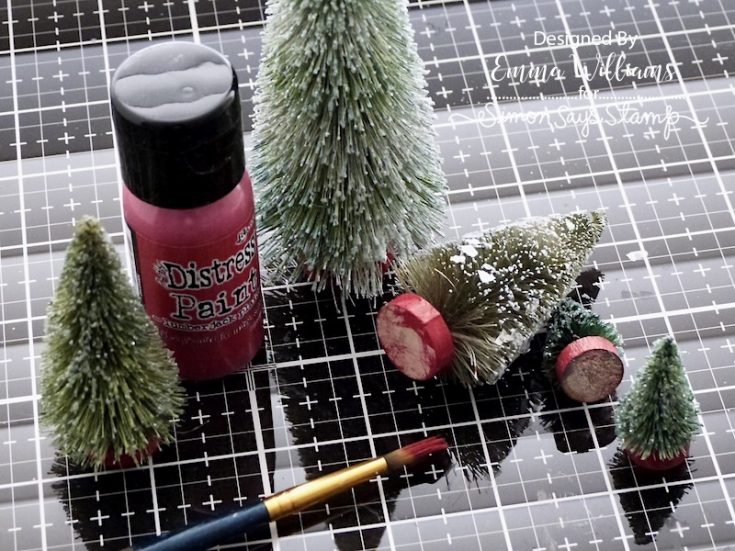
Paint the wooden bases of each tree with Lumberjack Plaid Distress Paint.
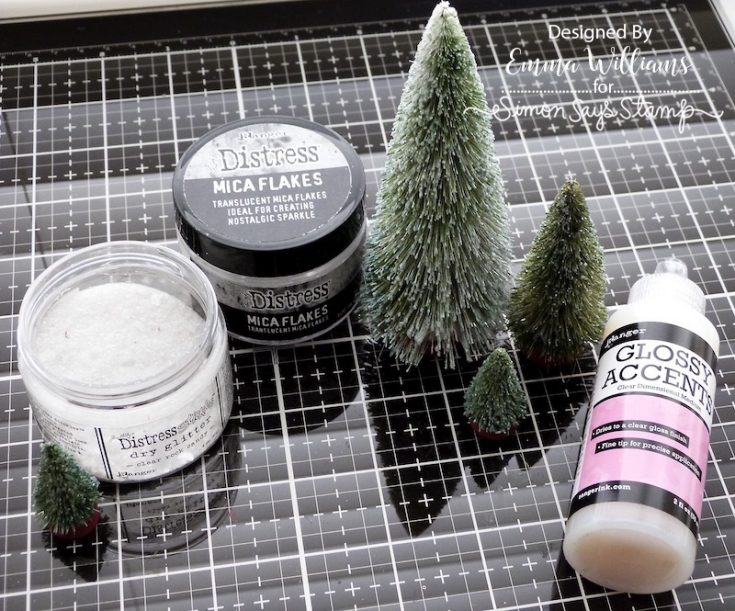
To add the glitter, I squeezed a small amount of Glossy Accents onto my craft mat and spread it out to form a thin layer. Roll each tree in the accents to coat the tips only and then working quickly, sprinkle Rock Candy Glitter over the trees, tapping away the excess. Set aside to dry. Using your finger, dab tiny amounts of the glossy accents onto the glittered trees, and then sprinkle with Mica Flakes.
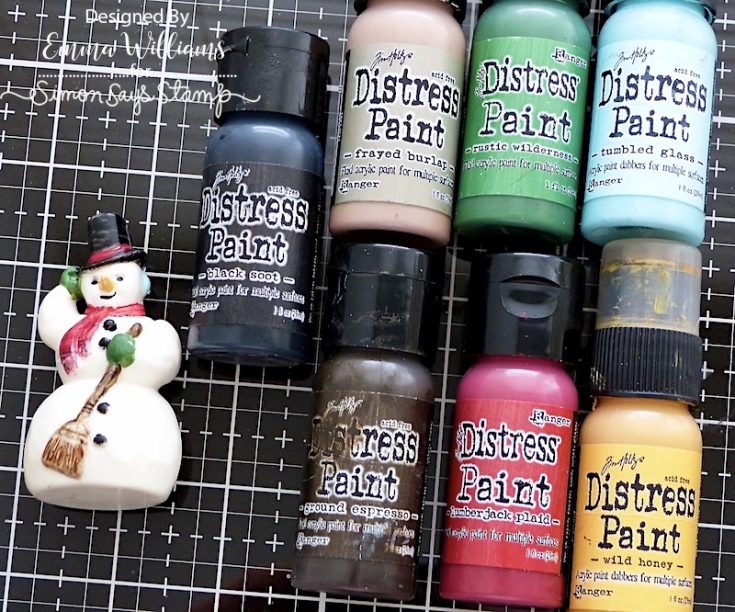
I painted the snowman with Distress Paints ~ Black Soot, Ground espresso, Rustic Wilderness, Frayed Burlap, Tumbled Glass, Wild Honey and Lumberjack Plaid and once dry, I lightly scratched to remove some of the paintwork, to create a more vintage feel.
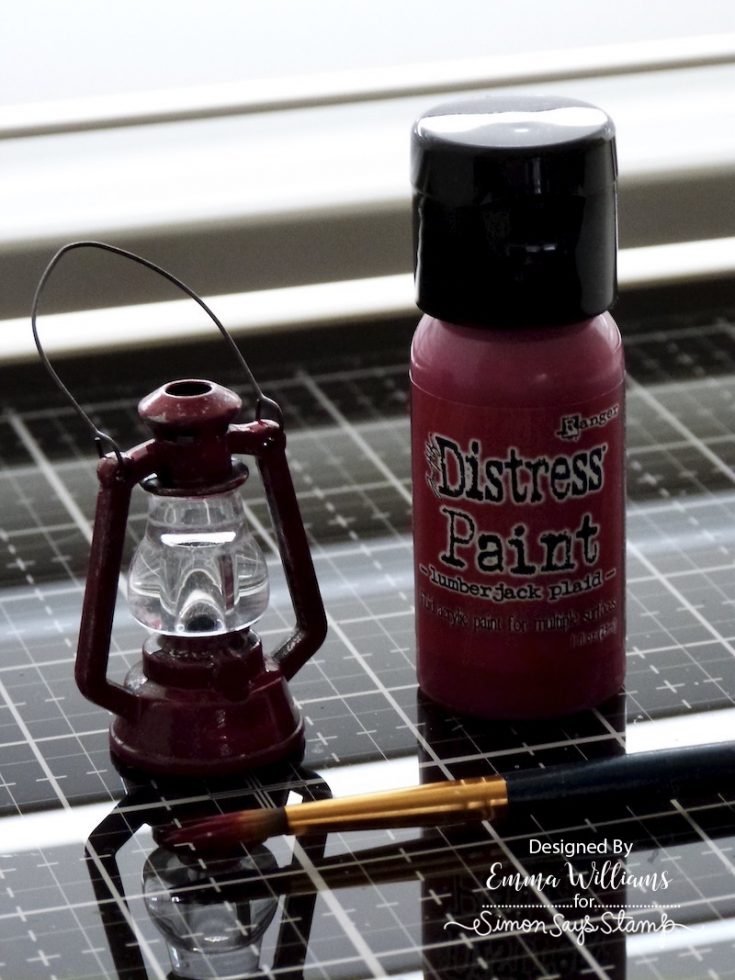
After painting the metal surface of the Tim Holtz idea-ology lanterns with Lumberjack Plaid Distress Paint, I added the tiny lights.
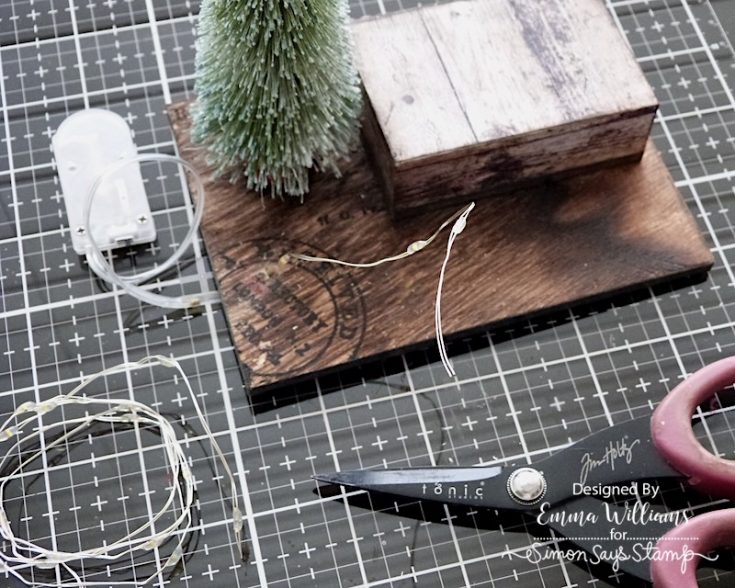
For this I made a small hole through the wooden panel, then threaded the lights through, cutting away the excess wire and leaving two or three lights remaining attached to the battery pack.
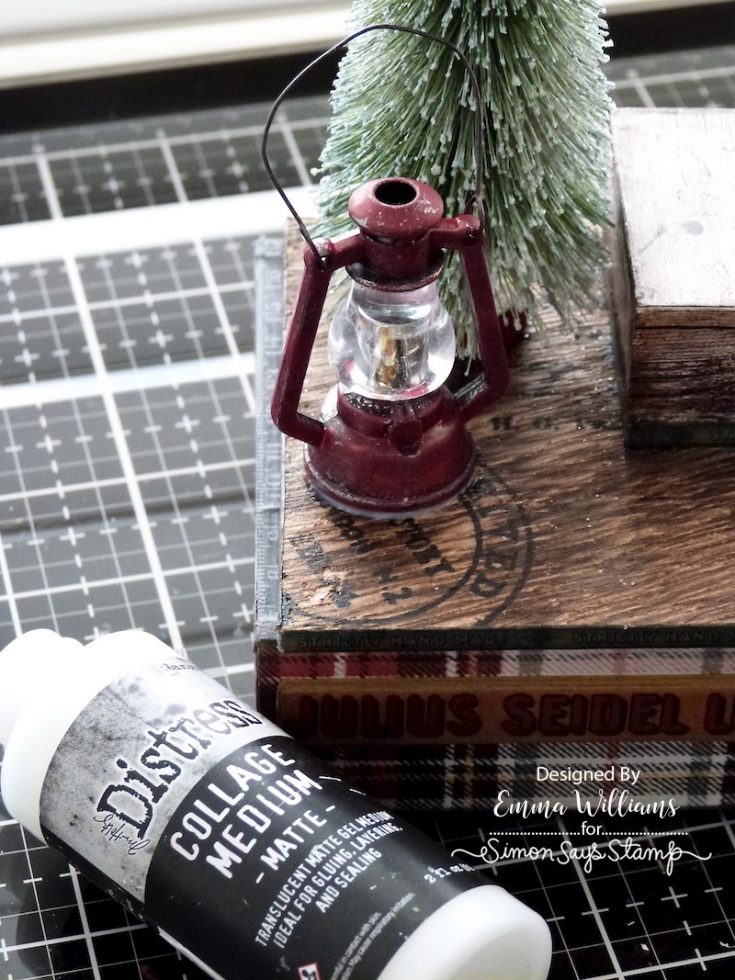
I put the remaining lights on the strand, through the hole in the base of the lantern and secured the wire into position with hot glue, before attaching the lantern to my panel with Matte Collage Medium. Allow to dry and then fix the battery pack to the underside of the panel.
ARRANGING THE EMBELLISHMENTS
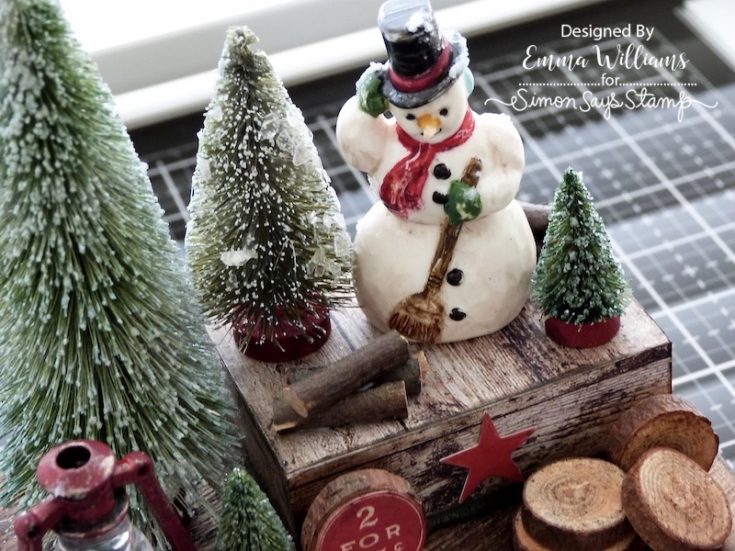
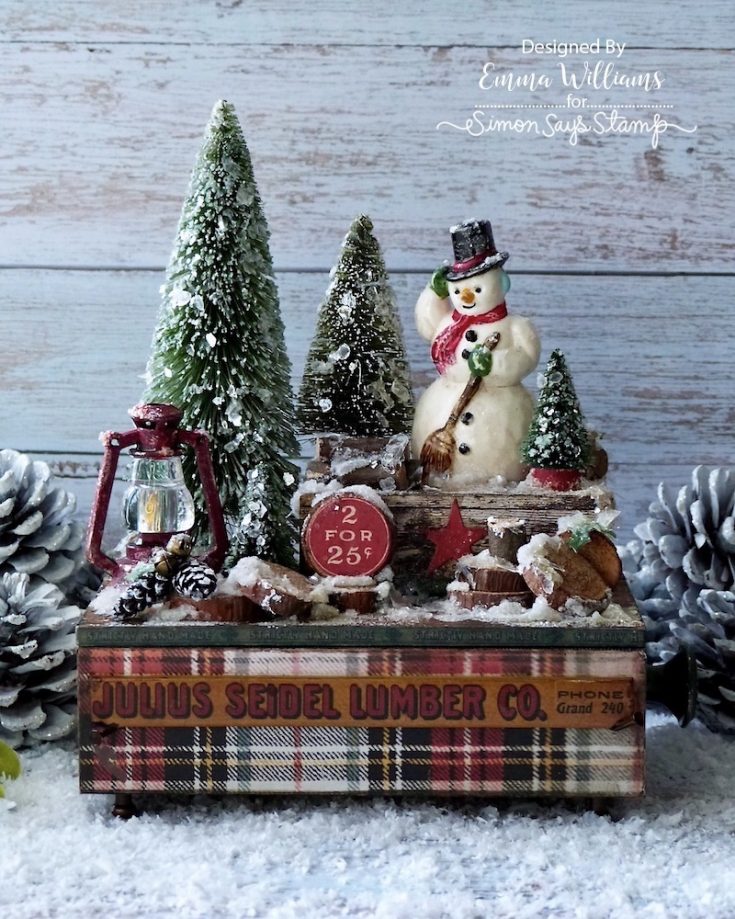
After attaching two trees around the lantern, I placed the remaining trees on top of the smaller box together with the painted snowman. I then arranged some wood slices onto the lid, positioning them in groups on the left and right hand sides, before adding small wooden logs from my stash, which I placed in two groups, in front and behind the snowman.
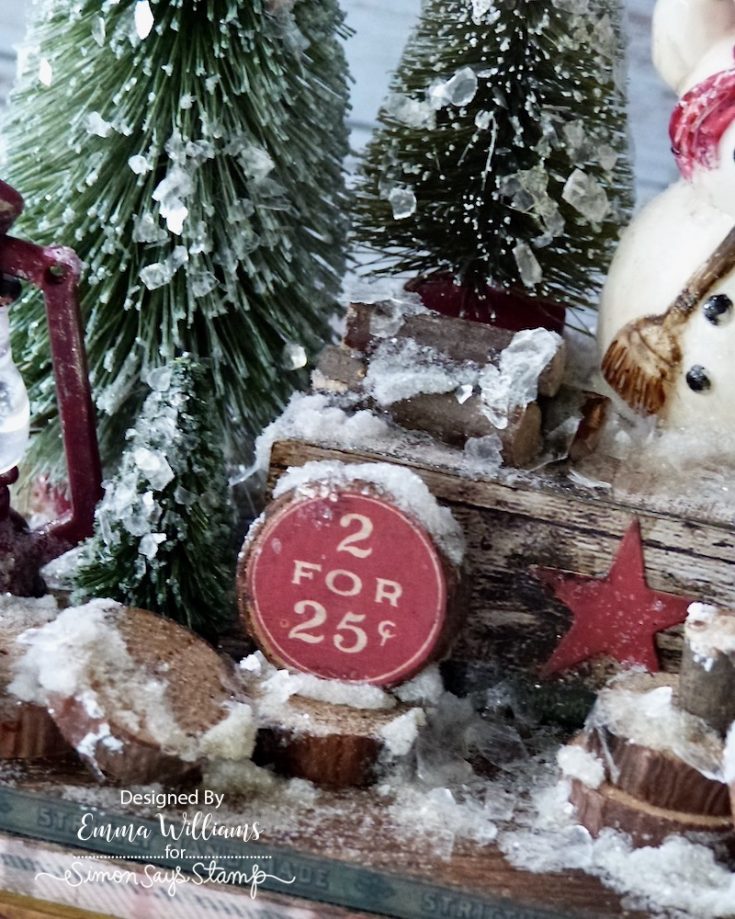
Using Collage Medium, I adhered an ephemera piece to a final wood slice, “2 for 25¢” and attached this to the arrangement.
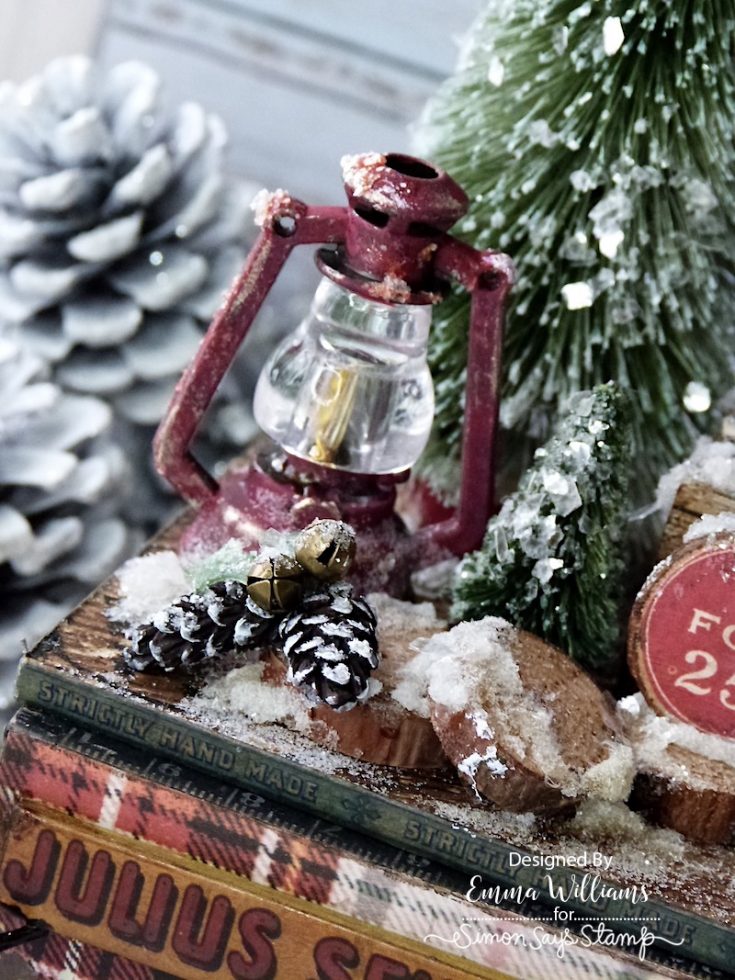
I added two pinecones on the left hand side. Dry brush gesso over the cones, just catching the detail of the raised areas. Once these were dry, I adhered them to the display and placed two tiny bells in the centre.
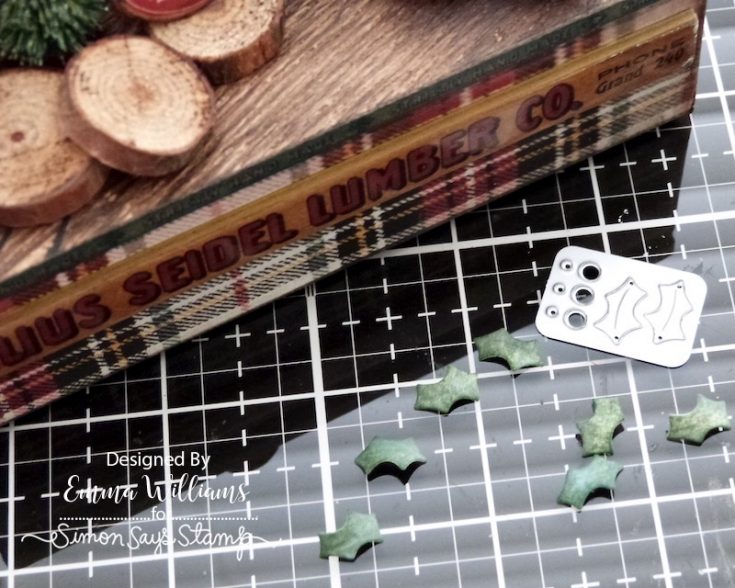
Finally, I used the Holly Leaf die from the Christmas Minis die to die cut green cardstock from Tim’s Cool Kraft Kraft Stock Stack.
I shaped the leaves to give them a natural curl, and then attached them to my project ~ just tucking them into the groups of pinecone and logs.
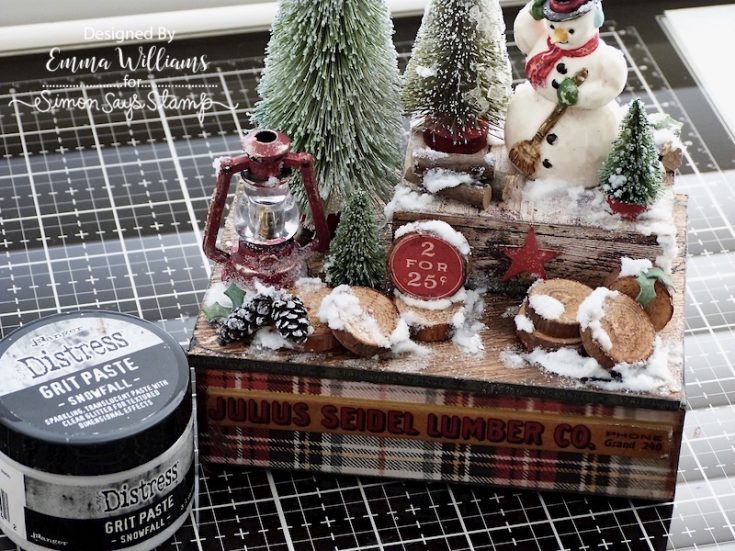

We’re nearly there and all that’s left is to add some sparkle and shine and for this I used Snowfall Grit Paste and applied the paste onto the scene. You don’t want to add too much but just think of how snow would fall naturally onto these pieces, and don’t forget the snowman needs a dusting too.
Once the paste is touch dry, I then drizzled Glossy Accents over the project, (again don’t add too much, you just want a hint), and then sprinkled the Mica Flakes over the top. Tap away the excess and leave your winter’s scene to dry thoroughly.
That final dusting of shimmery vintage goodness, completes this make and I hope you love what I’ve created and enjoyed the techniques I’ve used to bring the scene to life.
Before I go, I just wanted to wish everyone a Joyful Holiday Season, and a Happy Christmas and a hoping you have a peaceful and happy New Year!
Thanks so much for stopping by today. See you again in 2024! -Emma x
SUPPLIES:
|


Thanks so much for stopping by, and thanks to Emma for being our guest!


absolutely gorgeous
Fabulous!! Love everything about it. Thanks for sharing. Happy Holidays!!!
Emma is amazing!
Absolutely gorgeous!!!
Wow!!!! This is Amazing Emma!!!!! Just Marvelous!!!!
You’re so creatively talented and I just love everything about this beauty!
This is so cozy. Reminds me a bit of Jane Austen style