Combining Acrylic & Watercolor Painting
Hi readers! Happy Monday! I’m so happy to welcome back blog guest Jocelyn Olson to the blog today! If you haven’t perused her blog at Red Balloon Cards, be sure to stop by! Are you loving these stylish bright cards? Be sure to read on to learn how to recreate them for yourself! Enjoy!
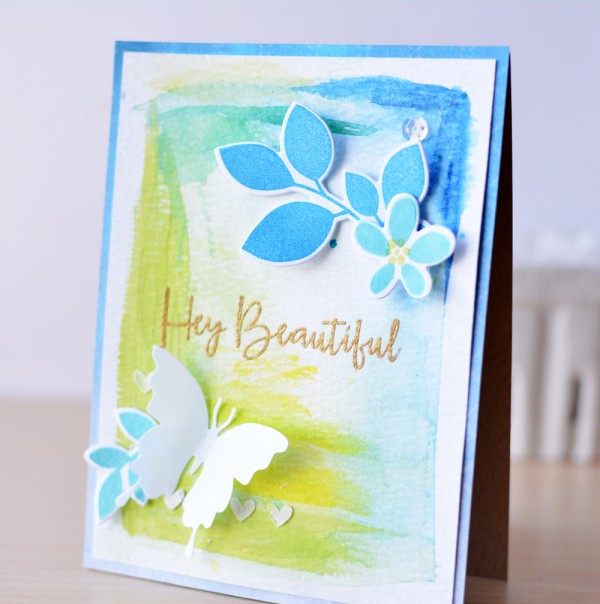
Hi everyone! I’m super happy to be on the Simon Says Stamp blog sharing a Paper Smooches project! We have snow on the ground where I live, but in hopes of Spring starting soon, I made a couple of cheery spring cards with a mix of Paper Smooches products.To start, I used a few techniques to make several backgrounds. I saw a post by Wilna Furstenburg using acrylic paints and watercolors together, and I thought I would try it.
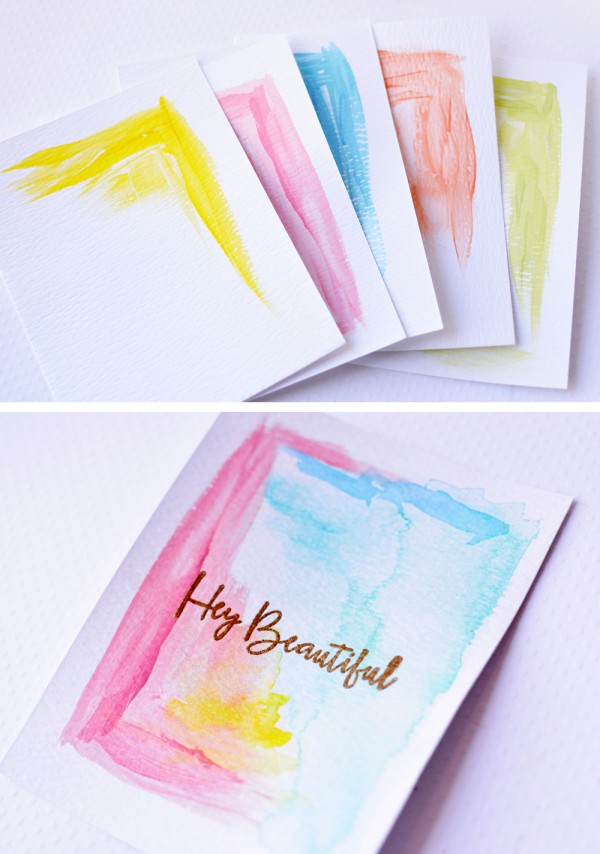
1. Using a flat brush, I painted the backgrounds with acrylic paint. I used acrylic paint to create a resist for the watercolor and to create texture.
2. After allowing the paint to dry, I did a watercolor wash in a contrasting color in the opposite corner.
3. Next, I watercolored around the acrylic paint with a similar color. I blotted the acrylic paint to wipe up the extra water.
4. Once the backgrounds were fully dry, I finished the backgrounds by splattering yellow spray mist.
Here are the results:
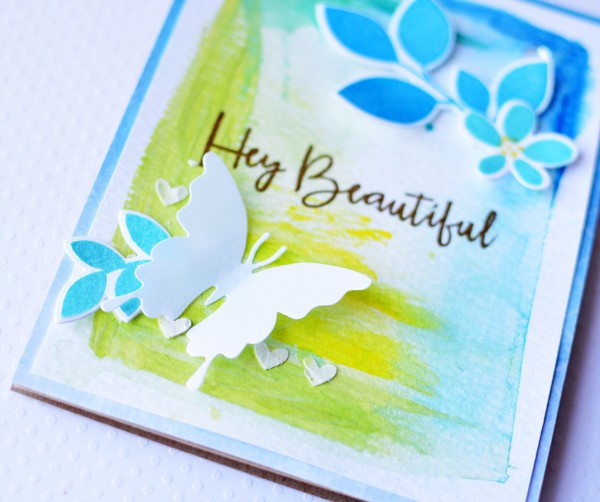
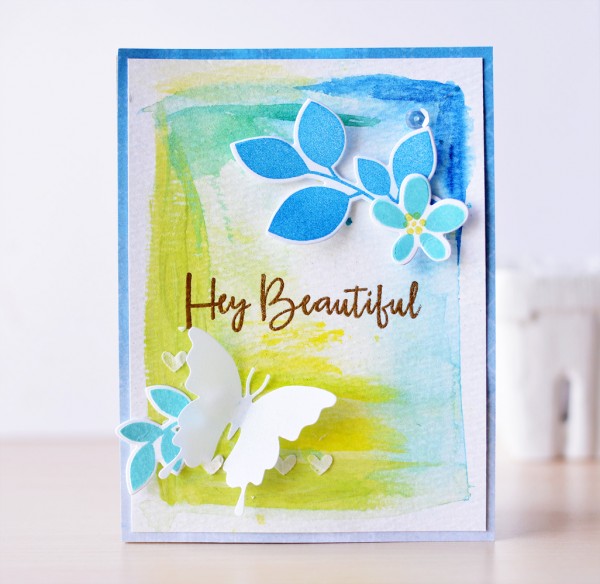
I heat embossed the beautiful sentiment from the Paper Smooches Fun and Flirty set in Ranger Gold embossing powder. Next, I stamped and die-cut leaves and a flower from the Botanicals 3 stamps and dies. This set has a great variety of leaves! I finished the card with a Butterfly Duet die-cut. To adhere the vellum butterfly, I used vellum adhesive (a must have!). Here’s a close-up:
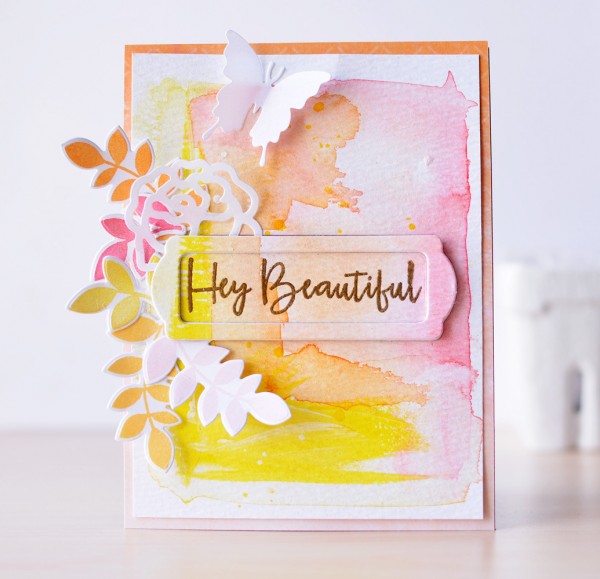
For my next card, I went with the same stamps but a little different look:
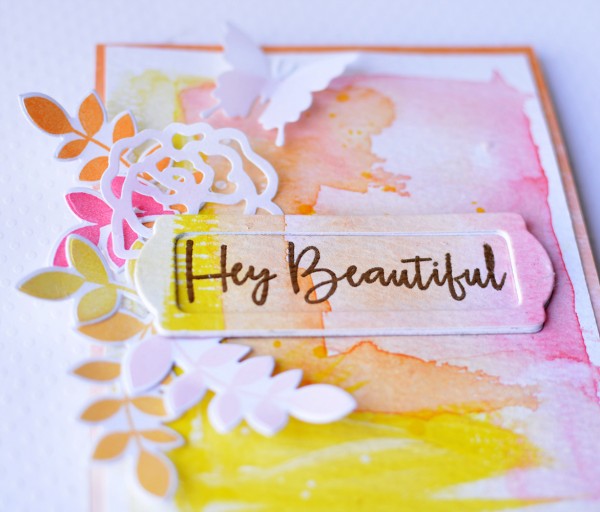
On this card, I scribbled a Lemon Gelato over the paint (under the sentiment). I used the same Fun and Flirty sentiment, but I die-cut the background using the Paper Smooches Bookplates die. I die-cut three more Bookplates to pop up the frame. In addition to the Botanicals 3 flowers, I added a smaller Roses vellum die-cut. I finished the card with the smaller butterfly from the Butterfly Duet.
SUPPLIES:
Thanks for reading today, and thanks to Jocelyn for being our guest!



Beautiful cards and fun technique!
These are Beautiful, Jocelyn! I’ve considered using my acrylics on cards with a bit of fun painting. Thanks for this lovely Spring inspiration!
http://paulettesrpettypapercrafts.wordpress.com
I haven’t used my acrylic paints in a long time. This looks like it would be fun to try!
Very creative and beautiful cards! Love combining different mediums. Definitely have to try! Thank you for sharing!
They are so elegent. I like the way you coloured your cardstock.thanks for sharing it.
Pretty backgrounds. Fun technique. Hugz
Very cool! I gotta try this!