Can’t Miss– Paper Mosaic with Dimensional Butterflies!
Hi friends! I’m delighted to welcome back special guest Anna-Karin with this BEAUTIFUL paper mosaic art piece! Read on to learn the details of how she made it, and enjoy!

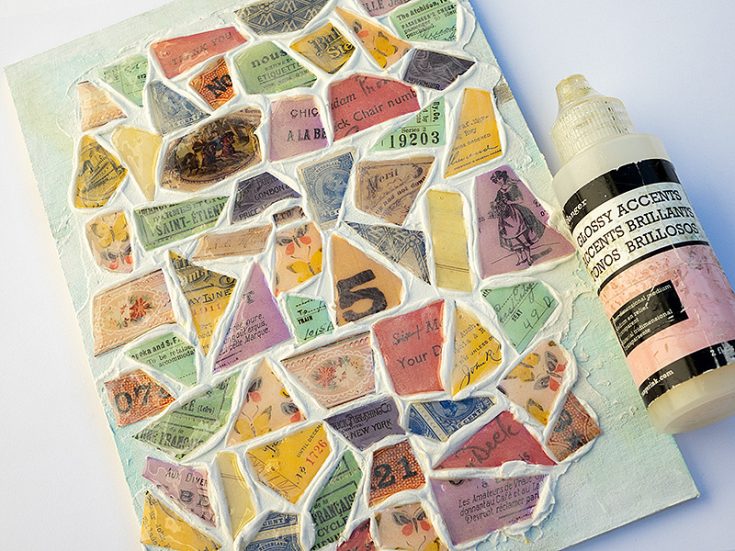
Hi everyone! It is April and almost every day there are new signs of spring. I am happy to be back here today with a new tutorial. I made a home décor piece with a paper mosaic background and dimensional butterflies fluttering about.
I used a Tim Holtz Etcetera Panel as my base since it is nice and sturdy. You can also do the techniques on other types of surfaces. The piece is 6 x 8.5 inches and very shiny, since the mosaic pieces have been covered with Glossy Accents. The butterflies are both shiny and glittery. Let’s start!


- Start by coating the Etcetera Panel with two layers of gesso, letting it dry in between.
- Paint with Distress Paint and mist with plenty of water. Let dry.
- While the paint is drying, pick out ephemera of various colors, words and images. I used mainly Tim Holtz Palette ephemera pack, but also a few of his Backdrops papers.
- Cut the pieces into a variety of shapes.
- Texture paste is going to be our grout. I mixed a tiny bit of Picket Fence and Lost Shadow paint into Distress Opaque Texture Paste. The paint makes the paste completely opaque. If you want greyer grout, add Hickory Smoke paint instead. Apply the grout/texture paste with a palette knife. Press the mosaic pieces into the paste. Try to vary the colors. Sometimes, you will need to trim a piece so that it will fit.


- Continue until you have covered most of the background. If you want to cover the entire background, you can of course do that too. Leave to dry. It will take a while.
- When the paste was totally dry, I decided to wash the piece with white paint, to tone down the colors a little. Use watered-down Picked Fence paint for that.
- Coat the paper mosaic pieces with a thick layer of Glossy Accents. Avoid getting Glossy Accents on the grout since we want that to remain matte. Leave to dry. It will take quite a while.
- Dry brush Pumice Stone and a little Hickory Smoke around the edges.


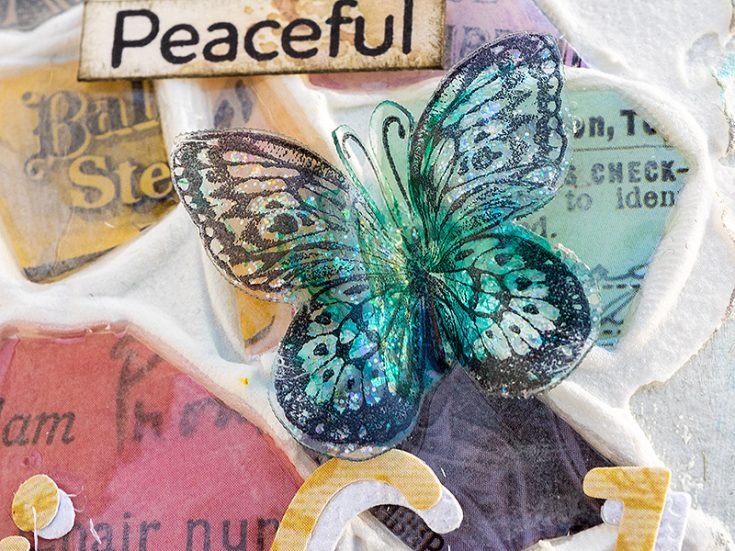
- Now to the butterflies. Stamp butterflies from Simon Says Stamp Beautiful Butterflies on Wendy Vecchi Clearly For Art Modeling Film, with Jet Black Stazon ink.
- Color them at the back with alcohol ink. It is important to work on the back to avoid smearing the stamped impression. I used Butterscotch, Latte, Patina and Turquoise ink. If the ink is too dark; you can drag an ink-applicator with felt and a few drops of Blending Solution on top to lighten it. Cut out.
- Gently heat the wings with Ranger’s heat tool. Be very careful not to burn yourself. Work one wing at a time and shape the wings until you are happy with how they look.


- For a glittery finish, apply Moon Dust Stickles Glitter Gel to the back of the butterflies.
- Glue the butterflies to the panel.


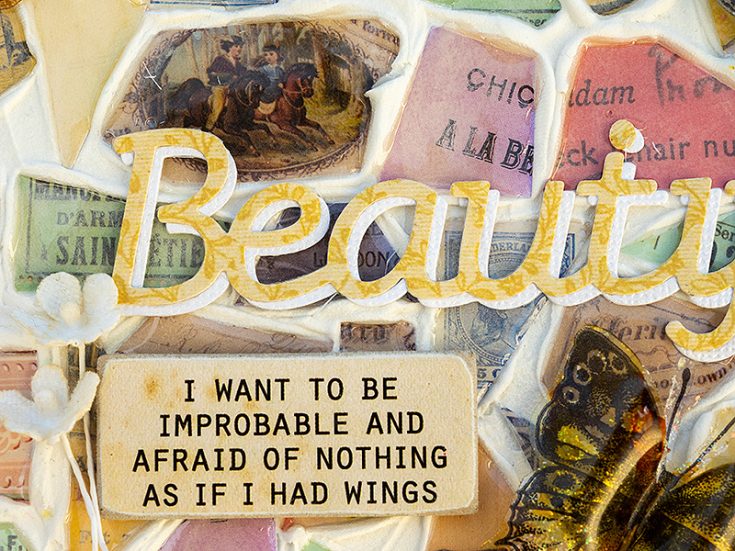
- The title was die cut with Simon Says Stamp Beautiful die, from Backdrops vol. 4 paper and from Simon Says Stamp Glimmery Cardstock. Off-set slightly when you glue them to the background. Add a Tim Holtz idea-ology Quote Chip Label and flowers from Bouquet Findings.
- The glitter gives a great effect to the butterflies. The stamped sentiments come from Simon Says Stamp Forest Scenery.
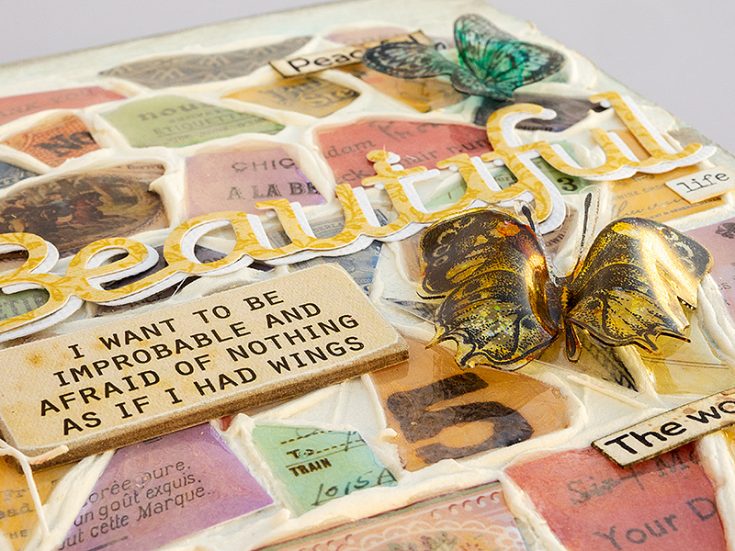
- I glued the largest butterfly in the left-hand corner so that it appears to fly into the panel.
- The paper mosaic is very shiny and contrasts nicely with the matte grout. It is difficult to capture the effect on a photo.


- Some of the mosaic pieces are a little larger than the others, since I wanted to keep the whole images. I also used a couple of Tim Holtz Small Talk Stickers, here combined with a sentiment stamped with the Simon Says Stamp Forest Scenery set.
- Magical was stamped on the background without reinking in between. I also used a Tim Holtz Quote Flair.

The butterflies are quite dimensional and the Clearly For Art Modeling Film will keep its shape perfectly.
SUPPLIES:
|
Thanks so much for stopping by, and thanks to Anna-Karin for being our guest!


just so beautiful
The butterflies are incredible. Beautiful!
Wow!!!! Gorgeous!! I need to check out this modeling film!!!!
Hi I missed the Paper Mosaic w butterfly tutorial today. will there be a replay? Thanks Kim Y
This is so cool