Art Journaling Using Layering Stencils in a Unique Way by Anna-Karin Evaldsson
Hi friends! Happy Monday! I’m delighted to welcome back special guest Anna-Karin Evaldsson to our blog — today with a special art journaling installments and showcasing a unique and fun way to use our new Funky Hearts Layering Stencil set! Read on and enjoy!
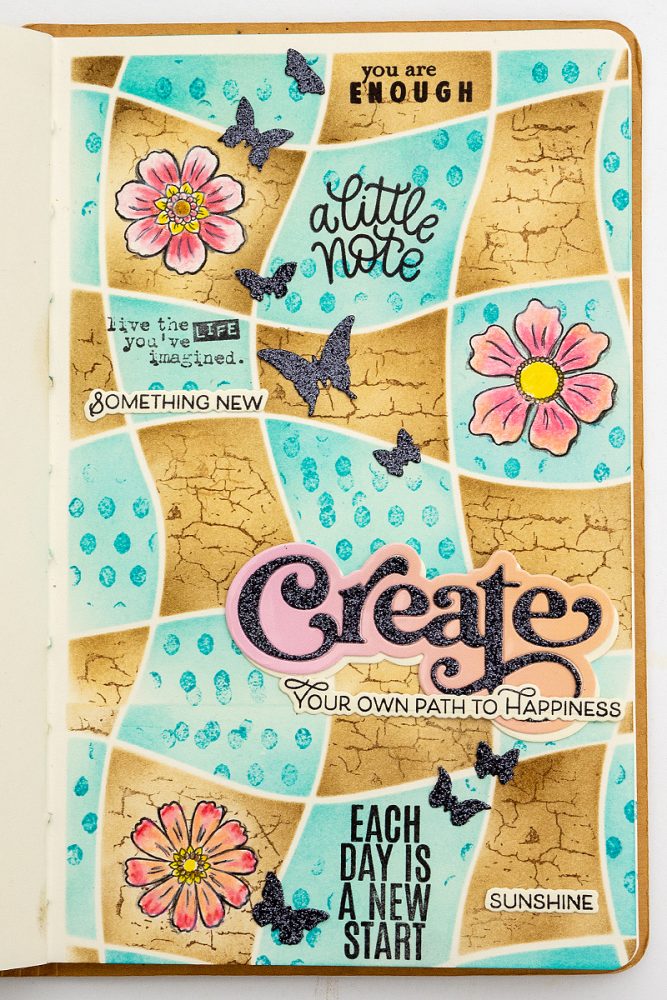
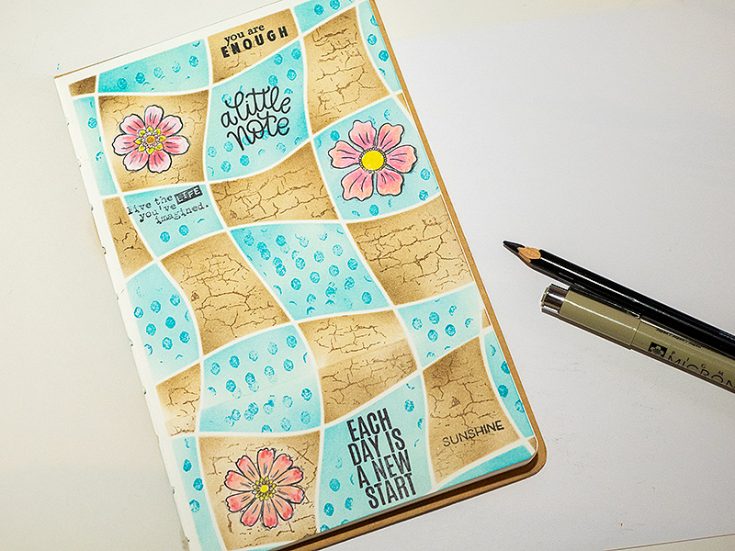
Hi everyone! I am happy to be here today with a new tutorial for a fun background technique with stencils, ink, stamps and a bit of masking. I made an art journal page with a background covered by funky squares. The techniques work just as well for cardmaking and scrapbooking.
I really like Simon Says Stamp stencil sets and you can do so many different techniques with them. You don’t need to use each of the stencils in a set for a project, sometimes I use just one or two. For this project, I used two of the four stencils in the Funky Hearts set. The funky squares in the background can function as ‘homes’ for stamped images or sentiments and you can add patterns to the squares by stamping through the stencils.
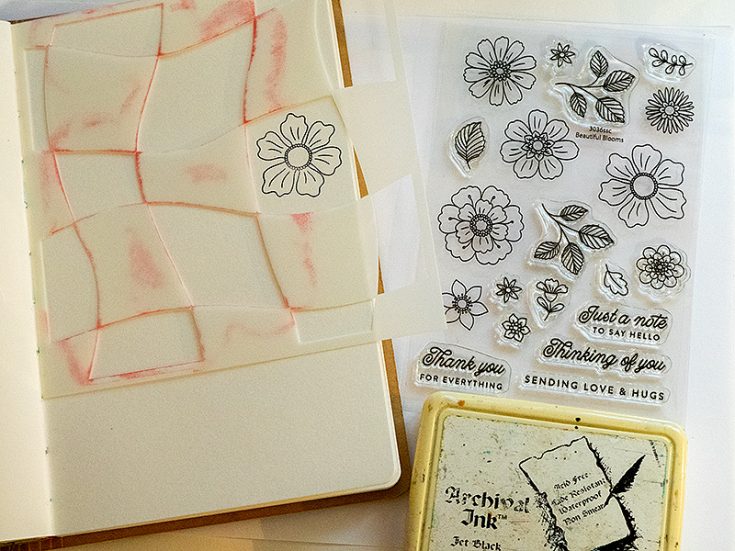

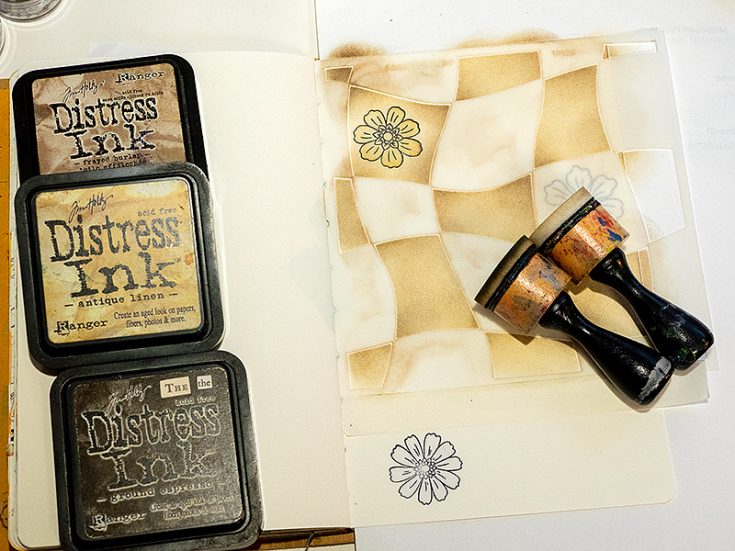
I worked in my Small Creative Journal and lined the stencil up with the upper edge of the paper. This makes it easy to place the next stencil in the same place. Hold the stencil in place with Simon Says Stamp Very Very Low Tack Tape. Make sure that the printed text on the stencil is visible. However, no worries if you placed the stencil the other way around (with the text at the back), just keep doing the same thing with the second stencil. Stamp a flower from Simon Says Stamp Beautiful Blooms through the stencil.
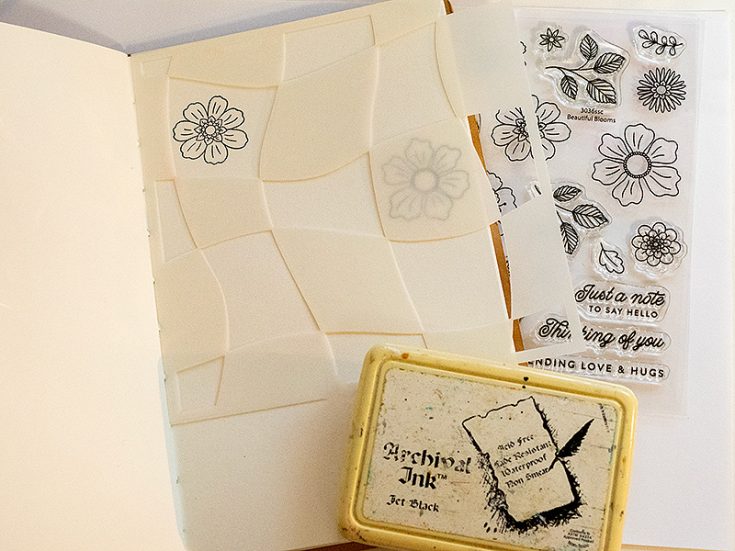
Place the second stencil on the paper and stamp a second flower.
Before moving the stencil, mark where the lowest squares end (not the actual border of the stencil) with a pencil. This helps you when you move the stencil and stamp the third flower. Erase the line or dots.
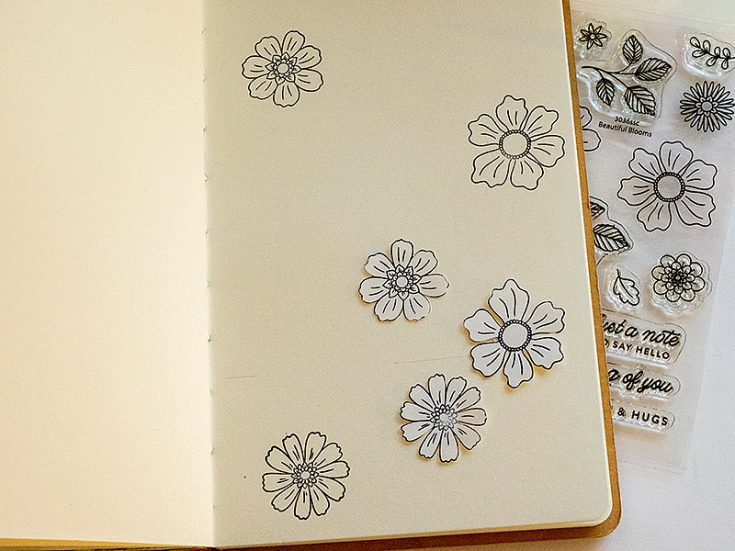
Stamp the flowers on Simon Says Stamp Masking paper and cut out. Place the masks over the flowers.
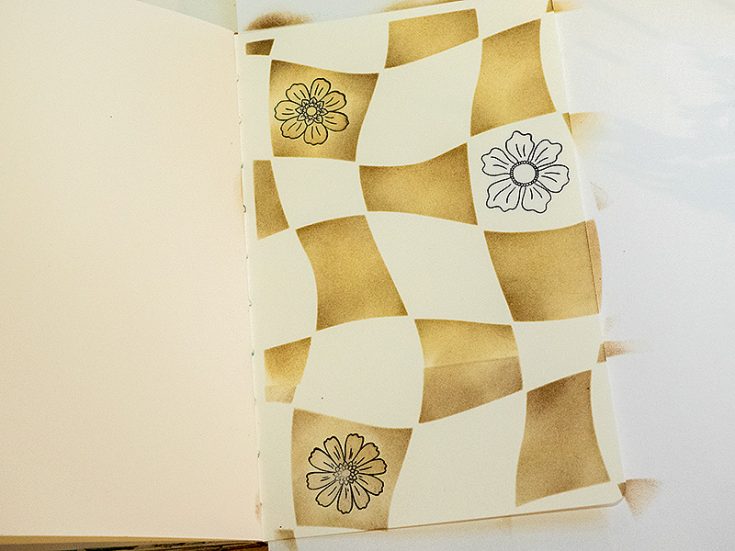
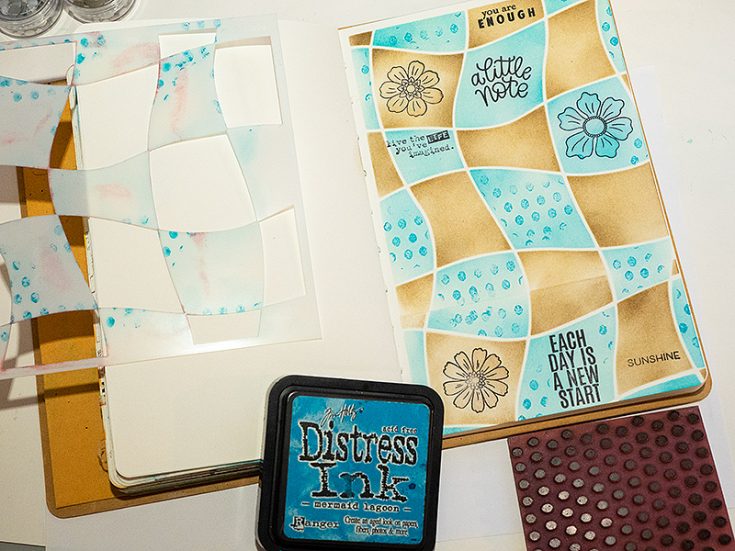
Pick the Distress Ink colors that you want to use and place one of the stencils on the page. Remember to line it up at the top and at the inner edge. I inked with three shades of brown.
Move the stencil and repeat the inking to extend the pattern across the paper. It is difficult not to get a line, but don’t worry too much about it. We can cover the line later.
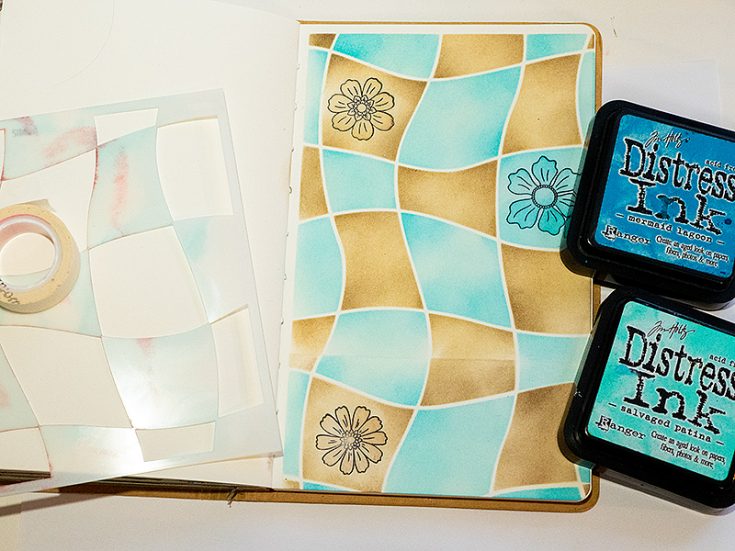
Repeat with the second stencil. I used blue shades of ink here, but you can use any color combination. Again, be careful to line the stencil up and to keep the text on the stencil at the top.
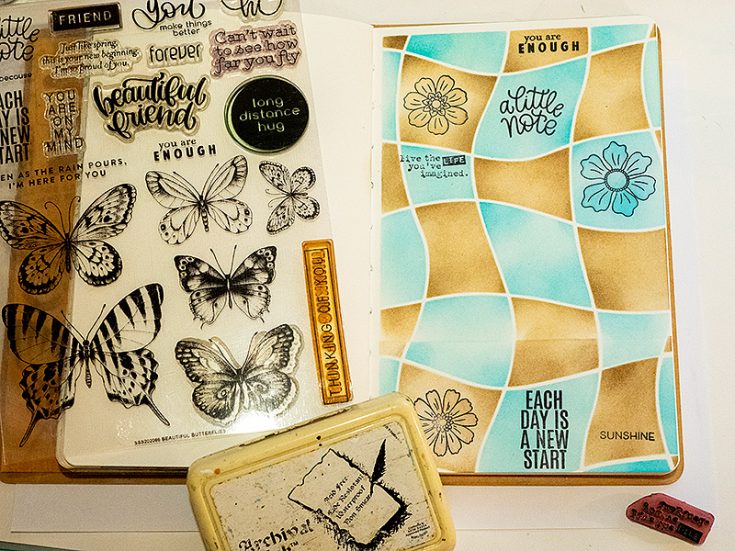
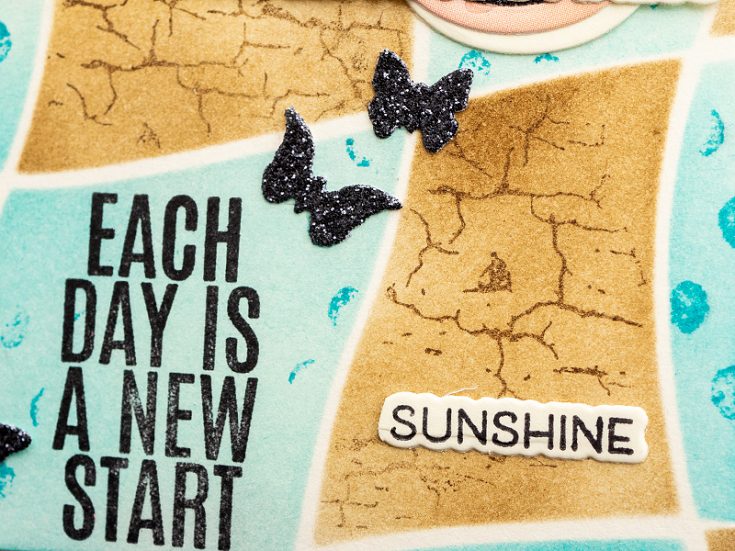
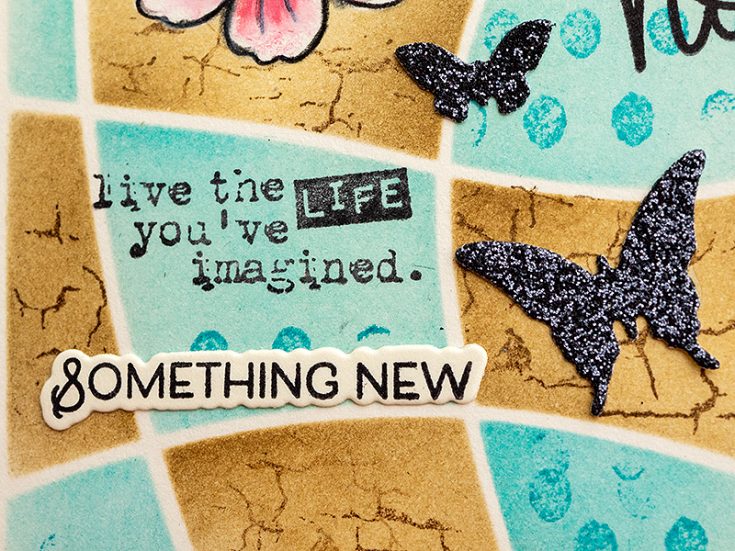
Stamp sentiments in some of the squares. I used Simon Says Stamp Beautiful Butterflies and Tim Holtz Odds & Ends.
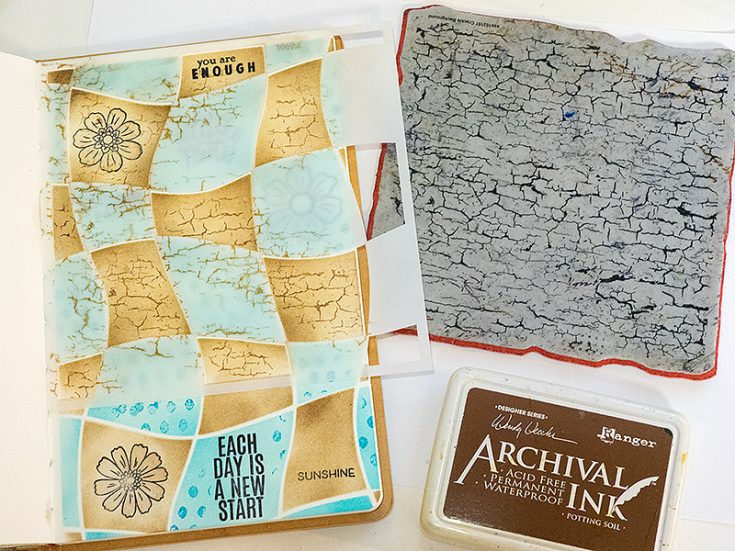
Place the stencil back on the design and stamp through it with a background stamp. I used one of the stamps from Tim Holtz Tiny Texture.
Repeat with the second stencil, using Simon Says Stamp Crackle Background stamp. Later, I placed the stencil back again and stamped some more crackles.
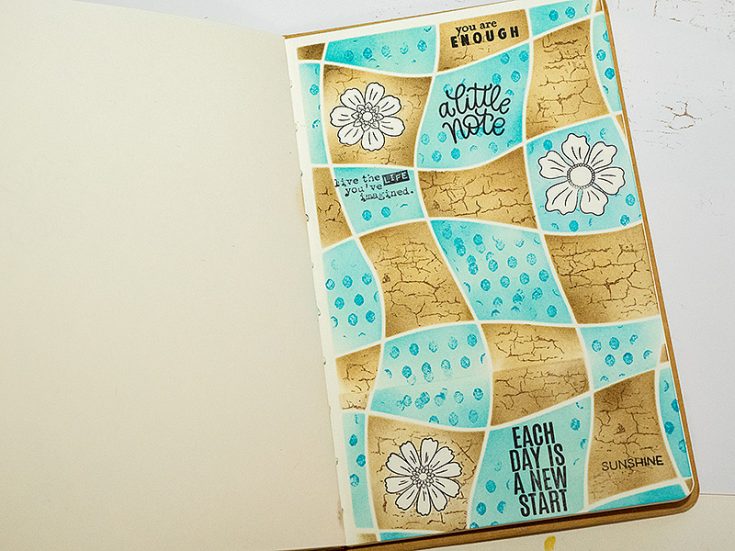
Remove the flower masks.
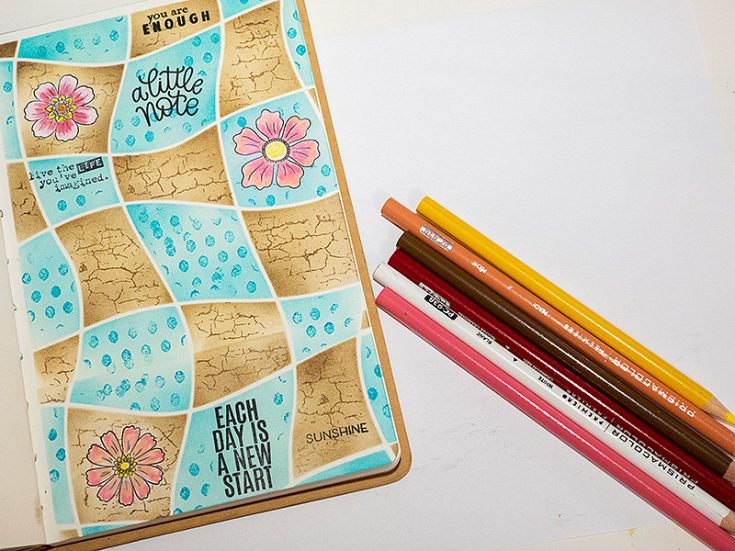
Color the flowers with pencils. I used Prismacolor pencils. Use the white pencil to blend the colors.
Add a little bit of shadow with a black pencil and use a black pen on some of the lines.
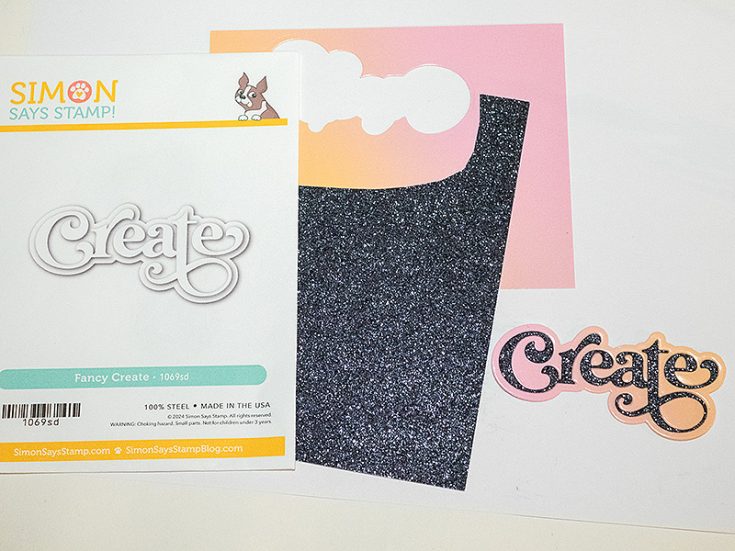
Die cut Simon Says Stamp Fancy Create from Black Glitter cardstock and Pastel Color Blend cardstock.
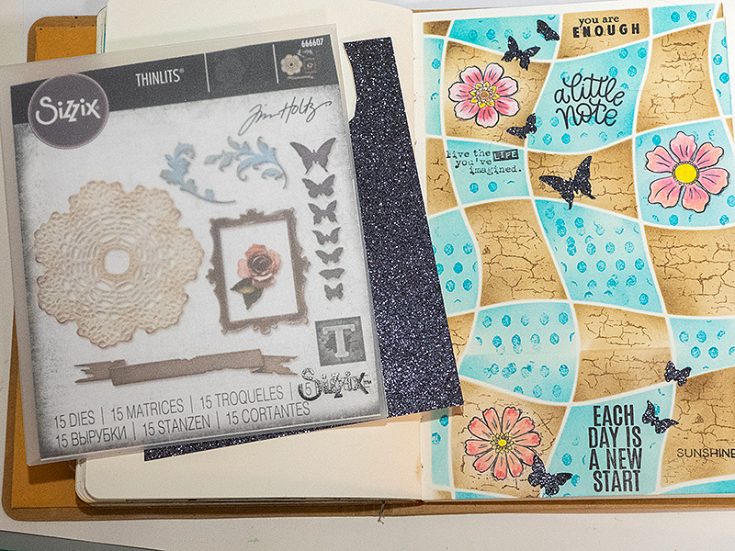
Die cut tiny butterflies from the Black Glitter cardstock using Tim Holtz Vault Boutique die set. Glue them to the background with Simon Says Stamp Precision Craft Tacky Glue.
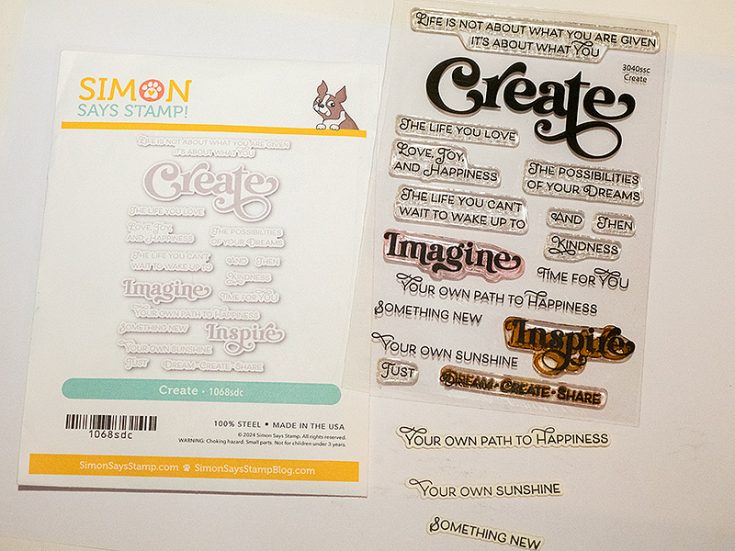
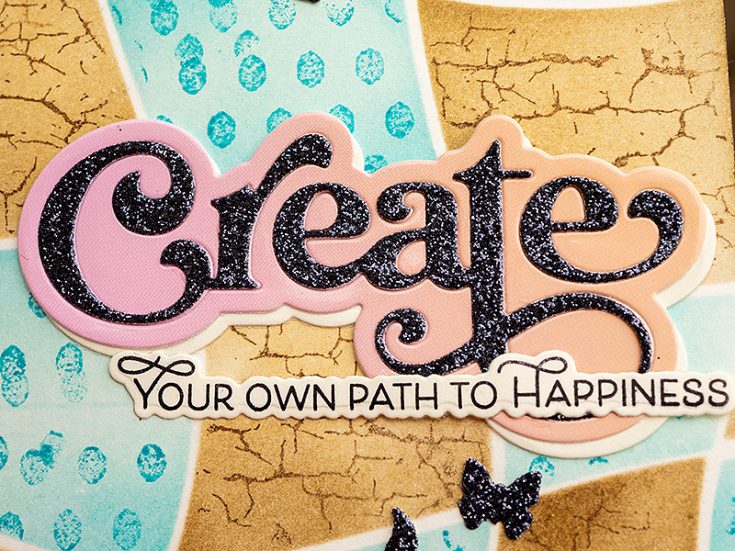
Stamp sentiments from Simon Says Stamp Create and die cut with the coordinating dies.
I die cut ‘Create’ one more time from cream cardstock and off-set it slightly. Use the sentiments to cover the ink line in the background.
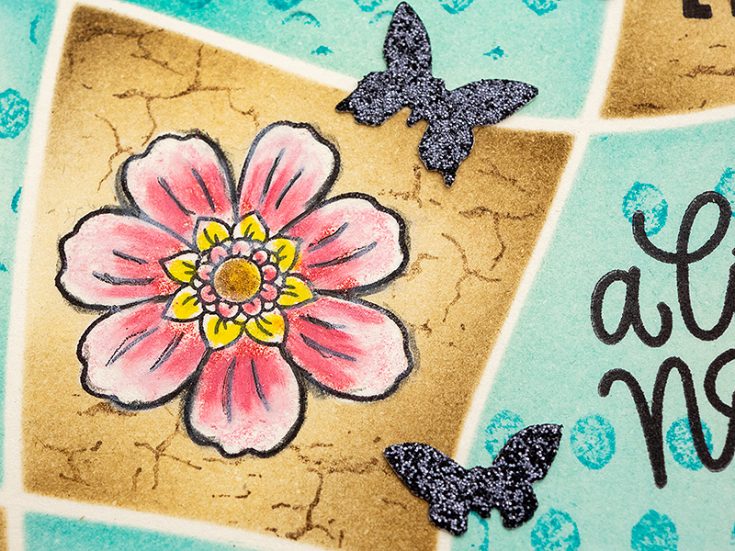
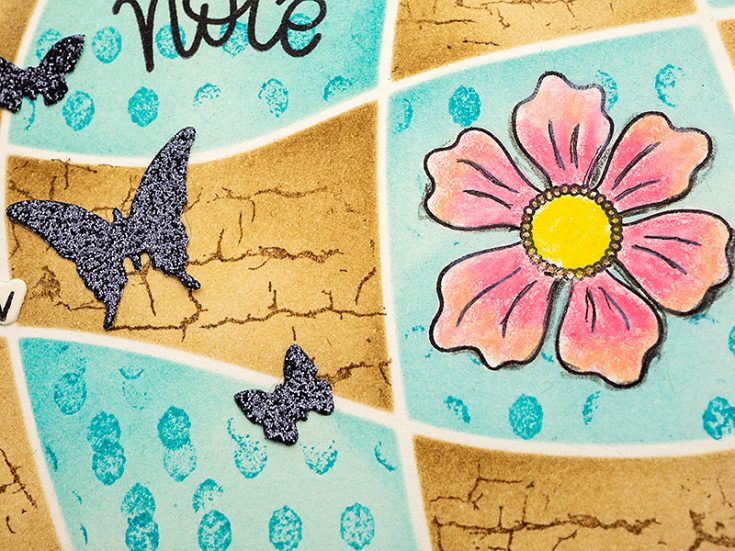
You can add darker shading to the flowers if you want a more dimensional look.
The patterns were stamped with tone-on-tone colors, but you can also stamp them in black or a contrasting color.
I had already stamped ‘sunshine’ directly on the background, but the stamping was uneven and I decided to cover it with a stamped and die cut ‘sunshine’ instead.
I hope this project inspired you to make stencilled backgrounds combined with inks, stamping and masking. Thank you so much for looking! Happy crafting! –Anna-Karin
SUPPLIES:
|


Thanks so much for stopping by, and thanks to Anna-Karin for being our guest!


so fun and cute
Wow!!!! This is Amazing!!! Such a cool way to use this stencil!!!
Beautiful page